
1. Ważne instrukcje bezpieczeństwa
Przed instalacją i użytkowaniem należy uważnie przeczytać wszystkie instrukcje. Zachowaj tę instrukcję do wykorzystania w przyszłości.
Bezpieczeństwo ogólne
- Przed przystąpieniem do instalacji, konserwacji lub czyszczenia należy upewnić się, że zasilanie jest odłączone.
- Urządzenie to nie jest przeznaczone do użytku przez osoby (w tym dzieci) o ograniczonej sprawności fizycznej, sensorycznej lub umysłowej, a także osoby nieposiadające odpowiedniego doświadczenia lub wiedzy, chyba że znajdują się one pod nadzorem osoby odpowiedzialnej za ich bezpieczeństwo lub otrzymały od niej instrukcje dotyczące korzystania z urządzenia.
- Dzieci powinny znajdować się pod nadzorem, aby mieć pewność, że nie bawią się urządzeniem.
Bezpieczeństwo elektryczne
- All electrical connections must be made by a qualified electrician and conform to local codes and regulations.
- Upewnij się, że objętośćtage and frequency of your power supply match the specifications of the fan.
- The fan must be properly grounded to prevent electric shock.
Bezpieczeństwo instalacji
- Mount the fan to a ceiling structure capable of supporting a minimum of 15 kg (33 lbs).
- Ensure there is adequate clearance between the fan blades and any obstacles (walls, furniture) and the floor. A minimum distance of 2.3 meters (7.5 feet) from the floor to the blades is recommended.
- Do not install the fan in a location where it can be easily reached by children or pets.
2. Koniec produktuview
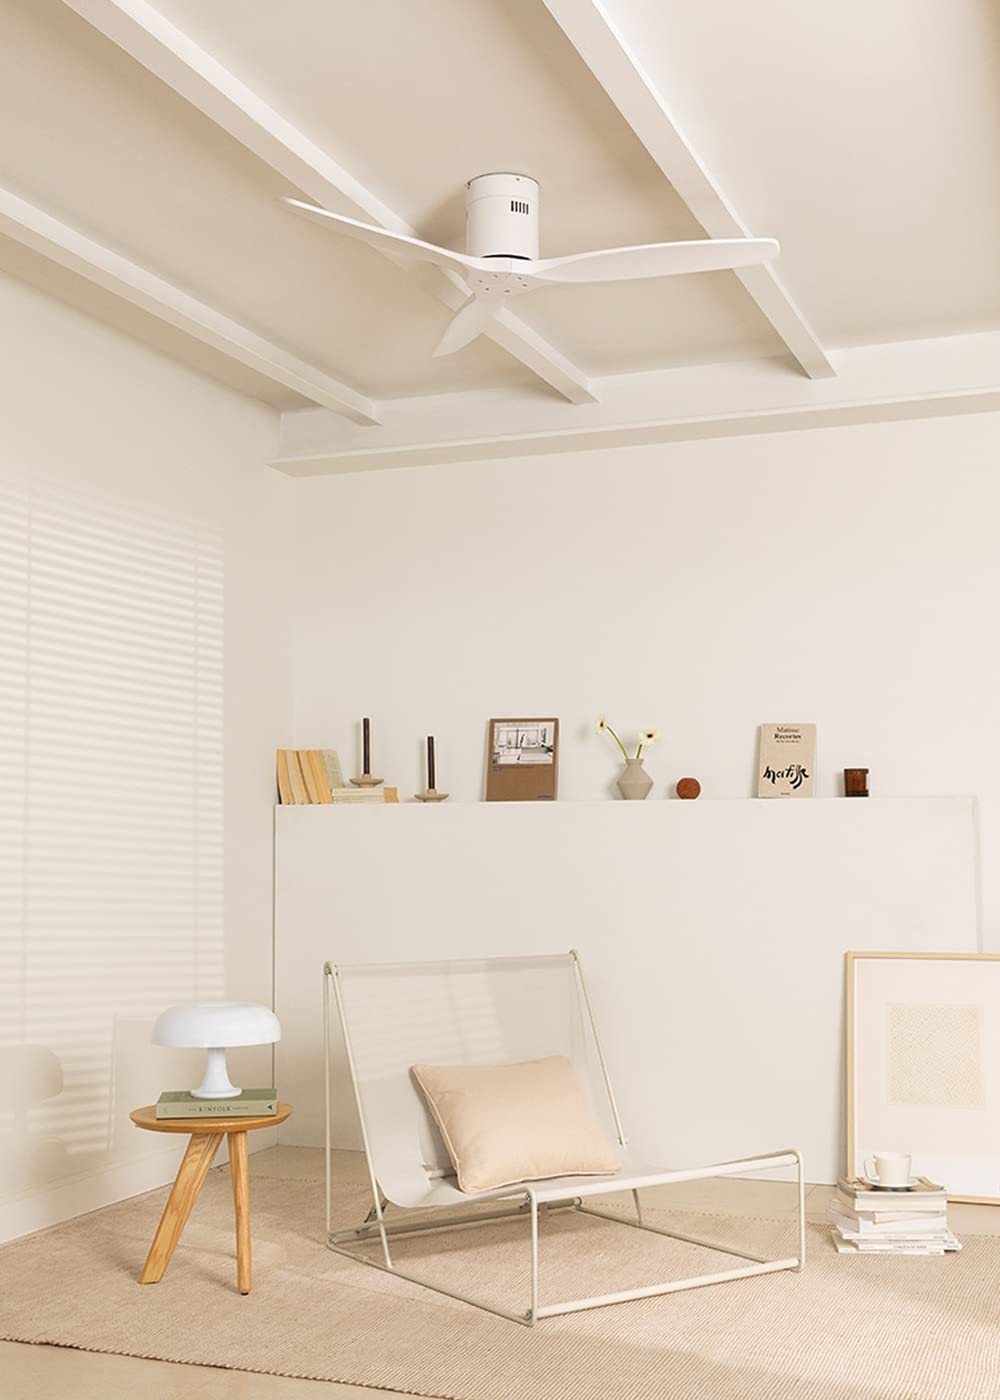
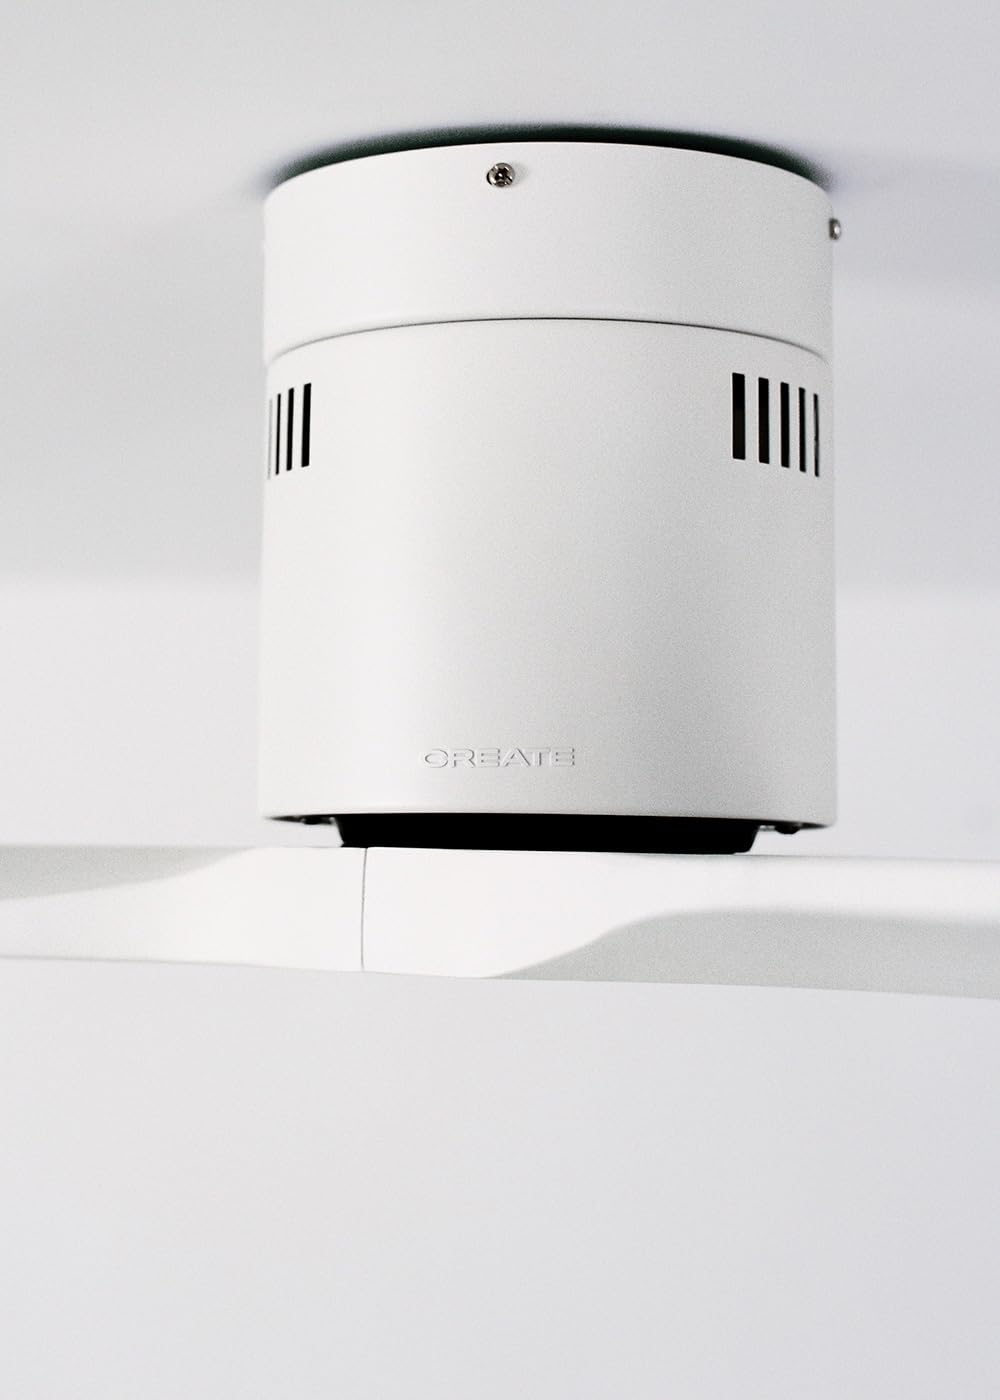
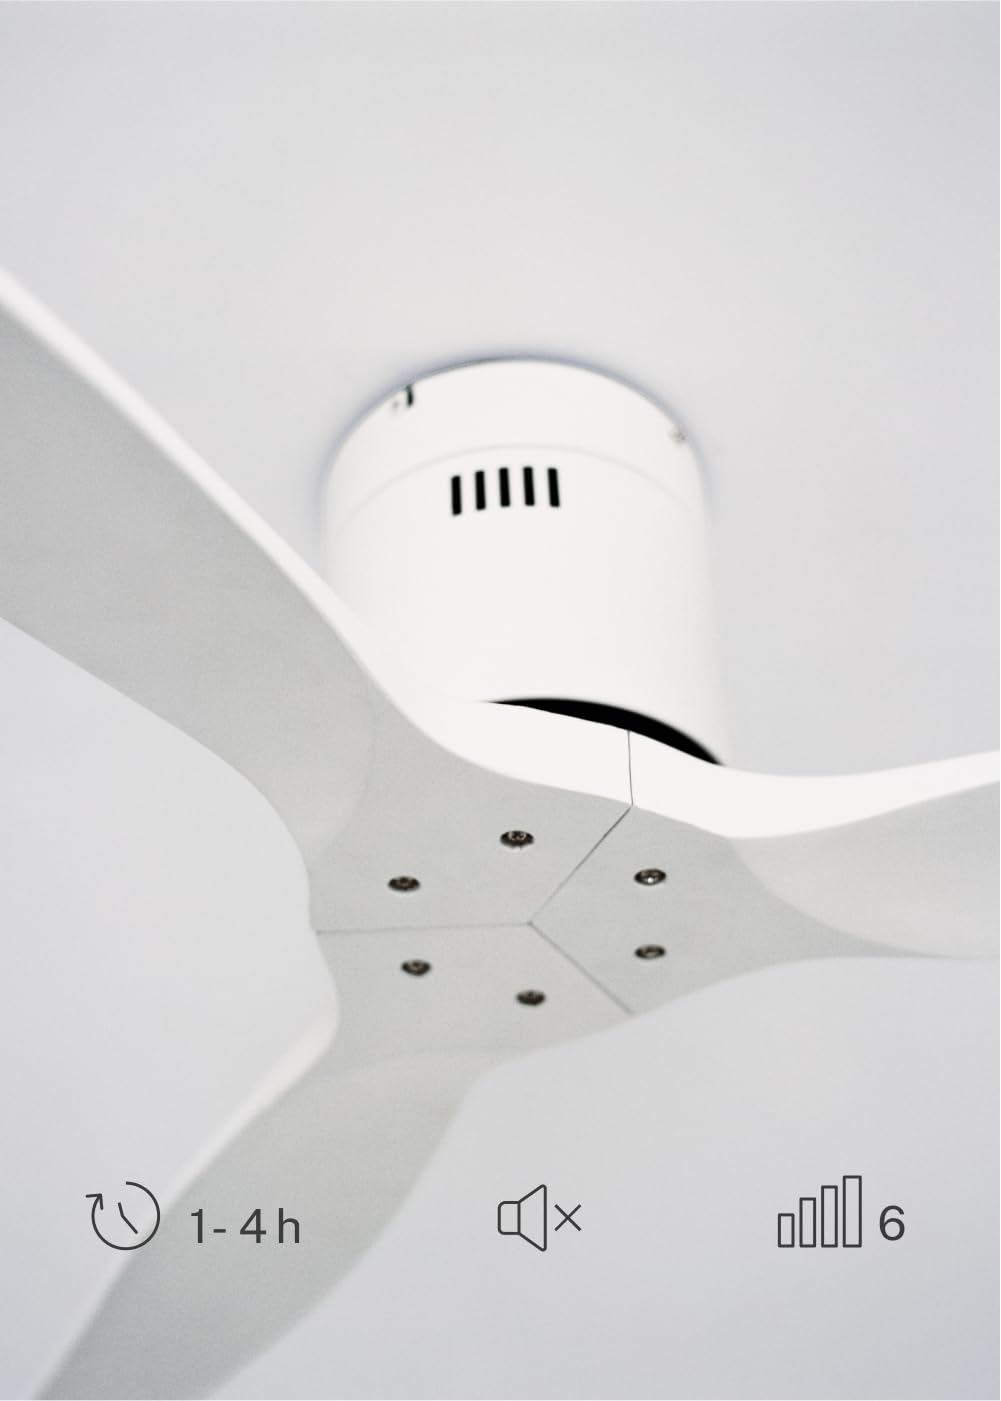
The CREATE WINDCALM DC Ceiling Fan is designed for efficient and quiet air circulation in various indoor spaces. It features a durable aluminum body, a silent DC motor, and three lightweight blades, ensuring minimal noise operation. The fan offers 6 adjustable speeds and a programmable timer for convenience.

3. Specyfikacje techniczne
| Funkcja | Specyfikacja |
|---|---|
| Marka | TWORZYĆ |
| Numer modelu | 43479_88375 |
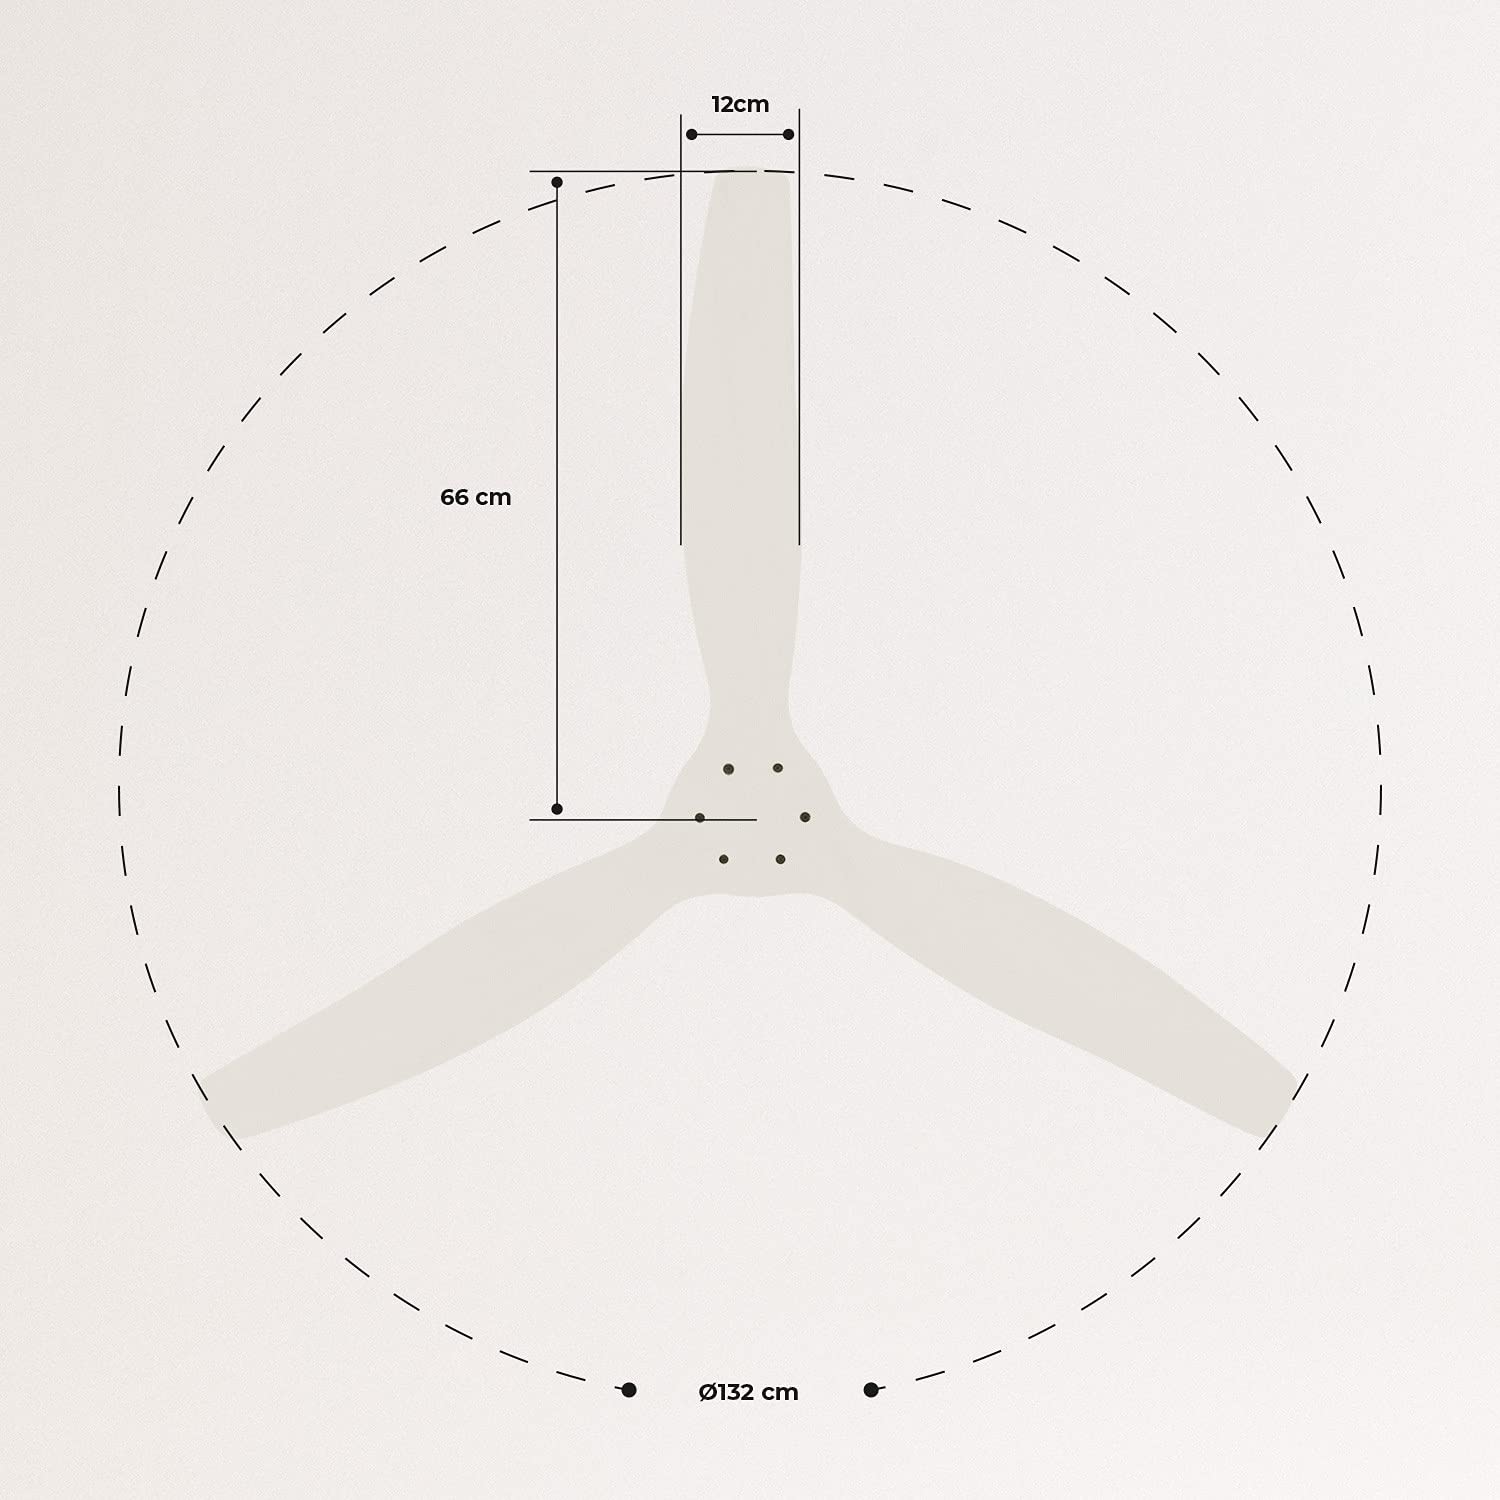
| Wymiary (dł. x szer. x wys.) | Wymiary 132 x 132 x 29 cm |
| Waga | 6.38 kilogramów |
| Projekt wentylatora | Wentylator sufitowy |
| Źródło zasilania | Kabel elektryczny |
| Funkcja specjalna | High Speed, Silent DC Motor, Timer, Summer/Winter Function |
| Zalecane zastosowanie | Wentylacja |
| Typ pokoju | Living Room (suitable for 13m² to 25m² rooms) |
| Kolor | White Blades |

4. Instrukcja instalacji
Proper installation is crucial for the safe and efficient operation of your ceiling fan. It is highly recommended that installation be performed by a qualified electrician.
Kontrole przed instalacją
- Rozpakuj wszystkie elementy i sprawdź je na liście przewozowej.
- Ensure the ceiling joist or support structure is strong enough to hold the fan's weight.
- Turn off power at the main circuit breaker before starting any electrical work.
Montaż wentylatora
- Secure the mounting bracket to the ceiling outlet box using appropriate screws and washers.
- Ostrożnie podnieś zespół silnika wentylatora i zamocuj go do uchwytu montażowego.
Połączenia okablowania
Connect the electrical wires according to the wiring diagram provided in the separate detailed installation manual (not included in this general overview). Ensure all connections are secure and insulated.
Attaching Blades
Attach the fan blades to the motor hub using the provided screws. Ensure all screws are tightened securely.

5. Instrukcja obsługi
Your CREATE WINDCALM DC Ceiling Fan comes with a remote control for convenient operation of all its functions.
Funkcje pilota zdalnego sterowania
Pilot umożliwia:
- Włączanie/wyłączanie: Włączanie i wyłączanie wentylatora.
- Regulacja prędkości: Select from 6 different fan speeds to control airflow intensity.
- Ustawienia timera: Program the fan to automatically turn off after 1, 2, or 4 hours.
- Tryb lato/zima: Change the direction of blade rotation to optimize air circulation for different seasons.
Tryb letni
In summer mode, the fan blades rotate counter-clockwise, pushing air downwards. This creates a cooling breeze effect, helping to dissipate heat and refresh the room.

Tryb zimowy
In winter mode, the fan blades rotate clockwise, drawing air upwards. This helps to circulate warm air that accumulates near the ceiling, distributing it evenly throughout the room and improving heating efficiency.
6. Konserwacja i pielęgnacja
Regularna konserwacja zapewnia długowieczność i optymalną wydajność wentylatora sufitowego.
Czyszczenie
- Przed przystąpieniem do czyszczenia należy zawsze wyłączyć zasilanie wentylatora wyłącznikiem automatycznym.
- Użyj miękkiego, damp Ściereczką przetrzyj łopatki wentylatora i obudowę silnika. Nie używaj środków czyszczących ani rozpuszczalników o działaniu ściernym, ponieważ mogą one uszkodzić powłokę.
- Ensure the fan is completely dry before restoring power.
Regularne kontrole
- Periodically check all screws and fasteners on the mounting bracket and blade attachments to ensure they are secure. Tighten if necessary.
- Listen for any unusual noises during operation, which may indicate a loose part or an issue with the motor.
7. Rozwiązywanie Problemów
If you encounter any issues with your fan, refer to the following common problems and their solutions:
| Problem | Możliwa przyczyna | Rozwiązanie |
|---|---|---|
| Wentylator nie włącza się | Brak zasilania Luźne połączenie przewodów Niski poziom baterii pilota | Sprawdź wyłącznik obwodu i przełącznik ścienny Verify all wiring connections are secure (consult electrician) Wymień baterie w pilocie |
| Wentylator wydaje nadmierny hałas | Loose screws on blades or mounting Wygięte ostrze Problem z silnikiem | Dokręć wszystkie śruby Check blades for damage and replace if necessary Skontaktuj się z obsługą klienta |
| Pilot nie działa | Rozładowana bateria Przeszkoda pomiędzy pilotem a odbiornikiem Pilot nie jest sparowany (jeśli dotyczy) | Wymień baterie Zapewnij czystą widoczność Refer to detailed manual for pairing instructions |
| Wentylator się chwieje | Luźny wspornik montażowy Niewyważone ostrza | Upewnij się, że wspornik montażowy jest solidnie zamocowany Check blade balance and use balancing kit if needed |
8. Gwarancja i wsparcie
For warranty information, technical support, or replacement parts, please contact CREATE customer service. Keep your purchase receipt as proof of purchase.
You can find more information and contact details on the official CREATE webstrona: www.create-store.com