1. Wprowadzenie
This manual provides essential information for the safe and efficient operation, setup, maintenance, and troubleshooting of your Scheppach HC26 Compressor Air Compressor. Please read this manual thoroughly before operating the device to ensure proper use and to prevent injury or damage.

Figure 1: Scheppach HC26 Compressor Air Compressor. This image shows the main unit with its 24-liter tank, motor housing, pressure gauges, and wheels, alongside a small container, likely for compressor oil.
2. Instrukcje bezpieczeństwa
Aby zminimalizować ryzyko pożaru, porażenia prądem i obrażeń ciała, należy zawsze przestrzegać podstawowych zasad bezpieczeństwa podczas korzystania z urządzeń elektrycznych.
- Przeczytaj wszystkie instrukcje: Zapoznaj się z elementami sterującymi i prawidłowym użytkowaniem kompresora.
- Bezpieczeństwo elektryczne: Ensure the power supply matches the specifications (230V). Do not operate in wet conditions.
- Środki ochrony osobistej (PPE): Always wear safety glasses or goggles. Hearing protection is recommended during extended use.
- Bezpieczeństwo ciśnieniowe: Never exceed the maximum working pressure of 8 bar. Do not direct compressed air at people or animals.
- Konserwacja: Disconnect from power before performing any maintenance or adjustments.
- Wentylacja: Aby zapobiec przegrzaniu, należy używać sprężarki w dobrze wentylowanym pomieszczeniu.
- Stabilność: Ensure the compressor is on a stable, level surface during operation.
3. Koniec produktuview
3.1 Główne cechy
- Max. Working pressure: 8 bar
- Kettle size: 24 L
- Oil-lubricated piston compressor for durability and long-lasting performance.
- Quick connection coupling for fast and easy tool changes.
- Driving device (wheels) and ergonomic handle for easy transport.
- Motor Power: 1500 W (2.0 HP)
- Suction Power: 220 L/min
3.2 Składniki
The Scheppach HC26 compressor includes the main compressor unit with a 24L tank, motor, pressure gauges, pressure regulator, quick coupling, wheels, and a transport handle.

Figure 2: Pressure Gauge and Quick Coupling. This close-up shows the pressure gauge indicating tank pressure and the quick connection coupling for attaching pneumatic tools.
4. Konfiguracja
- Rozpakowywanie: Ostrożnie wyjmij kompresor i wszystkie akcesoria z opakowania. Sprawdź, czy nie ma uszkodzeń powstałych podczas transportu.
- Zespół koła: Attach the wheels to the designated axles on the compressor base. Secure them firmly according to the included hardware.
- Napełnianie olejem: As an oil-lubricated compressor, ensure the crankcase is filled with the appropriate compressor oil to the correct level before first use. Refer to the oil level indicator.
- Umieszczenie: Position the compressor on a firm, level surface in a well-ventilated area, away from walls or obstructions to allow for proper airflow.
- Podłączenie elektryczne: Connect the compressor to a grounded 230V, 50Hz power outlet.
5. Instrukcja obsługi
- Pierwsze uruchomienie: After setup, turn on the compressor. It will begin to build pressure in the tank. The motor will automatically shut off once the maximum pressure (8 bar) is reached.
- Regulacja ciśnienia wyjściowego: Use the pressure regulator knob to set the desired output pressure for your pneumatic tool. Monitor the regulated pressure gauge.
- Łączenie narzędzi: Attach your pneumatic tool to the quick connection coupling. Ensure a secure connection.
- Działanie: Begin using your tool. The compressor motor will cycle on and off automatically to maintain tank pressure as air is consumed.
- Wyłączanie: When finished, turn off the compressor. Disconnect the tool and then unplug the compressor from the power outlet.
- Odprowadzanie kondensatu: After each use, or at least daily, drain any accumulated moisture from the tank using the drain valve located at the bottom of the tank. This prevents rust and extends tank life.
5.1 Typowe zastosowania
- Pompowanie opon: Ideal for inflating vehicle tires, bicycle tires, and sports equipment.
- Nailing/Stapling: Powers pneumatic nailers and staplers for various woodworking and construction tasks.
- Malowanie natryskowe: Suitable for use with spray guns for painting projects.
- Dmuchanie/Czyszczenie: Effective for blowing dust and debris from workspaces, tools, and machinery.
- Pneumatic Ratchets: Can power small pneumatic ratchets for mechanical work.

Rysunek 3: Przykład zastosowaniaamples. This diagram visually represents common uses for the air compressor, including powering nail guns, pneumatic ratchets, spray guns, and for tire inflation and general blowing tasks.
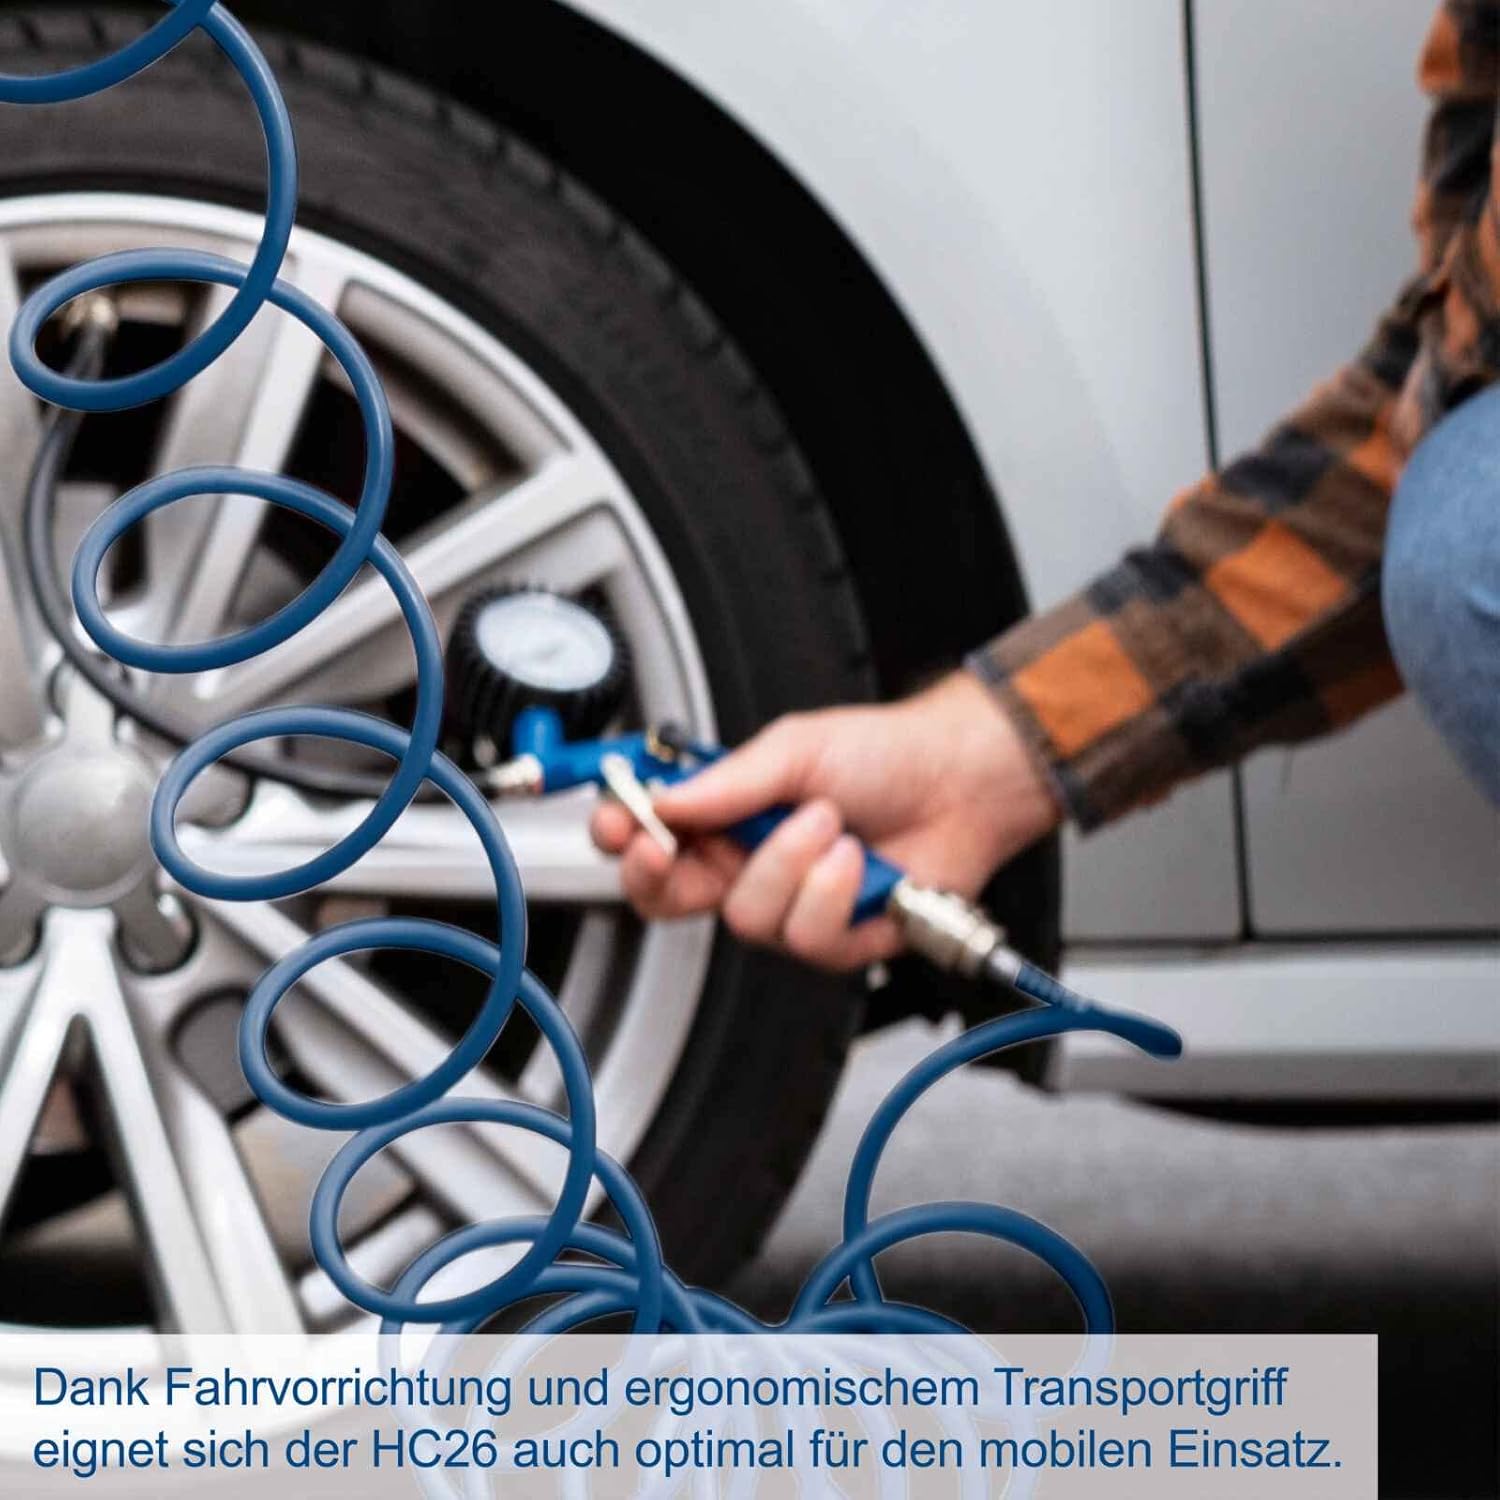
Figure 4: Mobile Use. A user is shown inflating a car tire, demonstrating the compressor's suitability for mobile applications thanks to its wheels and handle.
6. Konserwacja
Regularna konserwacja zapewnia długowieczność i optymalną wydajność sprężarki powietrza. Zawsze odłączaj zasilanie przed przystąpieniem do jakichkolwiek prac konserwacyjnych.
- Odpływ kondensatu: Daily or after each use, open the drain valve at the bottom of the tank to release accumulated moisture.
- Sprawdź poziom oleju: Regularly check the oil level in the crankcase. Refill or change oil as needed, using only recommended compressor oil.
- Filtr czystego powietrza: Inspect and clean the air filter regularly. A clogged filter reduces efficiency and can damage the motor. Replace if necessary.
- Ogólne sprzątanie: Keep the compressor clean and free of dust and debris. Wipe down exterior surfaces.
- Kontrola węży i złączek: Periodically check all hoses and fittings for leaks, cracks, or damage. Replace any worn parts.

Figure 5: Portability and Maintenance. This graphic highlights the compressor's ease of transport and its design for straightforward maintenance.
7. Rozwiązywanie Problemów
Przed skontaktowaniem się z obsługą klienta zapoznaj się z poniższą tabelą zawierającą listę typowych problemów i ich rozwiązania.
| Problem | Możliwa przyczyna | Rozwiązanie |
|---|---|---|
| Sprężarka nie uruchamia się. | Brak zasilania, zadziałał wyłącznik, uszkodzony przełącznik. | Check power connection, reset breaker, contact service if switch is faulty. |
| Sprężarka pracuje ciągle lub często. | Air leak in system, check valve issue, excessive air demand. | Check hoses and fittings for leaks, inspect check valve, reduce air consumption. |
| Niskie ciśnienie powietrza. | Clogged air filter, air leak, pressure regulator set too low. | Clean/replace air filter, check for leaks, adjust pressure regulator. |
| Nadmierny hałas lub wibracje. | Loose components, worn parts, insufficient oil. | Tighten fasteners, inspect for worn parts, check and add oil if needed. |
8. Specyfikacje techniczne
| Specyfikacja | Wartość |
|---|---|
| Nazwa modelu | HC26 (5906135901) |
| Marka | Scheppach |
| Tomtage | 230 wolty |
| Moc silnika | 1500 W (2.0 KM) |
| Maksymalne ciśnienie robocze | 8 bar |
| Pojemność zbiornika | 24 litrów |
| Air Flow Capacity (Suction) | 220 l / min |
| Waga przedmiotu | 1 kilograma (ok. 2.2 funta) |
| Wymiary produktu | 0.04"L x 0.04"W x 0.04"H (Note: These dimensions appear to be placeholder values and may not reflect the actual size of the compressor.) |
| Funkcja specjalna | Durable, Oil-lubricated piston compressor |

Figure 6: Key Specifications. This infographic highlights the maximum 8 bar working pressure, 220 L/min suction power, and 24 L tank volume. Please note the discrepancy regarding 'Oil-free' in the image versus 'Oil Lubricated' in the product description; the product is confirmed to be oil-lubricated.
9. Gwarancja i wsparcie
For warranty information, technical support, or to order replacement parts, please contact Scheppach customer service. Retain your proof of purchase for warranty claims.
For the most up-to-date contact information, please visit the official Scheppach webodwiedź witrynę lub zapoznaj się z dokumentacją dołączoną do zakupionego produktu.