
1. Ważne instrukcje bezpieczeństwa
Before using your Singer M2405 sewing machine, please read and understand all instructions. Keep this manual for future reference. Always follow basic safety precautions to reduce the risk of burns, fire, electric shock, or injury to persons.
- Zawsze odłączaj urządzenie od gniazdka elektrycznego natychmiast po użyciu oraz przed czyszczeniem, zdjęciem pokrywy, smarowaniem lub wykonywaniem innych czynności serwisowych.
- Nie należy pozwalać dzieciom na obsługę urządzenia bez nadzoru.
- Używaj tego urządzenia wyłącznie zgodnie z jego przeznaczeniem opisanym w niniejszej instrukcji.
- Nigdy nie używaj urządzenia, jeśli przewód lub wtyczka są uszkodzone, jeśli urządzenie nie działa prawidłowo lub jeśli zostało upuszczone lub uszkodzone.
- Trzymaj palce z dala od wszystkich ruchomych części. Należy zachować szczególną ostrożność wokół igły maszyny do szycia.
- Zawsze używaj właściwej płytki igłowej. Niewłaściwa płytka może spowodować złamanie igły.
- Nie ciągnij ani nie popychaj materiału podczas szycia. Może to spowodować odchylenie igły i jej złamanie.
2. Koniec produktuview
The Singer M2405 is a versatile sewing machine designed for various daily sewing tasks, offering ease of use and robust performance.

Rycina 2.1: Przód view of the Singer M2405 Sewing Machine, showcasindzięki kompaktowej konstrukcji i pokrętłom sterującym.
Główne cechy:
- 8 Stitch Programs: Includes basic, decorative, and utility stitches.
- Dziurka w 4 kroku: For easy and precise buttonhole creation.
- Regulowana długość ściegu: Customize stitch length for different fabrics and projects.
- Zmienne pozycje igły: Offers flexibility for various sewing techniques.
- Szycie wsteczne: For securing stitches at the beginning and end of seams.
- Wolne ramię: Essential for sewing circular items like cuffs, sleeves, and pant hems.
- Staybright LED Lighting: Provides optimal illumination of the sewing area.
- System szpulki ładowanej od góry: Łatwe wkładanie i monitorowanie zapasu nici.
- Solidna metalowa rama: Ensures stability and durability during operation.
3. Konfiguracja
3.1 Rozpakowywanie i umieszczanie
Ostrożnie wyjmij maszynę z opakowania. Ustaw maszynę na stabilnej, płaskiej powierzchni. Upewnij się, że wokół maszyny jest wystarczająco dużo miejsca, aby zapewnić komfortową obsługę.
3.2 Połączenie zasilania
Connect the power cord to the machine and then to a suitable electrical outlet. Ensure the foot controller is also connected.
3.3 Nawlekanie górnej nici
Follow the numbered threading guides on the machine for correct upper thread tension and path.
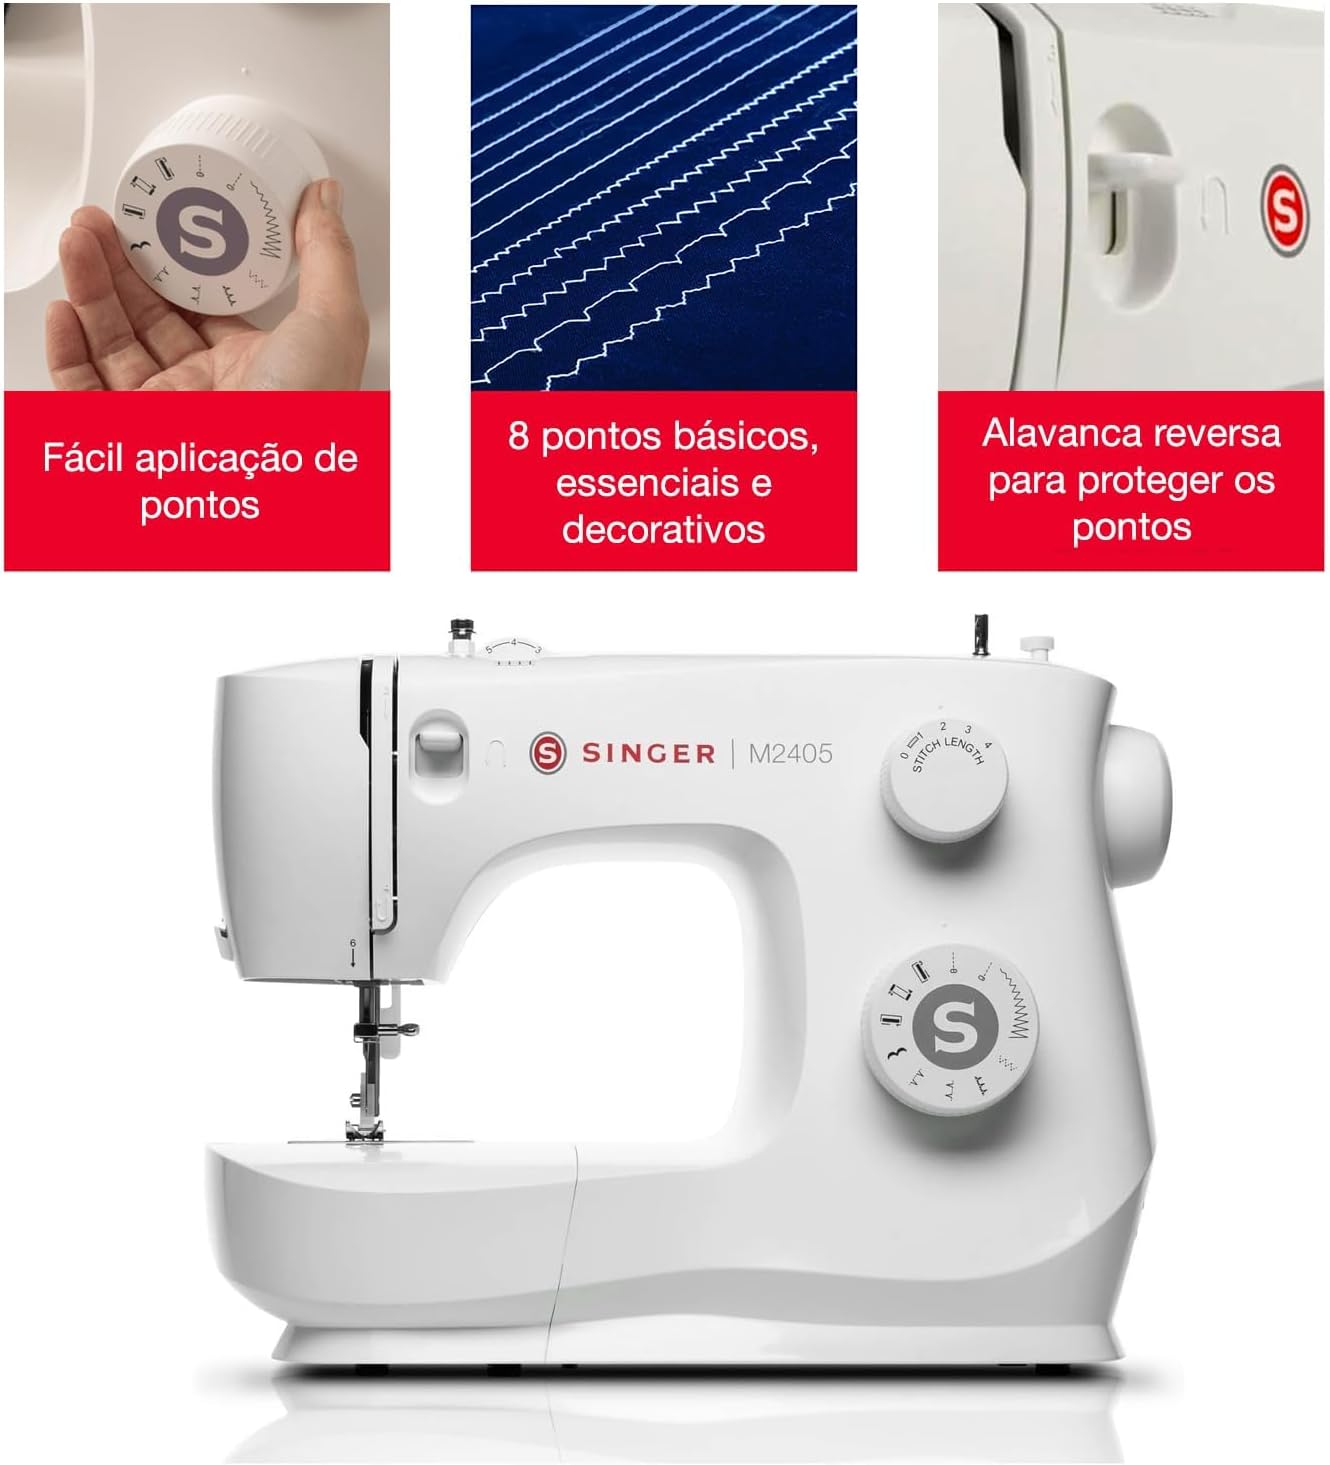
Figure 3.1: Clear threading guides on the Singer M2405 for easy upper thread setup.
3.4 Winding and Inserting the Bobbin
- Załóż pustą szpulkę na wrzeciono nawijacza szpulki.
- Przeprowadź nić ze szpulki przez tarczę naprężającą szpulkę.
- Nawiń nić kilka razy ręcznie wokół szpulki.
- Przesuń wrzeciono nawijacza szpulki dolnej w prawo.
- Naciśnij sterownik nożny, aby rozpocząć nawijanie. Maszyna zatrzyma się automatycznie po napełnieniu szpulki.
- Wyjmij szpulkę i przytnij nić.
- Open the bobbin cover plate and insert the wound bobbin into the bobbin case, ensuring the thread unwinds in the correct direction (usually counter-clockwise).
- Pull the bobbin thread through the tension spring and out through the opening.
3.5 Instalacja igły
Ensure the machine is unplugged before changing the needle. Loosen the needle clamp screw, remove the old needle, insert the new needle with the flat side facing the back, and tighten the screw securely.
4. Instrukcja obsługi
4.1 Wybieranie ściegów
The Singer M2405 offers 8 stitch programs. Use the stitch selector dial to choose your desired stitch pattern. Refer to the stitch guide on the machine for available options.

Figure 4.1: The stitch control dial allows selection of 8 basic, essential, and decorative stitches.
4.2 Adjusting Stitch Length
The stitch length dial allows you to adjust the length of your stitches. Turn the dial to increase or decrease the stitch length according to your fabric and project requirements.

Figure 4.2: The stitch length dial for precise control over stitch dimensions.
4.3 Sewing a 4-Step Buttonhole
The M2405 features a convenient 4-step buttonhole function. Attach the buttonhole foot and follow the steps indicated on the machine's stitch selector for perfect buttonholes.
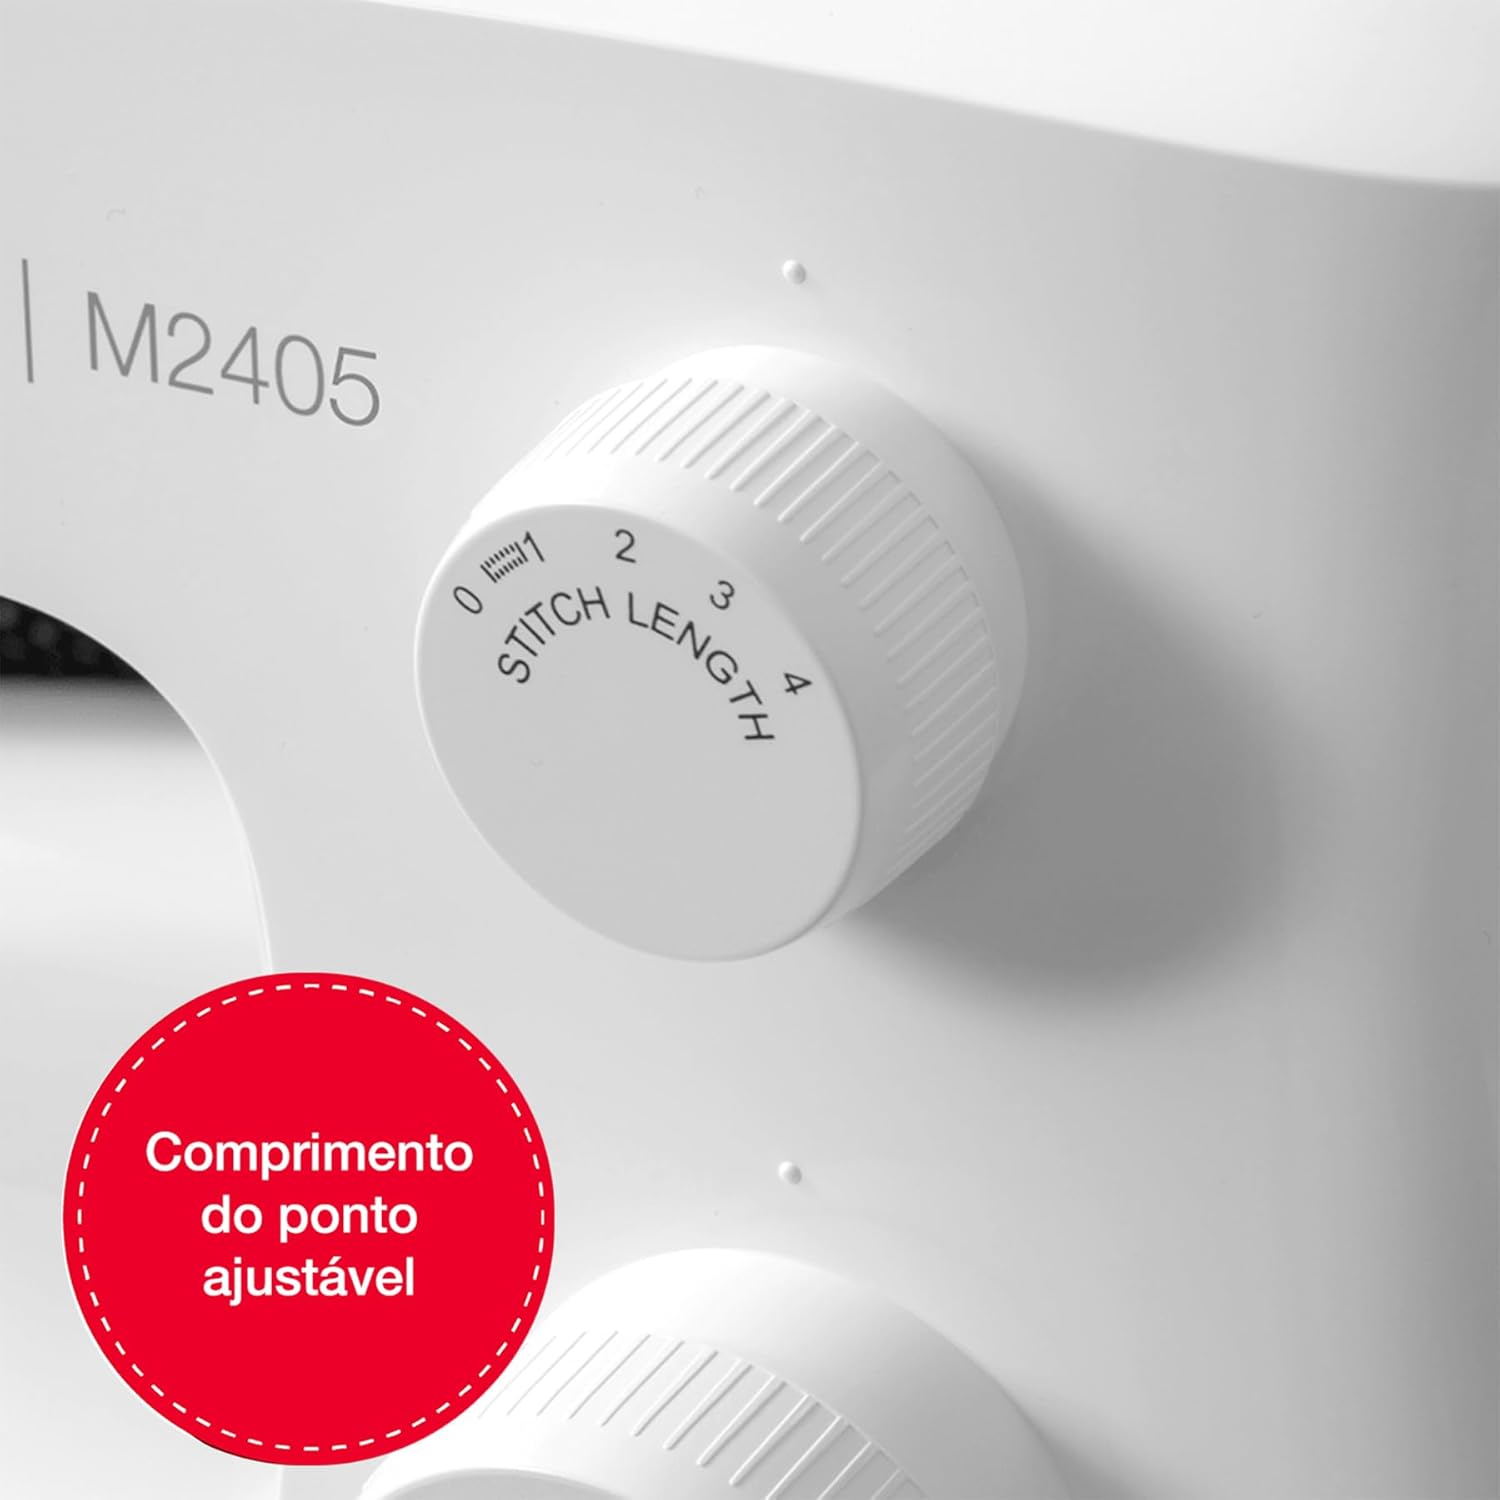
Figure 4.3: The 4-step buttonhole foot in action, simplifying buttonhole creation.
4.4 Szycie wsteczne
To secure your stitches at the beginning and end of a seam, press and hold the reverse lever. The machine will sew backward. Release the lever to resume forward stitching.
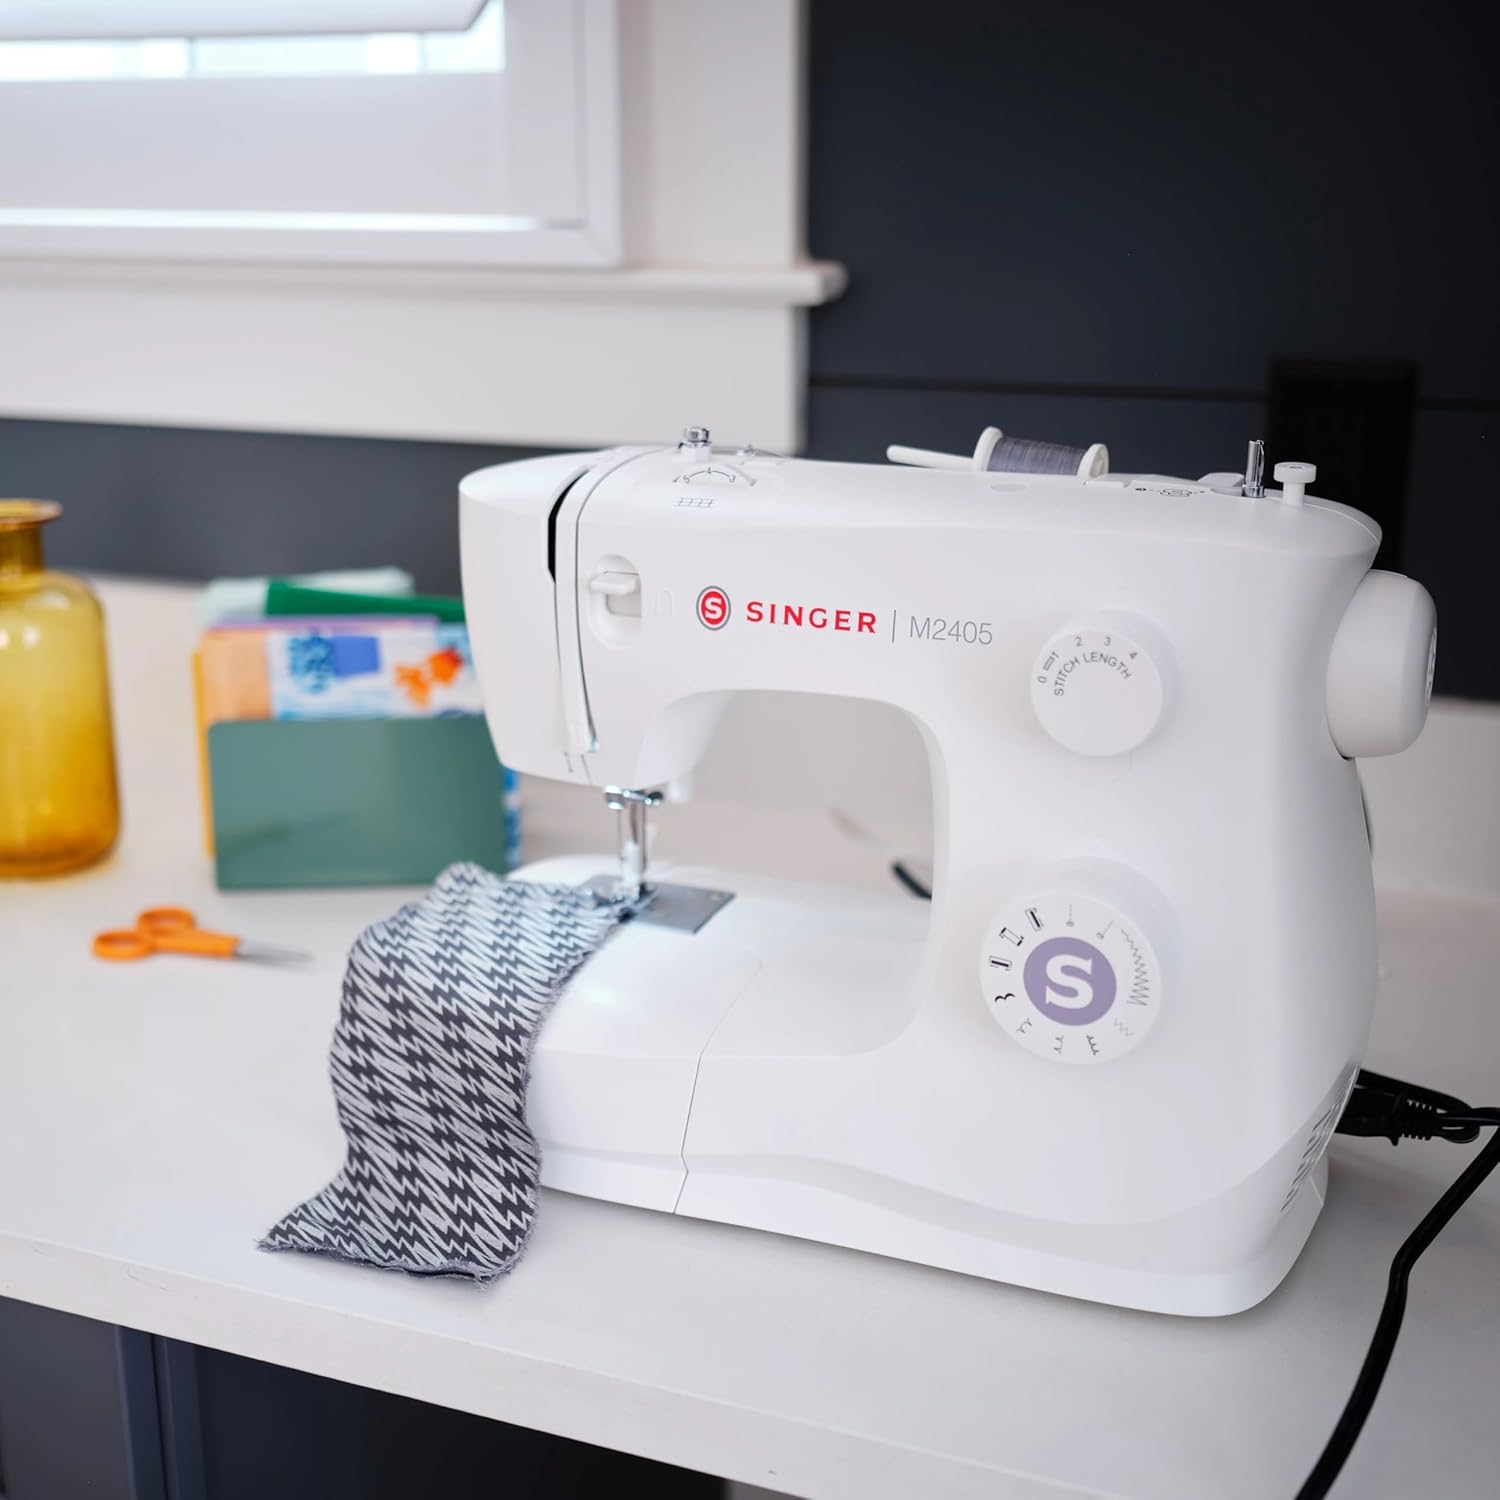
Figure 4.4: The reverse lever, used to reinforce stitches.
4.5 Szycie na wolnym ramieniu
Remove the accessory storage box to reveal the free arm. This feature is ideal for sewing small, tubular items such as sleeves, cuffs, and pant legs.
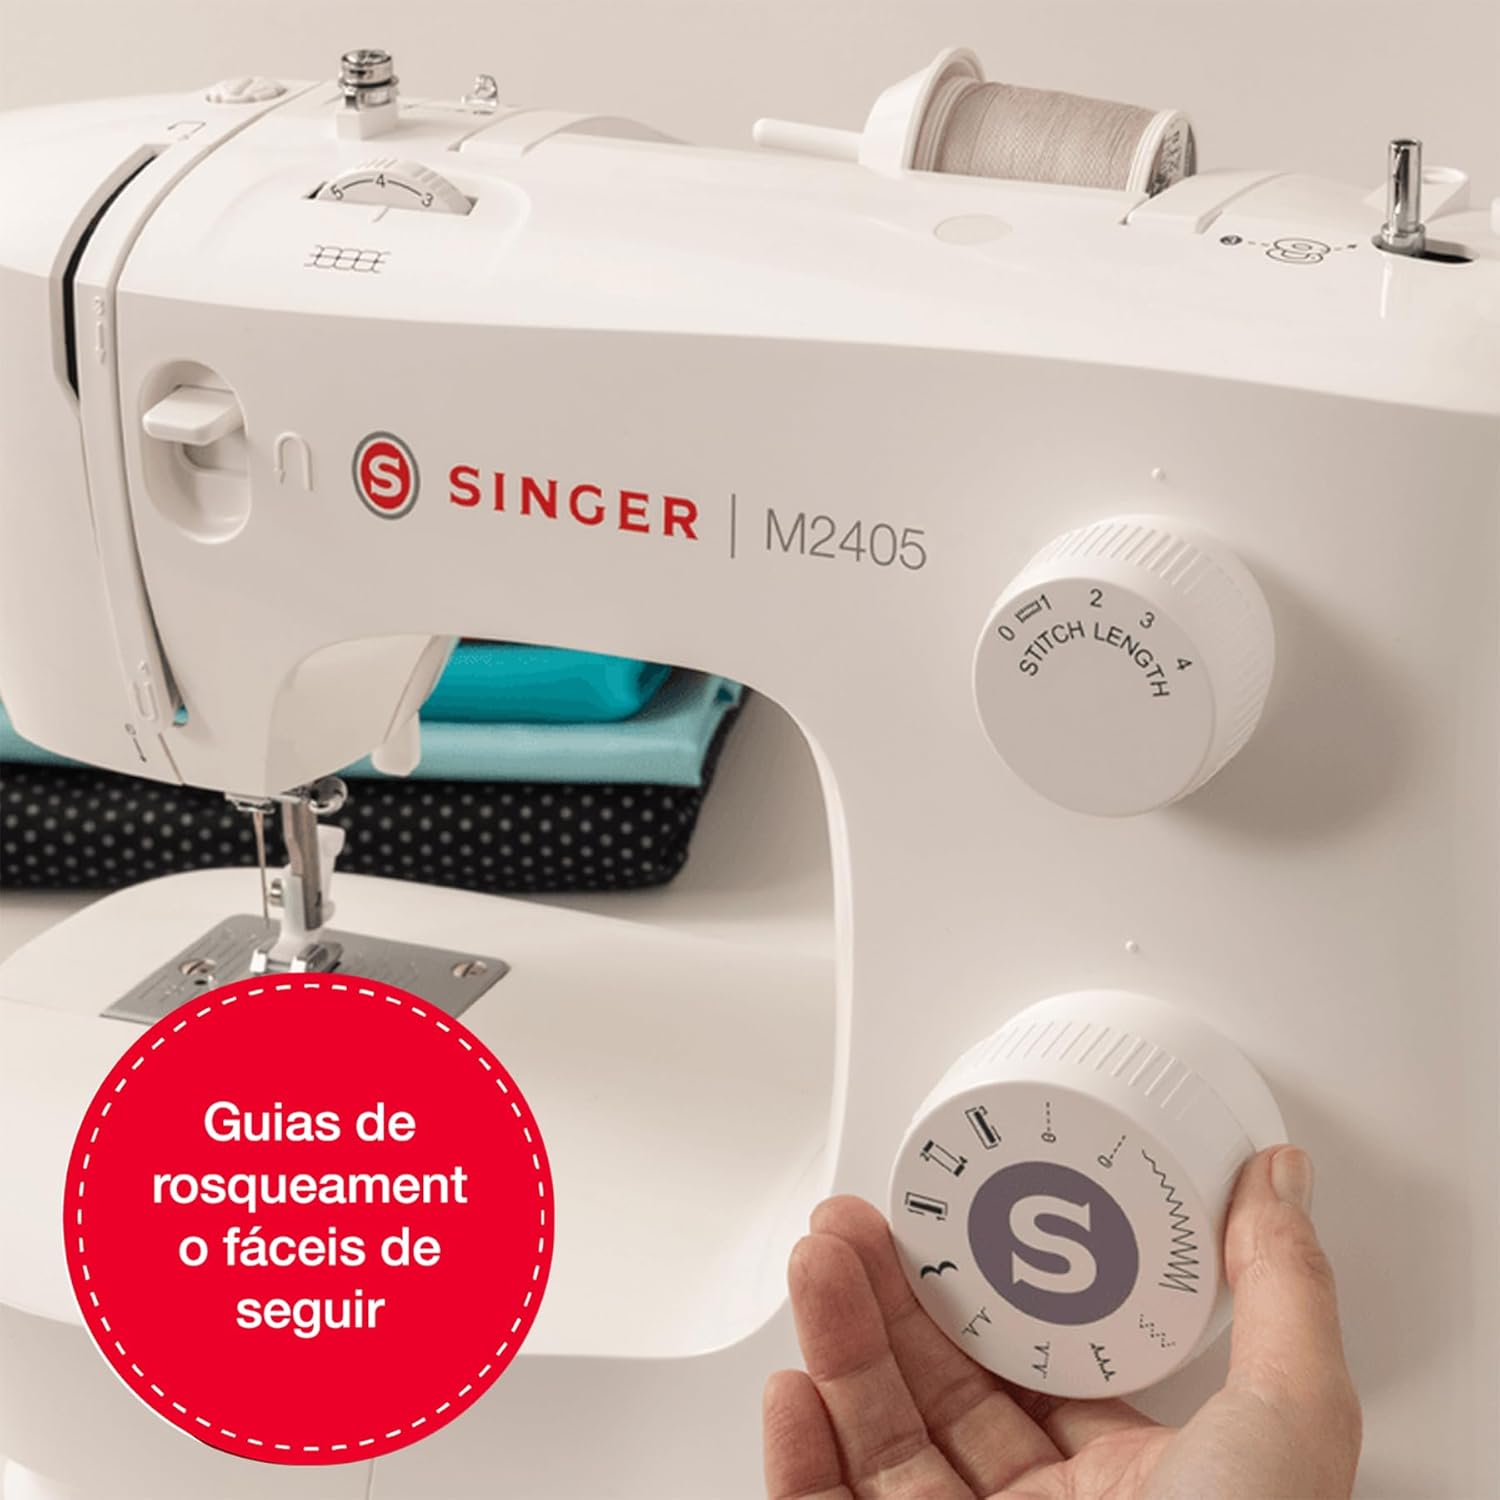
Figure 4.5: The free arm design facilitates easy sewing of tubular garments.
4.6 General Sewing Operation
Place your fabric under the presser foot, lower the presser foot lever, and gently press the foot controller to begin sewing. Guide the fabric smoothly without forcing it.

Figure 4.6: The Singer M2405 in use, demonstrating smooth fabric feeding.
5. Konserwacja
5.1 Czyszczenie maszyny
Regularne czyszczenie pomaga utrzymać wydajność urządzenia. Zawsze odłączaj urządzenie od zasilania przed czyszczeniem.
- Zdejmij płytkę ściegową i bębenek.
- Za pomocą małej szczoteczki usuń kłaczki i kurz z ząbków transportu i okolic szpulki.
- Przetrzyj obudowę urządzenia miękką, suchą ściereczką. Nie używaj silnych środków chemicznych.
5.2 Wymiana igły
Change the needle frequently, especially after 8-10 hours of sewing or if it becomes bent or dull. A damaged needle can cause skipped stitches or fabric damage. Always use genuine Singer needles appropriate for your fabric type.
5.3 Ogólna opieka
When not in use, cover your sewing machine to protect it from dust. Store it in a dry place. If you experience any issues, refer to the troubleshooting section or consult a qualified service technician.
6. Rozwiązywanie Problemów
This section addresses common issues you might encounter with your Singer M2405 sewing machine.
| Problem | Możliwa przyczyna i rozwiązanie |
|---|---|
| Thread Tangling or Bunching |
|
| Difficulty with Thick Fabrics |
|
| Bobbin Thread Not Pulling Up |
|
| Machine is Noisy or Vibrates Excessively |
|
| Skipped or Irregular Stitches |
|
| Machine Feels Heavy |
The machine features a robust metal frame, designed for power and stability, contributing to its weight. |
7. Specyfikacje
| Marka | Piosenkarz |
| Model | M2405 |
| Kolor | Biały |
| Tworzywo | Stal nierdzewna |
| Wymiary produktu (Gł. x Szer. x Wys.) | Wymiary: 43.5 cm x 23.2 cm x 35.5 cm |
| Waga przedmiotu | 5.4 kilograma |
| Źródło zasilania | Kabel elektryczny |
| Number of Stitch Programs | 8 |
| Rodzaj dziurki | 4-stopniowy |
| Zawarte komponenty | Accessory bag (feet, needles, screwdriver, etc.) |
| Kraj pochodzenia | Wietnam |
| Rok produkcji | 2025 |
8. Gwarancja i wsparcie
8.1 Informacje o gwarancji
The Singer M2405 sewing machine comes with a 2-letnia gwarancja from the date of final customer purchase. Please retain your proof of purchase for warranty claims.
Spare parts availability in the EU is guaranteed for 7 lata.
8.2 Dodatkowe wsparcie
For further assistance, you may refer to the official Singer website or contact customer support. Digital copies of the user manual and troubleshooting guide are often available online.
- Oficjalna instrukcja obsługi (PDF): Pobierz tutaj
- Przewodnik rozwiązywania problemów (PDF): Pobierz tutaj