
1. Wprowadzenie
This manual provides detailed instructions for the installation, operation, and maintenance of your ASHATA 120dB Touch Sensor Security Alarm Door Knob. This device is designed to provide an audible alert upon detecting unauthorized contact with a door or window, enhancing security for your home, office, or shop. Please read this manual thoroughly before using the product to ensure proper function and safety.
2. Informacje dotyczące bezpieczeństwa
- Ensure the device is used with the specified 9V battery. Incorrect battery types may cause damage or malfunction.
- Nie wystawiaj urządzenia na działanie ekstremalnych temperatur, bezpośredniego światła słonecznego i wilgoci.
- Keep the device out of reach of children to prevent accidental activation or misuse.
- The alarm produces a loud sound (120dB). Avoid prolonged exposure to the sound at close range to prevent hearing discomfort.
- Nie próbuj samodzielnie demontować ani naprawiać urządzenia. W celu uzyskania pomocy skontaktuj się z wykwalifikowanym personelem.
3. Zawartość opakowania
Sprawdź, czy w przesyłce znajdują się wszystkie elementy:
- 1 x ASHATA Touch Sensor Security Alarm
- 1 x Instrukcja obsługi (ten dokument)
Uwaga: Do działania urządzenia wymagana jest bateria 9 V, która nie jest dołączona do zestawu.
4. Koniec produktuview
The ASHATA Touch Sensor Security Alarm is a compact and portable device designed for easy deployment. It features a sensitive touch sensor and a loud siren to deter intruders.
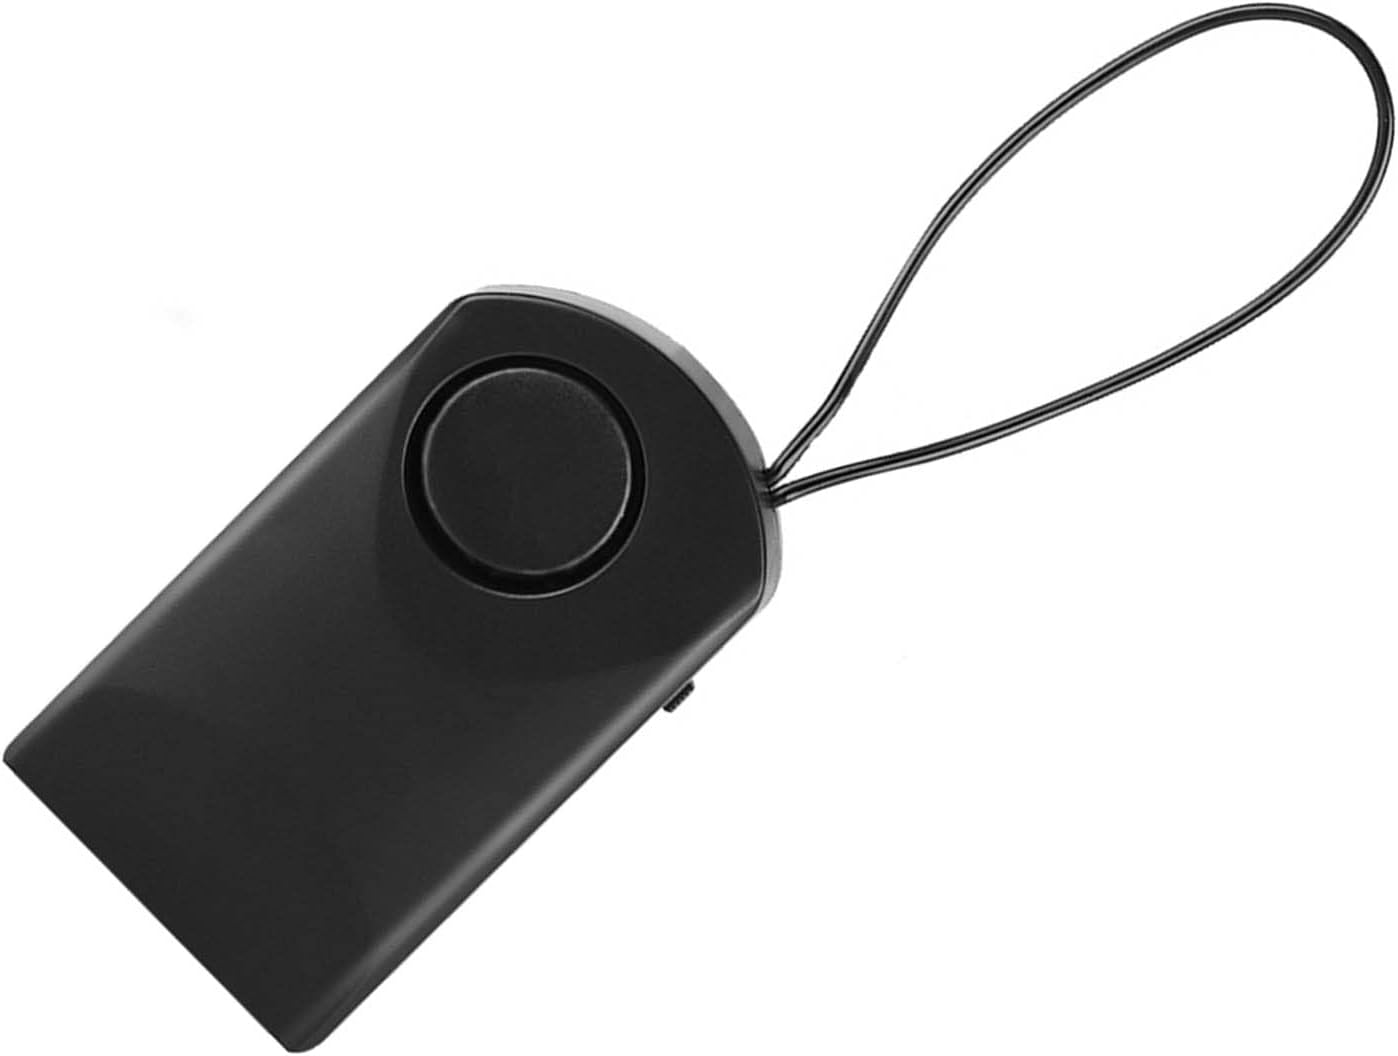
Rysunek 4.1: Przód view of the ASHATA Touch Sensor Security Alarm. This image shows the main body of the alarm with the siren speaker visible on the front surface.

Rysunek 4.2: Strona view of the ASHATA Touch Sensor Security Alarm, highlighting the ON/OFF switch. The switch allows for easy activation and deactivation of the alarm function.
Kluczowe komponenty:
- Siren Speaker: Emits a 120dB alarm sound.
- Czujnik dotykowy: Detects contact or vibration.
- Przełącznik włącz / wyłącz: Włącza lub wyłącza alarm.
- Komora baterii: Located on the back (requires 9V battery).
- Wisząca pętla: For easy attachment to door handles or knobs.
5. Konfiguracja
5.1 Instalacja baterii
- Znajdź pokrywę komory baterii z tyłu urządzenia alarmowego.
- Przesuń lub delikatnie podważ pokrywę.
- Włóż nową baterię alkaliczną 9V, zwracając uwagę na prawidłową biegunowość (+/-).
- Dokładnie załóż pokrywę komory baterii.
5.2 Montaż alarmu
The alarm is designed for easy, temporary mounting on door handles or knobs.
- Identify the door or window you wish to secure.
- Use the integrated hanging loop to place the alarm over the inside door handle or knob. Ensure the alarm hangs freely and can detect movement.

Rysunek 5.1: The alarm unit attached to a door handle. The hanging loop allows for quick and easy placement on various door types.

Rysunek 5.2: The alarm positioned on a door knob, illustrating its use in a bedroom setting for personal security. The alarm is designed to activate if the door knob is touched.
6. Instrukcja obsługi
6.1 Aktywacja alarmu
- Once the alarm is securely mounted and the battery is installed, locate the ON/OFF switch on the side of the unit.
- Przesuń przełącznik na ON pozycja.
- The alarm is now armed. Any significant touch or vibration detected on the door handle/knob will trigger the 120dB siren.
6.2 Deactivating the Alarm
- To deactivate the alarm, slide the ON/OFF switch to the WYŁĄCZONY pozycja.
- The alarm will cease to function until reactivated.
Note: The alarm is highly sensitive. Test its sensitivity by gently touching the door handle after activation to ensure it functions as expected.
7. Konserwacja
- Czyszczenie: Przetrzyj urządzenie miękką, suchą ściereczką. Nie używaj środków czyszczących o właściwościach ściernych ani rozpuszczalników.
- Wymiana baterii: Replace the 9V battery when the alarm sound becomes weak or the unit fails to activate. Always use a fresh alkaline battery.
- Składowanie: If storing the device for an extended period, remove the battery to prevent leakage and damage. Store in a cool, dry place.
8. Rozwiązywanie Problemów
| Problem | Możliwa przyczyna | Rozwiązanie |
|---|---|---|
| Alarm nie włącza się. |
|
|
| Alarm sounds too easily (false alarms). |
|
|
| Dźwięk alarmu jest słaby. | Niski poziom naładowania baterii. | Wymień baterię 9V na nową. |
9. Specyfikacje
| Funkcja | Szczegół |
|---|---|
| Model | ASHATAurz2poca7s |
| Głośność alarmu | 120dB |
| Źródło zasilania | 1 bateria 9V (brak w zestawie) |
| Tworzywo | Tworzywo ABS |
| Metoda kontroli | Touch Sensor, ON/OFF Switch |
| Typ montażu | Door Handle/Knob Mount |
| Wymiary (w przybliżeniu) | 9.9 x 5.4 x 2.5 cm (3.9 x 2.1 x 1.0 cala) |
| Waga (w przybliżeniu) | 69 g (2.4 uncji) bez baterii |
10. Gwarancja i wsparcie
ASHATA products are designed for reliability and performance. For specific warranty details, please refer to the warranty card included with your purchase or visit the official ASHATA webstrona.
If you encounter any issues or have questions regarding your ASHATA Touch Sensor Security Alarm, please contact ASHATA customer support through the retailer where the product was purchased or via the contact information provided on the official ASHATA webstrona.
Please have your model number (ASHATAurz2poca7s) and purchase information ready when contacting support.