ZIPRO Neon (Model 1592673)
Instrukcja obsługi orbitreka magnetycznego ZIPRO Neon
Model: Neon (1592673)
1. Wprowadzenie
Thank you for choosing the ZIPRO Neon Magnetic Elliptical Trainer. This elliptical is designed for effective home workouts, allowing you to train endurance and strengthen muscles. Its compact size makes it ideal for smaller living spaces. The user-friendly computer tracks key workout parameters such as speed, distance, calories, and pulse. Featuring a robust construction, anti-slip footrests, and ergonomic handles, it ensures a comfortable and safe exercise experience. The internal magnetic mechanism provides smooth and quiet operation with 8 adjustable resistance levels to suit your individual training needs.

Image: The ZIPRO Neon Magnetic Elliptical Trainer, showcasinjego elegancki czarny design z zielonymi akcentami.
2. Ważne informacje dotyczące bezpieczeństwa
Please read all instructions carefully before using this product. Failure to follow these instructions may result in injury or damage to the equipment.
- Przed rozpoczęciem jakiegokolwiek programu ćwiczeń skonsultuj się z lekarzem, zwłaszcza jeśli cierpisz na jakieś schorzenia.
- Podczas pracy dzieci i zwierzęta domowe należy trzymać z dala od urządzenia.
- Place the elliptical trainer on a flat, stable surface with adequate clearance around it.
- Wear appropriate exercise clothing and athletic footwear. Avoid loose clothing that could get caught in moving parts.
- Before each use, ensure all bolts, nuts, and connections are securely tightened.
- Nie należy przekraczać maksymalnej wagi użytkownika wynoszącej 120 kg (264 funtów).
- Jeśli odczuwasz zawroty głowy, ból w klatce piersiowej lub inne nietypowe objawy, natychmiast przerwij ćwiczenia i skonsultuj się z lekarzem.
- Do not attempt to service the elliptical trainer beyond the maintenance steps described in this manual. Contact customer support for assistance.
3. Zawartość opakowania
Przed rozpoczęciem montażu sprawdź, czy wszystkie elementy są obecne. Jeśli brakuje którejkolwiek części lub jest ona uszkodzona, skontaktuj się z obsługą klienta.
| Przedmiot | Ilość |
|---|---|
| Zespół ramy głównej | 1 |
| Przedni stabilizator | 1 |
| Tylny stabilizator | 1 |
| Ruchome kierownice | 2 |
| Fixed Handlebar Post | 1 |
| Pedały nożne | 2 |
| Jednostka konsoli | 1 |
| Uchwyt na butelkę z wodą | 1 |
| Zestaw elementów montażowych (śruby, podkładki, nakrętki, narzędzia) | 1 zestaw |
| Instrukcja obsługi | 1 |
4. Montaż i konfiguracja
4.1 Rozpakowanie
Carefully remove all components from the packaging. Lay them out on a clean, flat surface to ensure all parts are accounted for and to prevent scratching.
4.2 Etapy montażu
- Zamontuj drążki stabilizujące: Przymocuj przednie i tylne stabilizatory do ramy głównej za pomocą dołączonych śrub i podkładek. Upewnij się, że są mocno dokręcone, aby zapewnić stabilność.
- Install Pedal Arms and Moving Handlebars: Connect the pedal arms to the main crank assembly and then attach the moving handlebars to the pedal arms. Pay attention to left and right markings.
- Mount Console Post and Fixed Handlebars: Attach the console post to the main frame. Then, secure the fixed handlebars to the console post. Ensure all wiring for the console is routed correctly and connected.
- Attach Console Unit: Carefully connect the sensor wires from the console post to the back of the console unit. Then, mount the console onto its designated bracket on the console post.
- Montaż pedałów nożnych: Secure the foot pedals to the pedal arms. Ensure they are oriented correctly and tightened to prevent wobbling during use.
- Zamontuj uchwyt na butelkę z wodą: Mount the water bottle holder to the designated spot on the frame.
- Kontrola końcowa: Review all connections and ensure all bolts are tightened. Test the elliptical for smooth movement and stability. Adjust the leveling caps on the stabilizer bars if the unit is uneven.
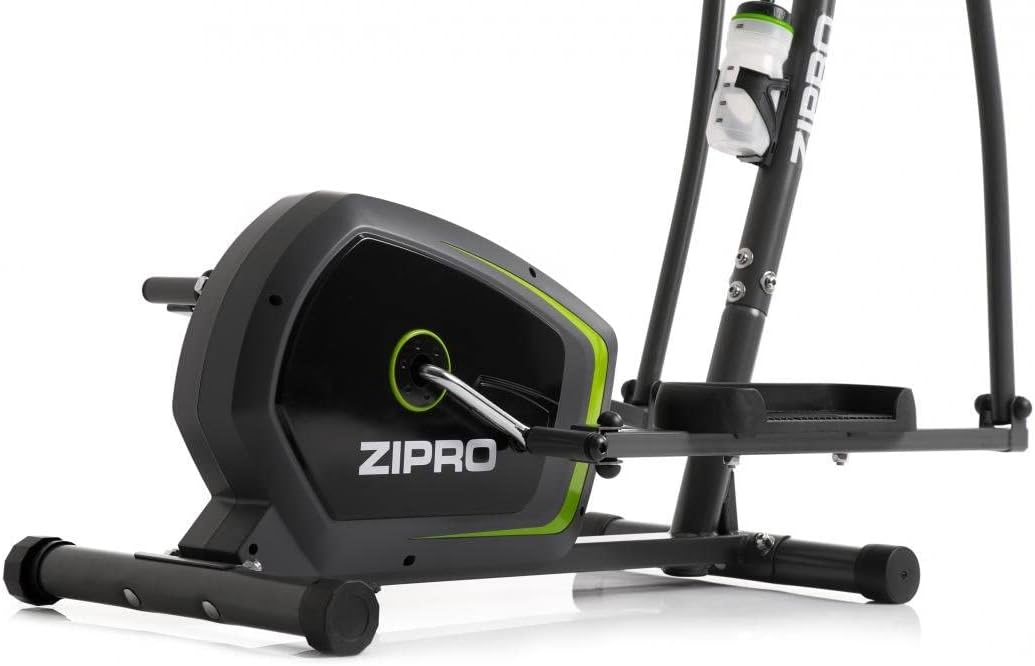
Image: Detail of the sturdy base and flywheel housing.

Obraz: Profesjonalista z bokufile of the elliptical, showing the pedal arms and handlebars.

Obraz: Przód view, highlighting the console post and handlebars.

Image: Detail of the textured, anti-slip foot pedal surface.

Image: The integrated water bottle holder on the elliptical frame.

Image: The rear stabilizer bar with built-in transport wheels for easy relocation.
5. Instrukcja obsługi
5.1 Funkcje konsoli
The integrated console provides real-time feedback on your workout. It typically displays:
- CZAS: Czas trwania treningu.
- PRĘDKOŚĆ: Aktualna prędkość w km/h lub mph.
- DYSTANS: Całkowity dystans pokonany podczas treningu.
- KALORIE: Szacunkowa liczba spalonych kalorii.
- PULS: Your heart rate (measured via hand pulse sensors on fixed handlebars).
- SKANDOWAĆ: Automatycznie przełącza wszystkie funkcje wyświetlacza.
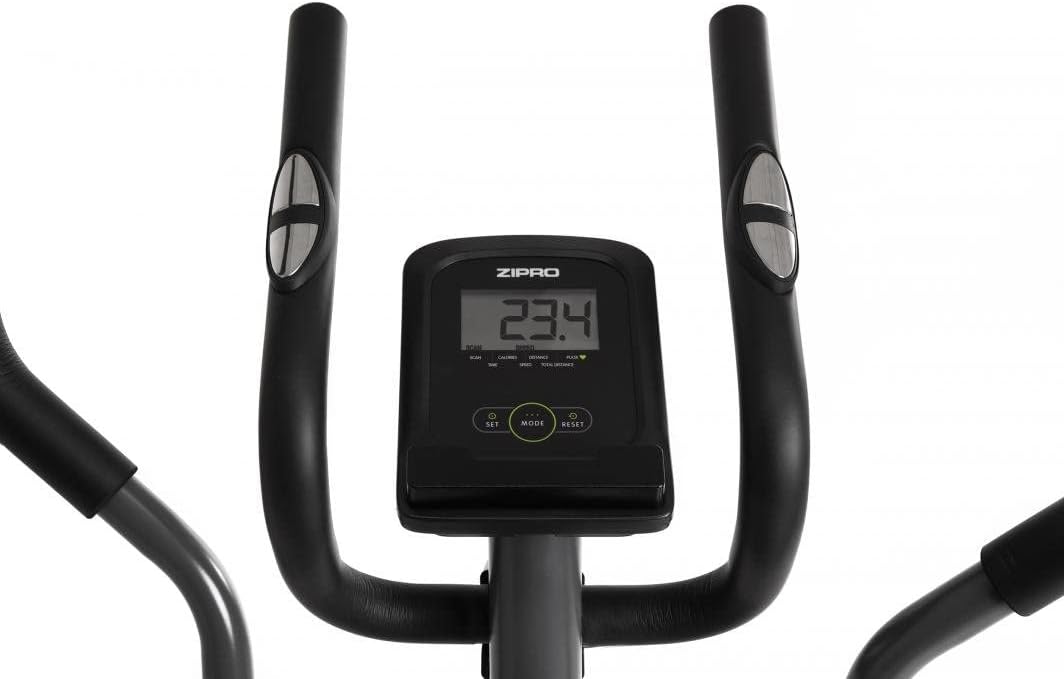
Image: The digital console displaying workout metrics.
Use the 'MODE' button to select a specific display function or 'SCAN' mode. 'RESET' will clear all workout data.
5.2 Regulacja oporu
The ZIPRO Neon Elliptical Trainer features 8 levels of magnetic resistance. To adjust the resistance, turn the tension control knob located on the main frame. Turn clockwise to increase resistance for a more challenging workout, and counter-clockwise to decrease resistance for an easier workout.

Image: The resistance control knob with settings from 1 to 8.
5.3 Korzystanie z uchwytu urządzenia
The elliptical is equipped with a convenient shelf for mobile devices, allowing you to place your smartphone or tablet while exercising. This is located just below the console.

Image: The device holder, capable of holding a tablet or smartphone for entertainment during workouts.
5.4 Workout Guidelines
- Rozgrzewka: Begin each workout with 5-10 minutes of light exercise and stretching.
- Ćwiczyć: Maintain a steady pace and resistance level for 20-30 minutes, or as recommended by your fitness plan.
- Ochłonąć: Finish with 5-10 minutes of slower pedaling and stretching.
- Uwodnienie: Use the integrated bottle holder to keep water accessible and stay hydrated during your workout.
6. Konserwacja i pielęgnacja
Regular maintenance will extend the life of your elliptical trainer.
- Czyszczenie: Wytrzyj sprzęt wodąamp Po każdym użyciu przetrzyj szmatką pot i kurz. Nie używaj środków czyszczących ani rozpuszczalników o działaniu ściernym.
- Smarowanie: Periodically check moving parts for friction. Apply a silicone-based lubricant to pivot points and joints if squeaking occurs.
- Dokręć elementy złączne: Regularly inspect all bolts, nuts, and screws to ensure they are tight. Tighten as necessary to prevent noise and ensure stability.
- Składowanie: Przechowuj maszynę eliptyczną w suchym i chłodnym miejscu, z dala od bezpośredniego światła słonecznego i ekstremalnych temperatur.
7. Rozwiązywanie Problemów
If you encounter issues with your elliptical trainer, refer to the table below for common problems and solutions.
| Problem | Możliwa przyczyna | Rozwiązanie |
|---|---|---|
| Pisk lub zgrzytanie | Luźne śruby, brak smarowania, zużyte części. | Tighten all visible bolts. Apply silicone lubricant to pivot points. If noise persists, contact support. |
| Konsola nie wyświetla danych | Batteries low or dead; loose sensor connection. | Replace console batteries. Check all sensor cables are securely connected. |
| Opór się nie zmienia | Kabel oporowy odłączony lub uszkodzony. | Sprawdź połączenie kabla oporowego z pokrętłem i mechanizmem koła zamachowego. W razie poluzowania podłącz go ponownie. |
| Elliptical feels unstable/wobbly | Uneven surface; loose stabilizer bar bolts. | Adjust the leveling caps on the stabilizer bars. Ensure all stabilizer bar bolts are tightened. |
8. Specyfikacje techniczne
| Funkcja | Specyfikacja |
|---|---|
| Nazwa modelu | Neon |
| Marka | ZIPRO |
| Kolor | Czarny |
| Wymiary produktu (dł. x szer. x wys.) | 107 x 67 x 152 cm (42.1 x 26.4 x 59.8 cala) |
| Waga przedmiotu | 29.8 kg (65.7 funta) |
| Tworzywo | Durable Steel Frame, Plastic Components |
| Mechanizm oporu | Magnetyczny |
| Maksymalna zalecana waga | 120 kg (264 funta) |
| Maksymalna długość kroku | 27 cm (10.6 cala) |
| Liczba poziomów oporu | 8 |
| Zawarte komponenty | Elliptical Trainer, Water Bottle Holder |
| Baterie w zestawie | Tak |
| Producent | Morele.net Sp. ogród zoologiczny |
| Numer modelu | 1592673 |
9. Gwarancja i wsparcie
Your ZIPRO Neon Magnetic Elliptical Trainer comes with a standard manufacturer's warranty covering defects in materials and workmanship. Please refer to the warranty card included in your package for specific terms and conditions, including the warranty period.
For technical support, replacement parts, or warranty claims, please contact ZIPRO customer service. Have your model number (1592673) and proof of purchase ready when contacting support.
Informacje kontaktowe:
Odwiedź oficjalną stronę ZIPRO webwitryna, w której znajdziesz najbardziej aktualne dane kontaktowe dla Twojego regionu.
Ask a question about this manual
Ask about setup, troubleshooting, compatibility, parts, safety, or missing instructions. Manuals+ will review the question and use this page’s manual context to help answer it.