1. Wprowadzenie
Dziękujemy za zakupasing the ELEPHAS RD-606 Mini Projector. This compact and portable projector is designed to provide a versatile home theater experience with features like Wi-Fi connectivity, 3D support, and a built-in battery. This manual provides essential information for setting up, operating, and maintaining your projector to ensure optimal performance and longevity.
The RD-606 utilizes advanced DLP technology to deliver clear images with a 1000:1 contrast ratio and up to 1080P resolution. Its lightweight design and integrated battery allow for flexible use in various environments.

Image: High-Definition Display Comparison. The ELEPHAS projector delivers superior image clarity and color reproduction.
2. Informacje dotyczące bezpieczeństwa
Przed użyciem projektora prosimy o dokładne zapoznanie się ze wszystkimi instrukcjami bezpieczeństwa. Zachowaj tę instrukcję do wykorzystania w przyszłości.
- Nie patrz bezpośrednio w obiektyw projektora, gdyamp jest włączony, ponieważ jasne światło może uszkodzić wzrok.
- Zapewnij odpowiednią wentylację wokół projektora. Nie blokuj otworów wentylacyjnych.
- Używaj wyłącznie zasilacza dołączonego do projektora.
- Nie wystawiaj projektora na działanie deszczu, wilgoci ani ekstremalnych temperatur.
- Unikaj umieszczania projektora na niestabilnych powierzchniach.
- Nie próbuj demontować ani modyfikować projektora. Wszelkie prace serwisowe powierzaj wykwalifikowanemu personelowi.
3. Zawartość opakowania
Sprawdź, czy w przesyłce znajdują się wszystkie elementy:
- ELEPHAS Mini Projector (RD-606) x1
- Zasilacz x1
- Pilot zdalnego sterowania x1
- Micro USB Wire x1
- Free Tripod x1
- Torba transportowa x1
- Instrukcja obsługi x1
4. Konfiguracja
4.1 Włączanie/wyłączanie
- Connect the power adapter to the projector's charging port (DC 5V) and then to a power outlet.
- Slide the Power Switch to the 'ON' position. The projector will power on.
- Aby wyłączyć urządzenie, przesuń przełącznik zasilania do pozycji „WYŁ.”.
4.2 Regulacja ostrości
Rotate the focus ring on the side of the projector until the projected image appears clear and sharp.
4.3 Automatyczna korekcja trapezu
The RD-606 features an automatic keystone correction function. The projected image will adjust automatically to optimize the angle, correcting distortion up to ±40 degrees. No manual adjustment is typically required for this feature.
4.4 Łączność
Projektor obsługuje różne źródła sygnału wejściowego:
- HDMI: Connect devices like laptops, gaming consoles (PS4), or streaming sticks (Fire TV, Roku Stick, Apple TV) using an HDMI cable.
- USB: Włóż dysk flash USB, aby odtworzyć multimedia files bezpośrednio.
- Mikro USB: For charging or connecting compatible devices.
- Dźwięk 3.5 mm: Podłącz zewnętrzne głośniki lub słuchawki.
- Wi-Fi: Connect to your wireless network for online content and screen mirroring.

Image: Projector Ports and Compatible Devices. This image illustrates the various input ports and devices that can be connected to the RD-606 projector.
5. Instrukcja obsługi
5.1 Podstawowa nawigacja
Use the included remote control to navigate the projector's on-screen menu. The directional buttons allow you to move through options, and the 'OK' or 'Enter' button confirms selections. 'Back' or 'Return' buttons typically exit menus.
5.2 Połączenie Wi-Fi
- Uzyskaj dostęp do menu ustawień projektora.
- Wybierz „Sieć” lub „Ustawienia Wi-Fi”.
- Wybierz interesującą Cię sieć Wi-Fi z listy.
- Wprowadź hasło Wi-Fi za pomocą klawiatury ekranowej.
- Once connected, you can access built-in apps like YouTube and Koala (if available) for online content.
5.3 Wireless Screen Mirroring (Airplay/Miracast)
The projector supports wireless mirroring from compatible smartphones and tablets via Airplay (for iOS devices) or Miracast (for Android devices).
- Ensure your projector and smart device are connected to the same Wi-Fi network.
- On the projector, select the 'Screen Mirroring' or 'Wireless Display' option from the main menu.
- On your smart device, activate its screen mirroring feature (e.g., 'Screen Mirroring', 'Smart View', 'Airplay', 'Cast').
- Select the projector's name from the list of available devices on your smart device.
- The device's screen content will now be projected.

Image: Screen Mirroring with Phone/Tablet. This image demonstrates how to wirelessly share content from mobile devices to the projector.
5.4 3D Mode Operation
The RD-606 Series supports multiple 3D modes. To experience 3D content:
- You will need a pair of active DLP Link 3D glasses (sold separately).
- Play 3D content from a compatible source.
- Turn on your DLP Link 3D glasses. They should automatically synchronize with the projected image.
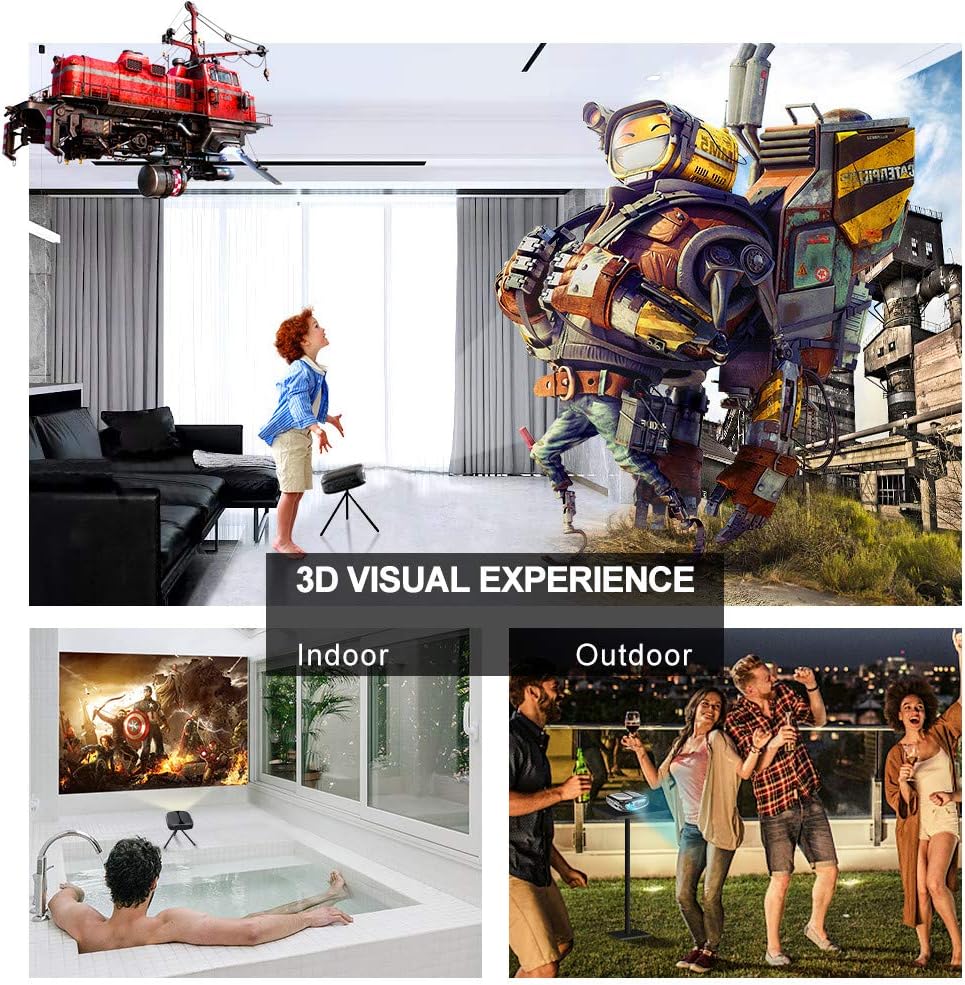
Image: 3D Visual Experience. The projector offers immersive 3D viewing for both indoor and outdoor settings.
5.5 Battery Operation and Portability
The built-in battery provides approximately two hours of continuous video playback, offering flexibility for use without a constant power source. For extended use, the projector can also be charged via a power bank.

Image: Embedded Battery for Portable Use. The projector's battery allows for convenient outdoor entertainment.

Image: Pocket Size and Lightweight Design. The projector's compact form factor makes it highly portable.
6. Konserwacja
6.1 Czyszczenie obiektywu
Gently wipe the projector lens with a soft, lint-free cloth specifically designed for optical surfaces. Do not use abrasive cleaners or harsh chemicals.
6.2 Ogólne czyszczenie
Do czyszczenia projektora należy używać miękkiej, suchej ściereczki.asing. W przypadku uporczywych zabrudzeń, lekkoamp Można użyć ściereczki, a następnie suchej ściereczki. Upewnij się, że do urządzenia nie dostanie się żaden płyn.
6.3 Przechowywanie
When not in use for extended periods, store the projector in a cool, dry place, away from direct sunlight and extreme temperatures. Use the provided carrying bag for protection against dust and physical damage.
7. Rozwiązywanie Problemów
- Brak zasilania:
- Upewnij się, że zasilacz jest prawidłowo podłączony do projektora i do działającego gniazdka elektrycznego.
- Sprawdź czy wyłącznik zasilania jest w pozycji „ON”.
- Sprawdź, czy gniazdko elektryczne jest sprawne.
- Brak obrazka:
- Check the input source selection on the projector to ensure it matches your connected device (e.g., HDMI, USB).
- Verify that the connected device is powered on and outputting a signal.
- Upewnij się, że wszystkie kable są bezpiecznie podłączone.
- Rozmazany obraz:
- Wyreguluj pierścień ostrości na projektorze, aż obraz będzie ostry.
- Upewnij się, że powierzchnia projekcyjna jest płaska i projektor znajduje się w odpowiedniej odległości.
- Brak dźwięku:
- Sprawdź ustawienia głośności zarówno na projektorze, jak i na podłączonym urządzeniu źródłowym.
- Jeśli używasz zewnętrznych głośników, upewnij się, że są prawidłowo podłączone i włączone.
- Sprawdź, czy ustawienia wyjścia audio w urządzeniu źródłowym są prawidłowe.
- Wi-Fi/Screen Mirroring Issues:
- Ensure both the projector and your smart device are connected to the same Wi-Fi network.
- Check for strong Wi-Fi signal strength.
- Restart both the projector and your smart device.
- Upewnij się, że system operacyjny Twojego urządzenia inteligentnego jest aktualny.
8. Specyfikacje
| Funkcja | Specyfikacja |
|---|---|
| Model | RD-606 |
| Technologia wyświetlania | DLP |
| Jasność obrazu | 2600 lumenów |
| Współczynnik kontrastu obrazu | 1000:1 |
| Rozdzielczość natywna | 1920 x 1080 (Supports 1080P) |
| Cechy specjalne | Auto Keystone, HDMI Connectivity, Portable, Built-in Wi-Fi, 3D Ready |
| Technologia łączności | HDMI, USB, Wi-Fi |
| Kompatybilne urządzenia | Laptops, Smartphones, Media Players |
| Typ baterii | Litowo-jonowy (1 w zestawie) |
| Żywotność baterii | Approx. 2 hours video playback |
| Wymiary produktu | Wymiary 9.91 x 10.67 x 4.06 cm |
| Waga przedmiotu | 793.79 g (0.66 funta) |
| Typ montażu | Uchwyt na blat |
9. Gwarancja i wsparcie
ELEPHAS provides lifetime professional customer service and technical support for the RD-606 Mini Projector. If you encounter any issues or have questions regarding your product, please do not hesitate to contact our support team.
Informacje kontaktowe:
- E-mail: support@elephas.com.hk
Please have your product model number (RD-606) and purchase details ready when contacting support to facilitate a quicker resolution.