1. Instrukcje bezpieczeństwa
Always observe basic safety precautions when using electric tools to reduce the risk of fire, electric shock, and personal injury. Read all instructions before operating this tool.
- Bezpieczeństwo w miejscu pracy: Utrzymuj swoje miejsce pracy w czystości i dobrym oświetleniu. Zagracone lub ciemne pomieszczenia sprzyjają wypadkom. Nie używaj elektronarzędzi w atmosferach wybuchowych, takich jak łatwopalne ciecze, gazy lub pyły.
- Bezpieczeństwo elektryczne: Wtyczki elektronarzędzi muszą pasować do gniazdka. Nigdy nie modyfikuj wtyczki w żaden sposób. Nie używaj przewodu zbyt intensywnie. Nigdy nie używaj przewodu do przenoszenia, ciągnięcia ani odłączania elektronarzędzia. Trzymaj przewód z dala od źródeł ciepła, oleju, ostrych krawędzi i ruchomych części.
- Bezpieczeństwo osobiste: Zawsze noś okulary ochronne. Używaj okularów ochronnych, gogli lub osłony twarzy. Podczas długotrwałej pracy z narzędziem stosuj ochronę słuchu. Ubierz się odpowiednio. Nie noś luźnej odzieży ani biżuterii. Trzymaj włosy, ubranie i rękawice z dala od ruchomych części.
- Używanie i konserwacja narzędzia: Nie używaj elektronarzędzia na siłę. Używaj elektronarzędzia odpowiedniego do danego zastosowania. Odłącz wtyczkę od źródła zasilania przed dokonywaniem jakichkolwiek regulacji, wymianą akcesoriów lub przechowywaniem elektronarzędzia.
2. Koniec produktuview
The Skil Hammer Drill 6604 is a versatile 570W electric tool designed for drilling and screwing tasks in various materials. Its compact and ergonomic design ensures comfortable use, even in confined spaces.

Figure 2.1: Skil Hammer Drill 6604, a 570W compact and lightweight tool.
Główne cechy:
- Silnik 570W: Zapewnia ample power for various drilling and screwing applications.
- Kompaktowa i ergonomiczna konstrukcja: Facilitates use in tight spaces and reduces user fatigue.
- Przełącznik prędkości zmiennej: Allows precise control over drilling speed for different materials.
- Funkcja odwracalna: Enables both screwing and unscrewing operations.
- Impact/Non-Impact Selector: Easily switch between standard drilling and hammer drilling modes for masonry.

Rysunek 2.2: Zbliżenie view uchwytu wiertarskiego w celu zamontowania wiertła.
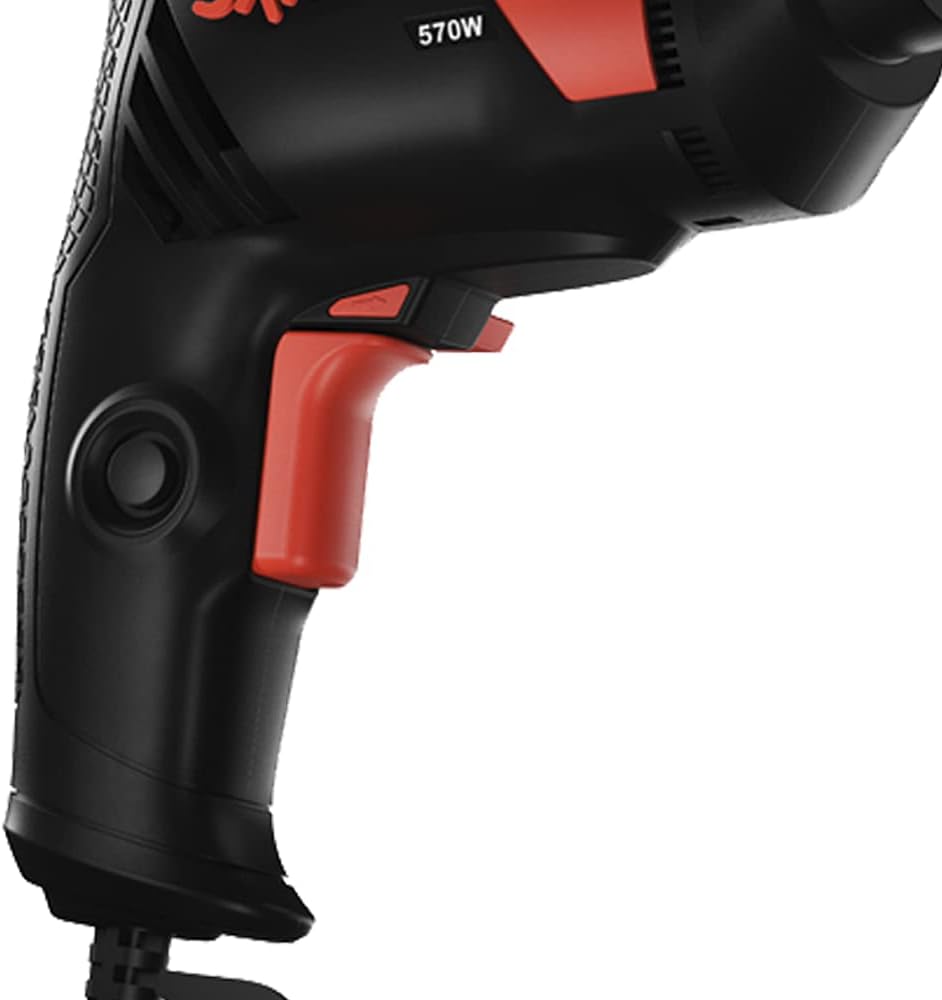
Figure 2.3: The ergonomic trigger and handle design.
3. Konfiguracja
3.1 Montaż wierteł lub bitów do wkrętaków
- Upewnij się, że zasilanie jest odłączone: Always unplug the tool from the power outlet before installing or removing bits.
- Otwórz Chuck: Insert the chuck key into the holes on the chuck and turn counter-clockwise to open the jaws.
- Włóż bit: Place the desired drill bit or screwdriver bit into the chuck jaws. Ensure the bit is centered and fully inserted.
- Dokręć uchwyt: Turn the chuck key clockwise to securely tighten the jaws around the bit. Ensure the bit is firmly held to prevent slippage during operation. Remove the chuck key immediately after tightening.

Figure 3.1: Properly inserting and securing a drill bit in the chuck.
4. Instrukcja obsługi
4.1 Włączanie/wyłączanie i regulacja prędkości
- Zacząć: Press the trigger switch. The speed is variable depending on how far the trigger is pressed.
- Zatrzymać: Zwolnij spust.
- Praca ciągła: For continuous operation, press the trigger switch and then press the lock-on button (Figure 4.1). To release, press the trigger switch again.

Figure 4.1: The variable speed trigger and lock-on button.

Figure 4.2: Close-up of the lock button for continuous operation.
4.2 Funkcja odwracalna
The direction of rotation can be changed using the forward/reverse switch, typically located above the trigger. Push the switch to the left for forward rotation (drilling/screwing in) and to the right for reverse rotation (unscrewing/removing bits).
4.3 Impact/Non-Impact Drilling Selector
This tool features a selector switch to choose between standard rotary drilling and hammer drilling. For drilling into wood, metal, or plastic, select the non-impact (drill icon) mode. For drilling into masonry, concrete, or brick, select the impact (hammer icon) mode.
4.4 Drilling and Screwing
- Wiercenie: Hold the tool firmly. Apply steady, even pressure. Start at a low speed and increase as the bit engages the material.
- Śrubowanie: Use appropriate screwdriver bits. Start at a low speed to prevent stripping the screw head or damaging the workpiece.

Figure 4.3: Hammer drill in action, drilling into a wall.

Figure 4.4: The drill being used for a screwing application.
5. Konserwacja
Regular maintenance ensures the longevity and safe operation of your Skil Hammer Drill.
- Czyszczenie: Utrzymuj otwory wentylacyjne w czystości i bez kurzu. Używaj miękkiej,amp ściereczka do czyszczenia narzędzia casing. Nie należy używać silnych środków chemicznych ani ściernych środków czyszczących.
- Kontrola przewodu: Regularly inspect the power cord for damage. If damaged, have it replaced by a qualified service technician.
- Konserwacja uchwytu: Keep the chuck jaws clean. Periodically apply a small amount of light oil to the chuck threads to ensure smooth operation.
- Składowanie: Przechowuj narzędzie w suchym i bezpiecznym miejscu, poza zasięgiem dzieci.
6. Rozwiązywanie Problemów
If you encounter issues with your hammer drill, refer to the following common problems and solutions:
| Problem | Możliwa przyczyna | Rozwiązanie |
|---|---|---|
| Narzędzie nie uruchamia się | Brak zasilania; Uszkodzony przewód/wtyczka; Wadliwy przełącznik | Sprawdź gniazdko elektryczne; Sprawdź, czy przewód/wtyczka nie są uszkodzone; Skontaktuj się z serwisem, jeśli przełącznik jest uszkodzony. |
| Zmniejszona moc lub prędkość | Niska objętośćtage; Worn carbon brushes (if applicable); Overload | Zapewnij odpowiednią objętośćtage; Have brushes checked by service; Reduce load on tool. |
| Bit ślizga się w uchwycie | Chuck not tightened properly; Worn chuck jaws; Incorrect bit shank | Retighten chuck with key; Replace chuck if worn; Use bits with correct shank. |
| Nadmierne wibracje/hałas | Damaged internal components; Loose parts | Stop use immediately and contact a service center. |
7. Specyfikacje
| Funkcja | Specyfikacja |
|---|---|
| Marka | Umiejętność |
| Numer modelu | F0126604AA |
| Moc | 570 W |
| Tomtage | 127 wolty |
| Źródło zasilania | Kabel elektryczny |
| Wymiary produktu (dł. x szer. x wys.) | 22 x 6.6 x 16.6 centymetra |
| Waga produktu | 1.5 kilograma |
| Tworzywo | Elastomer, Metal, Polyamide |
| Maksymalny rozmiar uchwytu | 10 milimetrów |
| Zawarte komponenty | 1 Hammer Drill, 1 chuck key, 1 cardboard box |
| Producent | Robert Bosch |
8. Gwarancja i wsparcie
8.1 Informacje o gwarancji
This Skil Hammer Drill 6604 comes with a 1-letnia gwarancja od daty zakupu. Niniejsza gwarancja obejmuje wady materiałowe i wykonawcze wynikające z normalnego użytkowania. Prosimy zachować dowód zakupu na wypadek roszczeń gwarancyjnych.
8.2 Obsługa klienta
For technical assistance, service, or to inquire about replacement parts, please contact Skil customer support. Refer to the contact information provided in your product packaging or visit the official Skil webSzczegóły dotyczące wsparcia regionalnego można znaleźć na stronie.