ARGO IRO PLUS
Instrukcja obsługi przenośnego klimatyzatora ARGO Iro Plus z pompą ciepła
Model: IRO PLUS
1. Wprowadzenie
The ARGO Iro Plus is a versatile portable air conditioner designed for year-round comfort, featuring both cooling and heating capabilities. Its minimalist design and intuitive controls make it a perfect addition to any living space. This manual provides essential information for the safe and efficient operation, setup, and maintenance of your ARGO Iro Plus unit.
Główne cechy:
- Portable air conditioner with heat pump, Energy Class A.
- Four operating modes: Cooling, Heating, Ventilation, and Dehumidification.
- Three fan speeds for customized airflow.
- Motorized top flap with Swing function for wide air distribution.
- Digital 24-hour timer for scheduled operation.
- Sleep function for enhanced comfort during rest.
- Memory function for automatic restart with previous settings after power interruption.
- Przyjazny dla środowiska czynnik chłodniczy R290.
- Equipped with practical handles and multi-directional wheels for easy portability.
2. Informacje dotyczące bezpieczeństwa
Please read all safety warnings and instructions carefully before using the appliance to prevent injury or damage. Keep this manual for future reference.
- Zawsze podłączaj urządzenie do uziemionego gniazdka elektrycznego o odpowiednim napięciu.tage.
- Nie używaj urządzenia z uszkodzonym przewodem zasilającym lub wtyczką.
- Nie blokuj wlotów ani wylotów powietrza. Zapewnij odpowiednią przestrzeń wokół urządzenia, aby zapewnić prawidłowy przepływ powietrza.
- Nie wkładaj palców ani żadnych przedmiotów do otworów wentylacyjnych.
- Trzymaj urządzenie z dala od wody i innych płynów. Nie używaj w łazienkach ani w bardzo wilgotnych pomieszczeniach.
- Przed czyszczeniem lub jakąkolwiek konserwacją należy odłączyć urządzenie od zasilania.
- Nie próbuj samodzielnie naprawiać ani modyfikować urządzenia. W celu dokonania napraw skontaktuj się z wykwalifikowanym personelem serwisowym.
- Urządzenie to nie jest przeznaczone do użytku przez osoby (w tym dzieci) o ograniczonej sprawności fizycznej, sensorycznej lub umysłowej, a także osoby nieposiadające odpowiedniego doświadczenia lub wiedzy, chyba że znajdują się one pod nadzorem osoby odpowiedzialnej za ich bezpieczeństwo lub otrzymały od niej instrukcje dotyczące korzystania z urządzenia.
- Dzieci powinny znajdować się pod nadzorem, aby mieć pewność, że nie bawią się urządzeniem.
3. Składniki produktu
Familiarize yourself with the main parts of your ARGO Iro Plus portable air conditioner.

Rycina 3.1: Przód view of the ARGO Iro Plus portable air conditioner, showcasing its sleek white design and compact form factor.

Rycina 3.2: Inny front view of the ARGO Iro Plus, highlighting the minimalist design.

Rysunek 3.3: Widok z góry na dół view of the control panel with digital display and touch-sensitive buttons for various functions like Swing, Timer, Speed, Temperature Up/Down, Mode, Sleep, and Power.

Rysunek 3.4: Tył view of the unit, showing the exhaust air outlet, power cord storage, and air intake grilles.

Rysunek 3.5: Strona view of the ARGO Iro Plus, highlighting the integrated handle for easy lifting and portability.

Rysunek 3.6: Strona view of the ARGO Iro Plus, showing the exhaust port and side grilles.

Figure 3.7: Technical diagram illustrating the dimensions of the ARGO Iro Plus unit: 770mm height, 470mm width, and 382mm depth.
Dołączone akcesoria:
- Elastyczny wąż wydechowy
- Adapter do okien
- Kit for Fixed Glass Installation
- Zdalne sterowanie
4. Konfiguracja i instalacja
4.1 Umieszczenie
Place the ARGO Iro Plus on a flat, stable surface. Ensure there is at least 30 cm (12 inches) of clearance around the unit for proper air circulation. Do not place the unit near heat sources or in direct sunlight.
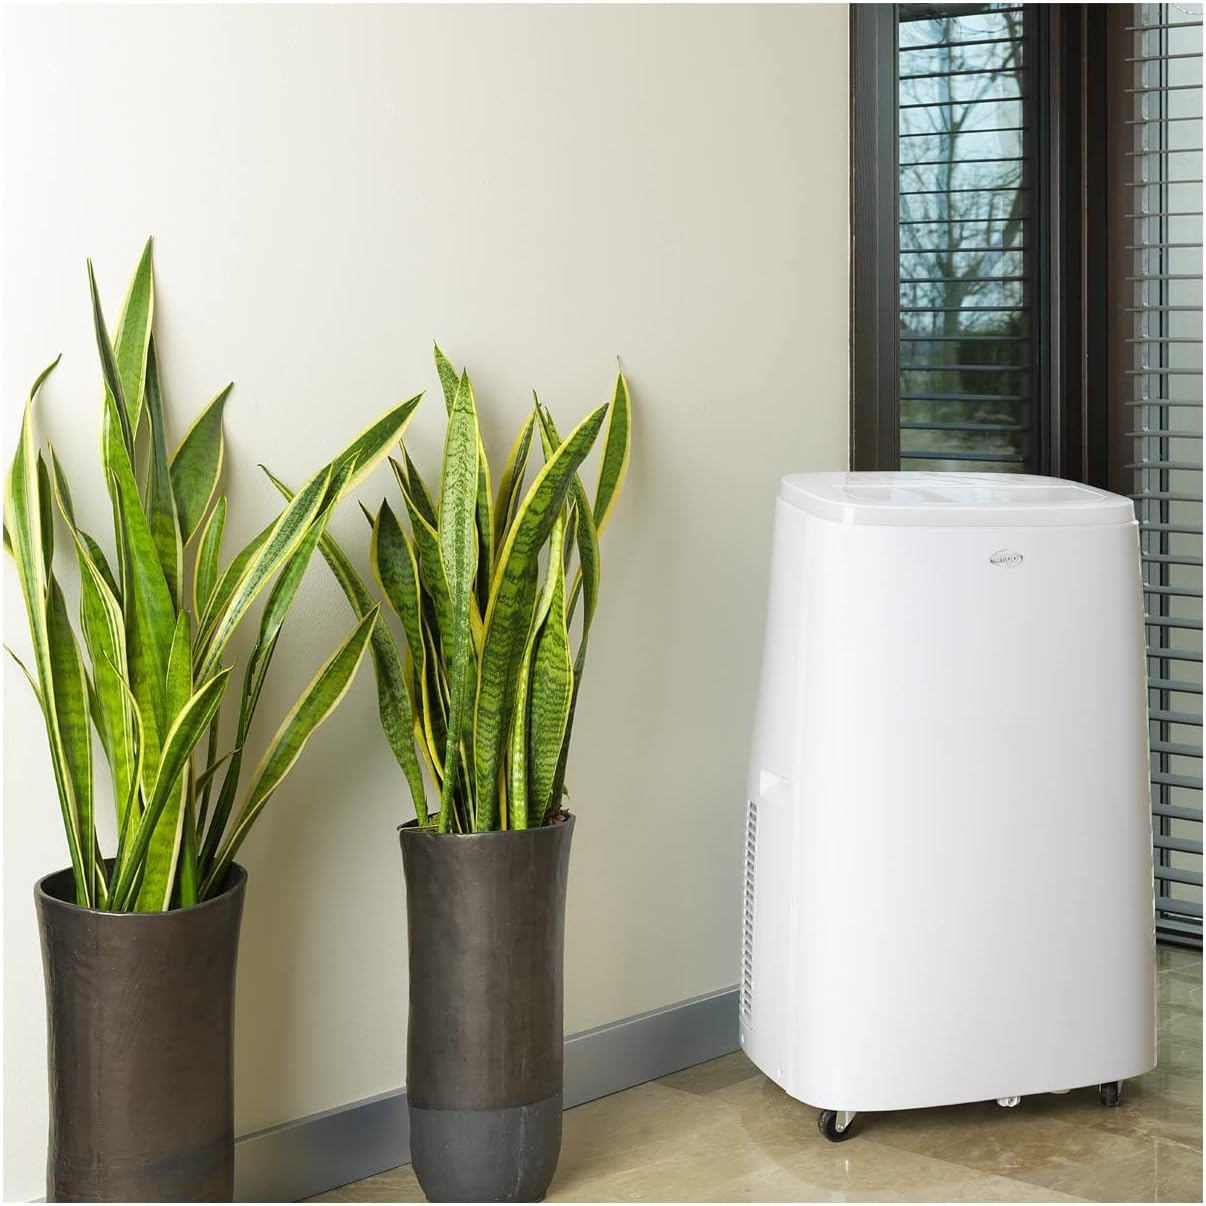
Figure 4.1: The ARGO Iro Plus unit positioned in a room, demonstrating suitable placement near a window for exhaust hose connection.
4.2 Montaż przewodu wydechowego
- Attach one end of the flexible exhaust hose to the air outlet on the back of the unit. Twist clockwise until securely fastened.
- Podłącz adapter okienny do drugiego końca węża wydechowego.
- Open a window or sliding door and place the window adapter firmly in the opening. Ensure the opening is sealed as much as possible to prevent outside air from entering.
- For fixed glass installations, use the provided kit according to its specific instructions.
Ważny: The exhaust hose must be as short and straight as possible to ensure optimal performance. Bends or excessive length will reduce efficiency.
5. Instrukcja obsługi
Your ARGO Iro Plus can be operated using the control panel on the top of the unit or the included remote control.
5.1 Panel sterowania ponadview
Refer to Figure 3.3 for the layout of the control panel buttons.
- Przycisk zasilania: Włącza lub wyłącza urządzenie.
- Przycisk TRYB: Cycles through operating modes: Cool, Heat, Fan, Dehumidify.
- Przyciski GÓRA/DÓŁ: Adjust temperature settings or timer duration.
- Przycisk PRĘDKOŚCI: Wybiera prędkość wentylatora (niska, średnia, wysoka).
- Przycisk TIMERA: Ustawia timer automatycznego włączania i wyłączania.
- Przycisk SWING: Activates or deactivates the automatic swing function of the top flap.
- Przycisk spania: Activates Sleep mode for quiet operation and optimized temperature control during sleep.
5.2 tryby pracy
- Tryb chłodzenia: For cooling the room. Set desired temperature using UP/DOWN buttons.
- Tryb ogrzewania: For heating the room (Heat Pump function). Set desired temperature.
- Tryb wentylatora: Wentyluje powietrze bez chłodzenia i grzania. Wybierz żądaną prędkość wentylatora.
- Tryb osuszania: Removes moisture from the air. The unit will operate at a low fan speed. Continuous drainage is recommended in this mode.
5.3 Funkcja timera
Timer 24-godzinny umożliwia ustawienie automatycznego włączania i wyłączania urządzenia po upływie określonego czasu.
- Naciśnij przycisk TIMER.
- Use the UP/DOWN buttons to set the desired delay time (in hours).
- Timer zostanie aktywowany po kilku sekundach.
6. Konserwacja
Regular maintenance ensures optimal performance and extends the lifespan of your ARGO Iro Plus. Always unplug the unit before cleaning.
6.1 Czyszczenie filtra powietrza
The air filter should be cleaned every two weeks, or more frequently if the unit is used in a dusty environment.
- Wyłącz urządzenie i odłącz je od zasilania.
- Locate the air filter panel (usually on the side or back).
- Wyjmij filtr.
- Wyczyść filtr odkurzaczem lub delikatnie umyj go letnią wodą z dodatkiem łagodnego detergentu.
- Przed ponownym założeniem poczekaj, aż filtr całkowicie wyschnie.
6.2 Odprowadzanie wody
The unit automatically evaporates most condensation. However, in high humidity conditions or during dehumidification mode, the internal water tank may fill up. The unit will stop operating and display an indicator when the tank is full.
- Wyłącz urządzenie i odłącz je od zasilania.
- Place a shallow pan or container under the drainage outlet (usually at the bottom rear of the unit).
- Wyjmij korek spustowy, aby umożliwić wypłynięcie wody.
- Po spuszczeniu płynu należy dokładnie dokręcić korek spustowy.
- For continuous drainage in dehumidification mode, connect a suitable drain hose (not included) to the continuous drainage outlet.
7. Rozwiązywanie Problemów
Przed skontaktowaniem się z obsługą klienta prosimy o zapoznanie się z poniższymi typowymi problemami i ich rozwiązaniami.
| Problem | Możliwa przyczyna | Rozwiązanie |
|---|---|---|
| Jednostka się nie włącza. | Brak zasilania, poluzowany przewód zasilający, zadziałał wyłącznik automatyczny. | Sprawdź podłączenie zasilania, upewnij się, że gniazdko działa, zresetuj wyłącznik automatyczny. |
| Unit is running but not cooling/heating. | Exhaust hose blocked/disconnected, room too large, windows/doors open, air filter dirty, temperature setting too high/low. | Ensure exhaust hose is properly installed and unblocked. Close windows/doors. Clean air filter. Adjust temperature setting. |
| Urządzenie jest głośne. | Unit not on a flat surface, fan speed too high, internal components loose. | Place unit on a flat surface. Reduce fan speed. If noise persists, contact support. |
| Wyciek wody. | Drain plug loose, continuous drainage hose not properly connected, unit tilted. | Ensure drain plug is secure. Check continuous drainage hose connection. Place unit on a level surface. |
| "Full Tank" indicator (or similar) is on. | Wewnętrzny zbiornik na wodę jest pełny. | Drain the water tank as described in Section 6.2. |
If the problem persists after trying these solutions, please contact ARGO customer support.
8. Specyfikacje
| Numer modelu | IRO PLUS |
| Marka | ARGO |
| Wymiary produktu (wys. x szer. x gł.) | Wymiary 77 x 47 x 38 cm |
| Waga przedmiotu | 31.5 kilogramów |
| Współczynnik kształtu | Przenośny |
| Wydajność chłodzenia | 13000 BTU/godz. |
| Tomtage | 216.67 V |
| Źródło energii | Elektryczny przewodowy |
| Ocena efektywności energetycznej | A |
| Cechy specjalne | Automatic shutdown, Cooling, Dehumidification, Fan, Heating, Air filter |
| Pierwsza dostępna data | 15 stycznia 2020 r. |
9. Gwarancja i wsparcie
9.1 Informacje o gwarancji
The ARGO Iro Plus portable air conditioner comes with a 2-year supplier warranty od daty zakupu. Niniejsza gwarancja obejmuje wady materiałowe i wykonawcze wynikające z normalnego użytkowania. Prosimy zachować dowód zakupu na wypadek roszczeń gwarancyjnych.
Gwarancja nie obejmuje uszkodzeń powstałych na skutek:
- Niewłaściwa instalacja lub użytkowanie niezgodne z niniejszą instrukcją.
- Accidents, abuse, neglect, fire, water, lightning, or other acts of nature.
- Nieautoryzowane naprawy lub modyfikacje.
- Normalne zużycie.
9.2 Obsługa klienta
For technical assistance, troubleshooting beyond this manual, or warranty claims, please contact ARGO customer support through their official website or the retailer where you purchased the product. Have your model number (IRO PLUS) and purchase date ready.