Wstęp
The Cooler Master Hyper 212 LED CPU Cooler is designed to provide efficient cooling for your desktop processor. Featuring a 120mm XtraFlo 'Fire Red' LED PWM fan and four direct contact copper heat pipes, this cooler offers a balanced performance between cooling efficiency and low noise operation. Its universal mounting system ensures compatibility with a wide range of Intel sockets.
Please read this manual carefully before installation and use to ensure proper setup and optimal performance.
Zawartość opakowania
Sprawdź, czy w przesyłce znajdują się wszystkie wymienione poniżej elementy:
- 1 x Cooler Master Hyper 212 LED CPU Cooler Unit
- 1 x Mounting Kit (for Intel sockets)
- 1 x Thermal Grease Pack
- 1 x Instrukcja obsługi

Image: Illustrative view of the Cooler Master Hyper 212 LED CPU Cooler and its main components.
Konfiguracja i instalacja
This cooler is compatible with Intel sockets: LGA 2066, 2011-v3, 2011, 1156, 1155, 1151, 1150, 1366, and 775. The installation process involves securing the backplate, applying thermal paste, mounting the heatsink, and attaching the fan.
- Przygotuj płytę główną: Ensure your motherboard is removed from the PC case if necessary for backplate installation. Identify the correct mounting holes for your Intel socket type.
- Montaż płyty tylnej: Attach the universal Intel backplate to the rear of your motherboard, aligning the screws with the appropriate holes.
- Nałóż pastę termoprzewodzącą: Clean the CPU surface and apply a small amount of thermal grease (included) to the center of the CPU. Spread it evenly or allow the cooler's pressure to distribute it.
- Montaż radiatora: Carefully place the heatsink onto the CPU, ensuring the direct contact heat pipes make full contact. Secure the heatsink using the provided mounting brackets and screws, tightening them in a diagonal pattern until snug. Do not overtighten.
- Podłącz wentylator: Use the quick-snap fan brackets to attach the 120mm XtraFlo fan to the heatsink. Ensure the fan is oriented to blow air through the heatsink fins towards the rear of your PC case.
- Podłącz kabel wentylatora: Podłącz 4-pinowy kabel wentylatora PWM do złącza CPU_FAN na płycie głównej.

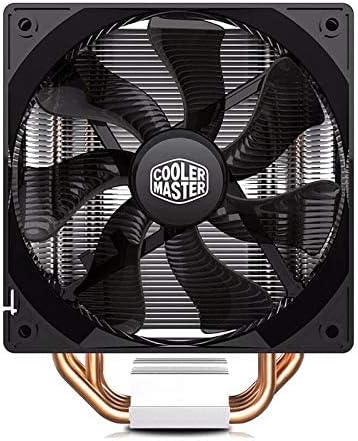
Obraz: Bok view of the cooler, showing the copper heat pipes extending from the base through the aluminum fins.
Instrukcja obsługi
The Cooler Master Hyper 212 LED CPU Cooler operates automatically once connected to the motherboard's CPU_FAN header. The 4-pin PWM fan allows your motherboard to dynamically control the fan speed based on CPU temperature, optimizing for both cooling performance and noise levels.
- Automatyczna kontrola prędkości: The fan speed will adjust between 600 and 1600 RPM (±10%) depending on the CPU load and temperature.
- Oświetlenie LED: The 'Fire Red' LEDs on the fan will illuminate when the fan is operating, providing aesthetic lighting inside your PC case.
- Ustawienia BIOS/UEFI: You can fine-tune fan control settings through your motherboard's BIOS/UEFI interface for custom performance profiles, if desired.
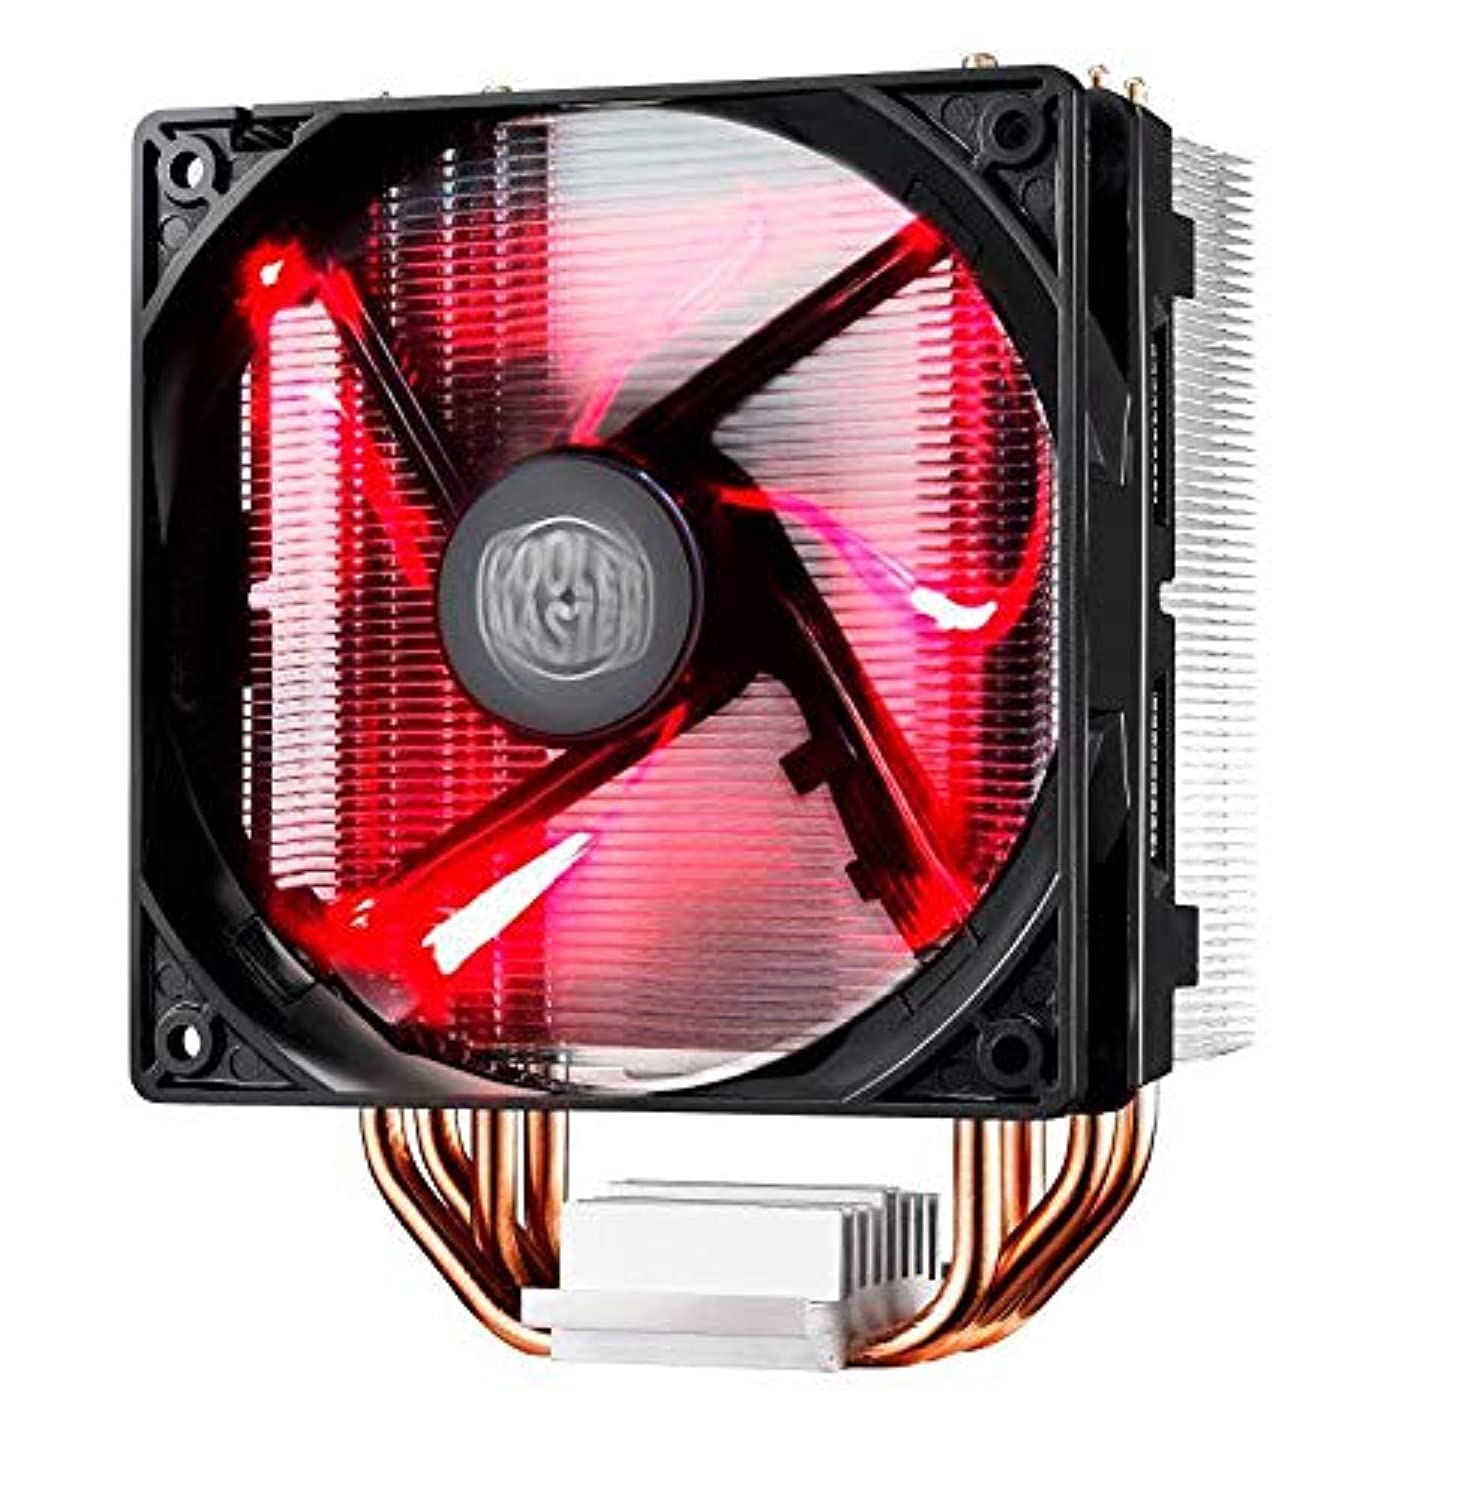
Image: The Cooler Master Hyper 212 LED CPU Cooler with its 'Fire Red' LED fan glowing.
Konserwacja
Regular maintenance ensures optimal cooling performance and extends the lifespan of your CPU cooler.
- Usuwanie kurzu: Periodically clean dust from the heatsink fins and fan blades using compressed air or a soft brush. Ensure the fan is powered off before cleaning.
- Fan Cleaning/Replacement: The quick-snap fan bracket allows for easy removal of the fan for thorough cleaning or replacement if needed. Gently unclip the fan from the heatsink, clean, and reattach.
- Pasta termoprzewodząca: If you remove the heatsink for any reason, it is recommended to clean off the old thermal paste from both the CPU and the cooler base and apply a fresh layer before reinstallation.
Obraz: Przód view of the 120mm XtraFlo fan, showing its blade design.
Rozwiązywanie problemów
| Problem | Możliwa przyczyna | Rozwiązanie |
|---|---|---|
| Wysokie temperatury procesora |
|
|
| Nadmierny hałas wentylatora |
|
|
| Cooler Does Not Fit in Case |
Specyfikacje
| Funkcja | Szczegół |
|---|---|
| Model produktu | RR-212L-16PR-R1 |
| Kompatybilne gniazda | Intel LGA 2066 / 2011-v3 / 2011 / 1156 / 1155 / 1151 / 1150 / 1366 / 775 |
| Wymiary całkowite (dł. x szer. x wys.) | 120 × 84 × 160 mm (4.7 × 3.3 × 6.3 cala) |
| Całkowita waga | 705 g (1.55 funta) |
| Heatsink Dimensions (L x W x H) | 116 × 60 × 160 mm (4.6 × 2.4 × 6.3 cala) |
| Materiał radiatora | 4 Direct Contact Copper Heat Pipes, Aluminum Fins |
| Heat Pipe Dimensions | Ø6 mm |
| Wymiary wentylatora (dł. x szer. x wys.) | 120 x 120 x 25 mm (4.7 x 4.7 x 1 cala) |
| Prędkość wentylatora | 600 - 1600 RPM (PWM) ±10% |
| Wentylator przepływu powietrza | 66.3 CFM ±10% (@ 1600RPM) |
| Ciśnienie powietrza wentylatora | 1.7 mm H2O ±10% (@ 1600RPM) |
| Długość życia wentylatora | 40,000 godziny |
| Poziom hałasu wentylatora | 9 - 31 dB |
| Typ łożyska | Łożysko karabinu |
| Złącze zasilania | 4-Pin PWM |
| Fan Rated Cztage | 12 V prądu stałego |
| Prąd znamionowy | 0.19 A |
| Pobór mocy | 2.28 W |
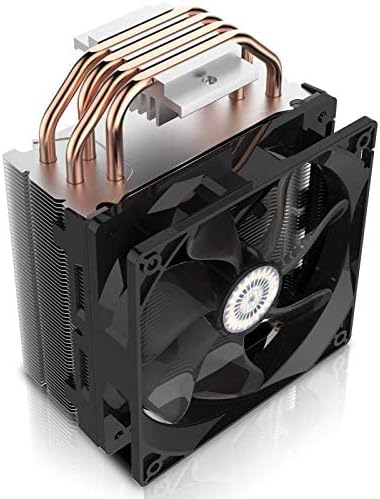
Obraz: widok z góry view of the heatsink, showing the aluminum fins and the ends of the copper heat pipes.
Gwarancja i wsparcie
Aby uzyskać informacje o gwarancji i pomocy technicznej, zapoznaj się z oficjalną stroną Cooler Master webOdwiedź stronę internetową lub skontaktuj się z działem obsługi klienta. Zachowaj paragon jako dowód zakupu.
Oficjalny Cooler Master Webstrona: www.coolermaster.com