
Flamaker ADVC-844BK
Flamaker 4-Piece Outdoor Patio Bistro Set
Model: ADVC-844BK
Ważne informacje dotyczące bezpieczeństwa
Przed montażem i użyciem należy przeczytać i zrozumieć wszystkie instrukcje. Zachowaj tę instrukcję do wykorzystania w przyszłości.
- Do not exceed the maximum weight capacity of 330 pounds per seating unit.
- Podczas montażu należy zachować ostrożność w pobliżu ostrych krawędzi.
- This furniture is not heat-resistant. Avoid placing hot items directly on surfaces without protection.
- Przed użyciem upewnij się, że wszystkie śruby i wkręty są mocno dokręcone. Regularnie sprawdzaj i dokręcaj w razie potrzeby.
- Aby zapobiec przewróceniu się mebli, należy ustawić je na płaskiej i stabilnej powierzchni.
Zawartość opakowania
Przed rozpoczęciem montażu sprawdź, czy wszystkie wymienione poniżej elementy są obecne. Jeśli brakuje którejkolwiek części lub jest ona uszkodzona, skontaktuj się z obsługą klienta.

Obraz: Ponadview of all components and hardware for assembly.
Lista części:
- 1 x Loveseat Frame
- 2 x Single Chair Frames
- 1 x Coffee Table Frame
- 1 x Tempered Glass Tabletop
- Textilene Fabric for Loveseat Seat and Back
- Textilene Fabric for Single Chair Seats and Backs (2 sets)
Lista sprzętu:
- Śruby (różne rozmiary)
- Podkładki
- Orzechy
- Allen Wrench (Assembly Tool)
- Suction Cups for Glass Tabletop
- Screw Full Covers
Instrukcja montażu
Follow these steps carefully to assemble your Flamaker 4-Piece Outdoor Patio Bistro Set. It is recommended to assemble on a soft, clean surface to prevent scratches.
Step 1: Assemble the Single Chairs
- Attach the backrest frame to the seat frame using the provided bolts and washers. Do not fully tighten yet.
- Connect the armrests to the assembled seat and backrest. Ensure all holes align.
- Once all components are loosely connected, place the chair on a flat surface and gradually tighten all bolts evenly.
- Install the screw full covers over exposed bolt heads for a finished look and protection.

Image: Step-by-step assembly for a single chair.
Step 2: Assemble the Loveseat
- Attach the two backrest sections to the loveseat seat frame using the appropriate bolts and washers.
- Connect the side armrest frames to the main loveseat structure.
- Ensure all parts are aligned, then place the loveseat on a flat surface and tighten all bolts securely and evenly.
- Apply screw full covers to all exposed bolt heads.

Image: Step-by-step assembly for the loveseat.
Step 3: Assemble the Coffee Table
- Attach the four legs to the table frame using the provided hardware. Do not fully tighten.
- Ensure the frame is stable and level, then tighten all bolts.
- Place the suction cups into the designated holes on the table frame.
- Carefully place the tempered glass tabletop onto the suction cups, ensuring it is centered and secure.
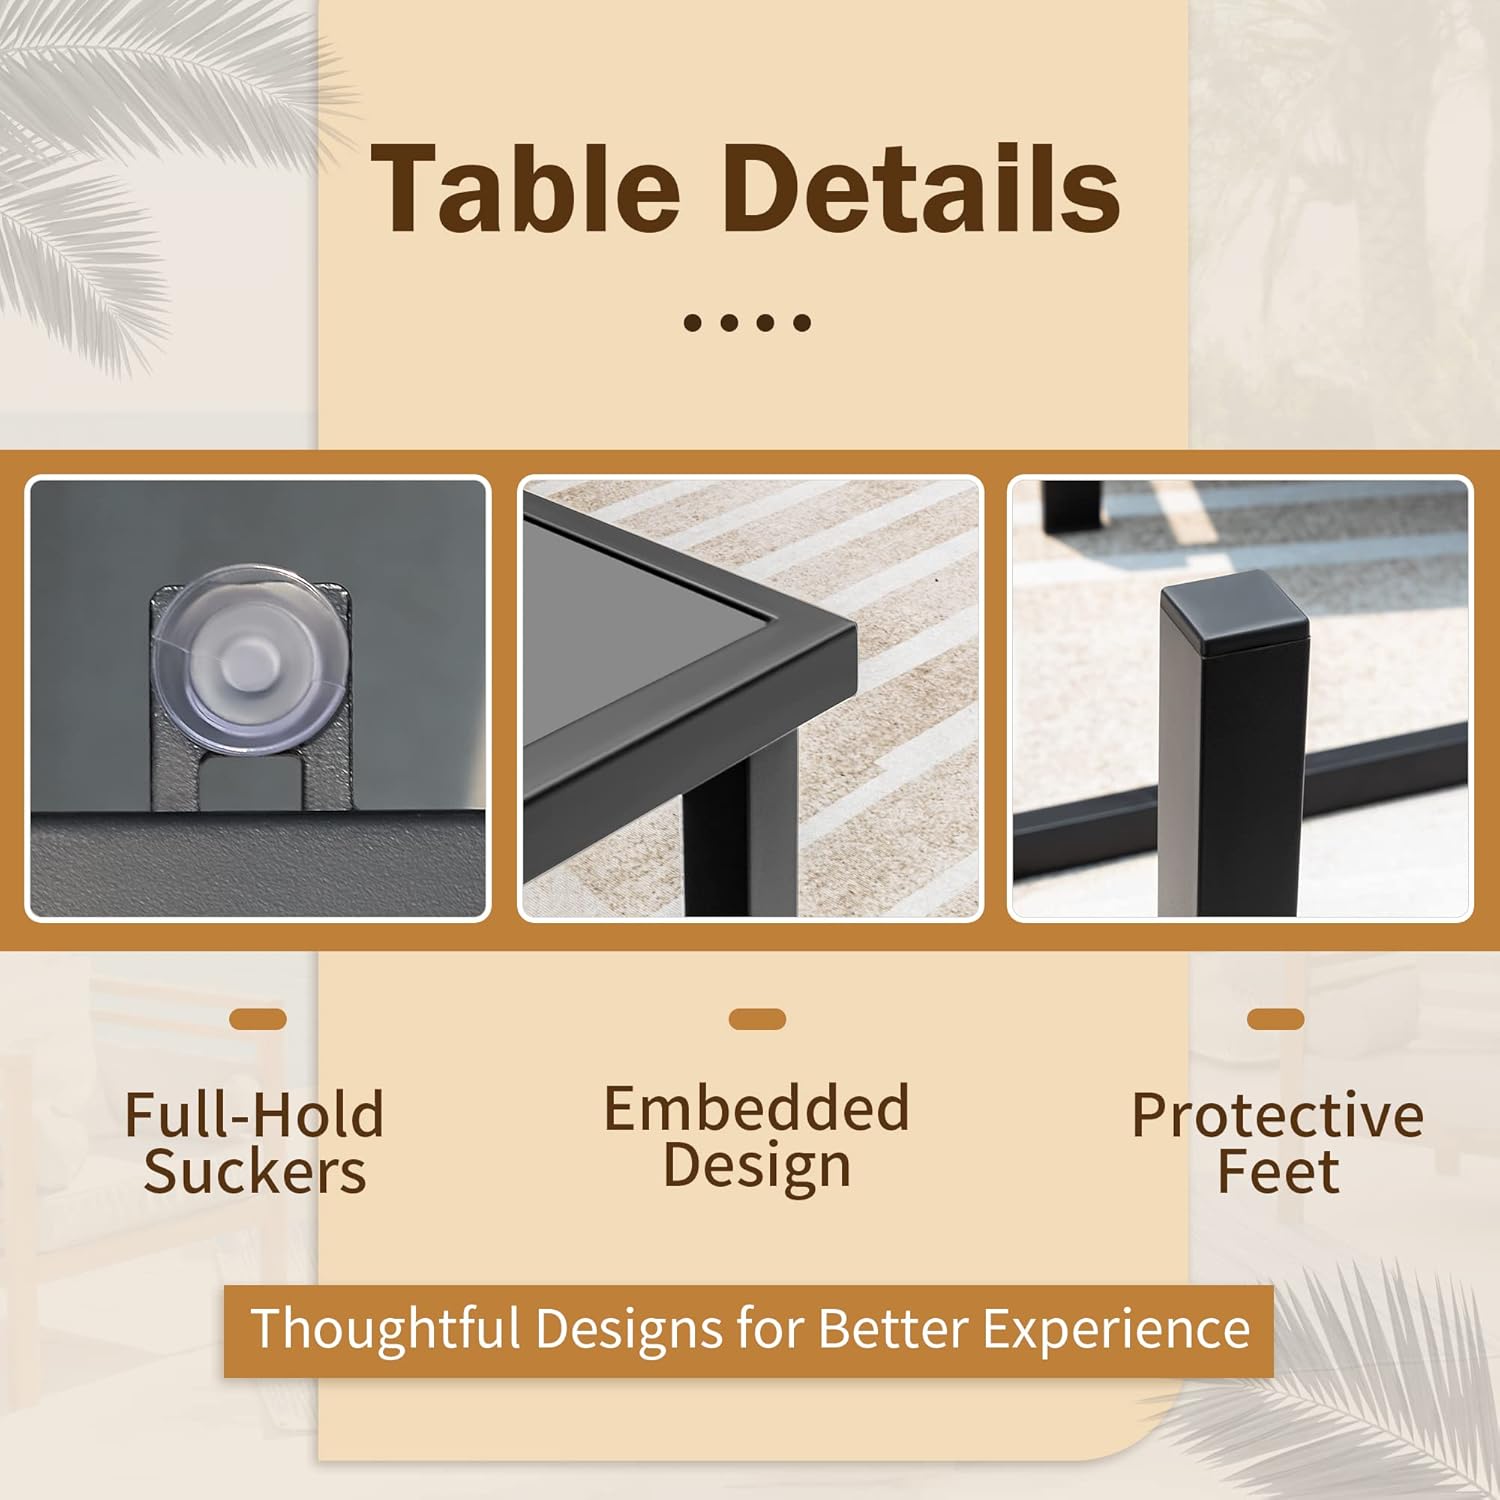
Image: Step-by-step assembly for the coffee table.
Pielęgnacja i konserwacja
Właściwa pielęgnacja przedłuży żywotność i wygląd Twojego zestawu ogrodowego.
- Czyszczenie: Wyczyść z reklamąamp cloth for general cleaning. For stubborn dirt, a mild soap solution can be used, followed by rinsing with clean water and drying thoroughly.
- Textilene Fabric: The breathable Textilene material is easy to clean. Simply wipe it down with a damp płótno.
- Powder-Coated Steel Frame: The powder-coated finish helps resist rust. Clean with a damp szmatką. Unikaj środków czyszczących o działaniu ściernym i silnych środków chemicznych, które mogłyby uszkodzić wykończenie.
- Szklany blat: Czyścić standardowym środkiem do czyszczenia szyb i miękką ściereczką.
- Magazynowanie sezonowe: During harsh weather conditions (heavy rain, snow, extreme cold), it is recommended to store the furniture indoors or cover it with a protective outdoor furniture cover to prevent damage and prolong its lifespan.
- Regularna kontrola: Periodically check all bolts and connections to ensure they remain tight. Re-tighten as needed to maintain stability and safety.
Rozwiązywanie problemów
Jeżeli podczas montażu lub użytkowania wystąpią problemy, zapoznaj się z poniższymi typowymi rozwiązaniami:
- Chwiejny stół/krzesła: Ensure all bolts are fully and evenly tightened. Sometimes, loosening all bolts slightly, placing the furniture on a flat surface, and then tightening them in a cross-pattern can help level the unit. Check that all protective feet are properly installed.
- Trudności w ustawianiu otworów: Do not fully tighten any bolts until all components are loosely assembled. This allows for minor adjustments. If a hole is severely misaligned, check if a part is oriented incorrectly.
- Brakujące lub uszkodzone części: If any parts are missing or damaged upon arrival, do not proceed with assembly. Contact Flamaker customer support immediately for assistance.
- Rysy na podłodze: The chairs feature a bending design for easy movement. Ensure you lift the chairs rather than dragging them to prevent scratches on your floor or patio surface.
Specyfikacje

Image: Dimensions of the Flamaker 4-Piece Outdoor Patio Bistro Set components.
| Funkcja | Szczegół |
|---|---|
| Numer modelu | ADVC-844BK |
| Tworzywo | Powder-Coated Steel Frame, Textilene Fabric |
| Kolor | Czarny |
| Waga przedmiotu | Około 60 funtów (cały zestaw) |
| Nośność | 330 pounds per seating unit |
| Wymiary pojedynczego krzesła (dł. x szer. x wys.) | 24 x 23 x 31 cala |
| Wymiary sofy dwuosobowej (dł. x szer. x wys.) | 39 x 21 x 31 cala |
| Wymiary stolika kawowego (dł. x szer. x wys.) | 36 x 20 x 16 cala |
| Instrukcje pielęgnacji produktu | Wytrzyj Damp Płótno |
Gwarancja i wsparcie
For warranty information, please refer to the documentation included with your product packaging or contact Flamaker customer support directly. Flamaker offers various protection plans for extended coverage, which can be found on the product's purchase page.
If you require assistance with assembly, missing parts, or have any questions regarding your Flamaker 4-Piece Outdoor Patio Bistro Set, please contact Flamaker customer service. You can often find contact details on the manufacturer's webna stronie internetowej lub u sprzedawcy.
For additional product information and to explore other Flamaker products, visit the official Flamaker Store online.
Ask a question about this manual
Ask about setup, troubleshooting, compatibility, parts, safety, or missing instructions. Manuals+ will review the question and use this page’s manual context to help answer it.