Wstęp
This manual provides detailed instructions for the safe installation, operation, and maintenance of your Progress Lighting Tobin Collection 1-Light Etched White Glass Modern Bath Vanity Light. Please read all instructions carefully before beginning installation and retain this manual for future reference.
The Tobin vanity light features a modern design with tubular arms and an etched white glass shade, finished in Brushed Nickel. It is designed to provide functional and aesthetic lighting for your bathroom space.
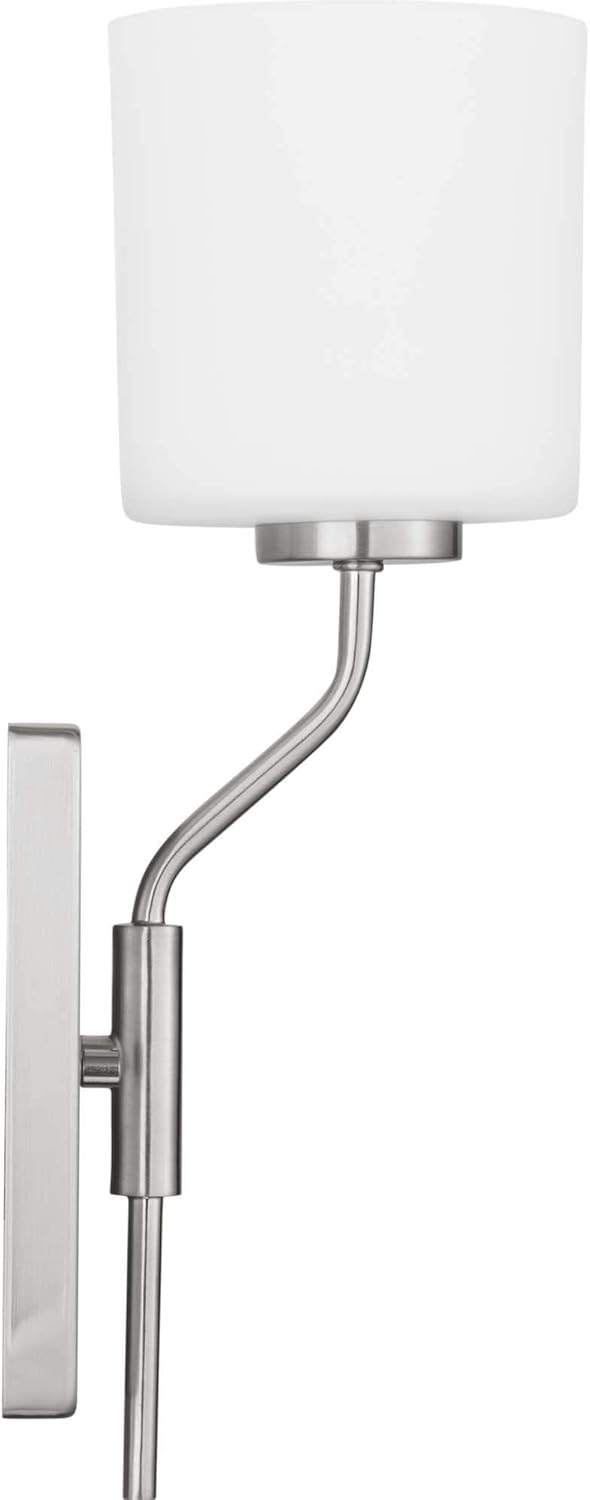
Figure 1: Progress Lighting Tobin 1-Light Vanity Light.
Informacje dotyczące bezpieczeństwa
- OSTRZEŻENIE: Ryzyko porażenia prądem. Przed instalacją lub serwisowaniem należy odłączyć zasilanie w skrzynce bezpieczników lub wyłączniku automatycznym.
- Wszystkie połączenia elektryczne muszą być zgodne z lokalnymi przepisami, rozporządzeniami lub Krajowym Kodeksem Elektrycznym (NEC). Jeśli nie znasz się na prawidłowych połączeniach elektrycznych, skontaktuj się z wykwalifikowanym elektrykiem.
- Oprawa przeznaczona jest wyłącznie do użytku wewnątrz pomieszczeń.
- Używaj tylko typu żarówki i wattage specified for this fixture. Exceeding the recommended wattagMoże to spowodować przegrzanie i uszkodzenie.
- Aby zapobiec stłuczeniu elementów szklanych, należy obchodzić się z nimi ostrożnie.
- Ensure the fixture is securely mounted to a structural element of the building.
- This product is UL Listed, ensuring it meets specific safety standards.
Zawartość opakowania
Carefully unpack your new fixture and lay out all parts on a clear area. Ensure all components listed below are present before discarding packaging materials.
- Fixture Body (with tubular arm and backplate)
- Klosz z białego, trawionego szkła
- Sprzęt montażowy (poprzeczka, śruby montażowe, nakrętki druciane)
- Arkusz instalacyjny
Specyfikacje
| Marka | Oświetlenie Progress |
| Nazwa modelu | Tobin |
| Numer części | P300222-009 |
| Kolor | Brushed Nickel (Fixture), Etched White (Shade) |
| Tworzywo | Stal stopowa (elementy mocujące), szkło (klosz) |
| Styl | Nowoczesny |
| Formularz oprawy oświetleniowej | Próżność |
| Typ pokoju | Łazienka |
| Zastosowanie wewnątrz/na zewnątrz | Wnętrz |
| Źródło zasilania | AC |
| Typ instalacji | Natynkowy |
| Funkcja specjalna | Możliwość ściemniania |
| Typ źródła światła | Incandescent (compatible with LED) |
| Liczba źródeł światła | 1 |
| Tomtage | 120 wolty |
| Cotage | 100 watów (maks.) |
| Podstawa żarówki | E26 średni |
| Jasność | 250 lumens (typical for included bulb, may vary with bulb choice) |
| Waga przedmiotu | 3.02 funta |
| Wymagany montaż | Tak |
| Specyfikacja Met | Posiada certyfikat UL |

Rysunek 2: Wymiary produktu.
Konfiguracja i instalacja
Zanim zaczniesz: Ensure power is turned off at the circuit breaker. Read all instructions thoroughly.
- Przygotuj powierzchnię montażową: Ensure the electrical box is securely installed and capable of supporting the fixture's weight.
- Zamontuj płytę montażową: Secure the mounting crossbar to the electrical box using the provided screws.
- Połączenia przewodowe: Connect the fixture's wires to the corresponding house wires (black to black, white to white, ground to ground) using the provided wire nuts. Ensure all connections are secure.
- Zamontuj oprawę: Carefully align the fixture's backplate with the mounting screws on the crossbar. Secure the fixture in place with the decorative nuts or screws.
- Montaż osłony szklanej: Place the etched white glass shade over the socket and secure it according to the specific design (e.g., with a threaded ring or set screws).
- Zainstaluj żarówkę: Insert one E26 medium base bulb (max 100W incandescent or equivalent LED) into the socket.
This fixture can be mounted with the light facing upwards or downwards, depending on your preference and desired lighting effect.

Figure 3: Mounting Options (Up or Down).
Instrukcja wideo instalacji
Video 1: Bath and Vanity Sizing and Placement Guidelines. This video provides general guidance on sizing and placement for bathroom vanity lights, which can be helpful during installation.
Instrukcja obsługi
Once installed, restore power at the circuit breaker. The fixture is operated via a standard wall switch (not included). If connected to a compatible dimmer switch, the light output can be adjusted. Ensure the bulb used is dimmable if you intend to use a dimmer switch.
Konserwacja
- Czyszczenie: Always turn off power before cleaning. Wipe the fixture with a soft, dry cloth. Do not use abrasive cleaners or solvents as they may damage the finish.
- Odcień szkła: The etched white glass shade can be removed for cleaning. Wash with mild soap and water, rinse thoroughly, and dry completely before reattaching.
- Wymiana żarówki: Ensure power is off and the bulb has cooled before attempting to replace it. Use an E26 medium base bulb, not exceeding 100 watts.
Rozwiązywanie problemów
| Problem | Możliwa przyczyna | Rozwiązanie |
|---|---|---|
| Światło się nie włącza. |
|
|
| Światło migocze. |
|
|
| Klosz szklany jest luźny. |
|
|
Gwarancja i wsparcie
This Progress Lighting product is covered by a 1-letnia ograniczona gwarancjaNiniejsza gwarancja zapewnia pełną satysfakcję z zakupu i obejmuje profesjonalną obsługę klienta posprzedażowego.
For warranty claims or technical assistance, please refer to the contact information provided on your purchase receipt or visit the official Progress Lighting webstrona.