
1. Koniec produktuview
This manual provides essential information for the safe and effective use of your Walfront Sewing Machine Foot Pedal. This electronic foot pedal is designed as a replacement or upgrade for compatible sewing machines, offering variable speed control and durable construction.

Image 1.1: Walfront Sewing Machine Foot Pedal with integrated EU power cord and machine connector.
Główne cechy:
- Variable speed control for precise operation.
- Trwała konstrukcja zapewniająca długotrwałą wydajność.
- Compatible with various sewing machine brands, including Singer and Butterfly.
- EU Plug (220-240V, 0.5A, 50Hz) for European electrical standards.
2. Informacje dotyczące bezpieczeństwa
Please read all safety instructions before using the foot pedal to prevent injury or damage to the product or your sewing machine.
- Ensure the foot pedal's voltage and plug type match your region's electrical standards and your sewing machine's requirements. This model is designed for 220-240V EU outlets.
- Always unplug the sewing machine from the power outlet before connecting or disconnecting the foot pedal.
- Do not use the foot pedal if the cord or plug is damaged. Contact customer support for a replacement.
- Keep the foot pedal away from water or excessive moisture.
- Do not attempt to open or repair the foot pedal yourself. Refer to qualified service personnel.
- Przechowywać w miejscu niedostępnym dla dzieci.
3. Konfiguracja i instalacja
Follow these steps to correctly install your new Walfront Sewing Machine Foot Pedal.
- Unpack the Foot Pedal: Carefully remove the foot pedal and its cord from the packaging. Inspect for any visible damage.
- Identify the Machine Connector: Locate the foot pedal port on your sewing machine. This pedal features a specific three-pin connector designed for compatible machines.
- Connect to Sewing Machine: Align the three-pin connector of the foot pedal cord with the corresponding port on your sewing machine. Gently push until it is securely seated.
- Podłącz do gniazdka elektrycznego: Plug the EU power plug into a standard 220-240V electrical outlet.
- Your foot pedal is now ready for use.
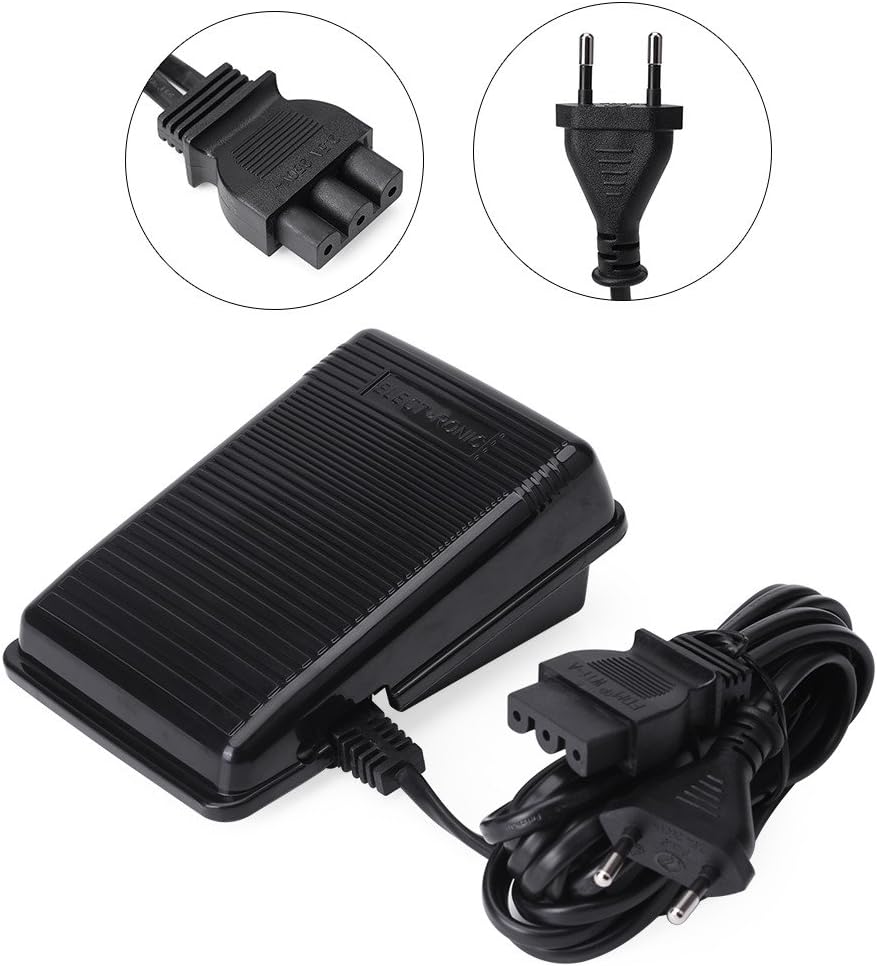
Obraz 3.1: Dół view of the foot pedal, illustrating the connection point for the power cord.

Image 3.2: Detail of the three-pin connector that plugs into the sewing machine.
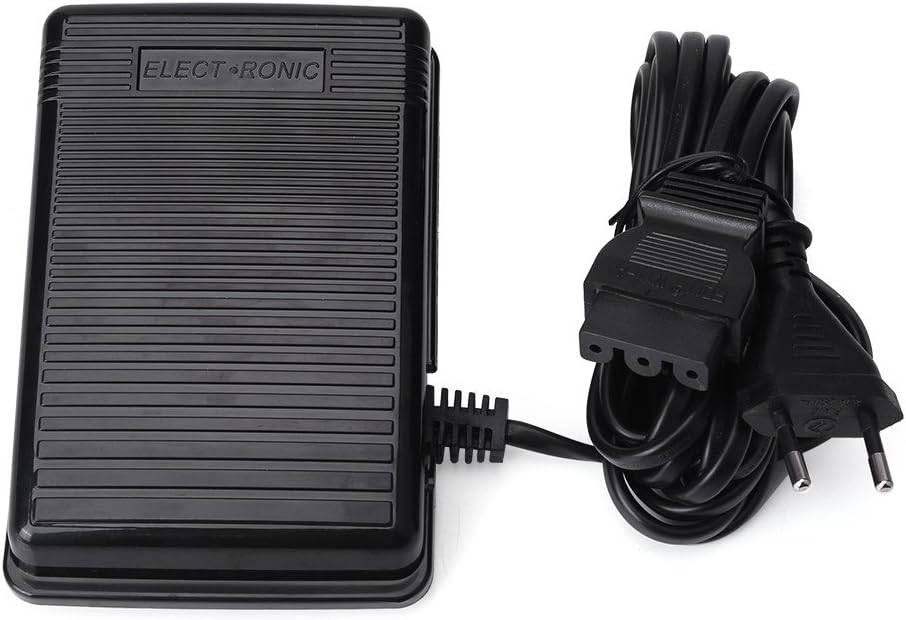
Image 3.3: The EU standard two-pin power plug for connecting to a wall outlet.
4. Instrukcja obsługi
The Walfront Sewing Machine Foot Pedal provides variable speed control for your sewing machine.
- Ensure the foot pedal is correctly connected to both the sewing machine and a power outlet.
- Place the foot pedal on the floor in a comfortable position where you can easily operate it with your foot.
- Gently press down on the pedal to start the sewing machine.
- The harder you press the pedal, the faster the sewing machine will operate. This allows for precise speed control, from slow stitching to high-speed sewing.
- Release pressure on the pedal to slow down or stop the machine.
Video 4.1: Demonstration of the Walfront Sewing Machine Foot Pedal's operation and connections.
5. Konserwacja
To ensure the longevity and optimal performance of your foot pedal, follow these simple maintenance guidelines:
- Czyszczenie: Wipe the exterior of the foot pedal with a soft, dry cloth. Do not use harsh chemicals or abrasive cleaners. Ensure no liquids enter the pedal's internal components.
- Składowanie: When not in use, store the foot pedal in a clean, dry place, away from direct sunlight and extreme temperatures. Avoid coiling the cord too tightly to prevent damage.
- Kontrola przewodu: Periodically inspect the power cord and machine connector for any signs of wear, cuts, or damage. If damage is found, discontinue use and seek a replacement.
6. Rozwiązywanie Problemów
If you encounter issues with your Walfront Sewing Machine Foot Pedal, refer to the following common problems and solutions:
| Problem | Możliwa przyczyna | Rozwiązanie |
|---|---|---|
| Foot pedal does not respond. |
|
|
| Niespójna kontrola prędkości. |
|
|
If troubleshooting steps do not resolve the issue, please contact Walfront customer support.
7. Specyfikacje
| Funkcja | Szczegół |
|---|---|
| Marka | Wallfront |
| Model | EU Plug (B07LFFS2HS) |
| Wejście Voltage | 220-240 V |
| Aktualny | 0.5A |
| Częstotliwość | 50 Hz |
| Typ wtyczki | Wtyczka UE |
| Tworzywo | Plastik, Metal |
| Wymiary (dł. x szer. x wys.) | 13.5 x 9 x 5.5 cm (w przybliżeniu) |
| Waga | 291 gramów (w przybliżeniu) |
| Zgodność | Suitable for Singer, Butterfly, and most similar sewing machines. |
8. Gwarancja i wsparcie
Walfront offers a lifetime warranty for this product. If you experience any issues with the product quality or performance, please do not hesitate to contact Walfront customer support. They are committed to resolving any problems you may encounter.
For support, please refer to the contact information provided with your purchase or visit the official Walfront store on Amazon: Walfront Store.