
Wstęp
This manual provides essential instructions for the safe operation, setup, and maintenance of your Protocol Director HD Foldable Drone. Please read this manual thoroughly before operating the drone to ensure proper function and to prevent damage or injury.
The Protocol Director HD is a foldable drone equipped with a live streaming HD camera, designed for capturing aerial video and photos. It features an intuitive 2.4 GHz remote control, an altitude sensor for stable flight, and a free downloadable app for enhanced camera control and flight path drawing.
Środki ostrożności
- Always operate the drone in open, unobstructed areas, away from people, animals, and obstacles.
- Do not operate near airports, restricted airspace, or sensitive facilities.
- Zachowaj bezpieczną odległość od linii energetycznych, drzew i zbiorników wodnych.
- Przed każdym lotem sprawdź, czy wszystkie śmigła są solidnie zamocowane i nieuszkodzone.
- Nie lataj przy silnym wietrze lub niesprzyjających warunkach pogodowych.
- Trzymaj palce i włosy z dala od obracających się śmigieł.
- Adult supervision is recommended for users under 18 years of age. Recommended age for operation is 14 years and up.
- Only use original Protocol replacement parts and accessories.
- Nie podejmuj prób modyfikacji drona ani jego podzespołów.
- Wyłącz drona i pilota, gdy ich nie używasz.
Zawartość opakowania
Sprawdź, czy w opakowaniu znajdują się wszystkie elementy:
- Protocol Director HD Foldable Drone with Camera
- Remote Control with Phone Mount
- Kabel ładujący USB
- 2 x baterie do drona
- Torba podróżna
- Instrukcja obsługi (ten dokument)
- Spare Parts: Blades, Screwdriver

Image: The Protocol Director HD Foldable Drone, showcasing its compact design with propellers extended and camera visible at the front.
Organizować coś
1. Ładowanie akumulatora drona
- Insert one of the drone batteries into the USB charging cable.
- Connect the USB charging cable to a USB power source (e.g., computer USB port, USB wall adapter).
- Podczas ładowania na kablu USB świeci się kontrolka ładowania, a po pełnym naładowaniu gaśnie.
- Ładowanie trwa zazwyczaj około 60–90 minut. Nie przeładowuj.
2. Instalacja baterii w pilocie
- Otwórz komorę baterii znajdującą się z tyłu pilota.
- Włóż 4 baterie AA (nie ma ich w zestawie), zwracając uwagę na prawidłową biegunowość (+/-).
- Dokładnie zamknij komorę baterii.

Image: The drone's remote control with a smartphone securely mounted, displaying a live feed from the drone's camera.
3. Rozkładanie drona
- Gently unfold each of the four rotor arms until they click into place.
- Przed lotem upewnij się, że wszystkie ramiona są całkowicie wyciągnięte i zablokowane.
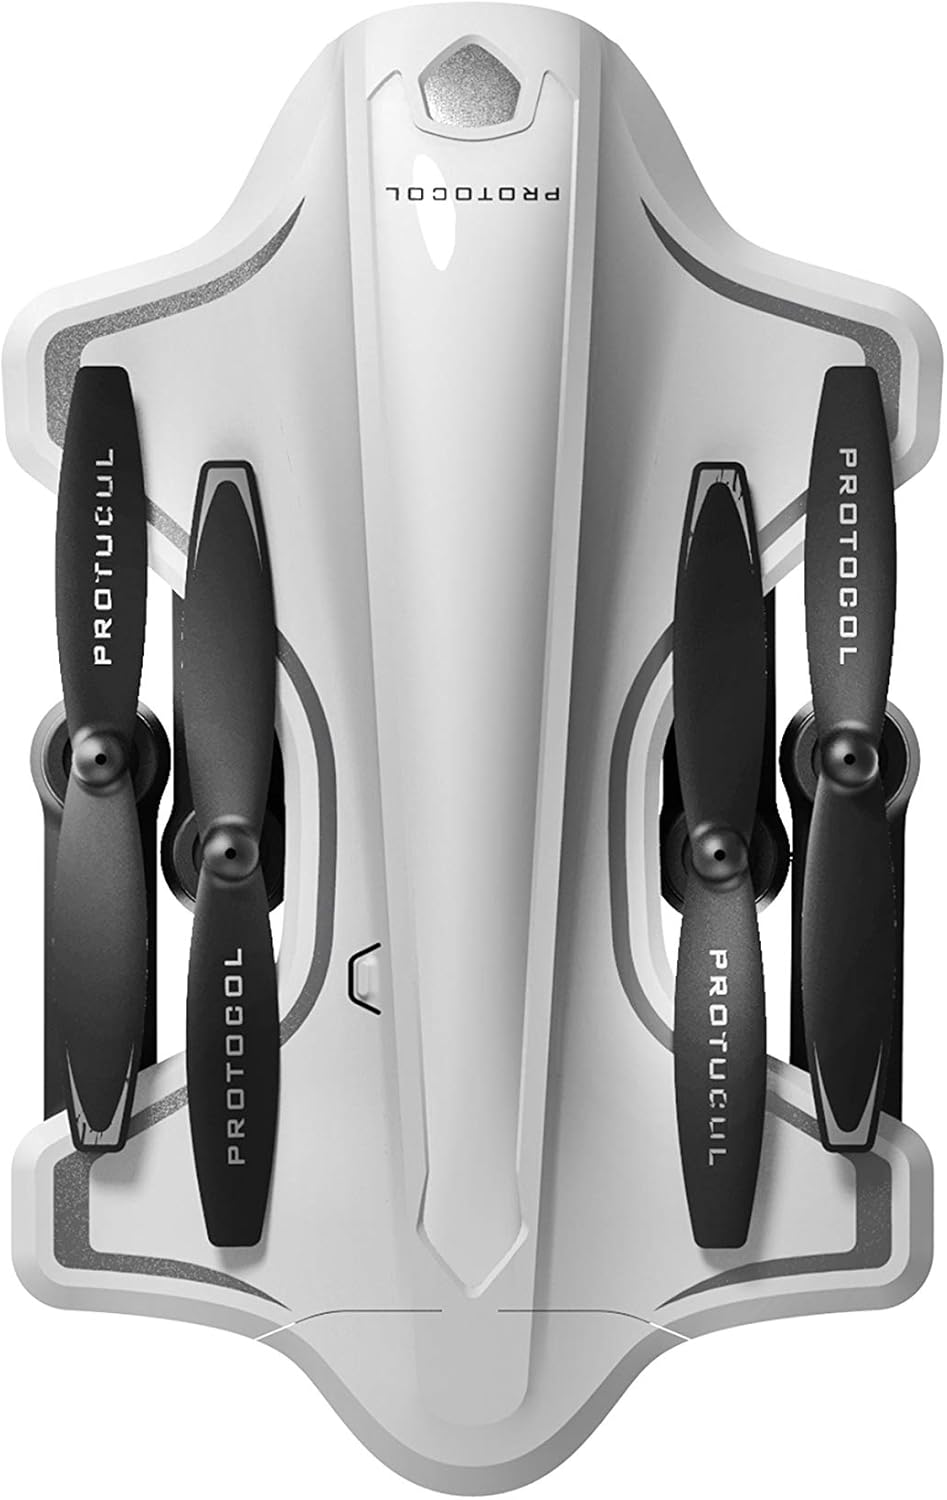
Image: The Protocol Director HD Foldable Drone in its compact, folded configuration, ready for transport.
4. Montaż akumulatora drona
- Znajdź komorę baterii w dronie.
- Insert the fully charged drone battery, ensuring it is securely seated.
- Zamknij pokrywę komory baterii.
5. Downloading the App (Optional for Camera Features)
- Szukaj the "Protocol Director HD" app in your smartphone's app store (iOS or Android).
- Download and install the free application.
- Mount your smartphone onto the remote control's phone mount.
Instrukcja obsługi
1. Włączanie i parowanie
- Umieść drona na płaskiej, poziomej powierzchni.
- Turn on the drone by pressing the power button. The drone's lights will flash.
- Włącz pilota.
- Push the left joystick (throttle) all the way up, then all the way down. The drone's lights will become solid, indicating successful pairing.
2. Kalibracja żyroskopu
After pairing, it is recommended to calibrate the gyroscope for stable flight:
- With the drone on a flat surface, push both joysticks down and to the right simultaneously for a few seconds.
- The drone's lights will flash rapidly and then become solid, indicating calibration is complete.
3. Podstawowe sterowanie lotem
The Protocol Director HD features auto launch, hover, and land functions due to its altitude sensor.
- Auto Launch: Press the dedicated auto launch button on the remote. The drone will ascend to a stable hovering altitude.
- Przepustnica (lewy joystick):
- Push up: Increase altitude
- Push down: Decrease altitude
- Push left/right: Rotate drone left/right (yaw)
- Sterowanie kierunkowe (prawy joystick):
- Pompki: Lot do przodu
- Naciśnięcie w dół: Lot do tyłu
- Push left: Fly left (strafe)
- Push right: Fly right (strafe)
- Automatyczne lądowanie: Press the dedicated auto land button. The drone will slowly descend and land.
- Wybór prędkości: Use the speed button on the remote to cycle through three selectable speeds (low, medium, high).
4. Camera and App Features
Connect your smartphone to the drone's Wi-Fi network (usually named "Protocol_Drone_XXXXXX") to access live streaming and advanced camera functions via the app.
- Transmisja na żywo: View the drone's camera feed in real-time on your smartphone.
- Nagrywanie wideo: Initiate and stop video recording (480p resolution) through the app.
- Ujęcie: Take still images through the app.
- Multiple Camera Angles: The app supports three different camera angles (Aerial, POV, Selfie) for varied content creation.
- Nagrywanie dźwięku: The app allows for audio recording alongside video.
- Draw Your Own Flight Path: Utilize the app's feature to draw a flight path on your screen, and the drone will follow it.
- VR Capability: The app is VR capable; VR goggles are sold separately.
Konserwacja
- Kontrola śmigła: Regularly check propellers for cracks, bends, or damage. Replace any damaged propellers using the provided spare parts and screwdriver.
- Czyszczenie: Do czyszczenia drona i pilota używaj miękkiej, suchej ściereczki. Unikaj stosowania płynów i silnych środków chemicznych.
- Pielęgnacja baterii:
- Nie przeładowuj akumulatorów.
- Przechowuj baterie w chłodnym, suchym miejscu.
- Remove batteries from the drone and remote control during long periods of non-use.
- Składowanie: Fold the drone arms for compact storage in the provided travel bag when not in use. Store in a cool, dry environment.
Rozwiązywanie problemów
| Problem | Możliwa przyczyna | Rozwiązanie |
|---|---|---|
| Dron się nie włącza. | Akumulator nie jest naładowany lub jest nieprawidłowo zainstalowany. | Sprawdź, czy akumulator jest całkowicie naładowany i prawidłowo włożony. |
| Pilot zdalnego sterowania nie włącza się. | AA batteries are dead or incorrectly installed. | Replace AA batteries, checking polarity. |
| Dron i pilot nie parują się. | Kolejność parowania nie została zachowana prawidłowo. | Ensure drone is on, then remote. Push left joystick up then down completely. |
| Dron dryfuje w czasie lotu. | Gyroscope needs calibration; uneven surface at launch. | Land the drone, place on a flat surface, and recalibrate the gyroscope (both joysticks down and right). |
| One propeller does not spin. | Propeller damaged or motor issue. | Check for obstructions. Replace damaged propeller. If issue persists, contact support. |
| No live video feed on smartphone. | Brak połączenia z siecią Wi-Fi drona; aplikacja nieotwarta. | Ensure smartphone is connected to the drone's Wi-Fi network and the app is running. |
Specyfikacje
| Marka | Protokół |
| Nazwa modelu | Director HD |
| Numer modelu | 6182-7RCHA |
| Wymiary (złożony) | Około 4.75 cala (długość) |
| Wymiary (rozszerzony) | Approximately 9 inches (length, including blades) |
| Waga | 0.94 kilograma (940 g) |
| Rozdzielczość kamery | 480p (Video Capture) |
| Łączność | Wi-Fi (for app control and live streaming), 2.4 GHz (for remote control) |
| Stabilizacja | 6-axis motion-sensitive auto stabilizers, Altitude sensor |
| Tryby prędkości | Three selectable speeds |
| Bateria drona | Akumulatorowy (2 w zestawie) |
| Bateria do pilota zdalnego sterowania | 4 baterie AA (brak w zestawie) |
| Tworzywo | Plastic (Crash-resistant) |
| Zalecany wiek | 14 lata i więcej |
Gwarancja i wsparcie
For warranty information, technical support, or to purchase replacement parts, please visit the official Protocol webOdwiedź stronę internetową lub skontaktuj się z działem obsługi klienta. Zachowaj paragon jako dowód zakupu.
Webstrona: www.protocolny.com (Byłyample link, rzeczywisty link może się różnić)
Kontakt: Refer to the Protocol website for contact details, including phone numbers or email support.