
1. Wprowadzenie
This manual provides essential information for the safe and effective operation, setup, and maintenance of your Sharp UA-HD50E-L Air Purifier with Humidification Function. Please read it thoroughly before using the appliance and keep it for future reference.
The Sharp UA-HD50E-L is designed to improve indoor air quality by combining a patented Plasmacluster ion generator with a 3-stage filtration system. It effectively removes airborne particles, allergens, viruses, pollen, dust mites, and odors. Additionally, it features an automatic humidification function to maintain a comfortable and healthy indoor climate. This unit is suitable for rooms up to 38 m² for air purification and 27 m² when using the humidification function.
2. Informacje dotyczące bezpieczeństwa
Aby zapewnić bezpieczną obsługę, zawsze należy przestrzegać poniższych podstawowych środków ostrożności:
- Nie używaj urządzenia z uszkodzonym przewodem zasilającym lub wtyczką.
- Nie blokuj wlotów ani wylotów powietrza.
- Keep the unit away from water and moisture. Do not immerse in water.
- Nie wkładaj żadnych przedmiotów do otworów.
- Przed czyszczeniem lub jakąkolwiek konserwacją należy odłączyć urządzenie od zasilania.
- Urządzenie to nie jest przeznaczone do użytku przez osoby (w tym dzieci) o ograniczonej sprawności fizycznej, sensorycznej lub umysłowej, a także osoby nieposiadające odpowiedniego doświadczenia lub wiedzy, chyba że znajdują się one pod nadzorem osoby odpowiedzialnej za ich bezpieczeństwo lub otrzymały od niej instrukcje dotyczące korzystania z urządzenia.
- Use only genuine Sharp replacement filters.
3. Koniec produktuview
Familiarize yourself with the main components of your Sharp UA-HD50E-L air purifier.
3.1 Przód View

Figure 3.1: The front of the Sharp UA-HD50E-L air purifier, showcasing its sleek, light grey design and the Sharp logo.
3.2 Tył View and Air Intake

Figure 3.2: The rear of the air purifier, showing the large air intake grille and the power cord connection point. This is where air is drawn into the unit for filtration.
3.3 Water Tank Access
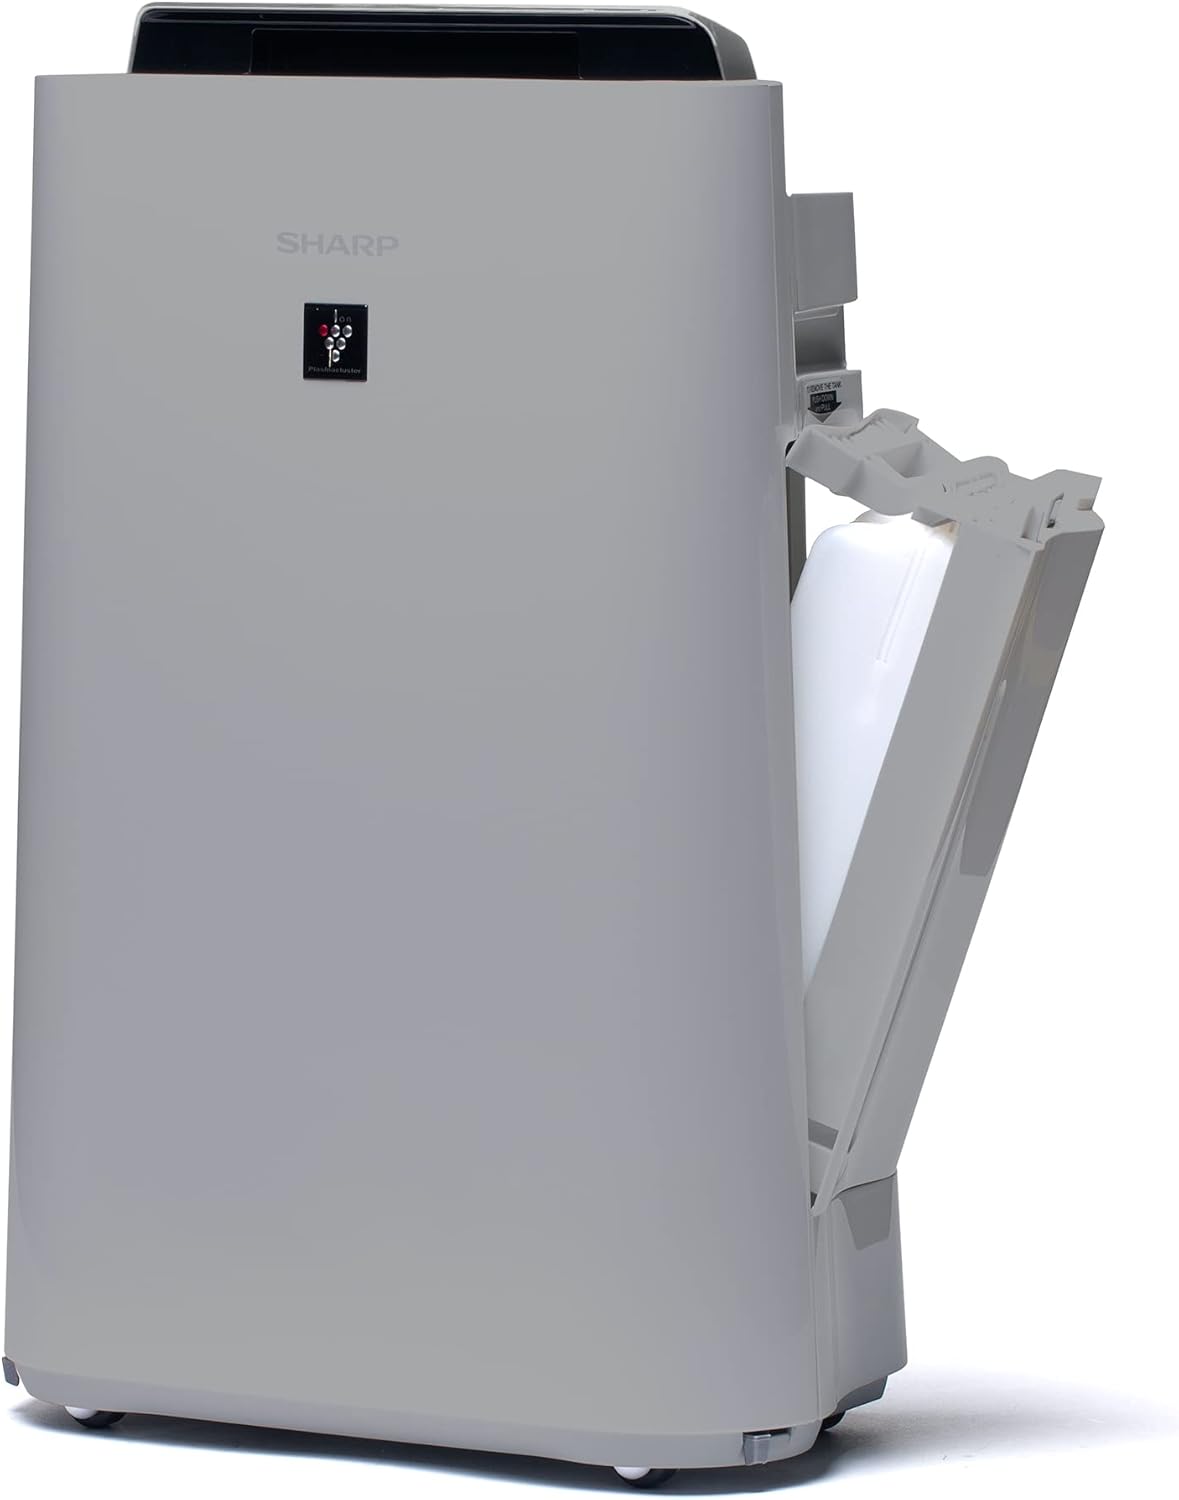
Rysunek 3.3: Strona A view of the unit with the water tank compartment door open, revealing the removable water tank for humidification.
3.4 Control Panel and Air Outlet

Rysunek 3.4: Widok z góry na dół view highlighting the intuitive control panel with various function buttons and the primary air outlet where purified and humidified air is released.
System filtrów 3.5
The Sharp UA-HD50E-L utilizes a multi-stage filtration system for comprehensive air purification:
- Filtr wstępny: Wychwytuje duże cząsteczki, takie jak kurz i sierść zwierząt.
- Deodorization Filter (UZ-HD4DF): Absorbs various odors, including cigarette smoke and household smells.
- HEPA Filter (UZ-HD4HF): Traps microscopic particles such as pollen, mold spores, and fine dust.
- Humidification Filter (UZ-HD6MF): Służy do nawilżania.

Rysunek 3.5: Wybuch view illustrating the sequence of the pre-filter, deodorization filter, and HEPA filter within the unit's rear compartment.
4. Konfiguracja
Aby po raz pierwszy skonfigurować oczyszczacz powietrza, wykonaj poniższe czynności.
- Rozpakuj jednostkę: Carefully remove the air purifier and all its components from the packaging. Retain packaging for future transport or storage.
- Usuń opakowanie filtra: Open the rear panel of the unit. Remove all plastic packaging from the HEPA filter, deodorization filter, and humidification filter.
- Zainstaluj filtry: Insert the filters back into the unit in the correct order: deodorization filter, then HEPA filter, followed by the pre-filter. Ensure they are securely seated. Close the rear panel.

Figure 4.1: Illustration of a filter being inserted into the side compartment of the air purifier.
- Napełnij zbiornik na wodę (do nawilżania): Open the water tank compartment on the side of the unit. Remove the water tank, fill it with clean tap water, and securely close the cap. Reinsert the water tank into the unit.
Figure 4.2: The water tank being removed from its compartment for refilling.
- Umieszczenie: Place the air purifier on a flat, stable surface, ensuring adequate clearance (at least 20 cm) from walls and furniture for optimal air circulation.
- Podłącz zasilanie: Podłącz przewód zasilający do odpowiedniego gniazdka elektrycznego (220 V).
5. Instrukcja obsługi
The control panel on the top of the unit allows you to manage all functions.

Figure 5.1: Close-up of the control panel with various buttons and indicators, including sensors for dust, odor, temperature, humidity, light, movement, and PM2.5.
5.1 Włączanie/wyłączanie zasilania
- Naciśnij MOC przycisk, aby włączyć lub wyłączyć urządzenie.
5.2 tryby pracy
- Tryb automatyczny: The unit automatically adjusts fan speed and humidification based on sensor readings (dust, odor, temperature, humidity, light, movement, PM2.5). This mode ensures optimal air quality and comfort.
- Ręczna prędkość wentylatora: Select desired fan speed (Low, Medium, High) for continuous operation.
- Tryb nawilżania: Activates the humidification function. The unit will maintain a comfortable humidity level. Ensure the water tank is filled.
- Air Purification Only: Disables the humidification function, focusing solely on air purification.
5.3 Plasmacluster Ion Function
- Naciśnij PLASMACLUSTER button to activate or deactivate the Plasmacluster ion generator.
- Ion Spot Mode: This mode provides a 10-fold more intensive airflow of Plasmacluster ions to target specific areas or strong odors. Activate it by pressing the dedicated button on the control panel.
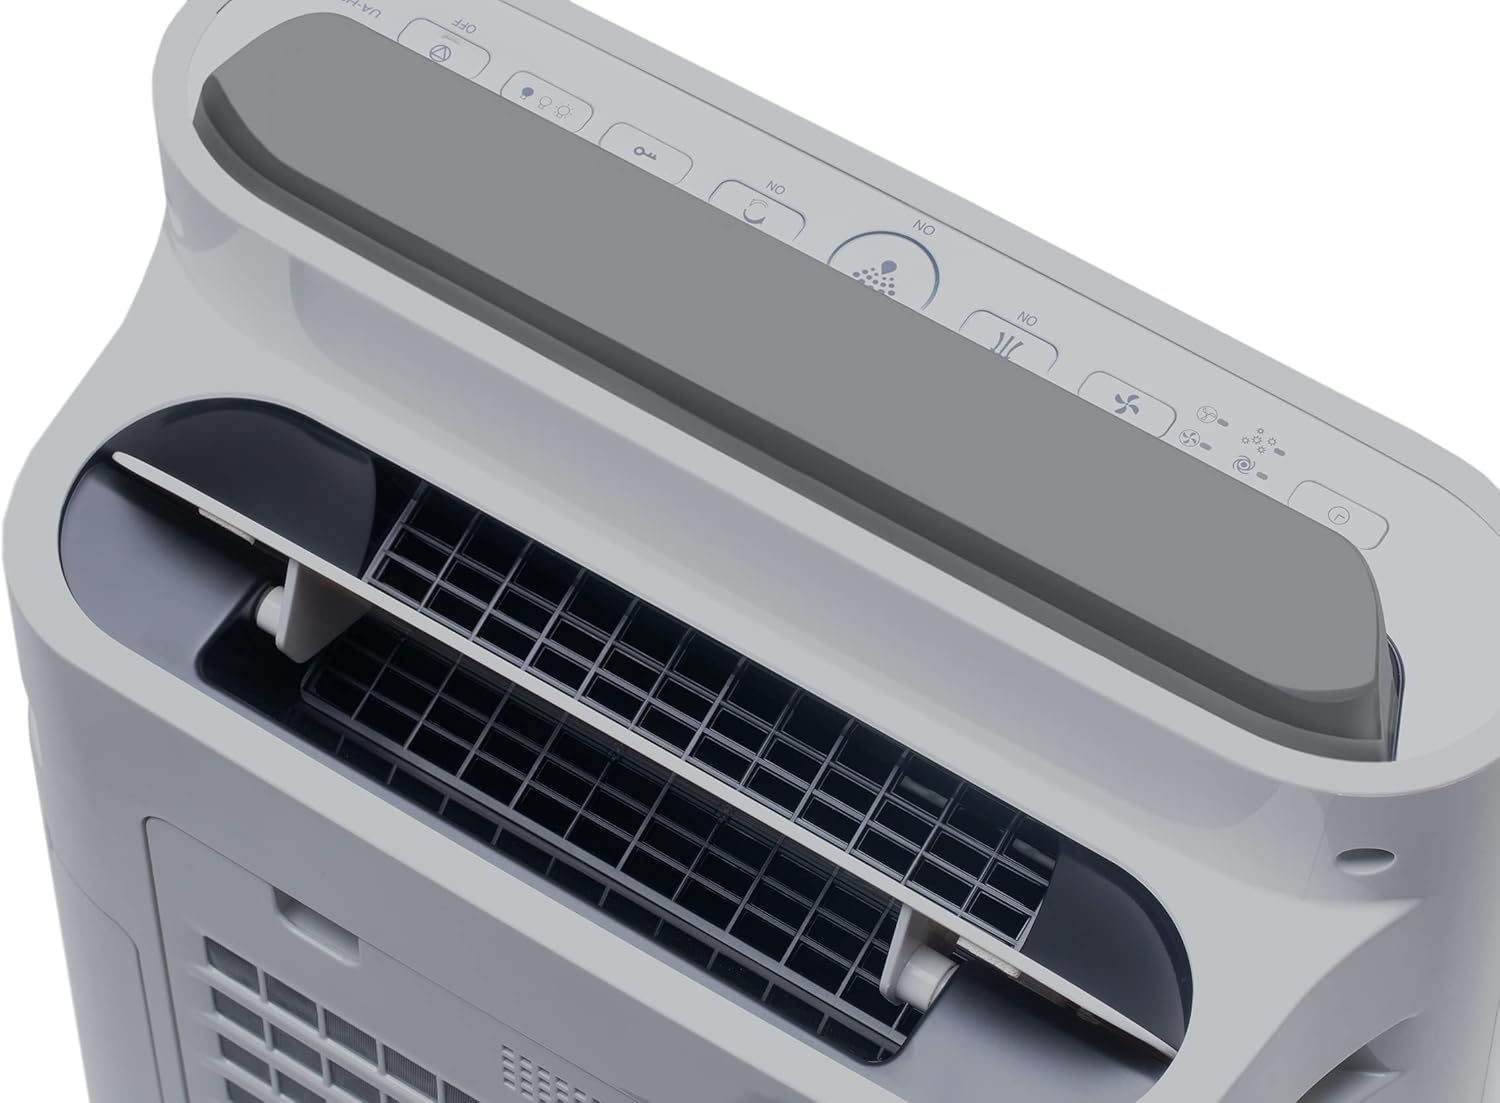
Figure 5.2: Visual representation of Plasmacluster ions being dispersed into the room, indicating the Ion Spot Mode's enhanced air circulation.
5.4 Cyrkulacja powietrza
The unit features 20° back air outlets to ensure perfect air circulation throughout the room, effectively distributing purified and humidified air.
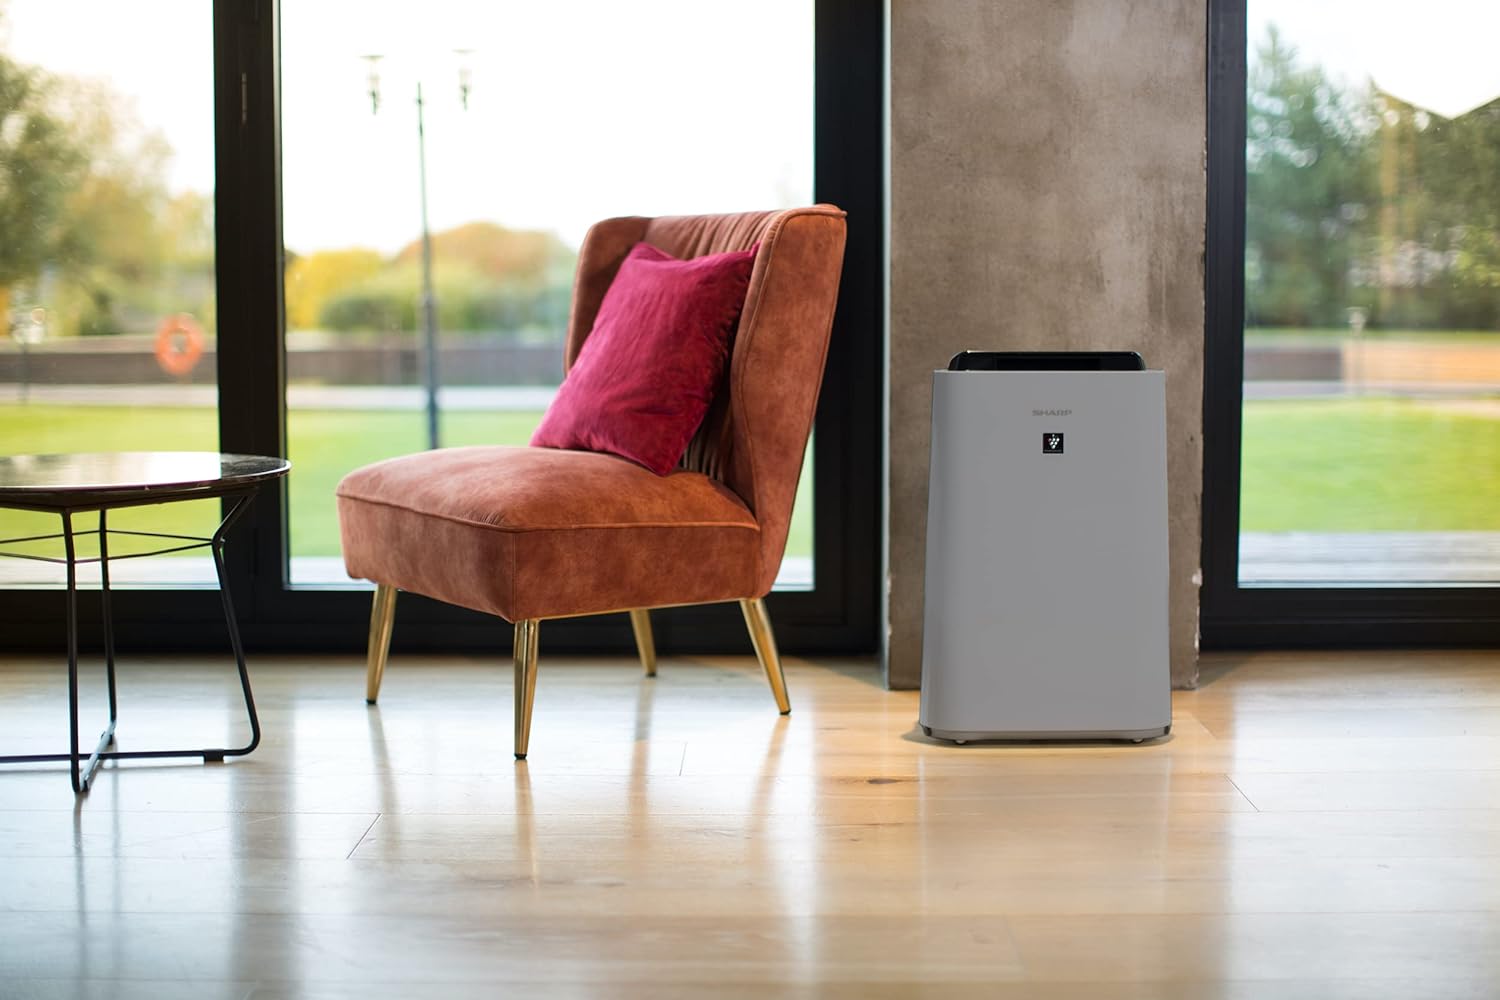
Figure 5.3: A diagram showing the optimal air circulation pattern created by the unit's design, ensuring even distribution of clean air.
6. Konserwacja
Regularna konserwacja zapewnia optymalną wydajność i wydłuża żywotność oczyszczacza powietrza.
6.1 Czyszczenie filtra wstępnego
- The pre-filter should be cleaned approximately once a month, or more frequently if used in dusty environments.
- Remove the rear panel and carefully detach the pre-filter.
- Use a vacuum cleaner to remove dust and debris. For stubborn dirt, wash with mild soap and water, then air dry completely before reinstallation.

Figure 6.1: The pre-filter being removed from the unit, with icons indicating its function against dust and pet hair.
6.2 Deodorization and HEPA Filters (UZ-HD4DF, UZ-HD4HF)
- These filters are not washable and should not be cleaned with water.
- Periodically check for excessive dust accumulation. A vacuum cleaner can be used gently on the surface of the HEPA filter to remove loose dust.
- Replace these filters approximately every 2-5 years, depending on usage and air quality. Refer to the indicator light on the control panel for replacement reminders.

Figure 6.2: The deodorization filter, designed to combat odors such as cigarette smoke and general household smells.
6.3 Humidification Filter (UZ-HD6MF) and Water Tank
- Clean the water tank daily or every few days to prevent mold and bacterial growth. Wash with mild detergent and rinse thoroughly.
- The humidification filter should be cleaned regularly (e.g., weekly) by rinsing under running water. If mineral deposits accumulate, soak the filter in a descaling solution (e.g., citric acid solution) as per product instructions.
- Replace the humidification filter approximately once a year, or when it becomes stiff or discolored.
6.4 Czyszczenie zewnętrzne
- Wytrzyj obudowę urządzenia miękką, damp ściereczka. Nie należy używać środków czyszczących o właściwościach ściernych ani rozpuszczalników.
7. Rozwiązywanie Problemów
Jeśli napotkasz jakiekolwiek problemy, zapoznaj się z poniższymi, często spotykanymi problemami i ich rozwiązaniami.
| Problem | Możliwa przyczyna | Rozwiązanie |
|---|---|---|
| Jednostka się nie włącza. | Power cord not properly connected; Power outage. | Ensure power cord is securely plugged in; Check household circuit breaker. |
| Słaby przepływ powietrza. | Clogged pre-filter; Blocked air inlets/outlets. | Clean the pre-filter; Ensure nothing is obstructing air passages. |
| Brak nawilżania. | Water tank empty; Humidification filter clogged or improperly installed. | Refill water tank; Clean or correctly install humidification filter. |
| Unusual odor from unit. | Dirty filters; Stagnat woda w zbiorniku. | Clean/replace filters; Clean water tank and humidification filter. |
| Głośny hałas podczas pracy. | Foreign object in fan; Unit not on a stable surface. | Turn off and unplug, check for obstructions; Place on a flat, stable surface. |
Jeśli po wypróbowaniu tych rozwiązań problem nadal występuje, skontaktuj się z obsługą klienta.
8. Specyfikacje
| Marka | Ostry |
| Numer modelu | UA-HD50E-L |
| Kolor | Jasnoszary |
| Wymiary (dł. x szer. x wys.) | Wymiary 39.9 x 23 x 61.5 cm |
| Waga | 7.9 kilograma |
| Pojemność zbiornika na wodę | 1 litrów |
| Moc | 3600 (Please refer to product label for actual wattage) |
| Tomtage | 220 wolty |
| Tworzywo | Plastikowy |
| Funkcja automatycznego wyłączania | Tak |
| Poziom hałasu | 23 decybeli |
| Typ filtra | HEPA |
| Metoda kontroli | Dotyk, sterowanie przyciskami |
| Room Coverage (Purification) | Do 38 m² |
| Room Coverage (with Humidification) | Do 27 m² |
9. Gwarancja i wsparcie
Sharp provides a warranty for this product in accordance with local regulations. Please retain your proof of purchase for warranty claims.
- Dostępność części zamiennych: Części zamienne do tego modelu są dostępne przez okres 2 lat od daty zakupu.
- For technical support, service, or to purchase replacement filters, please contact your local Sharp authorized dealer or visit the official Sharp webstrona.