
1. Wprowadzenie
This manual provides essential instructions for the proper setup, operation, and maintenance of your Compustar 1WG9R-SP 1-Way Replacement Remote. Please read this manual thoroughly before use to ensure optimal performance and longevity of your device.
2. Koniec produktuview
The Compustar 1WG9R-SP is a genuine 1-way replacement remote designed for use with compatible Compustar vehicle remote start systems. While it may work with certain two-way systems, it will only provide 1-way functionality. This remote features a durable black casing and three control buttons for various functions.
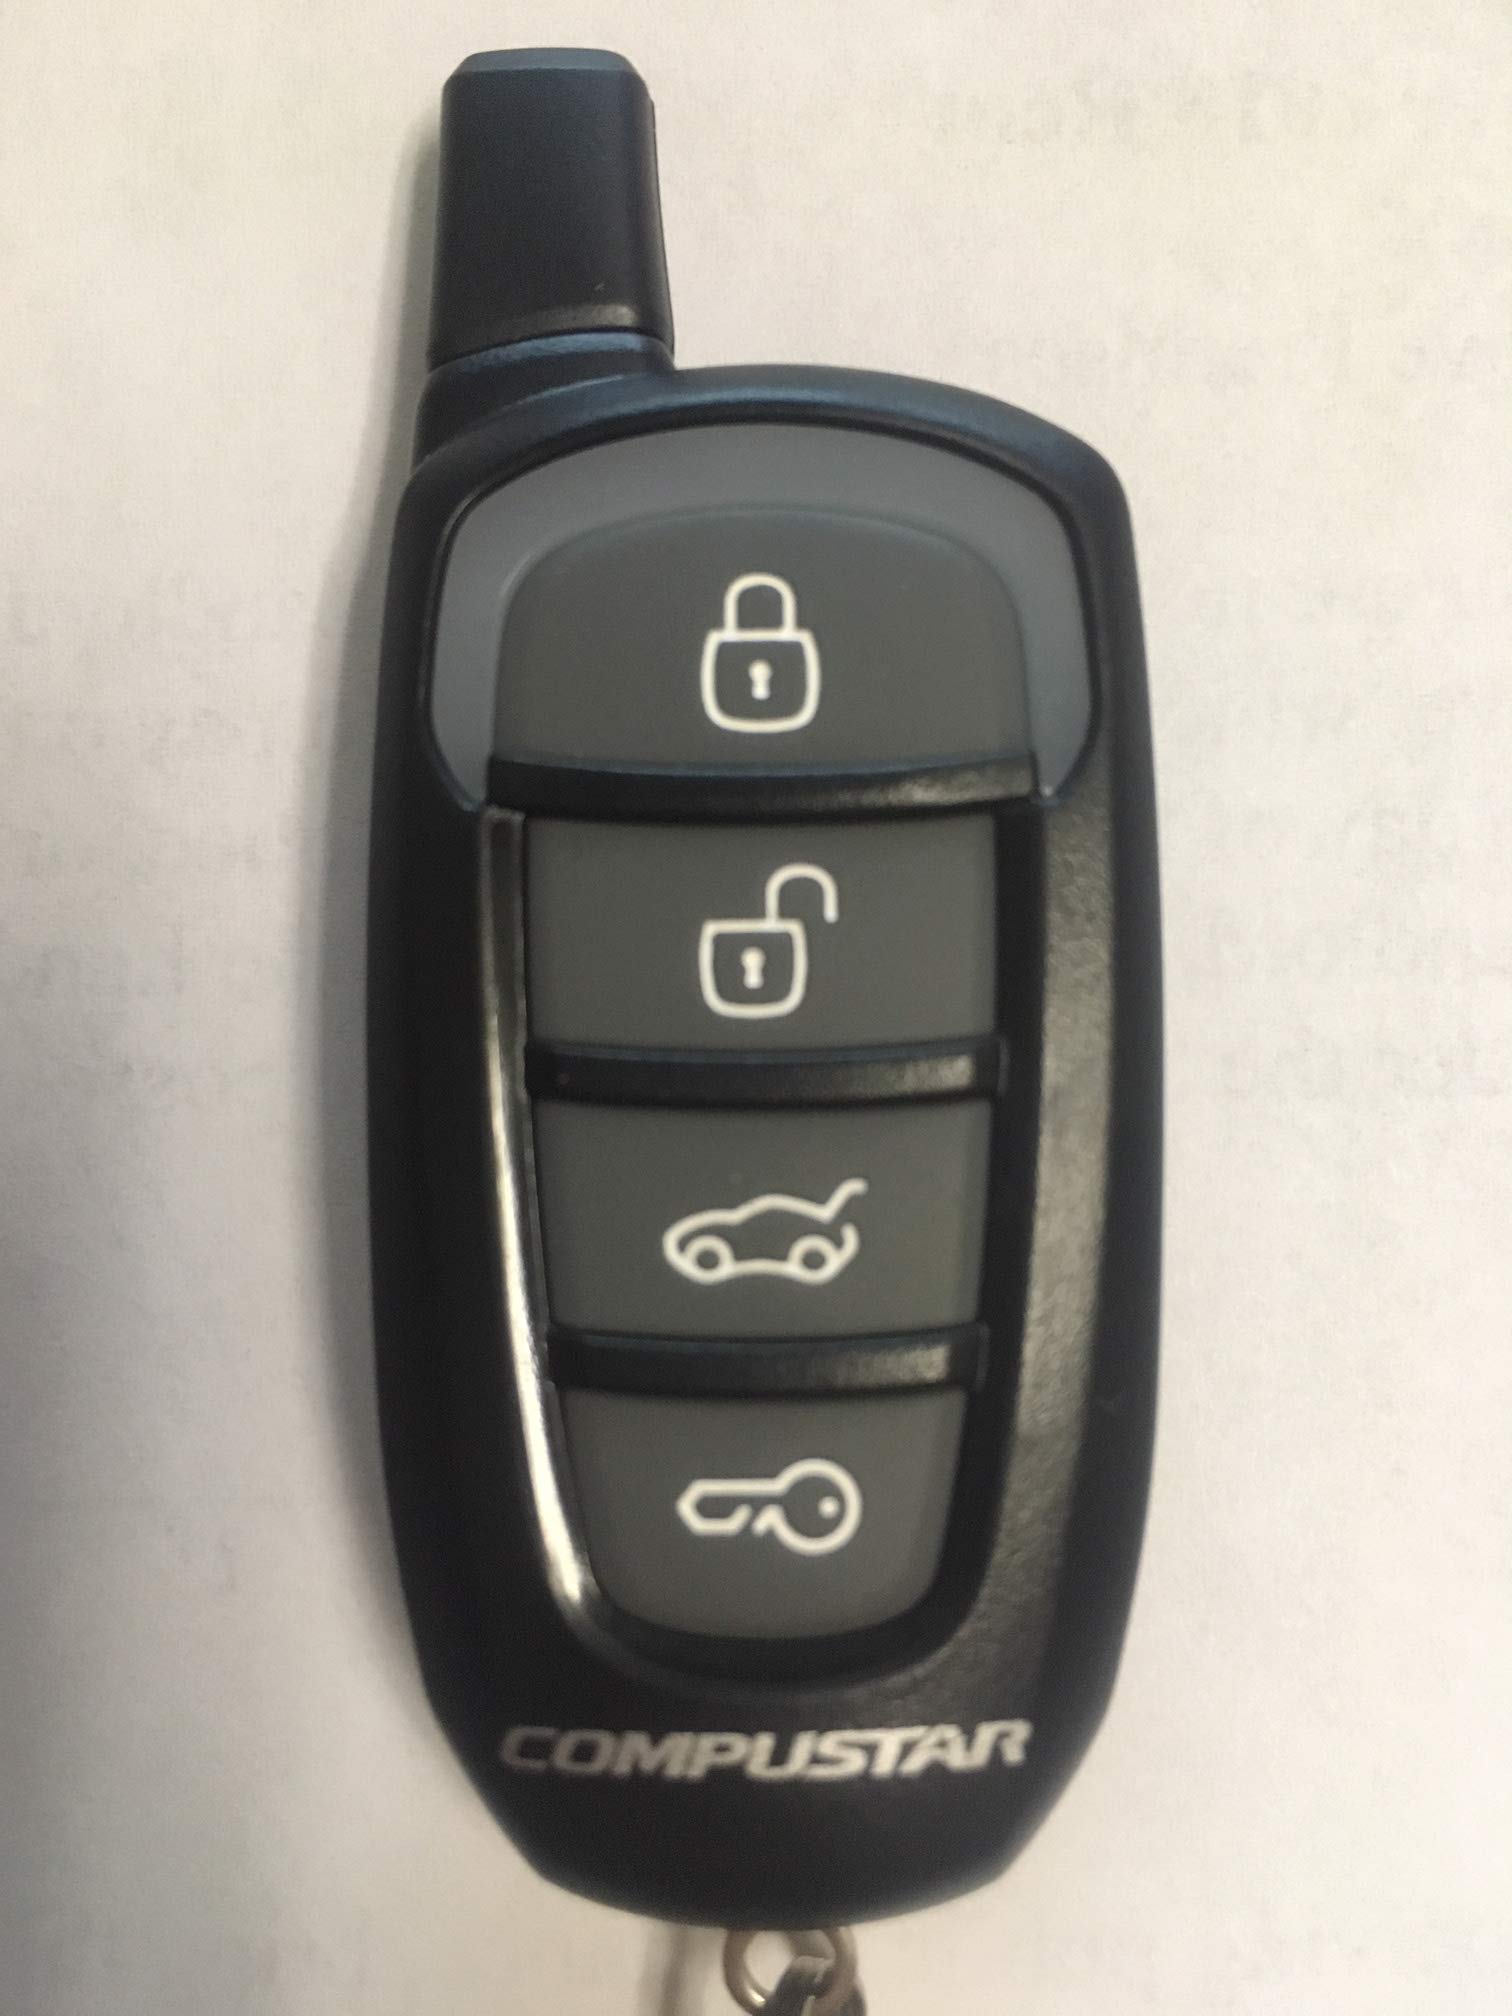
Figure 1: Compustar 1WG9R-SP 1-Way Replacement Remote. This image shows the front of the remote with its three buttons and Compustar branding.
Główne cechy:
- Genuine Compustar replacement part.
- 1-way communication for basic remote functions.
- Ergonomiczny kształt dla wygodnej obsługi.
- Includes programming instructions for easy setup.
3. Setup: Programming Instructions
This section outlines the general steps for programming your new Compustar 1WG9R-SP remote to your vehicle's system. Specific steps may vary slightly depending on your vehicle and installed Compustar system. It is recommended to consult your vehicle's owner's manual or a professional installer if you encounter difficulties.
- Locate the Valet Switch: Identify the Valet switch in your vehicle. This is typically a small button located near the steering column, under the dash, or in the fuse box area.
- Wejdź w tryb programowania:
- Przekręć kluczyk w stacyjce w pozycję ON position (do not start the engine).
- Within 5 seconds, press and release the Valet switch five (5) times.
- The vehicle's parking lights will flash once, indicating the system is in programming mode.
- Zaprogramuj pilota:
- While the system is in programming mode, press and hold the ZAMEK button on your new 1WG9R-SP remote for approximately 2 seconds.
- Release the button. The vehicle's parking lights will flash once to confirm the remote has been programmed.
- Wyjście z trybu programowania:
- Przekręć kluczyk w stacyjce w pozycję WYŁĄCZONY pozycja.
- Alternatively, the system will automatically exit programming mode after 10-15 seconds of inactivity.
- Przetestuj pilota: After exiting programming mode, test all functions of your new remote to ensure it operates correctly.
Notatka: If you are programming multiple remotes, repeat step 3 for each additional remote while the system remains in programming mode. The system can typically store up to 4 remotes.
4. Instrukcja obsługi
The Compustar 1WG9R-SP remote features three primary buttons for controlling your vehicle's remote start system. The exact functions may vary based on your system's configuration.
- Przycisk blokujący (I):
- Press once to lock the vehicle doors.
- Press and hold for 2 seconds to remote start the vehicle (if configured).
- Przycisk odblokowania (II):
- Press once to unlock the vehicle doors.
- Press and hold for 2 seconds to remote stop the vehicle (if configured).
- Auxiliary/Trunk Button (III):
- Press once to activate an auxiliary function (e.g., trunk release, power sliding door). Functionality depends on system installation.
Ważny: Ensure you are within range of your vehicle for the remote commands to be received.
5. Konserwacja
Wymiana baterii
The 1WG9R-SP remote uses two Lithium Metal batteries. When the remote's range decreases significantly or it stops responding, it's likely time to replace the batteries.
- Otwórz Remote Casing: Carefully pry open the remote casing using a small flat-head screwdriver or a plastic prying tool. Look for a small notch on the side of the remote.
- Wyjmij stare baterie: Note the orientation of the existing batteries. Gently remove the old batteries from their compartment.
- Włóż nowe baterie: Insert two new Lithium Metal batteries, ensuring they are placed with the correct polarity (+/-) as indicated inside the battery compartment.
- Zamknij Casing: Carefully snap the remote casinz powrotem, upewniając się, że jest bezpiecznie zamknięta.
- Funkcjonalność testu: Test the remote's functions to confirm proper operation.
Ostrożność: Dispose of old batteries responsibly according to local regulations. Do not expose batteries to excessive heat or open flame.
6. Rozwiązywanie Problemów
If you experience issues with your Compustar 1WG9R-SP remote, refer to the following common problems and solutions:
| Problem | Możliwa przyczyna | Rozwiązanie |
|---|---|---|
| Pilot nie odpowiada. | Dead or low batteries. Remote out of range. Not programmed correctly. | Replace batteries. Move closer to the vehicle. Re-program the remote (refer to Section 3). |
| Zmniejszony zasięg działania. | Niski poziom baterii. Zakłócenia środowiskowe. | Replace batteries. Avoid areas with high radio frequency interference. |
| Vehicle does not remote start. | Vehicle not in park/neutral. Hood open. Brake pedal pressed. System error. | Ensure all safety conditions are met. Check vehicle dashboard for warnings. Consult a professional installer. |
7. Specyfikacje
| Funkcja | Szczegół |
|---|---|
| Marka | Compustar |
| Nazwa modelu | 1WG9R-SP |
| Typ kontrolera | Sterowanie przyciskami |
| Liczba przycisków | 3 |
| Technologia łączności | Podczerwony |
| Kompatybilne urządzenia | Vehicle Remote Start System |
| Maksymalna liczba obsługiwanych urządzeń | 1 (per programming slot) |
| Typ baterii | Lit metaliczny |
| Liczba baterii | 2 (w zestawie) |
| Kolor | Czarny |
| Cechy specjalne | Ergonomic |
| UPC / GTIN | 707568975831 |
8. Gwarancja i wsparcie
Specific warranty information for the Compustar 1WG9R-SP remote is not provided within this manual. For details regarding warranty coverage, terms, and conditions, please refer to the documentation included with your original Compustar system or visit the official Compustar webstrona.
For technical support, troubleshooting beyond this guide, or to locate an authorized Compustar dealer for professional assistance, please contact Compustar customer service or visit their official support channels.
Zastrzeżenie: Compustar is not responsible for damages or malfunctions caused by improper installation, unauthorized modifications, or misuse of the product.