
Wstęp
Thank you for choosing the MASO 1080P HD Car DVR Dash Cam. This device is designed to record your driving journey in high definition, providing crucial evidence in case of incidents and enhancing your overall road safety. Please read this manual carefully before operating the device to ensure proper use and optimal performance.
This dash cam features 1080P Full HD recording, a 2.5-inch TFT LCD screen, G-Sensor functionality for automatic incident detection, loop recording, and night vision capabilities. It supports up to a 32GB TF card (not included).
Co jest w pudełku
Po otwarciu opakowania należy sprawdzić, czy zawiera ono wszystkie poniższe elementy:
- 1 x MASO Car DVR (High Definition Version)
- 1 x kabel USB
- 1 x Uchwyt przyssawkowy
- 1 x Instrukcja obsługi
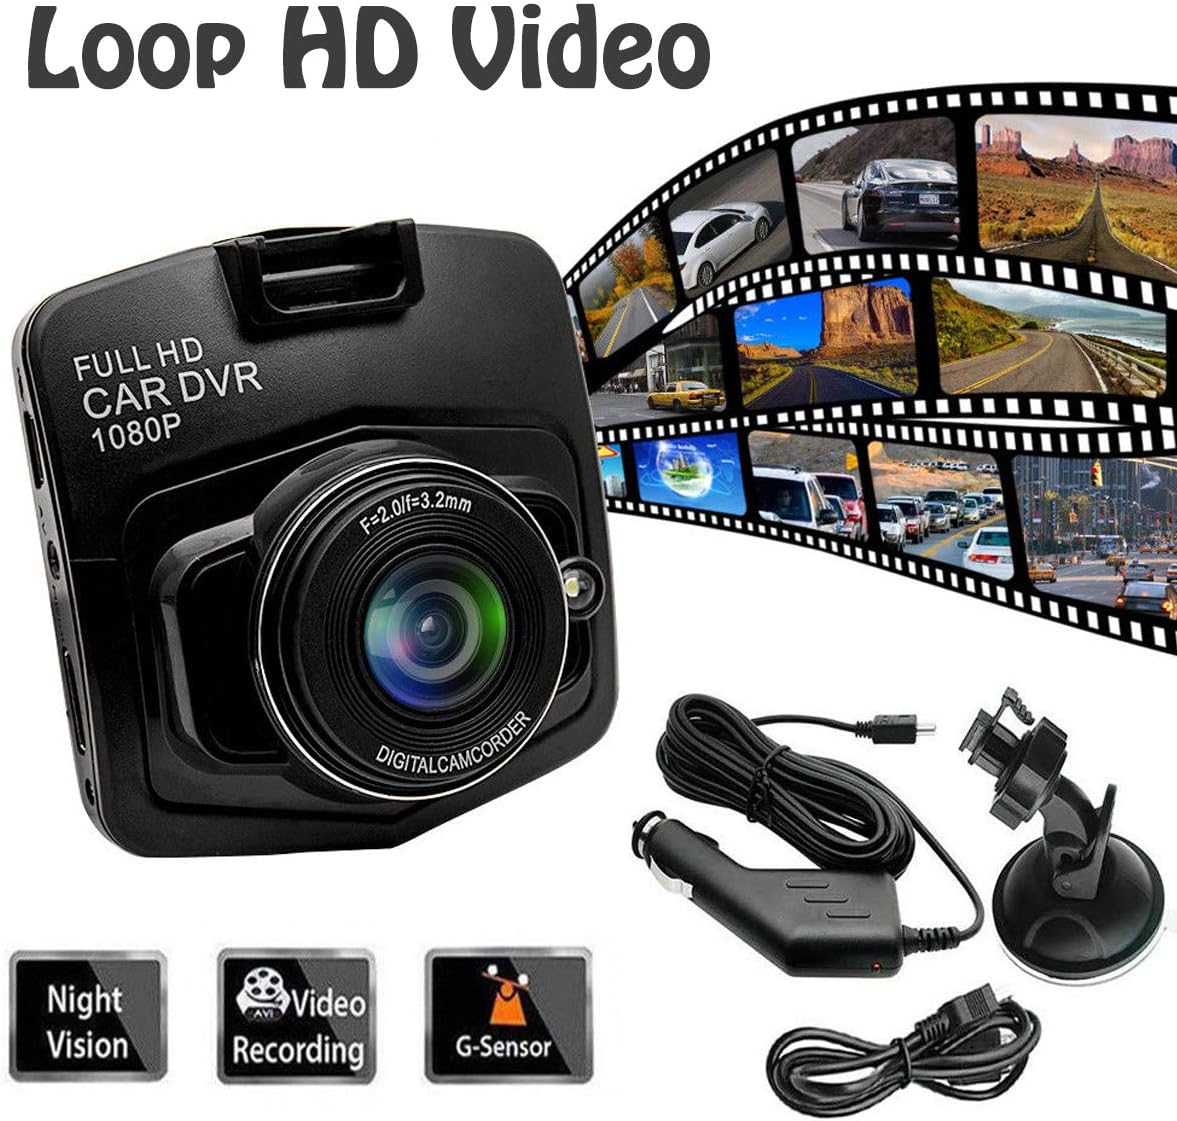
Rysunek 1: Zawartość opakowania. This image displays the MASO Car DVR, USB cable, suction mount, and user manual, which are included in the product package.
Specyfikacje
| Nazwa produktu | 1080P Full High Definition Dash Cam |
| Tworzywo | Plastikowy |
| Kolor | Czarny |
| Aktualny | 0.5 A |
| Tomtage | Prąd stały 5 V |
| Moc | 2.5 W |
| Rozmiar produktu | 9 x 7 x 4 cm (około 3.54 x 2.76 x 1.57 cala) |
| Wyświetlacz | 2.5-inch TFT LCD Screen |
| Rozdzielczość przechwytywania wideo | 1080p |
| Pole View | 170 stopni |
| Cechy specjalne | G-Sensor, Night Vision, Loop Recording, Motion Detection |
| Łączność | USB |
| Składowanie | Obsługuje karty TF o pojemności do 32 GB (brak w zestawie) |

Rysunek 2: Wymiary produktu. This image shows the MASO Dash Cam with its approximate dimensions of 60mm x 60mm.
Instrukcje konfiguracji
Follow these steps to properly install your MASO Dash Cam in your vehicle:
- Przygotuj kartę MicroSD: Insert a compatible MicroSD card (up to 32GB, Class 10 or higher recommended) into the dash cam's card slot. Ensure the card is formatted before first use (refer to the "Operating Instructions" section for formatting).
- Zamontuj uchwyt przyssawkowy: Securely attach the suction mount to the dash cam.
- Montaż kamery samochodowej: Adhere the dash cam with the suction mount to the front windshield, ideally behind the rearview lustro, upewniając się, że nie zasłania ono view.
- Poprowadź kabel zasilający: Carefully route the USB power cable along the front upper edge of the windshield and down the A-pillar.
- Podłącz do zasilania: Insert the cigarette lighter adapter into your vehicle's 12V power outlet and connect the USB cable to the adapter and the dash cam.
- Dostosuj kąt kamery: Power on the vehicle and adjust the camera lens to capture the desired view drogi przed nami.
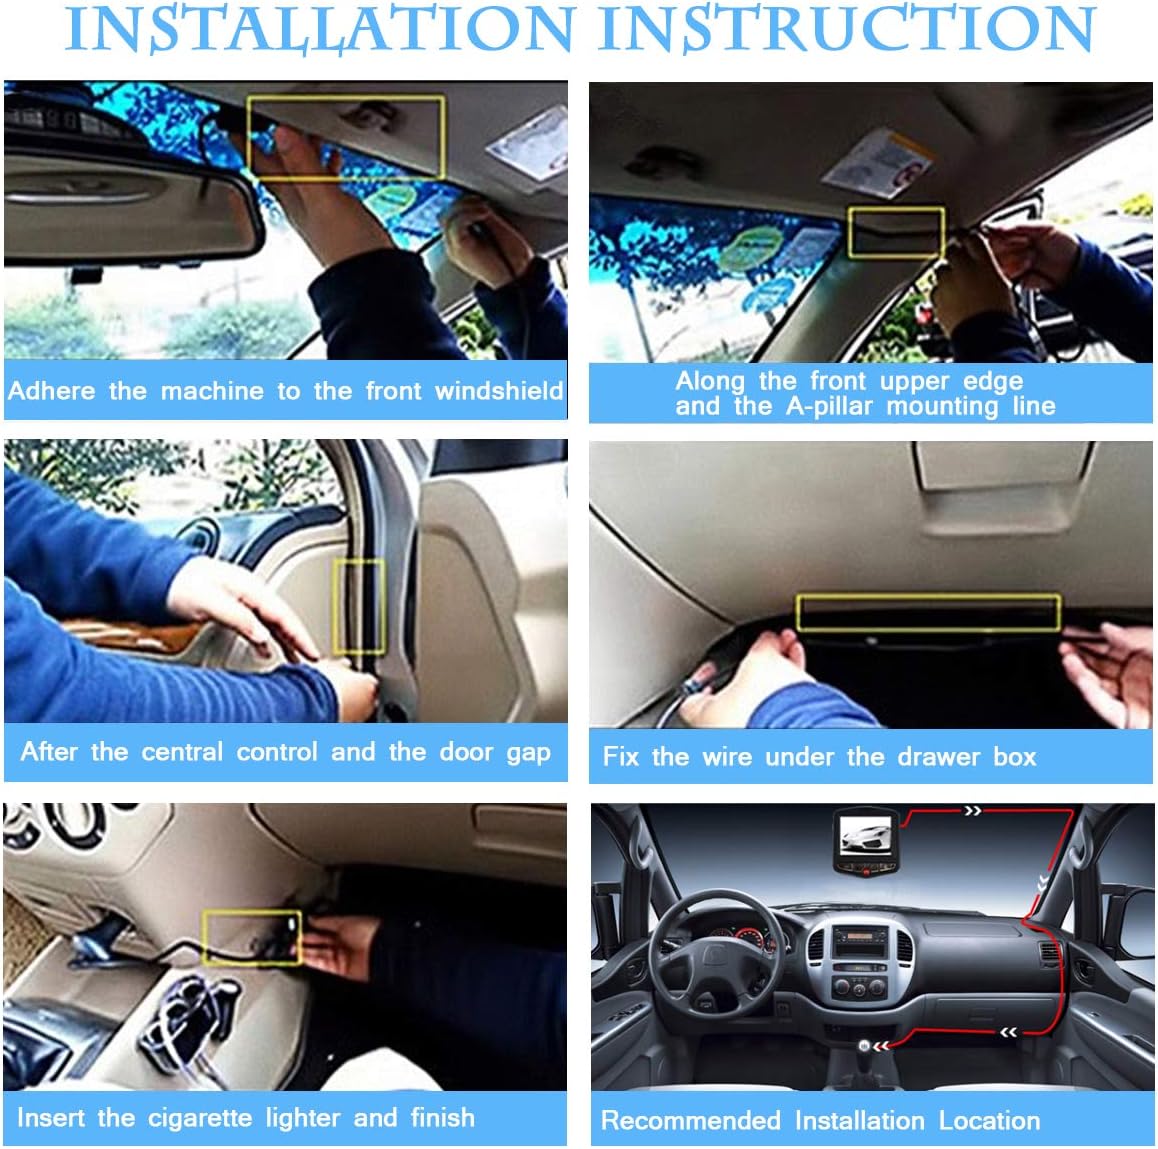
Rysunek 3: Etapy instalacji. This image illustrates the recommended installation process, including mounting the device, routing the cable, and connecting to the power source.
Instrukcja obsługi
Włączanie/wyłączanie zasilania
- The dash cam will automatically power on and begin recording when your vehicle's ignition is turned on (if connected to a switched power source).
- Urządzenie wyłączy się automatycznie wkrótce po wyłączeniu zapłonu.
- Aby ręcznie włączyć/wyłączyć zasilanie, naciśnij i przytrzymaj przycisk zasilania.
Tryby nagrywania
- Nagrywanie w pętli: The dash cam continuously records video in segments (e.g., 1, 3, or 5 minutes). When the memory card is full, it automatically overwrites the oldest unlocked footage.
- Czujnik G (nagrywanie awaryjne): In the event of a sudden impact or collision, the built-in G-Sensor will detect the event and automatically lock the current video segment, preventing it from being overwritten by loop recording. This footage is saved in a separate "Event" folder.
- Detekcja ruchu: When enabled, the dash cam will automatically start recording if it detects motion in front of the vehicle while parked. This feature requires a continuous power supply (e.g., hardwiring kit, not included) to function when the vehicle is off.
- Widzenie nocne: The dash cam is equipped with night vision technology to enhance video clarity in low-light conditions.

Figure 4: G-Sensor Function. This image highlights the G-Sensor's ability to lock and save important video footage with a single button press during an event.

Rysunek 5: Widzenie dzienne i nocne. This image demonstrates the dash cam's performance in both bright daylight and low-light night conditions.
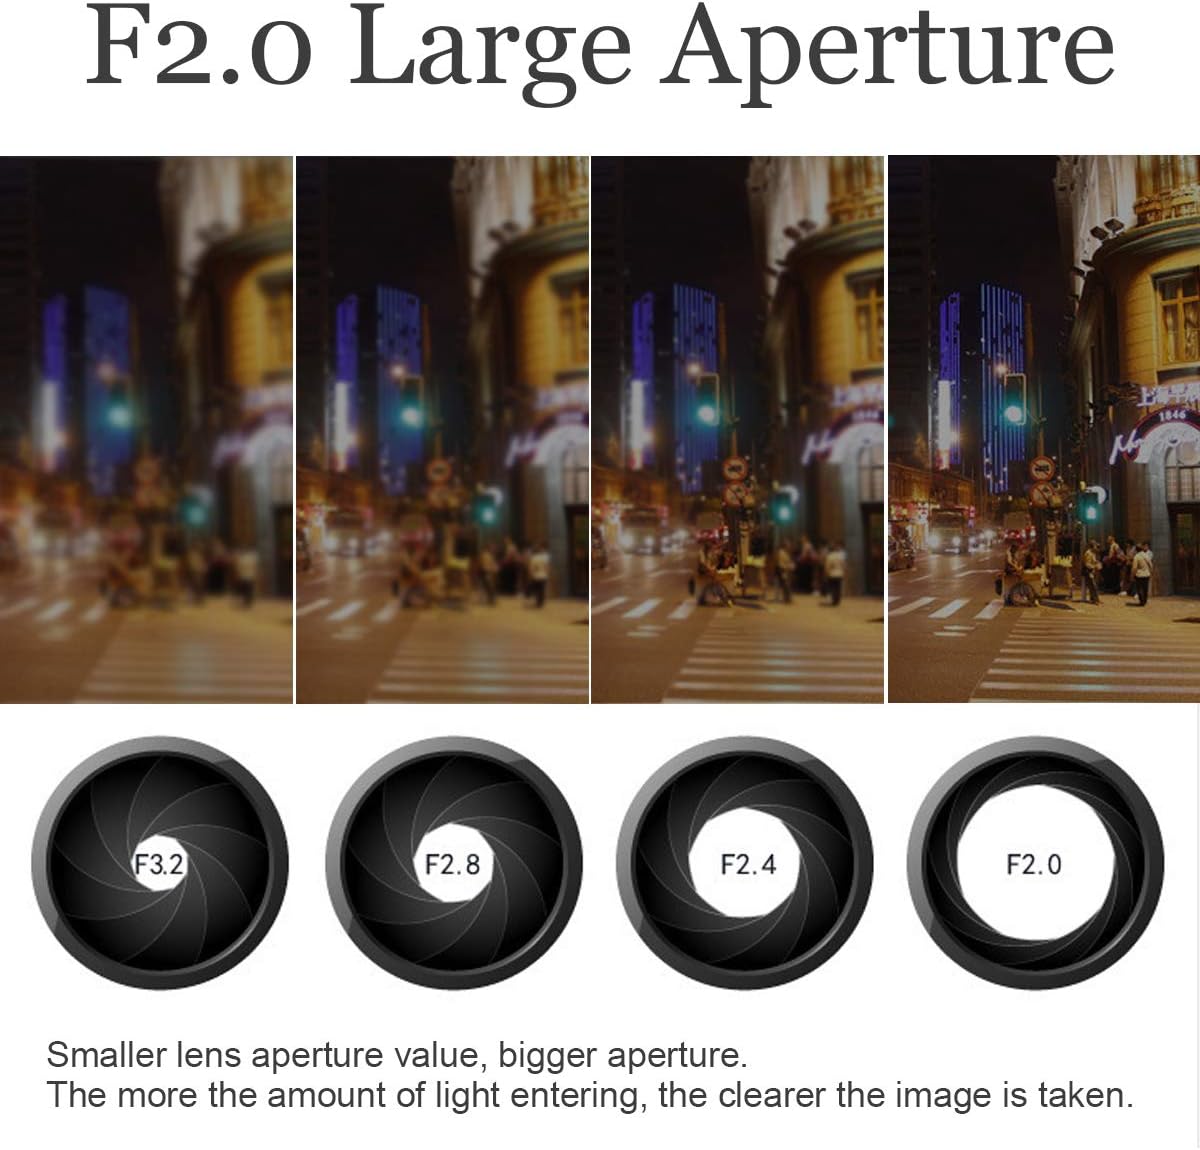
Figure 6: F2.0 Large Aperture. This image explains how a larger aperture (F2.0) allows more light to enter the lens, resulting in clearer images, especially in low light.
Nawigacja po menu
Use the buttons on the dash cam to navigate through the menu options. Common settings include:
- Rezolucja: Set video recording quality (e.g., 1080P, 720P).
- Nagrywanie w pętli: Adjust segment length (e.g., Off, 1 min, 3 min, 5 min).
- Czułość czujnika G: Adjust the sensitivity of the G-Sensor (Low, Medium, High, Off). Higher sensitivity means it will trigger more easily.
- Detekcja ruchu: Włącz lub wyłącz tę funkcję.
- Data/Godzina Śwamp: Enable or disable the display of date and time on recorded videos.
- Sformatuj kartę SD: Erase all data on the MicroSD card. This is recommended periodically.
Konserwacja
- Wyczyść obiektyw: Regularly clean the camera lens with a soft, lint-free cloth to ensure clear video quality. Avoid abrasive materials.
- Sformatuj kartę MicroSD: It is recommended to format the MicroSD card every 2-4 weeks to maintain optimal recording performance and prevent data corruption. Back up any important files przed formatowaniem.
- Sprawdź mocowanie: Periodically check that the suction mount is securely attached to the windshield.
- Temperatura: Unikaj wystawiania kamery samochodowej na działanie ekstremalnych temperatur przez dłuższy czas, ponieważ może to wpłynąć na żywotność baterii i wydajność urządzenia.
Rozwiązywanie problemów
| Problem | Możliwe rozwiązanie |
|---|---|
| Kamera samochodowa nie włącza się. |
|
| Kamera samochodowa przestaje nagrywać lub wyświetla komunikat „Karta pełna”. |
|
| Wideotage jest niewyraźne lub niejasne. |
|
| Dash cam does not save date and time. |
|
| G-Sensor jest zbyt czuły lub za mało czuły. |
|
Informacje o gwarancji
MASO products typically come with a standard manufacturer's warranty. Please refer to the warranty card included in your package or contact MASO customer support for specific warranty terms and conditions. Keep your purchase receipt as proof of purchase for warranty claims.
Obsługa klienta
If you encounter any issues or have questions not covered in this manual, please contact MASO customer support. You can usually find contact information on the product packaging, the official MASO webna stronie internetowej lub u sprzedawcy.
For online resources, you may visit the MASO Store on Amazon aby uzyskać dodatkowe informacje o produkcie.