Wstęp
Welcome to the world of sewing with your new Janome IT 1028 Glamour mechanical sewing machine. This manual provides essential information for the safe and efficient operation, setup, maintenance, and troubleshooting of your machine. Please read it thoroughly before using the machine to ensure optimal performance and longevity.
The Janome IT 1028 Glamour is designed for ease of use, featuring 12 stitch types, a free arm for circular sewing, an oscillating hook, automatic buttonholes, and adjustable stitch length and width. It also includes a double presser foot lift, feed dog lowering, a thread cutter, a needle threader, and a soft cover for protection.
Instrukcje bezpieczeństwa
Aby ograniczyć ryzyko porażenia prądem elektrycznym, oparzeń, pożaru lub obrażeń ciała:
- Zawsze odłączaj urządzenie od gniazdka elektrycznego natychmiast po użyciu, przed czyszczeniem, zdjęciem obudowy lub wykonywaniem jakichkolwiek czynności serwisowych.
- Nie używaj urządzenia jako zabawki. Należy zachować szczególną ostrożność, gdy urządzenie jest używane przez dzieci lub w ich pobliżu.
- Używaj tego urządzenia wyłącznie zgodnie z jego przeznaczeniem, opisanym w niniejszej instrukcji. Używaj wyłącznie akcesoriów zalecanych przez producenta.
- Never operate this machine if it has a damaged cord or plug, if it is not working properly, if it has been dropped or damaged, or dropped into water.
- Nigdy nie wrzucaj i nie wkładaj żadnych przedmiotów do otworów.
- Nie stosować na zewnątrz.
- Nie należy pracować w miejscach, w których stosuje się produkty w formie aerozolu (sprayu) lub podaje się tlen.
- Trzymaj palce z dala od wszystkich ruchomych części. Należy zachować szczególną ostrożność wokół igły maszyny do szycia.
- Zawsze używaj właściwej płytki igłowej. Niewłaściwa płytka może spowodować złamanie igły.
- Nie używaj wygiętych igieł.
- Nie ciągnij ani nie popychaj materiału podczas szycia. Może to spowodować odchylenie igły i jej złamanie.
- Wyłącz maszynę do szycia podczas dokonywania jakichkolwiek regulacji w okolicy igły, takich jak nawlekanie igły, wymiana igły, nawlekanie szpulki lub wymiana stopki dociskowej.
- Always unplug the machine when removing the light bulb.
- Nie odłączaj, ciągnąc za przewód. Aby odłączyć, chwyć za wtyczkę, nie za przewód.
Produkt ponadview
Główne cechy
- 12 Stitch Types: Versatile options for various sewing projects.
- Wolne ramię: Facilitates sewing cuffs, sleeves, and other small, circular items.
- Oscillating Hook: Ensures smooth and consistent stitch formation.
- Regulowana długość i szerokość ściegu: Provides control over stitch appearance.
- Automatic Four-Step Buttonhole: Simplifies the creation of professional-looking buttonholes.
- Double Presser Foot Lift: Allows for sewing thicker fabrics.
- Feed Dog Lowering: Useful for darning and free-motion quilting.
- Obcinacz nici: Conveniently trims threads.
- Nawlekacz igły: Assists in quickly threading the needle.
- Okładka miękka: Protects the machine from dust and damage.
Komponenty maszyn
Familiarize yourself with the main parts of your Janome IT 1028 Glamour sewing machine.

Rycina 1: Przód view of the Janome IT 1028 Glamour sewing machine with the soft cover in place. This image shows the overall design and the stitch selection and length dials.

Rysunek 2: Zbliżenie view of the stitch selector dial (left) and stitch length dial (right) on the Janome IT 1028 Glamour. The decorative illustration on the machine body is also visible.
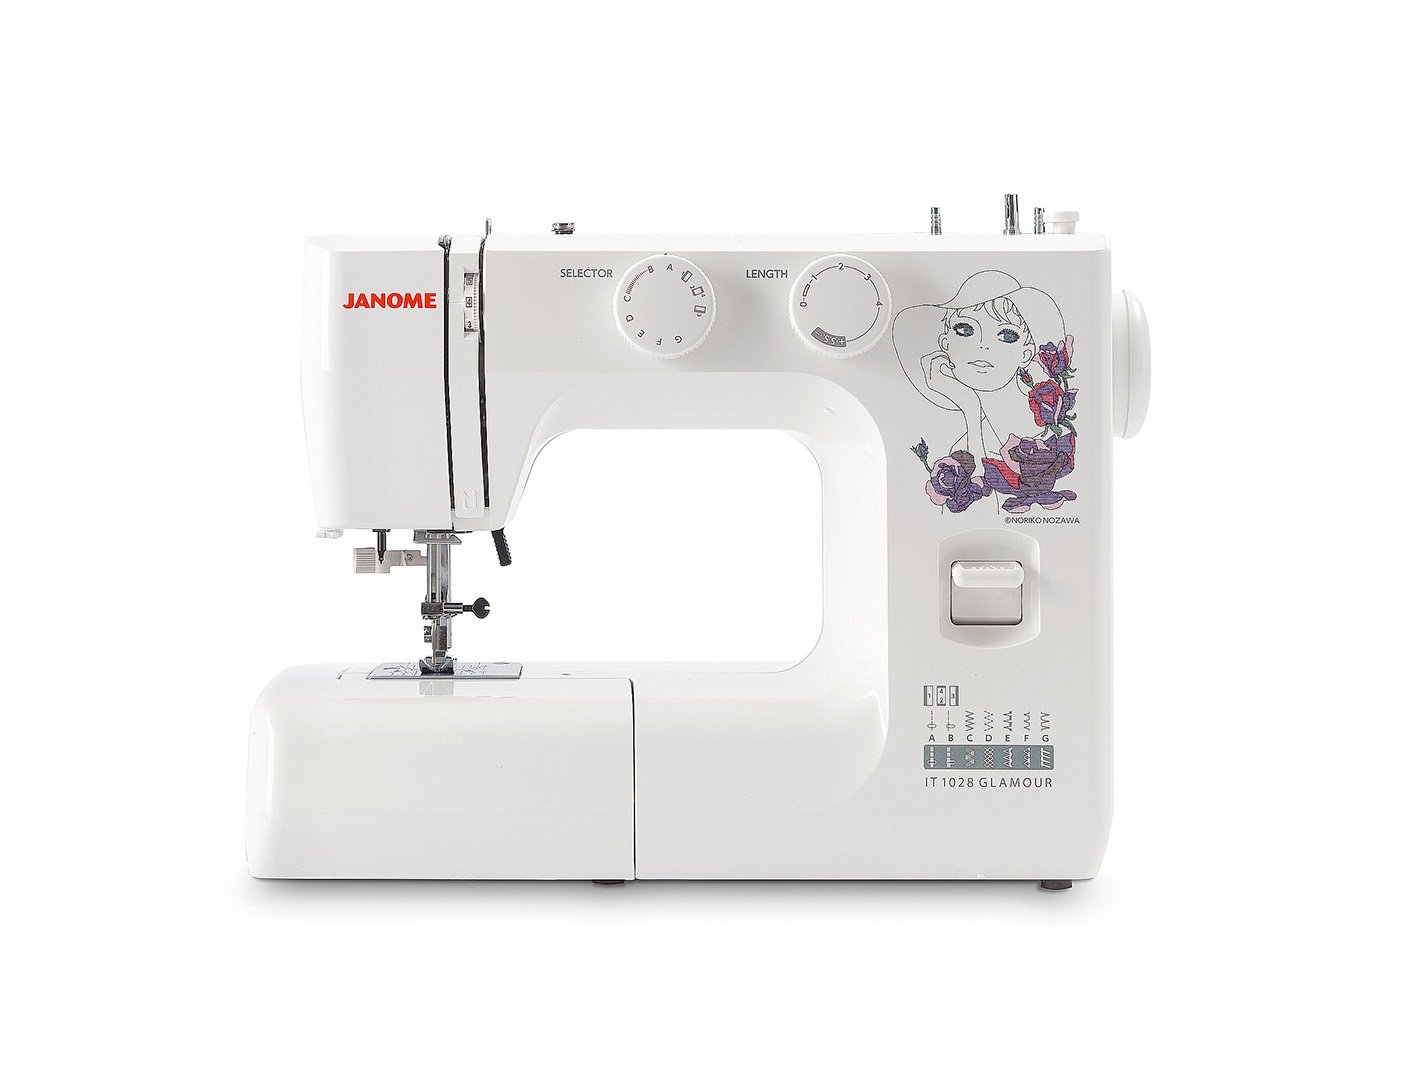
Figure 3: The Janome IT 1028 Glamour sewing machine with the accessory tray removed, revealing the free arm and the bobbin case area. This view is essential for bobbin insertion and cleaning.
Organizować coś
1. Rozpakowanie i ustawienie
- Ostrożnie wyjmij maszynę z opakowania.
- Umieść maszynę na stabilnej, płaskiej powierzchni.
- Usuń wszelkie folie ochronne i materiały opakowaniowe.
2. Podłączenie zasilania
- Upewnij się, że wyłącznik zasilania urządzenia jest ustawiony w pozycji „WYŁ.”.
- Connect the power cord to the machine's power input jack.
- Podłącz przewód zasilający do odpowiedniego gniazdka elektrycznego.
3. Nawijanie szpulki
- Nawiń szpulkę nici na trzpień szpulki.
- Przeprowadź nić przez górny prowadnik nici i wokół tarczy naprężającej szpulkę.
- Przeciągnij nić przez otwór w szpulce od wewnątrz na zewnątrz.
- Załóż szpulkę na wrzeciono nawijacza szpulki i przesuń wrzeciono w prawo.
- Start the machine. The bobbin will wind automatically. Stop when the bobbin is full.
- Cut the thread and push the bobbin winder spindle to the left. Remove the bobbin.
4. Wkładanie szpulki
- Wyłącz maszynę.
- Open the bobbin cover plate located on the free arm.
- Insert the bobbin into the bobbin case with the thread running in the direction indicated by the arrows.
- Pull the thread through the tension spring and into the guide slot.
- Zamknij pokrywę szpulki.
5. Nawlekanie górnej nici
- Podnieś dźwignię stopki dociskowej.
- Nawiń szpulkę nici na trzpień szpulki.
- Przeprowadź nić przez górny prowadnik nici.
- Bring the thread down the right channel, up the left channel, and through the take-up lever from right to left.
- Kontynuuj prowadzenie nici w dół do prowadnika nici igielnicy.
- Use the built-in needle threader or manually thread the needle from front to back.
- Przeciągnij około 6 cm nici przez ucho igły.
6. Podnoszenie nici szpulkowej
- Lekko przytrzymaj górną nić lewą ręką.
- Turn the handwheel towards you to lower the needle into the needle plate and then raise it.
- Górna nić zaczepia nić szpulkową, tworząc pętlę.
- Pociągnij za pętlę, aby przeciągnąć nić szpulkową przez otwór w płytce ściegowej.
- Przeciągnij obie nici (górną i szpulkę) pod stopką dociskową w kierunku tylnej części maszyny.
Instrukcja obsługi
1. Wybór ściegu
Włącz Pokrętło wyboru ściegu (refer to Figure 2) to choose your desired stitch pattern. The available stitches are indicated by letters or symbols on the dial.
2. Regulacja długości i szerokości ściegu
- Długość ściegu: Użyj Pokrętło długości ściegu (refer to Figure 2) to adjust the length of your stitches. Higher numbers indicate longer stitches.
- Szerokość ściegu: For stitches that allow width adjustment, use the corresponding dial or setting. (Note: The Janome IT 1028 Glamour has adjustable stitch width, typically integrated with the stitch selector or a separate dial. Consult the machine's markings for specific controls.)
3. Podstawowe szycie
- Umieść materiał pod stopką.
- Opuść podnośnik stopki dociskowej.
- Włącz maszynę.
- Gently press the foot controller to start sewing. The harder you press, the faster the machine will sew.
- Guide the fabric gently with your hands, but do not pull or push forcefully.
- To secure the beginning and end of a seam, use the reverse lever to sew a few stitches backward.
- When finished, raise the needle to its highest position, lift the presser foot, and pull the fabric away from the machine.
- Use the built-in thread cutter or scissors to trim the threads.
4. Korzystanie z wolnego ramienia
To use the free arm, simply slide off the accessory tray (refer to Figure 3). This exposes the narrow free arm, ideal for sewing small, tubular items like sleeves, pant hems, and cuffs.
5. Automatic Four-Step Buttonholes
The Janome IT 1028 Glamour features an automatic four-step buttonhole function. Refer to the stitch selector dial for the buttonhole settings (usually marked with a buttonhole symbol and steps 1-4).
- Załóż stopkę do dziurek.
- Mark the buttonhole position on your fabric.
- Set the stitch selector to the first buttonhole step.
- Zszyj pierwszą stronę dziurki.
- Change the stitch selector to the next step and sew the bar tack.
- Continue through all four steps, following the machine's markings for each segment of the buttonhole.
- Carefully cut open the buttonhole using a seam ripper, ensuring not to cut the stitches.
Konserwacja
1. Czyszczenie maszyny
Regularne czyszczenie pomaga utrzymać wydajność urządzenia. Zawsze odłączaj urządzenie od zasilania przed czyszczeniem.
- Obszar szpulki: Remove the needle plate and bobbin case. Use a small brush to remove lint and dust from the bobbin area and feed dogs.
- Zewnętrzny: Przetrzyj powierzchnie zewnętrzne miękką, suchą ściereczką. Nie używaj silnych środków chemicznych ani ściernych środków czyszczących.
2. Wymiana igły
Regularnie wymieniaj igłę (po 8-10 godzinach szycia) lub jeśli się wygnie, stępie lub uszkodzi. Uszkodzona igła może powodować przeskakiwanie ściegów lub uszkodzenie materiału.
- Wyłącz maszynę i odłącz ją od zasilania.
- Poluzuj igłę clamp wkręt.
- Wyjmij starą igłę.
- Włóż nową igłę płaską stroną skierowaną do tyłu maszyny i wsuń ją tak wysoko, jak to możliwe.
- Dokręć igłęamp dobrze przykręcić.
Rozwiązywanie problemów
W tej sekcji omówiono typowe problemy, które mogą wystąpić. W przypadku problemów, których tutaj nie wymieniono, prosimy o kontakt z obsługą klienta.
| Problem | Możliwa przyczyna | Rozwiązanie |
|---|---|---|
| Pominięte ściegi | Niewłaściwa igła, wygięta igła, nieprawidłowe nawlekanie, nieodpowiedni rozmiar igły do rodzaju materiału. | Replace needle, re-thread machine, ensure correct needle type/size. |
| Zerwanie nici (góra) | Nieprawidłowe nawlekanie, zbyt mocne naprężenie, słaba jakość nici, wygięta igła, zadziory na płytce ściegowej. | Re-thread machine, adjust upper tension, use quality thread, replace needle, check needle plate for damage. |
| Zerwanie nici (szpulki) | Nieprawidłowo nawinięta szpulka, nieprawidłowo założona szpulka, zanieczyszczenia w bębenku, zbyt mocne naprężenie. | Re-wind bobbin, re-insert bobbin correctly, clean bobbin case, adjust bobbin tension (if adjustable). |
| Nierówne ściegi | Incorrect tension settings, pulling/pushing fabric, wrong presser foot. | Adjust tension, guide fabric gently, use appropriate presser foot. |
| Maszyna nie uruchamia się | Niepodłączony, wyłączony, sterownik nożny niepodłączony. | Check power connections, ensure switch is ON, connect foot controller. |
Specyfikacje
- Numer modelu: 8100000017663 (IT 1028 Glamour)
- Marka: JANOM
- Tworzywo: Plastikowy
- Waga: 8 kilograma
- Wymiary (szer. x dł. x wys.): 10 cm x 35 cm x 25 cm (Depth x Width x Height)
- Źródło zasilania: Kabel elektryczny
- Rodzaje ściegów: 12
- Typ haka: Oscylacyjny
- Typ dziurki: Automatic Four-Step
Gwarancja i wsparcie
For warranty information, service, or technical support, please refer to the warranty card included with your product or contact your authorized Janome dealer or customer service center. Keep your purchase receipt as proof of purchase.