1. Wprowadzenie
This manual provides instructions for the installation, operation, and maintenance of the SPARES2GO 6-Function Control Knob, designed as a replacement part for specific Hotpoint-Ariston oven models. Please read these instructions carefully before proceeding with installation or use.
2. Informacje dotyczące bezpieczeństwa
- Odłącz zasilanie: Always ensure the oven's power supply is completely disconnected at the mains before attempting any installation or removal of parts. Failure to do so can result in electric shock or injury.
- Profesjonalna instalacja: Jeśli masz jakiekolwiek wątpliwości, skonsultuj się z wykwalifikowanym technikiem.
- Zachowaj ostrożność: Avoid applying excessive force when installing or removing the knob to prevent damage to the knob or the oven's control shaft.
- Trzymać z dala od dzieci: Przechowuj części zamienne poza zasięgiem dzieci.
3. Koniec produktuview
The SPARES2GO 6-Function Control Knob is a silver-colored replacement part designed for Hotpoint-Ariston ovens. It features six distinct functions, indicated by symbols on its surface, allowing for precise control over various oven settings.
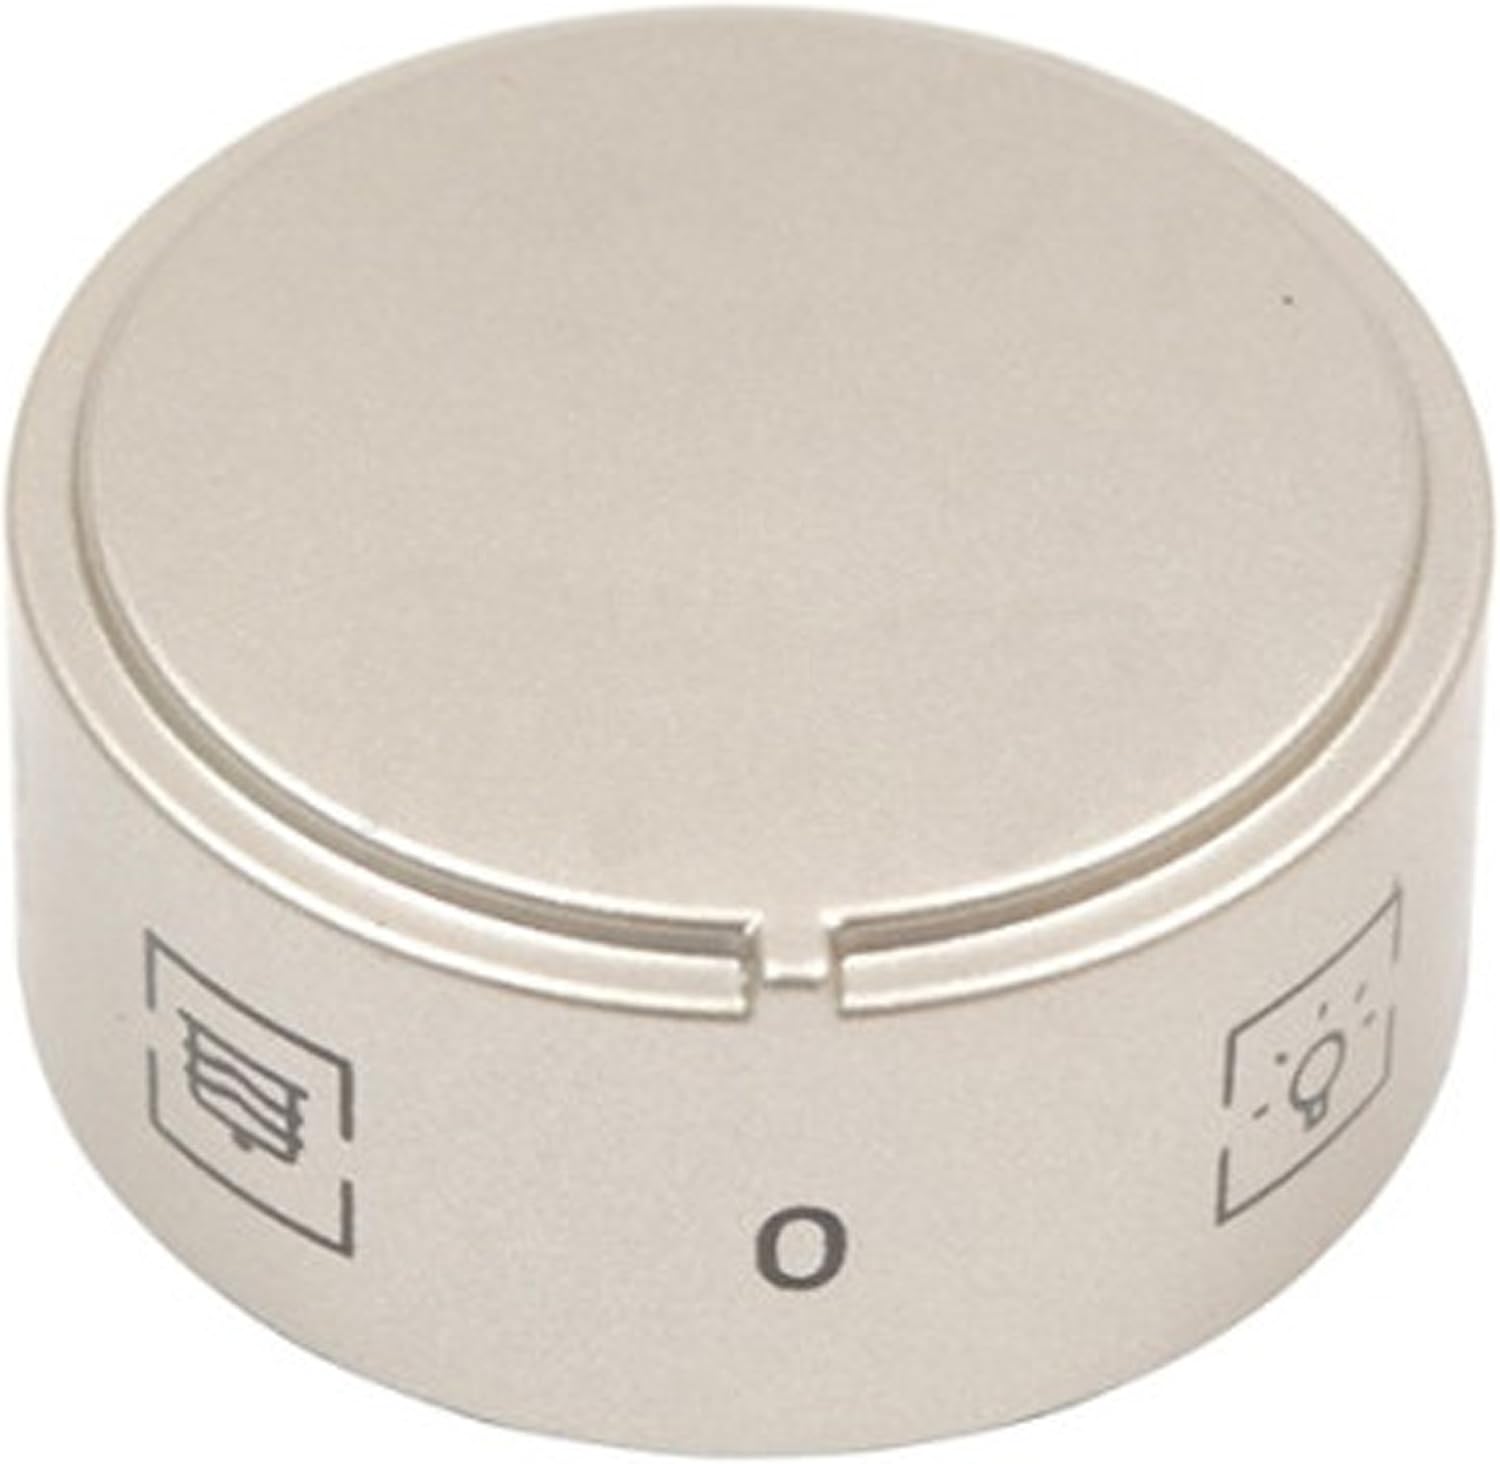
Obraz 1: Przód view of the control knob, showing the 'O' (off) position and symbols for various oven functions such as fan and light.
Zgodność
This control knob is compatible with the following Hotpoint-Ariston oven models:
- C 14S G1 (X) I/HA
- CX65E9 (W) F/HA
- CX65S72 (X) IT/HA H
- CX65SE9(W) F/HA
- CX65SF9 X U /HA
- F 63 C.1 IX /HA
- F 73 C.1 IX /HA
- F 76 C.2 IX /HA
- F HA
- FZ 6 12 C.1 IX /HA
Please verify your oven model number against this list to ensure compatibility.
4. Konfiguracja i instalacja
Follow these steps to replace your oven's control knob:
- Odłącz zasilanie: Before starting, ensure the oven is completely disconnected from the electrical supply.
- Zdejmij starą gałkę: Gently pull the existing control knob straight off the oven's control shaft. It should slide off with moderate force. Do not twist or pry aggressively, as this may damage the shaft.
- Sprawdź wał: Examine the control shaft for any damage or debris. Clean if necessary.
- Wyrównaj nowe pokrętło: The new SPARES2GO control knob has a specific internal shape designed to fit onto the oven's control shaft. Align the internal slot of the new knob with the flat side(s) of the control shaft.
- Montaż nowego pokrętła: Once aligned, push the new knob firmly onto the control shaft until it is seated securely against the oven panel. Ensure it does not wobble and turns smoothly.
- Przywróć zasilanie: Ponownie podłączyć piekarnik do źródła zasilania.
- Funkcjonalność testu: Turn the knob through all its positions to ensure it engages correctly and the corresponding oven functions activate as expected.

Obraz 2: Wewnątrz view of the control knob, illustrating the shape of the shaft receiver for proper alignment during installation.
5. Instrukcja obsługi
The 6-function control knob allows you to select various operating modes for your Hotpoint-Ariston oven. To operate:
- Turn to Select: Rotate the knob clockwise or counter-clockwise to align the indicator mark on the knob with the desired function symbol on the oven's control panel.
- Function Symbols: Common symbols include:
- 'O' (Off): Piekarnik jest wyłączony.
- Light Bulb Symbol: Activates the oven interior light.
- Fan Symbol: Engages the fan for fan-assisted cooking.
- Grill Symbol: Activates the grill element.
- Other symbols may represent conventional heating, bottom heat, or defrost functions. Refer to your oven's main user manual for specific function descriptions.
- Setting Temperature/Time: This control knob primarily selects the function. Temperature and cooking time are typically set using separate controls on your oven.
6. Konserwacja
To ensure the longevity and proper functioning of your control knob:
- Czyszczenie: Clean the knob regularly with a soft, damp cloth. Avoid abrasive cleaners, solvents, or harsh chemicals, as these can damage the finish and symbols.
- Usunięcie w celu czyszczenia: For thorough cleaning, the knob can be gently pulled off the shaft as described in the installation section. Ensure the oven is cool and disconnected from power before removal.
- Unikaj nadmiernej siły: Do not force the knob if it feels stiff. This could indicate an issue with the oven's control shaft or internal mechanism.
7. Rozwiązywanie Problemów
If you encounter issues with your SPARES2GO control knob, consider the following:
- Knob Does Not Turn Smoothly:
- Ensure the knob is correctly seated on the control shaft and not obstructed by debris.
- Check for any damage to the oven's control shaft.
- Knob Falls Off or Is Loose:
- Re-install the knob, ensuring it is pushed firmly onto the shaft until it clicks or seats securely.
- Inspect the internal fitting of the knob and the oven's control shaft for wear or damage. If either is damaged, replacement may be necessary.
- Oven Function Does Not Activate:
- Ensure the knob is correctly aligned with the desired function symbol.
- This issue may indicate a problem with the oven's internal switch or electrical components, not the knob itself. Consult a qualified technician.
8. Specyfikacje
| Producent | SPARES2GO |
| Numer modelu | 03-MTK-681 |
| Waga przedmiotu | 10 gramów |
| Liczba sztuk | 1 |
| Typ uchwytu | Pokrętło |
9. Wsparcie
For further assistance, compatibility inquiries, or to report a defective product, please contact SPARES2GO customer support through their official channels. When contacting support, please provide the model number of your control knob (03-MTK-681) and your oven's specific model number.