
FOXEER Predator Micro V2
Instrukcja obsługi kamery FPV Foxeer Predator Micro V2
Model: Predator Micro V2
Marka: FOXEER
Wstęp
This manual provides detailed instructions for the installation, operation, and maintenance of the Foxeer Predator Micro V2 FPV Camera. Please read this manual thoroughly before using the product to ensure proper functionality and safety.
Produkt ponadview
The Foxeer Predator Micro V2 is a high-performance FPV camera designed for racing drones and other multirotors. It features Super WDR, 1000TVL resolution, and an On-Screen Display (OSD) for easy configuration.

Image: Foxeer Predator Micro V2 FPV Camera, front view.
Główne cechy obejmują:
- Wysoka rozdzielczość: 1000TVL for clear image quality.
- Super WDR: Excellent performance in varying light conditions.
- Niskie opóźnienie: Minimum to 4ms for responsive FPV flying.
- OSD: Built-in On-Screen Display for easy settings adjustment.
- Kompaktowy rozmiar: Lightweight at 5.5g (excluding bracket) and small dimensions (18.6 x 19.0mm).
- Szeroki zakrestage Wprowadź: Supports 5-40V.

Image: Visual representation of the Predator Micro V2 highlighting clearer image quality, brighter dark zones, and new DSY/NIGHT, LED, and V CAL features.
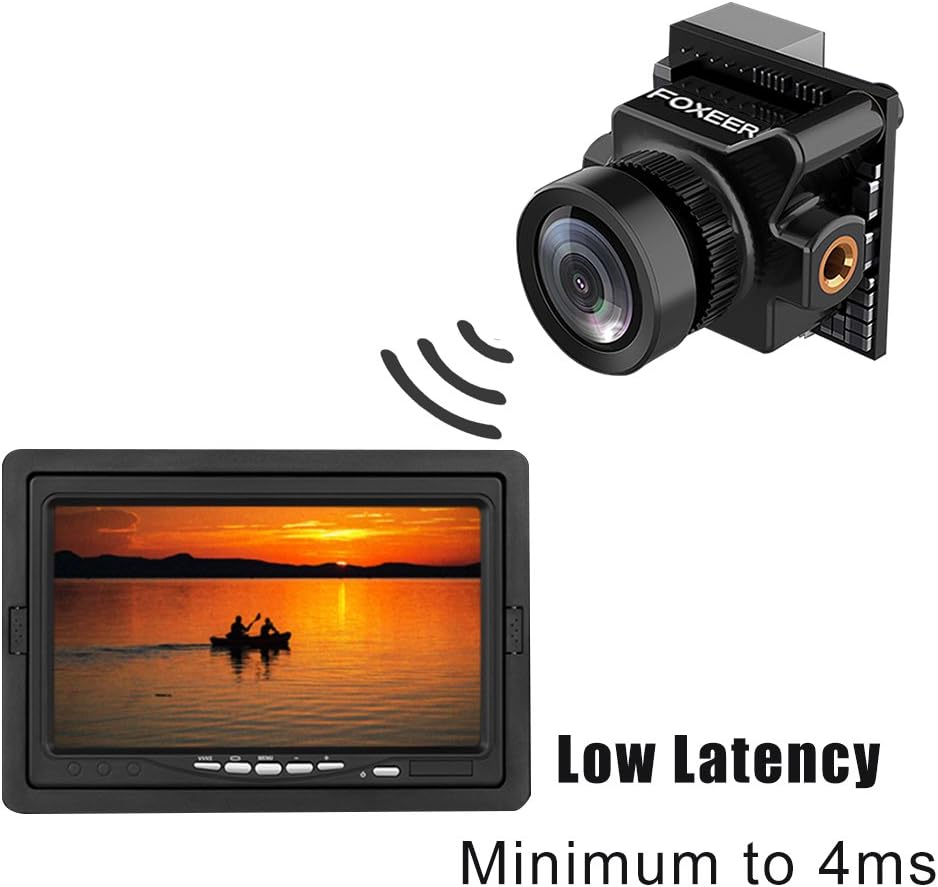
Image: Depiction of the camera's low latency, showing the camera transmitting to a monitor with minimal delay.
Zawartość opakowania
Sprawdź, czy wszystkie wymienione poniżej elementy znajdują się w Twojej paczce. Jeśli brakuje któregokolwiek z nich lub jest on uszkodzony, skontaktuj się ze sprzedawcą.
- 1x Foxeer Predator Micro V2 Camera
- 1x OSD Board
- 1x Servo Cable
- 1x OSD Cable
- 1x Uchwyt
- 4x Gasket Rings
- 4x śruby wspornika
- 2x Case Screws
- 1x Instrukcja obsługi

Image: All components included in the Foxeer Predator Micro V2 package, including the camera, OSD board, cables, bracket, and screws.
Specyfikacje
Detailed technical specifications for the Foxeer Predator Micro V2 FPV Camera:

Image: A table summarizing the technical specifications of the Foxeer Predator Micro V2 camera.
| Funkcja | Specyfikacja |
|---|---|
| Model | Foxeer Predator Micro V2 |
| Rezolucja | 1000TVL |
| System telewizyjny | NTSC |
| CVBS | Ekran 4:3 |
| Utajenie | Minimum to 4ms |
| OSD | Tak |
| WDR | Tak |
| Wejście Voltage | 5-40 V |
| Waga | 5.5g (excluding bracket) |
| Rozmiar | 18.6 x 19.0mm |
| V CAL | Tomtage calibration, range -0.5~0.5 |
| DZIEŃ/NOC | AUTO and Manual |
| Image flip | Off/ H-Flip / V-Flip/ HV-Flip |
| Języki | English/ Deutsch/ Francais / Pyccknn / Portugues / Espanol / Chinese |
The camera features a 1.8mm lens with a FOV-D (Diagonal Field of View) of 150°.

Image: Diagram illustrating the Field of View (FOV-V, FOV-H, FOV-D) for the 1.8mm M8 lens, indicating a 150° diagonal field of view.
Organizować coś
Instalacja
- Montowanie: Use the provided bracket and screws to securely mount the Predator Micro V2 camera onto your drone frame. Ensure the camera is oriented correctly. The multi-functional bracket allows for easy switching between standard and mini sizes.
- Okablowanie: Connect the camera to your flight controller or video transmitter using the provided servo cable and OSD cable. Ensure correct polarity for power (5-40V input). Refer to your flight controller/VTX manual for specific wiring diagrams.
Początkowe włączenie zasilania
After installation, connect power to your drone. The camera should power on and display video output.
Operacyjny
Menu ekranowe (OSD)
The Predator Micro V2 features an integrated OSD for easy configuration. Use the OSD board (joystick) to navigate and adjust settings.

Image: Screenshots of the OSD menu, showing options for setup (Camera ID, Picture Adjust, Day/Night, LED, V CAL, Camera Reset) and display settings (Time, Power, V CAL, LED).
Nawigacja po OSD
- Connect the OSD board to the camera.
- Włącz kamerę.
- Use the joystick on the OSD board to navigate through the menu options.
- Press the center button to select an option or confirm a setting.
- Move the joystick left/right to change values.
- Select "EXIT" to save changes and exit the menu.
Ustawienia klawiszy OSD
- DZIEŃ NOC: Set to AUTO for automatic switching, or MANUAL to select permanent COLOR or B/W mode.
- PROWADZONY: Adjust LED brightness (OFF/MID/DARK).
- V CAL (Voltage Calibration): Dostosuj objętośćtage reading with a range of -0.5 to 0.5.
- Odwracanie obrazu: Options include Off, H-Flip (horizontal), V-Flip (vertical), and HV-Flip (horizontal and vertical).
- Języki: Select from English, Deutsch, Francais, Pyccknn, Portugues, Espanol, or Chinese.
Konserwacja
- Czyszczenie: Regularly clean the camera lens with a soft, lint-free cloth. Avoid abrasive materials or harsh chemicals.
- Kontrola: Periodically inspect all cables and connections for signs of wear or damage. Ensure the camera is securely mounted.
- Składowanie: When not in use, store the camera in a dry, dust-free environment, away from extreme temperatures.
Rozwiązywanie problemów
| Problem | Możliwa przyczyna | Rozwiązanie |
|---|---|---|
| Brak wyjścia wideo | Nieprawidłowe okablowanie; Brak zasilania; Uszkodzony kabel; Nieprawidłowe ustawienia systemu TV. | Check all wiring connections for correct polarity and secure fit. Ensure power is supplied within the 5-40V range. Replace damaged cables. Verify TV System (NTSC) matches your receiver. |
| Image is dark/bright | Incorrect exposure settings; DAY/NIGHT mode issue. | Adjust exposure settings via the OSD menu. Check DAY/NIGHT mode; try setting it to AUTO or manually to COLOR/B&W. |
| Image is upside down/reversed | Image Flip setting enabled. | Access the OSD menu and set "Image Flip" to "Off". |
| OSD not appearing | OSD board not connected or faulty. | Ensure the OSD board is correctly connected to the camera. Test with another OSD board if available. |
| Tomtage reading inaccurate | V CAL setting needs adjustment. | Use the OSD menu to adjust the "V CAL" setting to match a known voltage czytanie. |
Gwarancja i wsparcie
For warranty information and technical support, please refer to the official FOXEER webOdwiedź naszą stronę lub skontaktuj się z lokalnym dystrybutorem. Zachowaj paragon jako dowód zakupu.
For further assistance, you may visit the FOXEER store on Amazon: FOXEER Amazon Store.
Ask a question about this manual
Ask about setup, troubleshooting, compatibility, parts, safety, or missing instructions. Manuals+ will review the question and use this page’s manual context to help answer it.