1. Wprowadzenie
This manual provides comprehensive instructions for the assembly, operation, and care of your ZURU Metal Machines T-Rex Attack Double Looping Track. Please read all instructions carefully before use to ensure safe and optimal performance of the product.
2. Informacje dotyczące bezpieczeństwa
- OSTRZEŻENIE: RYZYKO ZADŁAWIENIA - Small parts. Not suitable for children under 36 months (3 years).
- Adult supervision is required during assembly and play.
- Trzymaj włosy i luźne ubrania z dala od ruchomych części.
- Do not modify the product in any way. Use only as intended.
- Inspect all components regularly for damage. Discontinue use if any part is broken or damaged.
3. Zawartość opakowania
Sprawdź, czy w Twoim opakowaniu znajdują się wszystkie wymienione poniżej elementy:
- 1x Metal Machine Vehicle (Wild Thing)
- 1x Powerful Launcher
- 1x Race Track (multiple segments)
- 2x 360-degree Loop Sections
- 1x Stunt Ramp
- 1x T-Rex Figure
- Track Connectors/Supports

Image 3.1: All components included in the ZURU Metal Machines T-Rex Attack playset. This includes the T-Rex figure, the Metal Machine vehicle, track pieces, loop sections, a launcher, and various connectors.
4. Instalacja i montaż
The ZURU Metal Machines T-Rex Attack track requires assembly. Follow these general steps for construction. Refer to the diagrams for visual guidance.
- Rozpakuj komponenty: Ostrożnie wyjmij wszystkie części z opakowania i sprawdź je na liście zawartości opakowania.
- Assemble T-Rex: Attach any separate parts to the T-Rex figure as indicated in the instructions or diagrams.
- Połącz elementy toru: Begin by connecting the straight track pieces to form the main path. Ensure all connections are secure.
- Install Loops: Attach the two 360-degree loop sections to the designated track points. Use the provided supports to stabilize the loops.
- Position Stunt Ramp and T-Rex: Place the stunt ramp at the end of the track, leading towards the T-Rex figure. Ensure the T-Rex is positioned correctly to be hit by the vehicle.
- Dołącz program uruchamiający: Connect the powerful launcher to the starting point of the track.
- Kontrola końcowa: Ensure all track pieces are firmly connected, and the entire setup is stable on a flat surface.

Image 4.1: Detailed assembly diagram showing how to connect the track pieces, loops, launcher, and position the T-Rex figure.
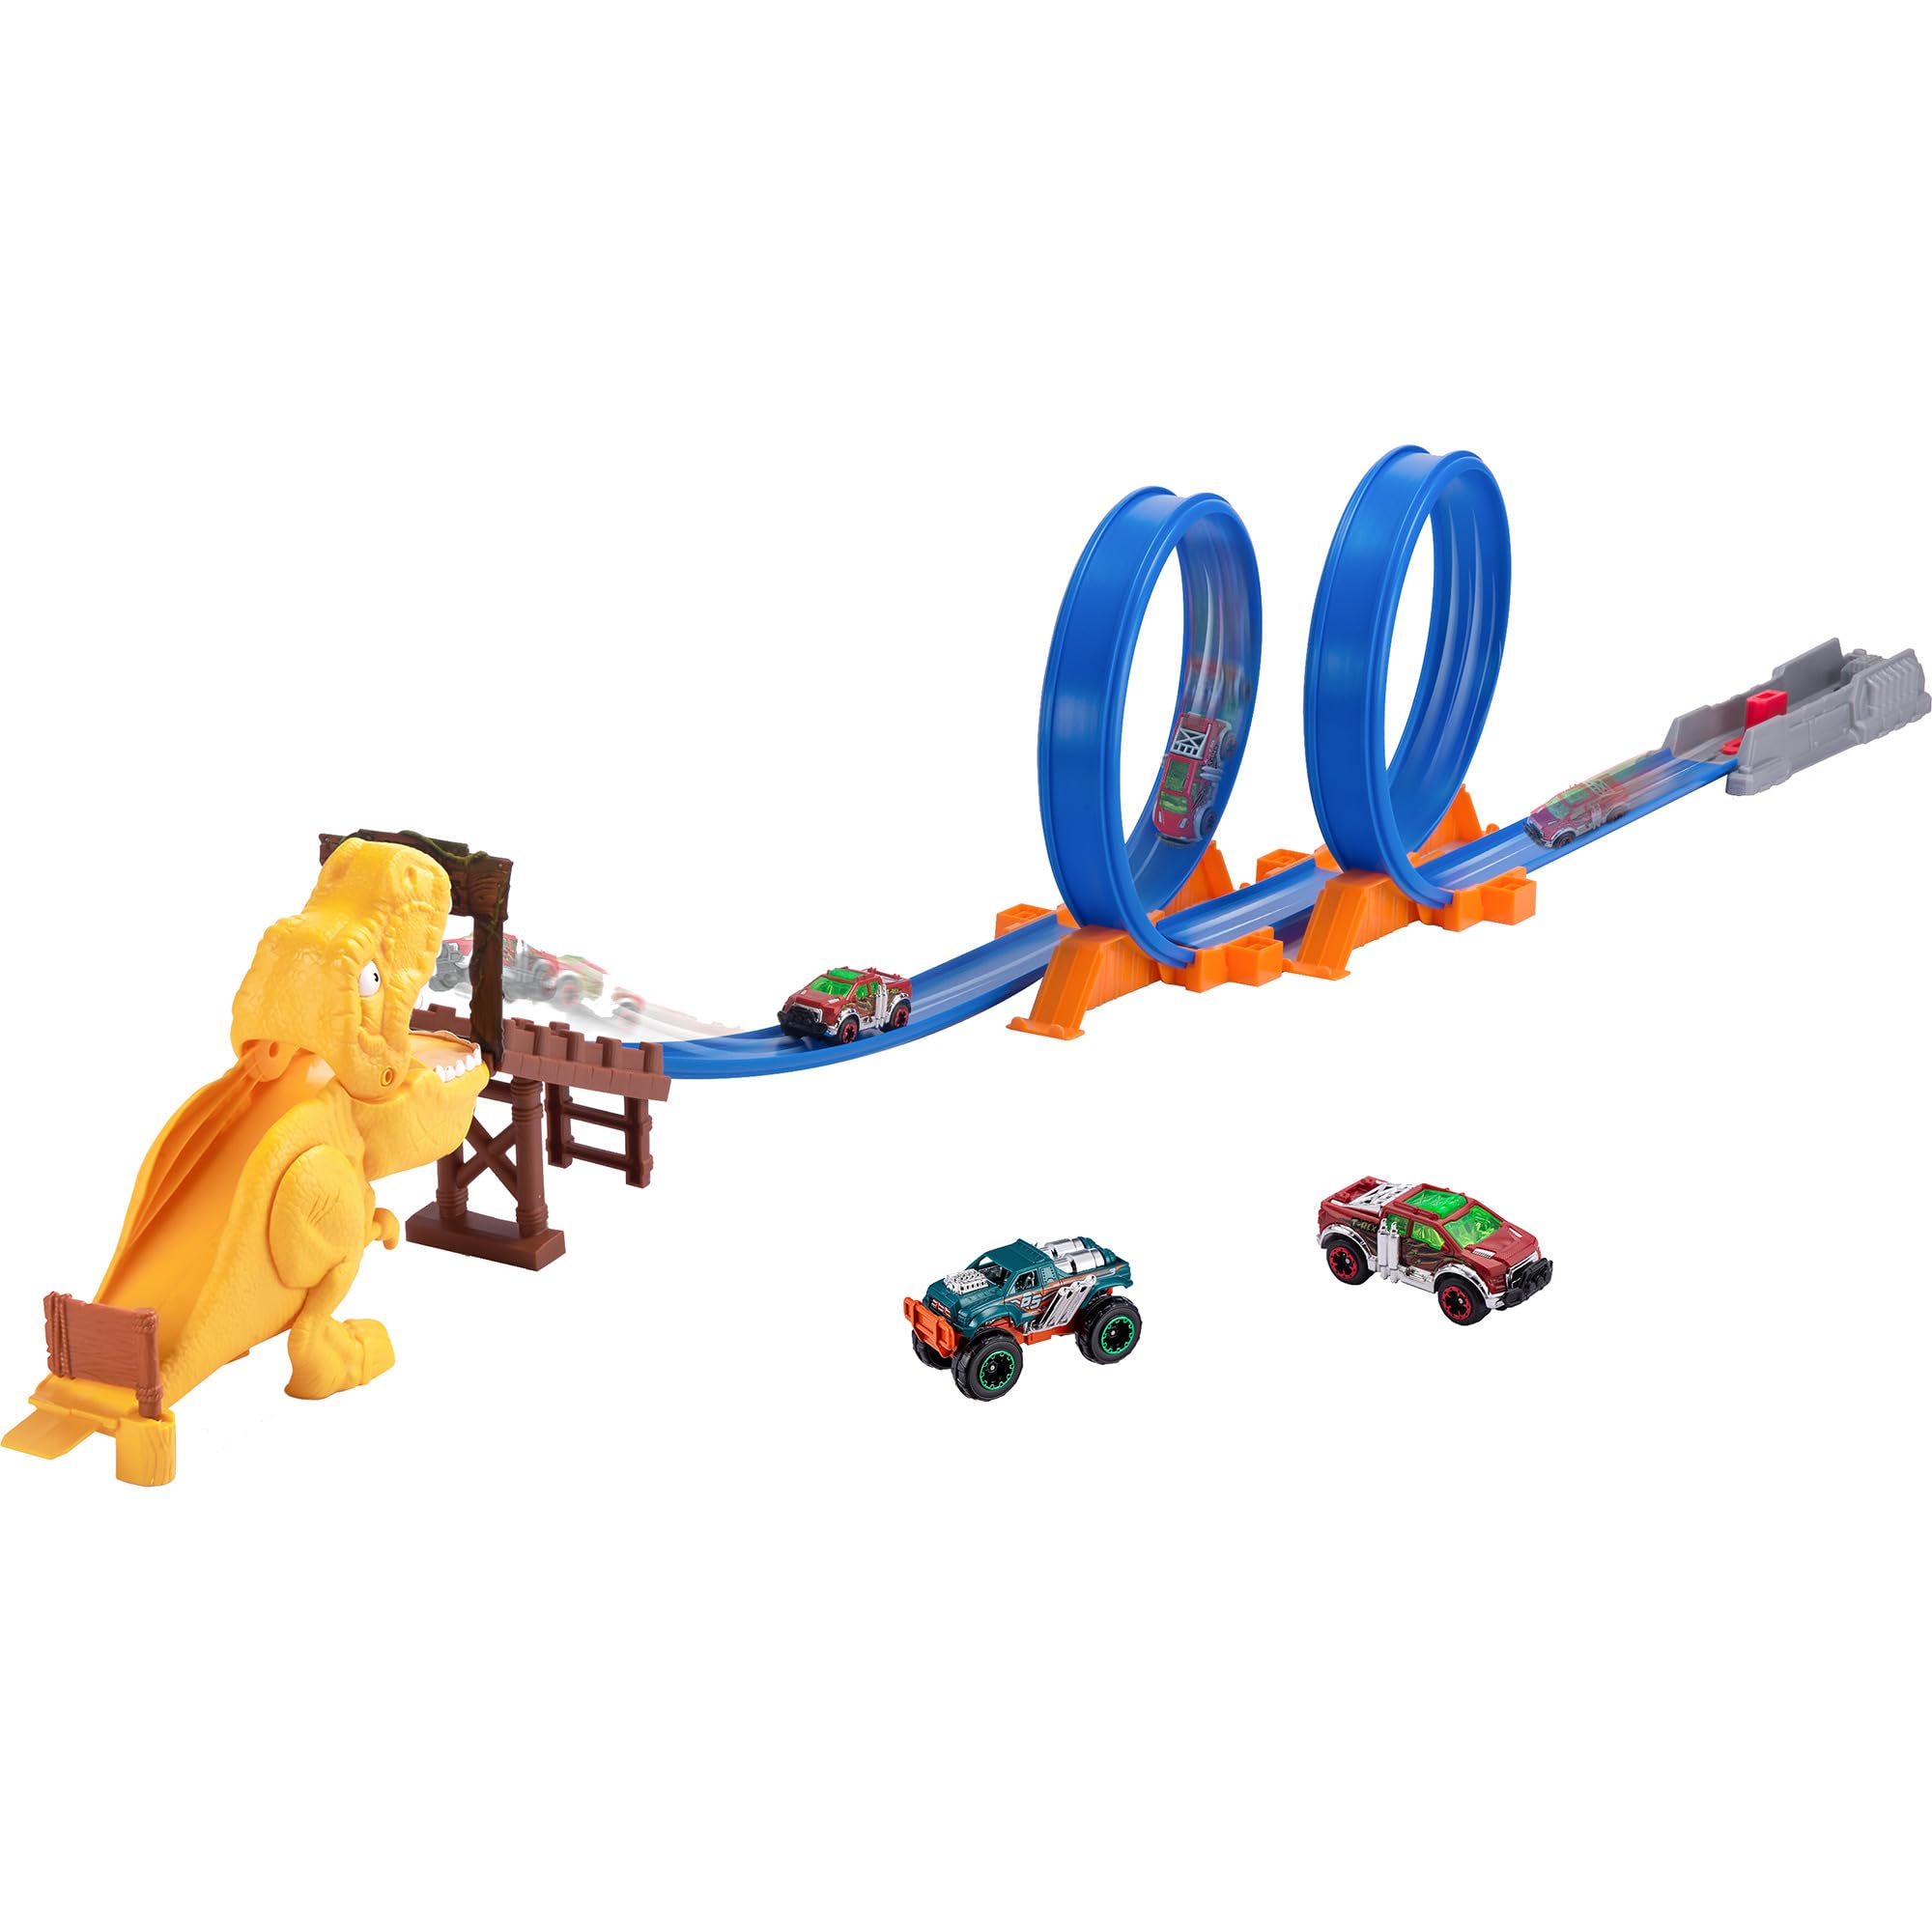
Image 4.2: The complete ZURU Metal Machines T-Rex Attack playset fully assembled, showcasing the double loops and the T-Rex target.
5. Instrukcja obsługi
Follow these steps to operate your Metal Machines T-Rex Attack track:
- Umieść pojazd: Position the Metal Machine vehicle onto the launcher at the start of the track.
- Przygotuj program uruchamiający: Pull back the launcher mechanism to load tension.
- Pojazd startowy: Press the launch button or release the mechanism to propel the vehicle forward with force.
- Navigate Loops: The vehicle should gain enough speed to successfully pass through the two 360-degree loops.
- Engage T-Rex: After the loops, the vehicle will speed down the track and hit the stunt ramp, aiming to strike and knock down the T-Rex figure.
Wskazówki dotyczące optymalnej wydajności:
- Ensure the launcher is fully engaged and released with sufficient force for the vehicle to complete the loops and reach the T-Rex.
- Check that the track is clean and free of obstructions for smooth vehicle movement.
- Experiment with different launch forces to achieve the desired outcome.

Image 5.1: Metal Machine vehicles demonstrating successful navigation through the double looping track.

Image 5.2: The Metal Machine vehicle successfully hitting the T-Rex figure, demonstrating the playset's action feature.
6. Konserwacja
To ensure the longevity and proper functioning of your ZURU Metal Machines T-Rex Attack track, follow these simple maintenance guidelines:
- Czyszczenie: Wipe down track pieces and vehicles with a soft, dry cloth. Avoid using harsh chemicals or abrasive cleaners.
- Składowanie: When not in use, store the playset in a clean, dry place away from direct sunlight and extreme temperatures. Disassemble the track for compact storage if desired.
- Kontrola: Periodically check all track connectors, loops, and the launcher mechanism for any signs of wear or damage. Replace any broken parts immediately.
7. Rozwiązywanie Problemów
If you encounter issues with your T-Rex Attack track, refer to the following common problems and solutions:
| Problem | Możliwa przyczyna | Rozwiązanie |
|---|---|---|
| Vehicle does not complete loops. | Insufficient launch force; track not properly connected; obstruction on track. | Ensure launcher is fully pulled back and released with maximum force. Check all track connections for gaps. Clear any debris from the track. |
| Vehicle does not hit T-Rex. | Insufficient speed; T-Rex or ramp rozbieżność. | Increase launch force. Verify the T-Rex and stunt ramp are correctly positioned at the end of the track. |
| Elementy toru rozłączają się w trakcie gry. | Loose connections; track not on a flat surface. | Press track pieces firmly together until they click. Ensure the playset is on a stable, flat surface. |
8. Specyfikacje
| Numer modelu: | 6702 |
| Marka: | ZURU |
| Zalecany wiek: | 36 miesięcy - 5 lat |
| Wartość edukacyjna: | Motor skills, Hand-eye coordination, Role play |
| Skala: | 1:64 (for vehicle) |
| Materiał główny: | Metal (vehicle), Plastic (track, T-Rex) |
| Źródło zasilania: | Manual operation (no batteries required) |
| Wymagany montaż: | Tak |
| Kolor: | Wielobarwny |
9. Gwarancja i wsparcie
For warranty information or customer support regarding your ZURU Metal Machines T-Rex Attack Double Looping Track, please refer to the contact information provided on the product packaging or visit the official ZURU webZachowaj dowód zakupu na wypadek roszczeń gwarancyjnych.
Official ZURU Webstrona: www.zuru.com