1. Wprowadzenie
This manual provides detailed instructions for the installation, operation, and maintenance of your UHPPOTE 2-Channel Color Quad System Video Splitter. This device is designed to process and display video feeds from up to two analog security cameras, offering various display modes and image adjustments. Please read this manual thoroughly before using the product to ensure proper functionality and safety.
Notatka: This device is only compatible with AHD/TVI analog cameras.
2. Informacje dotyczące bezpieczeństwa
- Upewnij się, że napięcie zasilaniatage matches the device's requirements (DC 12V).
- Nie narażaj urządzenia na działanie wilgoci ani ekstremalnych temperatur.
- Unikaj umieszczania urządzenia w bezpośrednim świetle słonecznym lub w pobliżu źródeł ciepła.
- Nie próbuj samodzielnie otwierać ani naprawiać urządzenia. Wszelkie prace serwisowe zleć wykwalifikowanemu personelowi.
- Trzymaj urządzenie z dala od silnych pól magnetycznych.
3. Zawartość opakowania
Sprawdź, czy w przesyłce znajdują się wszystkie elementy wymienione poniżej:
- 1 x UHPPOTE 2-Channel Video Splitter/Processor
- 1 x Pilot zdalnego sterowania
- 1 x Instrukcja obsługi w języku angielskim
- 1 x zasilacz
- 3 x BNC Adapters
4. Koniec produktuview
Panel przedni
The front panel features control buttons and indicators for managing video inputs and display modes.

Rysunek 4.1: Przód view of the video splitter. It displays buttons for MENU, ENTER, A/B, PB, directional arrows, ZOOM, FREEZE, MODE, AUTO, and a POWER switch.
Panel tylny
The rear panel provides all necessary connection ports for video input, video output, and power.

Rysunek 4.2: Tył view of the video splitter. It shows two BNC video input ports labeled VIDEO1 and VIDEO2, one BNC monitor output port, and a DC 12V power input jack.
Spód View
The bottom of the device features rubber feet for stability and ventilation holes.
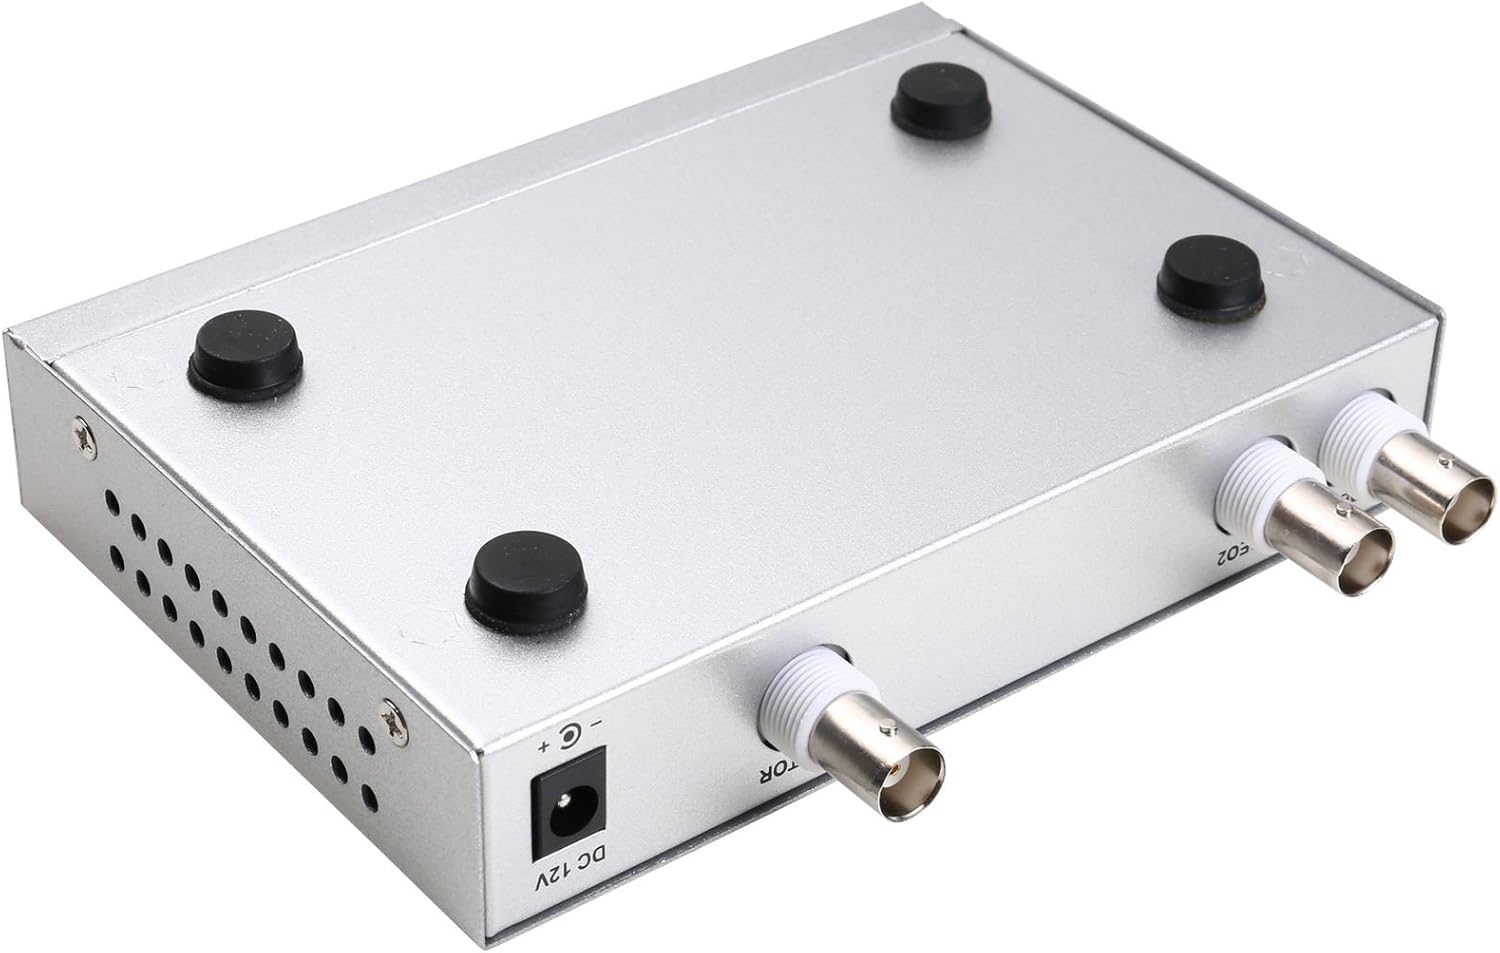
Rysunek 4.3: Spód view of the video splitter, highlighting the four rubber feet for stable placement.
Zasilacz
The included power adapter supplies the necessary DC 12V power to the unit.

Rysunek 4.4: The power adapter provided with the unit, rated for DC 12V output.
5. Konfiguracja
Follow these steps to connect your video splitter:
- Podłącz kamery: Connect your AHD/TVI analog cameras to the VIDEO1 and VIDEO2 BNC input ports on the rear panel of the splitter. Use the provided BNC adapters if necessary.
- Podłącz monitor: Connect your display monitor to the MONITOR OUT BNC port on the rear panel.
- Podłącz zasilanie: Plug the DC 12V power adapter into the DC 12V input jack on the rear panel, then plug the adapter into a power outlet.
- Włączanie: Flip the POWER switch on the front panel to the 'ON' position.

Rysunek 5.1: Connection schematic. (1) Video input from cameras (CAM1, CAM2) to VIDEO1, VIDEO2. (2) Video output from MONITOR OUT to a display monitor. (3) Power input to DC 12V.
6. Instrukcja obsługi
The video splitter offers various display modes and image adjustment features. Use the front panel buttons or the remote control to operate the device.
6.1. Tryby wyświetlania
Naciśnij TRYB button to cycle through different display layouts:
- Single Channel Display: View one camera feed in full screen (Full 1, Full 2).
- Dual Panoramic Display: View two camera feeds side-by-side (left/right split) or top/bottom split.
- Obraz w obrazie (PIP): View one main camera feed with a smaller inset window of the second camera. PIP positions are switchable (top-left, top-right, bottom-left, bottom-right).
6.2. Regulacja obrazu
You can adjust image parameters for each camera channel:
- Naciśnij MENU button to access the on-screen display (OSD) menu.
- Use the directional arrow buttons (▲ / ▼ / ◀ / ▶) to navigate through menu options.
- Naciskać WCHODZIĆ aby wybrać opcję lub potwierdzić ustawienie.
- Adjust parameters such as Brightness, Contrast, Saturation, Hue, I Ostrość for each camera channel individually.
- Naciskać MENU ponownie, aby wyjść z menu OSD.
6.3. Funkcje specjalne
- ZAMRAŻAĆ: Naciśnij ZAMRAŻAĆ button to pause the current video frame. Press again to resume live video.
- POWIĘKSZENIE: Naciśnij BRZĘCZENIE button to activate electronic zoom. Use the directional arrows to select the enlarged area. Press BRZĘCZENIE ponownie, aby wyjść.
- AUTOMATYCZNY: Naciśnij AUTOMATYCZNY button to enable auto-cruise mode, which cycles through different camera views or display modes automatically. Each channel can be set for auto-cruise.
- A/B: Switch between camera inputs.
- PB: Playback function (if supported by connected DVR/NVR, otherwise may not be active).
7. Konserwacja
- Czyszczenie: Do czyszczenia zewnętrznej części urządzenia należy używać miękkiej, suchej ściereczki. Nie należy używać płynnych środków czyszczących ani aerozoli.
- Wentylacja: Aby zapobiec przegrzaniu, należy upewnić się, że otwory wentylacyjne nie są zablokowane.
- Składowanie: Jeśli urządzenie nie będzie używane przez dłuższy czas, należy je przechowywać w chłodnym i suchym miejscu, z dala od bezpośredniego światła słonecznego i kurzu.
8. Rozwiązywanie Problemów
If you encounter issues with your video splitter, refer to the following common problems and solutions:
- Brak zasilania:
- Sprawdź, czy zasilacz jest prawidłowo podłączony do urządzenia i gniazdka elektrycznego.
- Ensure the power switch on the front panel is in the 'ON' position.
- Sprawdź, czy gniazdko elektryczne jest sprawne.
- Brak wyjścia wideo:
- Confirm that cameras are properly connected to the VIDEO IN ports.
- Ensure the monitor is correctly connected to the MONITOR OUT port and is powered on.
- Check the video cables for damage or loose connections.
- Verify that the cameras are AHD/TVI analog cameras, as other types are not supported.
- Try cycling through display modes using the MODE button.
- Słaba jakość obrazu:
- Adjust Brightness, Contrast, Saturation, Hue, and Sharpness settings via the OSD menu.
- Ensure video cables are of good quality and not excessively long.
- Check the camera's own settings and lens focus.
- Pilot nie działa:
- Sprawdź i wymień baterie w pilocie.
- Ensure there are no obstructions between the remote control and the device's IR receiver.
9. Specyfikacje
| Funkcja | Specyfikacja |
|---|---|
| Marka | WYJĄTKOWY |
| Numer modelu | 402 |
| Tworzywo | Metal Shell |
| Kolor | Srebrny |
| Wejście wideo | 2-way (BNC) |
| Wyjście wideo | 1-way (BNC) |
| Rozdzielczość PAL | X 720 576 50 Hz @ |
| Rozdzielczość NTSC | X 720 480 60 Hz @ |
| Waga przedmiotu | 0.88 funta |
| Zgodność | AHD/TVI Analog Cameras Only |
10. Gwarancja i wsparcie
For warranty information or technical support, please refer to the contact details provided with your purchase or visit the official UHPPOTE webZachowaj paragon jako dowód zakupu na wypadek ewentualnych roszczeń gwarancyjnych.