
1. Wprowadzenie
This manual provides detailed instructions for the operation and maintenance of your FEELWORLD T7PLUS 7-inch DSLR Camera Monitor. Please read this manual thoroughly before using the product to ensure proper function and to prevent damage. Keep this manual for future reference.
2. Koniec produktuview
The FEELWORLD T7PLUS is a high-resolution 7-inch camera monitor designed for professional photography and video production. It features a 1920x1200 display, 4K HDMI input/output, and advanced monitoring tools.
2.1 Główne cechy
- Wyświetlacz o wysokiej rozdzielczości: 7-inch screen with 1920 x 1200 resolution, 1200:1 contrast ratio, and Rec.709 color standard for vivid and accurate image reproduction.
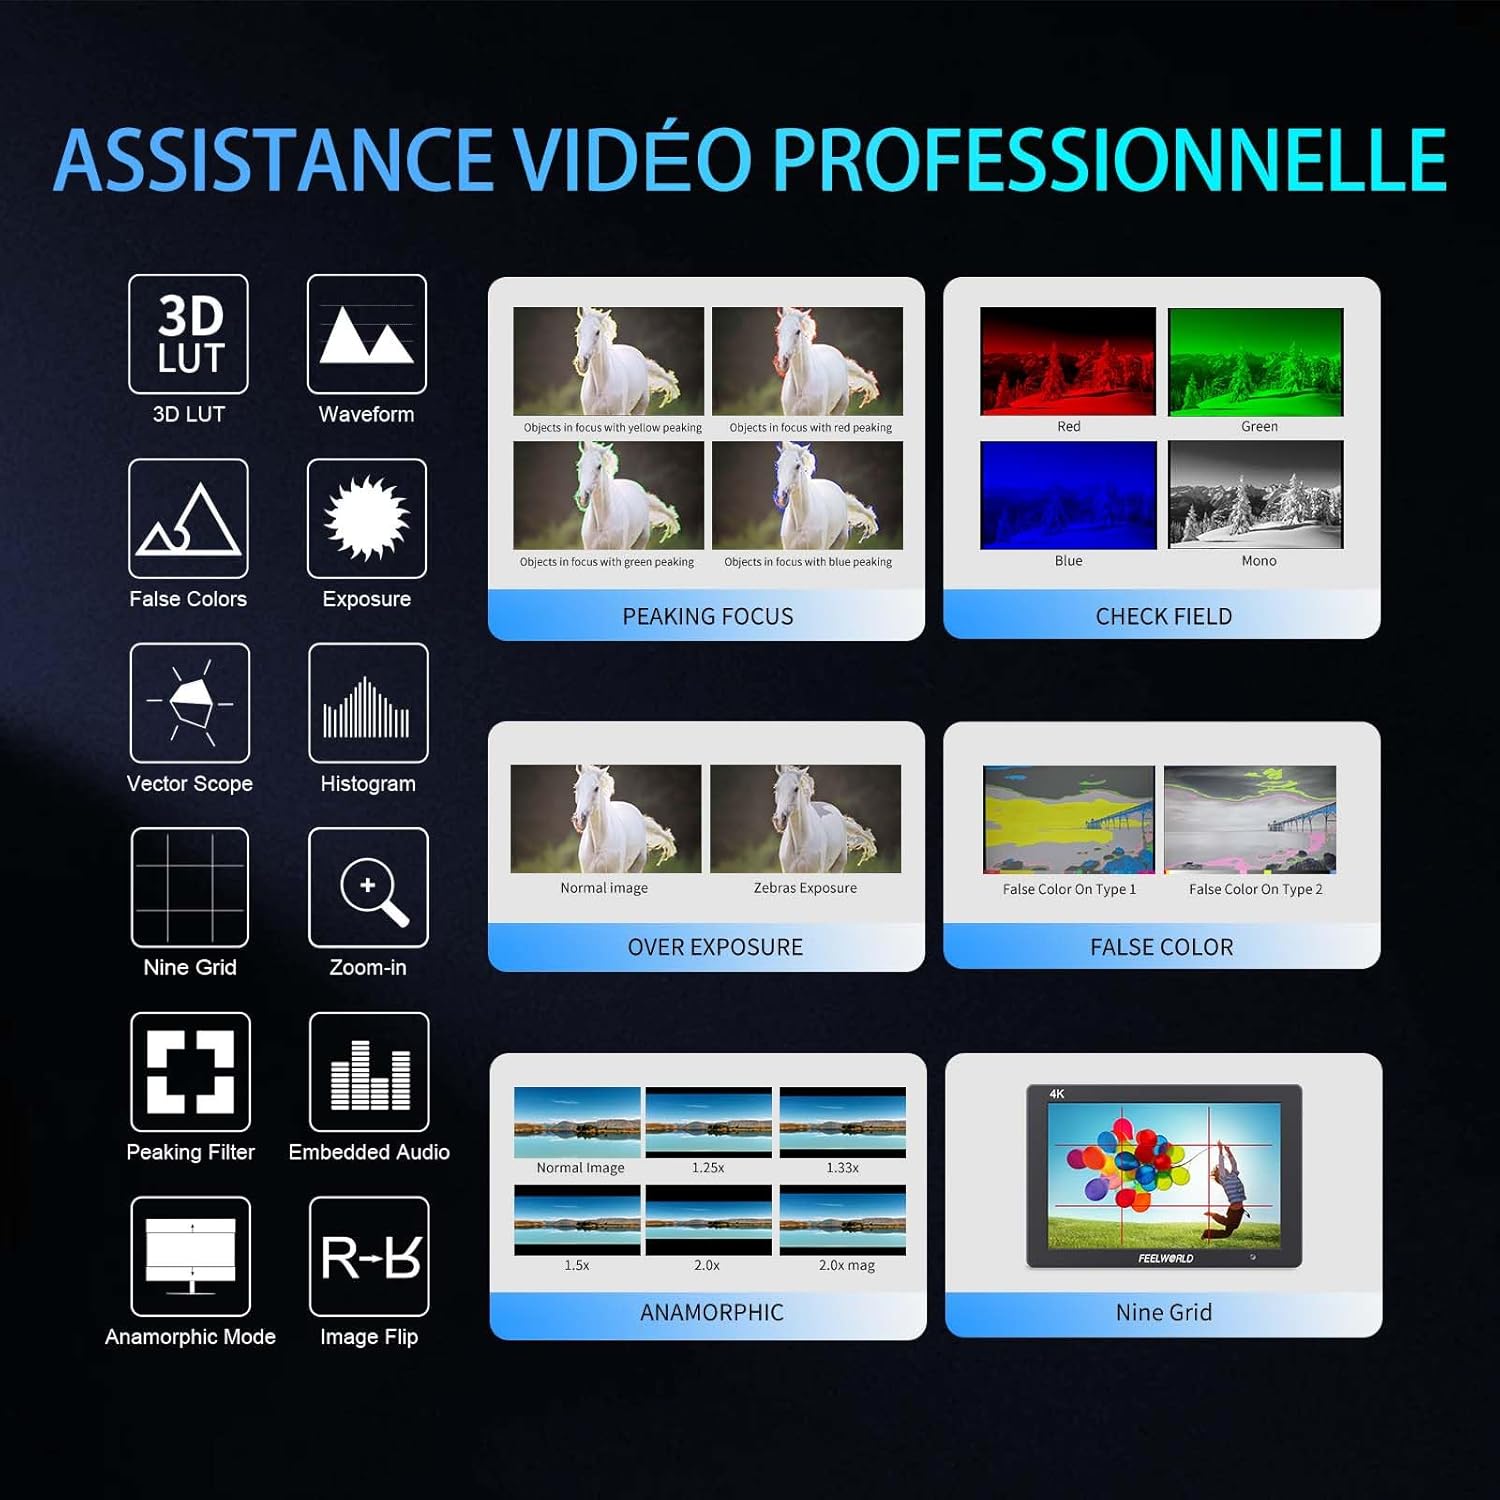
- Advanced Customization Functions: Supports 32 custom 3D LUTs and professional tools including waveform, vector scope, RGB histogram, peaking focus, false color, and more for precise control during shooting.
- Wszechstronna łączność: Equipped with 4K HDMI input and output, allowing simultaneous display and transmission of live signals to other monitors without compromising video quality.
- Lekka i trwała konstrukcja: Slim 18mm aluminum casing, weighing only 320g.
- Elastyczne opcje zasilania: Compatible with F550/F970 series batteries and DC 12V power input.
2.2 Składniki
W skład pakietu wchodzą następujące elementy:
- 1 x FEELWORLD T7PLUS Monitor
- 1 x Mini HDMI Cable
- 1 x Osłona przeciwsłoneczna
- 1 x Warming Boot Holder
- 1 x F970 Battery Plate
- 1 x F550 Battery
- 1 x Instrukcja obsługi
- 1 x kabel adaptera USB
- 1 x Torba

Obraz: Przód view of the FEELWORLD T7PLUS monitor, showcasinz 7-calowym wyświetlaczem.

Image: A visual representation of all items included in the FEELWORLD T7PLUS package, including the monitor, cables, battery, and accessories.
3. Konfiguracja
3.1 Montaż monitora
The T7PLUS monitor can be mounted using the included warming boot holder or other compatible mounting solutions. Ensure the monitor is securely attached to your camera rig or stand.

Image: The FEELWORLD T7PLUS monitor shown mounted on top of a DSLR camera, ready for use.
3.2 Połączenie zasilania
The monitor supports two power input methods:
- Moc baterii: Attach a compatible F550 or F970 series battery to the F970 battery plate on the back of the monitor.
- Zasilanie prądem stałym 12 V: Connect a 12V/1.5A DC power adapter to the DC 12V input port on the side of the monitor.

Obraz: Zbliżenie view of the rear of the FEELWORLD T7PLUS monitor, highlighting the battery plate and DC 12V power input port.
3.3 Połączenie HDMI
Connect your camera or video source to the HDMI-IN port using the provided Mini HDMI cable. If you need to output the signal to another monitor, use the HDMI-OUT port.
Obraz: Bok view of the FEELWORLD T7PLUS monitor, showing the HDMI-IN and HDMI-OUT ports, along with the DC 12V input and headphone jack.
4. Instrukcja obsługi
4.1 Podstawowe sterowanie
The monitor features several buttons for navigation and function control:
- Przycisk zasilania: Naciśnij i przytrzymaj, aby włączyć/wyłączyć monitor.
- Przycisk MENU: Dostęp do menu głównego.
- Przyciski strzałek (góra/dół/lewo/prawo): Poruszaj się po opcjach menu i dostosuj ustawienia.
- Przyciski funkcyjne F1-F4: Customizable shortcut buttons for quick access to frequently used features.

Image: Close-up of the control buttons on the top edge of the FEELWORLD T7PLUS monitor, including power, menu, navigation, and customizable function buttons (F1-F4).
4.2 Nawigacja po menu
Press the MENU button to open the main menu. Use the arrow buttons to navigate through categories and options. Press the MENU button again or the right arrow to confirm selections. To exit the menu, press the left arrow button repeatedly until the menu closes.
5. Zaawansowane funkcje
5.1 3D LUT (Look Up Table)
The T7PLUS supports loading up to 32 custom 3D LUTs via a USB drive. This allows you to preview twój głupektage with specific color grades in real-time.
- Save your .cube LUT files to the root directory of a USB drive.
- Connect the USB drive to the monitor's USB port.
- Navigate to the "LUT" menu option.
- Select "Load LUT" and choose your desired LUT file.
- You can switch between loaded LUTs for quick comparison.

Image: The FEELWORLD T7PLUS monitor displaying the 3D LUT menu, showing options for loading and managing custom LUT files z dysku USB.
5.2 Waveform, Vector Scope, and Histogram
These tools provide detailed analysis of your video signal, helping you achieve accurate exposure and color balance.
- Przebieg: Displays the luminance and chrominance levels of your video signal.
- Zakres wektorowy: Shows the color hue and saturation.
- Histogram RGB: Illustrates the distribution of red, green, and blue color channels.
These functions can be activated individually or simultaneously via the menu or assigned to a function button.
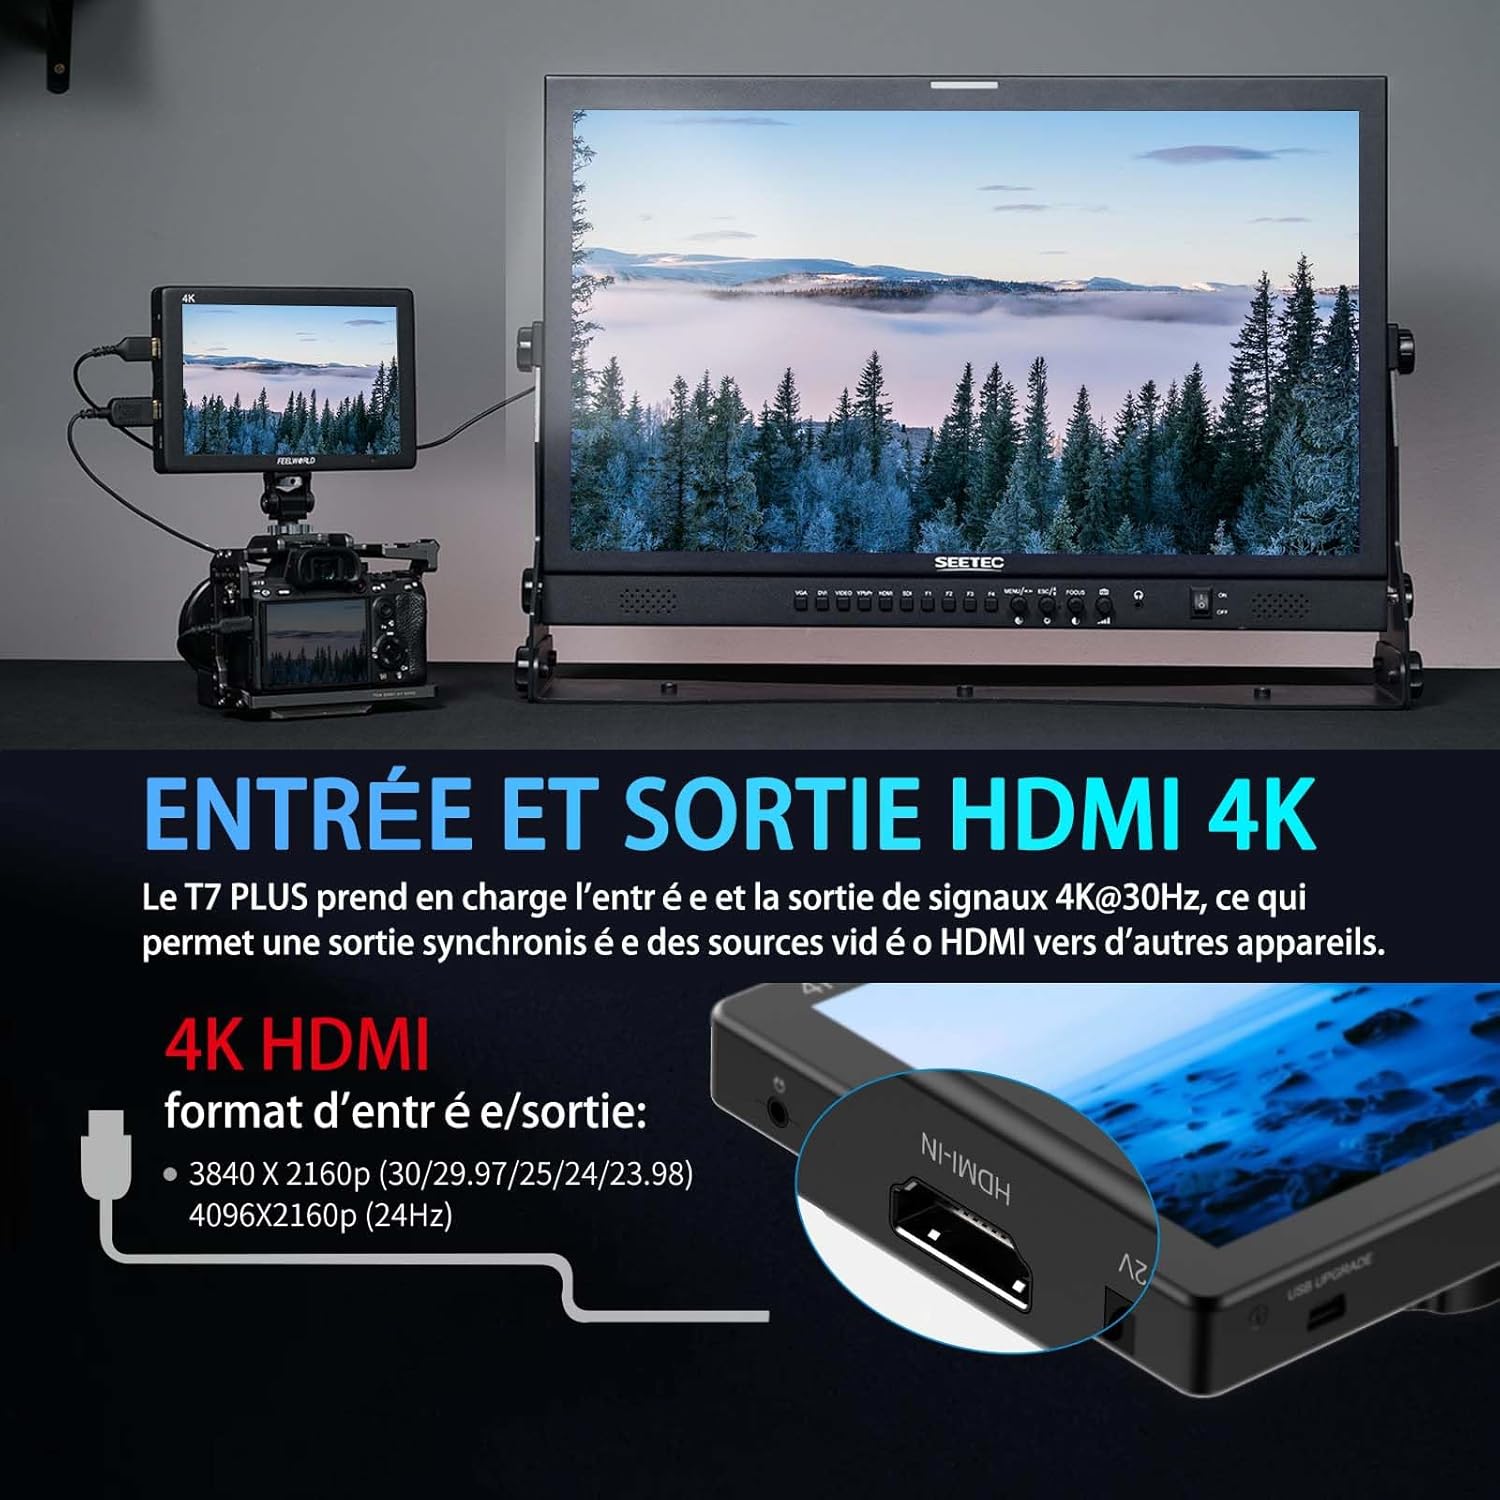
Image: The FEELWORLD T7PLUS monitor displaying a waveform monitor, showing the luminance and chrominance levels of the video input.
5.3 Other Monitoring Tools
- Asystent ostrości szczytowej: Highlights sharp edges to aid in achieving precise focus.
- Fałszywy kolor: Displays exposure levels using a spectrum of colors.
- Ekspozycja (zebry): Indicates overexposed areas with zebra patterns.
- Zbliżenie: Powiększa fragment obrazu w celu uzyskania lepszej ostrości.
- Dziewięć siatek: Overlays a grid for composition assistance.
- Tryb anamorficzny: Usuwa anamorficzne footage.
- Odwracanie obrazu: Odbija obraz w poziomie lub w pionie.
- Wbudowany dźwięk: Displays audio levels from the HDMI input.
6. Specyfikacje
| Funkcja | Specyfikacja |
|---|---|
| Marka | POCZUJ ŚWIAT |
| Numer modelu | T7 PLUS |
| Rozmiar ekranu | 7 cali |
| Rezolucja | 1920 x 1200 (UXGA Wide) |
| Proporcje obrazu | 16:10 |
| Współczynnik kontrastu | 1200:1 |
| Jasność | 450 nitów |
| Częstotliwość odświeżania | 60 Hz |
| Viewing kąt | 178 stopni |
| Technologia łączności | HDMI |
| Porty HDMI | 1x HDMI-IN, 1x HDMI-OUT (Supports 4K@30Hz) |
| Funkcja specjalna | Advanced Customization with 3D LUT |
| Kompatybilne urządzenia | DSLR Camera, Camcorder, Handheld Stabilizer |
| Waga | 1 Kilogram (approx. 320g for monitor only) |
| Moc wejściowa | Płyta akumulatorowa DC 12V, NP-F |
7. Rozwiązywanie Problemów
- Brak zasilania:
- Ensure the battery is fully charged and correctly inserted, or the DC adapter is securely connected to a power source.
- Sprawdź, czy przycisk zasilania jest prawidłowo wciśnięty.
- Brak sygnału:
- Verify that the HDMI cable is securely connected to both the camera/source and the monitor's HDMI-IN port.
- Confirm the camera's HDMI output settings are correct and active.
- Wypróbuj inny kabel HDMI.
- Zniekształcenie obrazu/nieprawidłowe kolory:
- Check the monitor's color settings and ensure no LUTs are incorrectly applied.
- Verify the camera's video output format is compatible with the monitor.
- Przyciski nie reagują:
- Restart the monitor by turning it off and on again.
- Upewnij się, że żadne zanieczyszczenia nie blokują przycisków.
8. Konserwacja
- Czyszczenie: Use a soft, dry cloth to clean the monitor's body. For the screen, use a specialized screen cleaning solution and a microfiber cloth. Avoid harsh chemicals or abrasive materials.
- Składowanie: When not in use, store the monitor in a cool, dry place, away from direct sunlight and extreme temperatures. Use the provided bag for protection during transport.
- Pielęgnacja baterii: If using batteries, ensure they are charged periodically even when not in use to maintain battery health.
9. Gwarancja i wsparcie
The FEELWORLD T7PLUS monitor comes with a 1-letnia gwarancja from the FEELWORLD Official Store. For technical support, service, or warranty claims, please contact FEELWORLD customer service through their official channels or the retailer where the product was purchased.
Więcej informacji znajdziesz na stronie FEELWORLD Brand Store.
10. Film o produkcie
Video: A short product showcase of the FEELWORLD T7PLUS monitor, demonstrating its physical design, various ports (HDMI-IN, HDMI-OUT, DC 12V), and control buttons. This video provides a visual overview of the monitor's external features and connectivity options.