1. Wprowadzenie
This manual provides essential instructions for the safe and correct installation, operation, and maintenance of your Homelite 099980425077 Pressure Washer Fuel Tank. This is a genuine Original Equipment Manufacturer (OEM) replacement part designed for specific Homelite pressure washer models. Please read this manual thoroughly before proceeding with any installation or use to ensure proper function and safety.
2. Informacje dotyczące bezpieczeństwa
Always prioritize safety when working with fuel and power equipment. Failure to follow these safety guidelines can result in serious injury or property damage.
- Łatwopalne ciecze: Gasoline is highly flammable and its vapors are explosive. Handle fuel only in well-ventilated areas, away from sparks, open flames, or other ignition sources.
- Ochrona oczu: Always wear appropriate eye protection (safety glasses or goggles) when handling fuel or performing maintenance.
- Ochrona skóry: Avoid prolonged skin contact with gasoline. Wear fuel-resistant gloves if necessary.
- Wentylacja: Ensure adequate ventilation when working on the pressure washer, especially when draining or filling the fuel tank.
- Silnik wyłączony: Always ensure the pressure washer engine is turned off and cooled down before attempting any installation or maintenance on the fuel system.
- Zapobieganie rozlaniu: Miej pod ręką materiały chłonne, aby natychmiast usunąć wszelkie rozlane paliwo. Zanieczyszczone materiały zutylizuj w odpowiedni sposób.
- Dzieci i zwierzęta: Keep children and pets away from the work area and fuel.
3. Koniec produktuview
The Homelite 099980425077 Fuel Tank is a direct replacement part for compatible Homelite pressure washers. It is constructed from durable materials designed to withstand the demands of fuel storage and engine operation. The tank typically includes a fuel strainer valve pre-installed, but a new fuel cap is generally not included and should be retained from your original tank or purchased separately if needed.
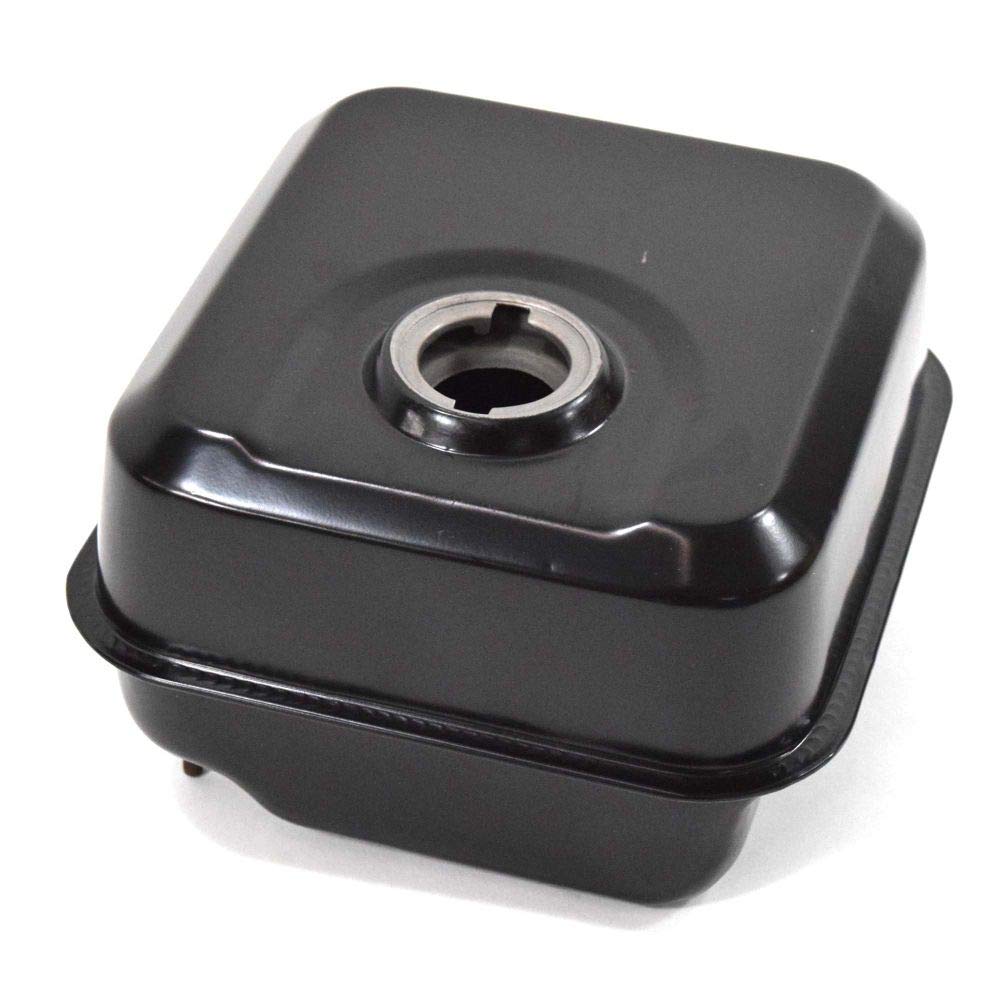
Image 1: Homelite 099980425077 Pressure Washer Fuel Tank. This image shows the complete fuel tank assembly, including the integrated fuel strainer valve.
4. Instrukcje instalacji
Follow these steps carefully to replace the fuel tank on your Homelite pressure washer.
- Przygotowanie:
- Ensure the pressure washer engine is completely off and cool.
- Odłącz przewód świecy zapłonowej, aby zapobiec przypadkowemu uruchomieniu.
- Place the pressure washer on a stable, level surface in a well-ventilated area.
- Have an approved container ready to drain any remaining fuel from the old tank.
- Drain Old Fuel: If there is fuel in the old tank, carefully drain it into an appropriate container.
- Odłącz przewody paliwowe: Locate the fuel lines connected to the old tank. Using pliers or a screwdriver, carefully loosen and remove any clamps, then detach the fuel lines from the tank. Be prepared for minor fuel drips.
- Usuń stary zbiornik: Identify and remove any bolts, screws, or straps securing the old fuel tank to the pressure washer frame. Carefully lift and remove the old tank.
- Sprawdź nowy zbiornik: Before installation, inspect the new Homelite 099980425077 fuel tank for any damage. Ensure the pre-installed fuel strainer valve is secure.
- Zainstaluj nowy zbiornik: Position the new fuel tank onto the pressure washer frame. Secure it using the original bolts, screws, or straps. Ensure it is firmly seated and does not wobble.
- Ponowne podłączenie przewodów paliwowych: Reattach the fuel lines to the new tank's fittings. Secure them with the original clamps or new ones if the old ones are damaged. Ensure all connections are tight to prevent leaks.
- Kontrole końcowe:
- Dokładnie sprawdź wszystkie połączenia pod kątem szczelności.
- Ensure no tools or debris are left in the engine area.
- Podłącz ponownie przewód świecy zapłonowej.
5. Operating Instructions (Fueling)
Once the new fuel tank is installed, follow these guidelines for fueling your pressure washer.
- Typ paliwa: Use only fresh, clean, unleaded gasoline with an octane rating of 87 or higher. Do not use E85 fuel.
- Pożywny: Remove the fuel cap slowly to release any pressure. Fill the tank carefully, avoiding overfilling. Leave a small air gap to allow for fuel expansion.
- Bezpieczna nasadka: Replace the fuel cap securely after filling.
- Clean Spills: Wipe up any spilled fuel immediately with a clean cloth.
6. Konserwacja
Proper maintenance ensures the longevity and safe operation of your fuel tank.
- Regularna kontrola: Periodically inspect the fuel tank for cracks, leaks, or signs of corrosion. Check fuel lines for wear or damage.
- Magazynowanie paliwa: When storing the pressure washer for extended periods, it is recommended to drain the fuel tank or use a fuel stabilizer to prevent fuel degradation and rust formation, especially since the tank's interior may be raw metal.
- Czyszczenie: Keep the exterior of the fuel tank clean. Avoid using harsh chemicals that could damage the tank material.
7. Rozwiązywanie Problemów
If you encounter issues related to the fuel tank, consider the following:
- Wycieki paliwa: Check all fuel line connections for tightness. Inspect the tank for visible cracks or damage. If a leak is found, replace the damaged component immediately.
- Engine Not Getting Fuel: Ensure there is sufficient fuel in the tank. Check the fuel lines for kinks or blockages. The pre-installed fuel strainer valve might be clogged; inspect and clean or replace if necessary.
- Rdza/Korozja: If rust or corrosion is observed inside the tank, it may indicate fuel contamination or improper storage. The tank may need to be replaced if corrosion is severe.
8. Specyfikacje
| Numer części | 099980425077 |
| Marka | Domowe światło |
| Typ produktu | Pressure Washer Fuel Tank |
| Tworzywo | Alloy Steel, Aluminum, High Density Polyethylene (HDPE), Plastic, Polyethylene (PE), Stainless Steel |
| Waga przedmiotu | 4 uncji (0.25 funta) |
| Wymiary opakowania | 10.67 x 10.47 x 5.91 cala |
| Typ paliwa | Benzyna |
9. Gwarancja i wsparcie
As a genuine Original Equipment Manufacturer (OEM) part, this Homelite fuel tank is designed to meet the quality and fitment standards of your Homelite pressure washer. For specific warranty information or technical support, please refer to the documentation provided with your original pressure washer or contact Homelite customer service directly. Keep your purchase receipt for warranty claims.