1. Wprowadzenie i koniecview
This manual provides detailed instructions for the safe installation, operation, and maintenance of your ET2 Blade-19W LED Pendant Light. The Blade-19W features a sleek, half-inch aluminum blade design with an integrated LED board, creating a distinct lighting effect. Please read this manual thoroughly before proceeding with installation or use.
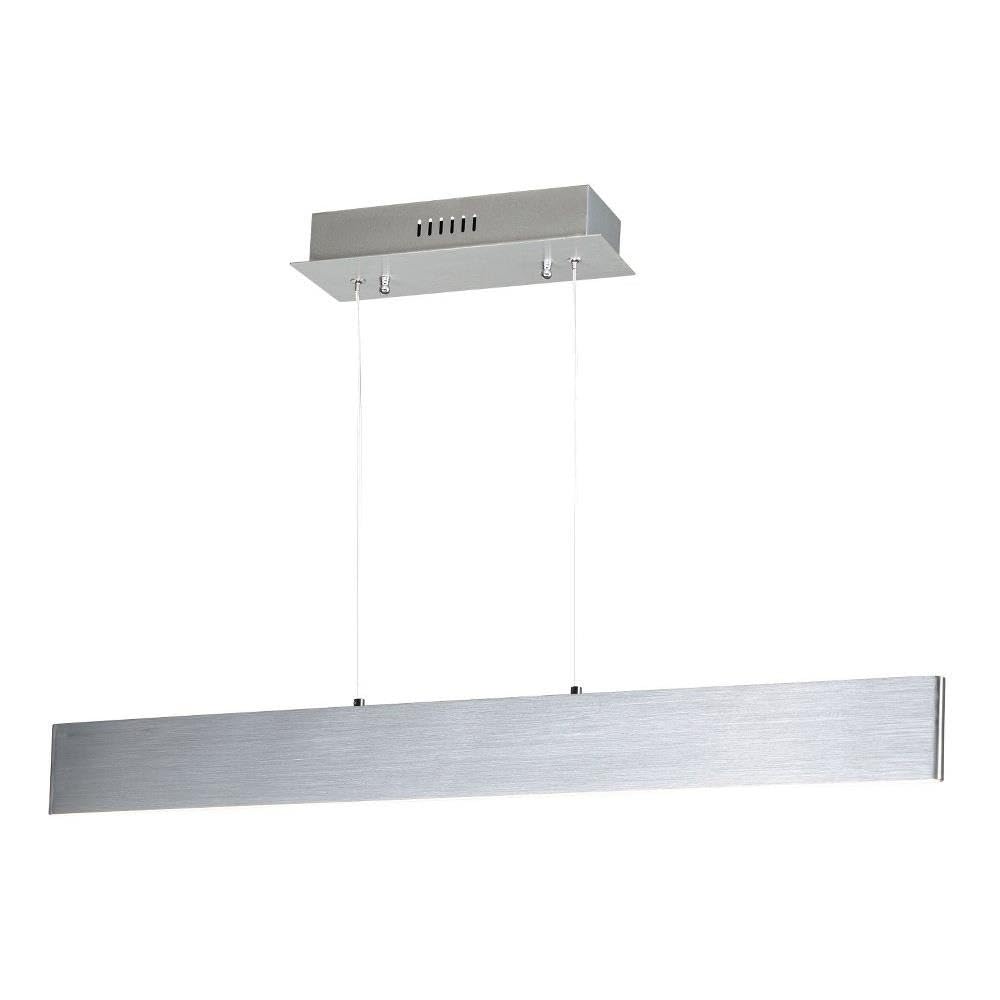
Figure 1: ET2 Blade-19W LED Pendant Light
2. Informacje dotyczące bezpieczeństwa
- OSTRZEŻENIE: Ryzyko porażenia prądem. Przed instalacją lub serwisowaniem należy odłączyć zasilanie od wyłącznika automatycznego lub skrzynki bezpiecznikowej.
- Wszystkie połączenia elektryczne muszą być zgodne z lokalnymi i krajowymi normami elektrycznymi (NEC). Jeśli nie masz wiedzy na temat prawidłowego podłączania przewodów elektrycznych, skonsultuj się z wykwalifikowanym elektrykiem.
- Oprawa przeznaczona jest wyłącznie do użytku wewnątrz pomieszczeń. Nie wystawiać na działanie wody ani wilgoci.
- Nie próbuj modyfikować urządzenia. Wszelkie modyfikacje mogą unieważnić gwarancję i stwarzać zagrożenie dla bezpieczeństwa.
- Handle the fixture with care to avoid damage to the LED components.
3. Zawartość opakowania
Przed rozpoczęciem instalacji sprawdź, czy wszystkie komponenty są obecne i nieuszkodzone:
- LED Pendant Fixture (1)
- Baldachim montażowy (1)
- Mounting Hardware Kit (screws, wire nuts, etc.) (1)
- Instrukcja obsługi (1)
4. Konfiguracja i instalacja
Wymagane narzędzia (brak w zestawie): Phillips screwdriver, flathead screwdriver, wire strippers, electrical tape, safety glasses.
- Wyłącz zasilanie: Before starting, ensure the power to the circuit where you are installing the fixture is turned off at the main circuit breaker or fuse box.
- Przygotuj powierzchnię montażową: Ensure the ceiling junction box is securely mounted and capable of supporting the fixture's weight (approximately 2.5 lbs).
- Zamontuj wspornik montażowy: Secure the mounting bracket (typically pre-attached to the canopy) to the junction box using the provided screws.
- Regulacja wysokości zawieszenia: The pendant cables are adjustable. Determine the desired hanging height for the fixture. Adjust the cable length by pressing the pin on the canopy's cable grip and sliding the cable to the desired length. Ensure both cables are adjusted evenly.
- Wykonaj połączenia elektryczne: Connect the fixture's wires to the corresponding wires from the junction box using the provided wire nuts.
- Połącz czarny przewód mocujący do czarny (Live) supply wire.
- Połącz biały przewód mocujący do biały (Neutral) supply wire.
- Połącz green/bare copper przewód mocujący do green/bare copper (Ground) supply wire.
- Góra Canopy: Carefully push the canopy up to the ceiling, aligning the mounting screws on the bracket with the holes in the canopy. Secure the canopy in place with the decorative nuts or screws provided.
- Przywróć zasilanie: Po zakończeniu instalacji należy przywrócić zasilanie poprzez wyłącznik obwodu.

Figure 2: Product Dimensions and Canopy Details
5. Instrukcja obsługi
The ET2 Blade-19W LED Pendant Light is designed for simple operation. Once properly installed and powered, the light can be controlled via a remote control (if supplied with your specific model) or a standard wall switch connected to the fixture's circuit.
- Włączanie/wyłączanie: Use the wall switch or remote control to turn the light on or off.
- Kolor światła: This fixture emits a warm white light.
6. Konserwacja
To ensure the longevity and appearance of your pendant light, follow these simple maintenance guidelines:
- Czyszczenie: Always disconnect power before cleaning. Wipe the fixture with a soft, dry cloth. Do not use abrasive cleaners, solvents, or polishes as they may damage the finish or electrical components.
- diody LED: The integrated LED light source is designed for long-term use and is not user-replaceable. Do not attempt to open or service the LED module.
7. Rozwiązywanie Problemów
Jeśli lampa wisząca nie działa prawidłowo, zapoznaj się z poniższymi typowymi problemami i rozwiązaniami:
| Problem | Możliwa przyczyna | Rozwiązanie |
|---|---|---|
| Światło się nie włącza. | Brak zasilania urządzenia. | Check the circuit breaker or fuse. Ensure the wall switch is in the ON position. Verify all electrical connections are secure. |
| Światło migocze lub przygasa. | Luźne połączenie okablowania. | Wyłącz zasilanie i sprawdź szczelność wszystkich połączeń przewodów. |
| Osprzęt jest uszkodzony. | Physical damage during installation or shipping. | Contact customer support for assistance. Do not attempt to repair. |
8. Specyfikacje
| Funkcja | Szczegół |
|---|---|
| Marka | ET2 |
| Numer modelu | E22903-AL |
| Wymiary (dł. x szer. x wys.) | 32" dł. x 0.5" szer. x 3" wys. |
| Waga przedmiotu | 2.5 funtów |
| Tworzywo | Aluminium |
| Rodzaj wykończenia | Szczotkowane aluminium |
| Źródło światła | PROWADZONY |
| Liczba źródeł światła | 1 |
| Cotage | 19 watów |
| Tomtage | 120 wolty |
| Kolor światła | Ciepła biel |
| Wskaźnik oddawania barw (CRI) | 80+ |
| Typ montażu | Montaż sufitowy |
| Typ instalacji | Montaż półpłaski |
| Zastosowanie wewnątrz/na zewnątrz | Wnętrz |
| Metoda kontroli | Zdalny |
9. Gwarancja i wsparcie
This ET2 Blade-19W LED Pendant Light is covered by a 1-roczna ograniczona gwarancja producenta od daty zakupu. Niniejsza gwarancja obejmuje wady materiałowe i wykonawcze przy normalnym użytkowaniu.
For warranty claims, technical support, or replacement parts, please contact ET2 customer service. Keep your purchase receipt as proof of purchase.
Informacje kontaktowe:
Please refer to the ET2 official website or your retailer's contact information for the most current support details.