Versuni FC9745/09
Versuni Philips PowerPro Expert Bagless Vacuum Cleaner
Instrukcja obsługi
Wstęp
This user manual provides essential information for the safe and efficient operation, maintenance, and troubleshooting of your Versuni Philips PowerPro Expert Bagless Vacuum Cleaner. Please read this manual thoroughly before first use and keep it for future reference.
The Philips 7000 Series bagless vacuum cleaner is designed to deliver powerful suction and deep cleaning performance. It features PowerCyclone 8 technology for efficient dust separation and a TriActive+ brush for optimized cleaning across various surfaces.
Informacje dotyczące bezpieczeństwa
- Zawsze upewnij się, że objętośćtage podana na urządzeniu odpowiada lokalnej objętości sieci zasilającejtage przed połączeniem.
- Nie używaj urządzenia, jeśli wtyczka, przewód zasilający lub samo urządzenie jest uszkodzone.
- Do not vacuum water or any other liquids, flammable substances, or hot ashes.
- Trzymaj urządzenie poza zasięgiem dzieci. Dzieci należy nadzorować, aby mieć pewność, że nie bawią się urządzeniem.
- Przed czyszczeniem lub konserwacją należy odłączyć urządzenie od gniazdka sieciowego.
- Nigdy nie zanurzaj urządzenia w wodzie ani innym płynie.
- Use only original Philips accessories and parts.
Produkt ponadview i komponenty
Familiarize yourself with the main parts of your vacuum cleaner and its accessories.

Rysunek 1: Main unit of the Philips PowerPro Expert vacuum cleaner shown with its hose, telescopic tube, and various cleaning attachments including the TriActive+ nozzle, Super Turbo brush, and crevice tool.

Rysunek 2: Przód view of the Philips PowerPro Expert vacuum cleaner, highlighting the main body, dust bin, and the PowerCyclone 8 technology visible through the transparent casing.
Kluczowe komponenty:
- Jednostka główna: Zawiera silnik, pojemnik na kurz i system filtracji.
- Wąż gumowy: Flexible hose connecting the main unit to the tube.
- Rura teleskopowa: Regulowana metalowa rurka zapewniająca większy zasięg.
- Dysza TriActive+: Przeznaczony do skutecznego czyszczenia zarówno twardych podłóg, jak i dywanów.
- Super Turbo Brush: Ideal for removing pet hair and deep cleaning carpets.
- Końcówka szczelinowa: Do wąskich przestrzeni i narożników.
- Zintegrowana szczotka: Conveniently stored in the handle for quick dusting.
Organizować coś
- Rozpakowywanie: Ostrożnie wyjmij wszystkie elementy z opakowania. Zachowaj opakowanie do późniejszego przechowywania lub transportu.
- Podłączanie węża: Insert the flexible hose into the suction opening on the main unit until it clicks into place.
- Podłączanie rury teleskopowej: Zamontuj rurę teleskopową na uchwycie węża. Dostosuj długość rury, naciskając przycisk zwalniający i przesuwając ją do żądanej wysokości.
- Podłączanie dyszy: Select the appropriate nozzle for your cleaning task and attach it to the end of the telescopic tube. Ensure it is securely fitted.
- Podłączenie zasilania: Extend the power cord and plug it into a suitable wall socket.

Rysunek 3: The Philips PowerPro Expert vacuum cleaner shown in its retail packaging, indicating the product is ready for unboxing and initial setup.
Instrukcja obsługi
- Włączanie/wyłączanie: Aby włączyć lub wyłączyć odkurzacz, naciśnij przycisk zasilania znajdujący się na jednostce głównej.
- Regulacja siły ssania: Use the power control buttons (+/-) on the handle to adjust the suction power according to the surface you are cleaning. Higher power for carpets, lower for delicate surfaces.
- Using the TriActive+ Nozzle: This nozzle is versatile. For hard floors, the side brushes collect dust and dirt along walls and furniture. For carpets, the large opening picks up larger particles, and the airflow optimizes suction for deep cleaning.
- Using the Super Turbo Brush: Attach this brush for intensive cleaning of carpets, especially effective for pet hair removal. The rotating brush bar agitates carpet fibers to lift embedded dirt.
- Using Integrated Accessories: The small brush and crevice tool are stored conveniently within the vacuum cleaner's body. Pull them out when needed for dusting furniture, cleaning tight spaces, or upholstery.

Rysunek 4: A hand demonstrating the adjustment of suction power using the controls located on the handle of the vacuum cleaner.
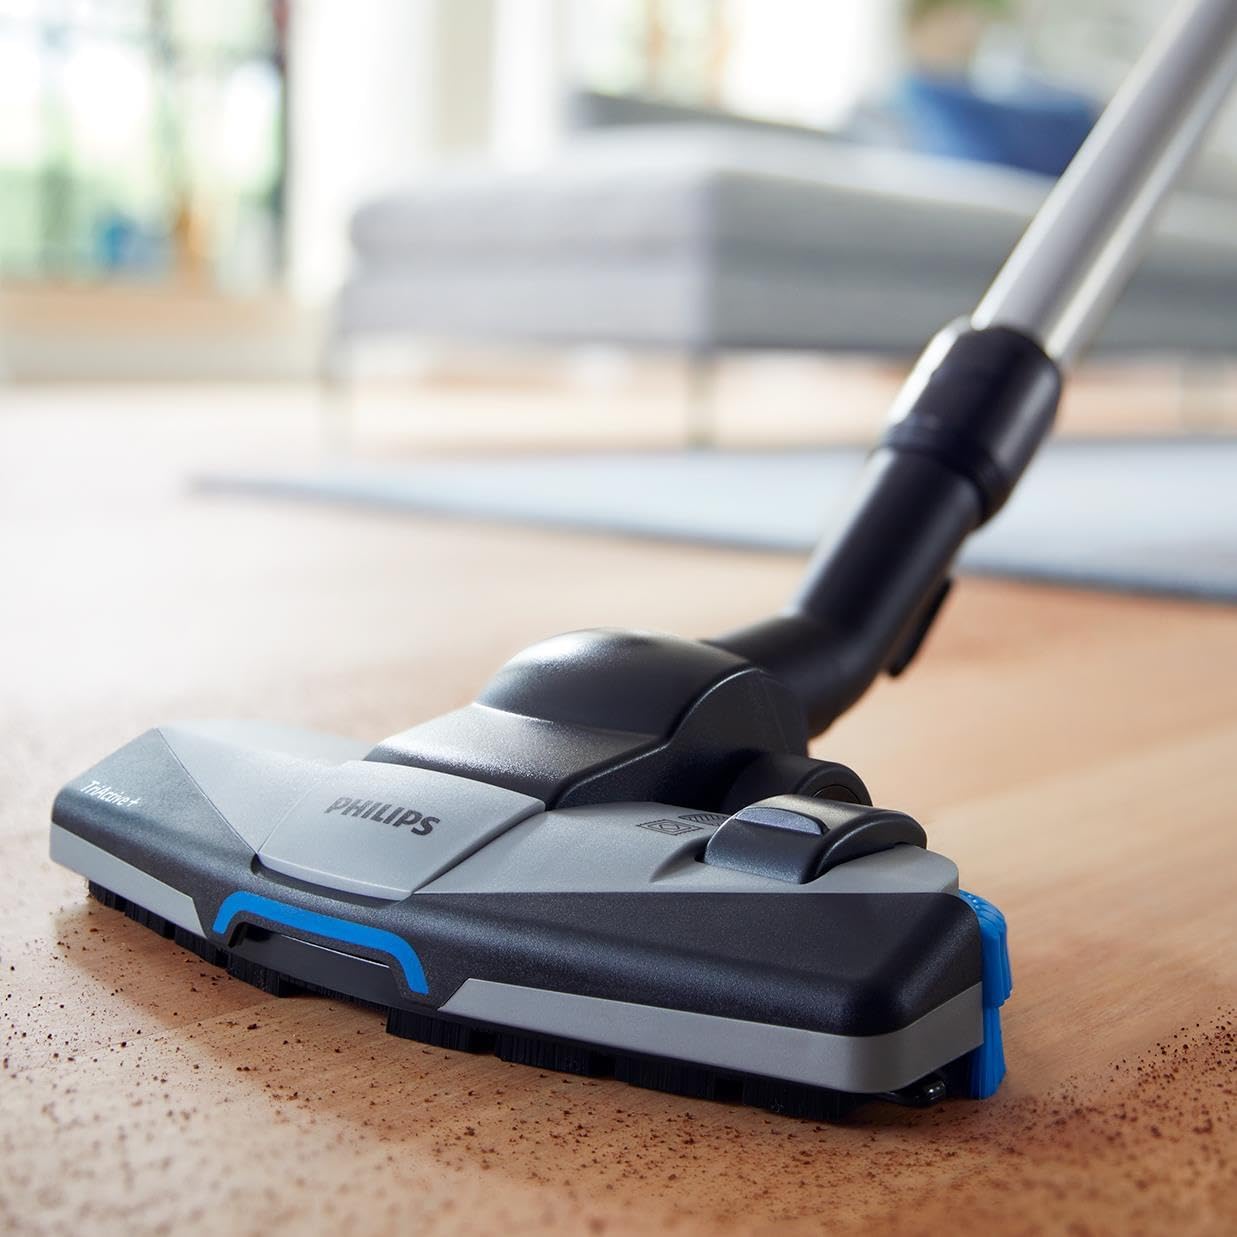
Rysunek 5: The TriActive+ nozzle positioned on a hard floor, demonstrating its wide cleaning path and efficient design for various surfaces.

Rysunek 6: A hand accessing the integrated accessories, such as the crevice tool and small brush, conveniently stored within the vacuum cleaner's body for easy reach.
Konserwacja
Regularna konserwacja zapewnia optymalną wydajność i wydłuża żywotność odkurzacza.
- Opróżnianie pojemnika na kurz:
The dust bin should be emptied when the dust level reaches the MAX indication. To empty:
- Naciśnij przycisk zwalniający pojemnik na kurz i wyjmij pojemnik na kurz z jednostki głównej.
- Przytrzymaj kosz na śmieci nad koszem na śmieci i naciśnij przycisk zwalniający znajdujący się na spodzie, aby otworzyć pokrywę i opróżnić zawartość.
- Close the lid securely and reattach the dust bin to the vacuum cleaner.

Rysunek 7: A hand demonstrating the process of emptying the transparent dust bin of the vacuum cleaner into a waste receptacle, showing the ease of disposal.
- Czyszczenie filtrów:
The vacuum cleaner has washable filters. It is recommended to clean them regularly, especially the motor protection filter and the exhaust filter (HEPA filter).
- Remove the dust bin and locate the filters.
- Tap the filters to remove loose dust. For thorough cleaning, rinse them under running water.
- Allow filters to air dry completely for at least 24 hours before reinserting them. Do not dry them in direct sunlight or on a radiator.
- Cleaning Brushes and Nozzles:
Periodically check nozzles and brushes for tangled hair, threads, or debris. Remove any obstructions to maintain effective cleaning performance.
Rozwiązywanie problemów
| Problem | Możliwa przyczyna | Rozwiązanie |
|---|---|---|
| Niska moc ssania | Pojemnik na kurz jest pełny. Filtry są zatkane. Wąż lub dysza są zatkane. | Opróżnij kosz na śmieci. Wyczyść lub wymień filtry. Sprawdź i usuń wszelkie blokady w wężu lub dyszy. |
| Niezwykły hałas | Object stuck in the brush or hose. Motor filter not properly installed. | Turn off and unplug the vacuum, then check for and remove obstructions. Ensure all filters are correctly seated. |
| Odkurzacz nie uruchamia się | Niepodłączony. Awaria gniazdka elektrycznego. | Check if the plug is securely inserted into the wall socket. Sprawdź gniazdko za pomocą innego urządzenia. |
Specyfikacje
| Funkcja | Szczegół |
|---|---|
| Marka | Versuni |
| Numer modelu | FC9745/09 |
| Kolor | Niebieski |
| Wymiary (dł. x szer. x wys.) | Wymiary 29.5 x 45 x 29.2 cm |
| Waga | 5.5 kilograma (12.13 funta) |
| Pojemność | 2 litrów |
| Moc | 900 watów |
| Tomtage | 240 wolty |
| Poziom dźwięku | 76dB |
| Funkcja specjalna | Zmywalny filtr |
| Typ filtra | Filtr HEPA |
| Zalecana powierzchnia | Twarda podłoga |
| Źródło zasilania | Elektryczny przewodowy |
Gwarancja i wsparcie
For detailed warranty information, please refer to the warranty card included with your product or visit the official Versuni webZachowaj dowód zakupu na wypadek roszczeń gwarancyjnych.
If you encounter any issues not covered in the troubleshooting section or require further assistance, please contact Versuni customer support. Contact details can typically be found on the product packaging or the official brand webstrona.
Możesz również odwiedzić Sklep Versuni na Amazonie Aby uzyskać więcej informacji o produkcie i zasobach pomocy.