
Wstęp
The NEC E436 is a 43-inch direct-lit, commercial-grade LED backlit display designed for various applications including education, corporate environments, and digital signage. This display features LED backlighting for reduced power consumption, a thinner profile, and lighter weight. It offers Full HD resolution for clear image quality and includes an integrated ATSC/NTSC tuner and built-in speakers for broadcast capabilities. Additionally, the E436 incorporates a USB player for displaying video, audio, or JPEG image files.
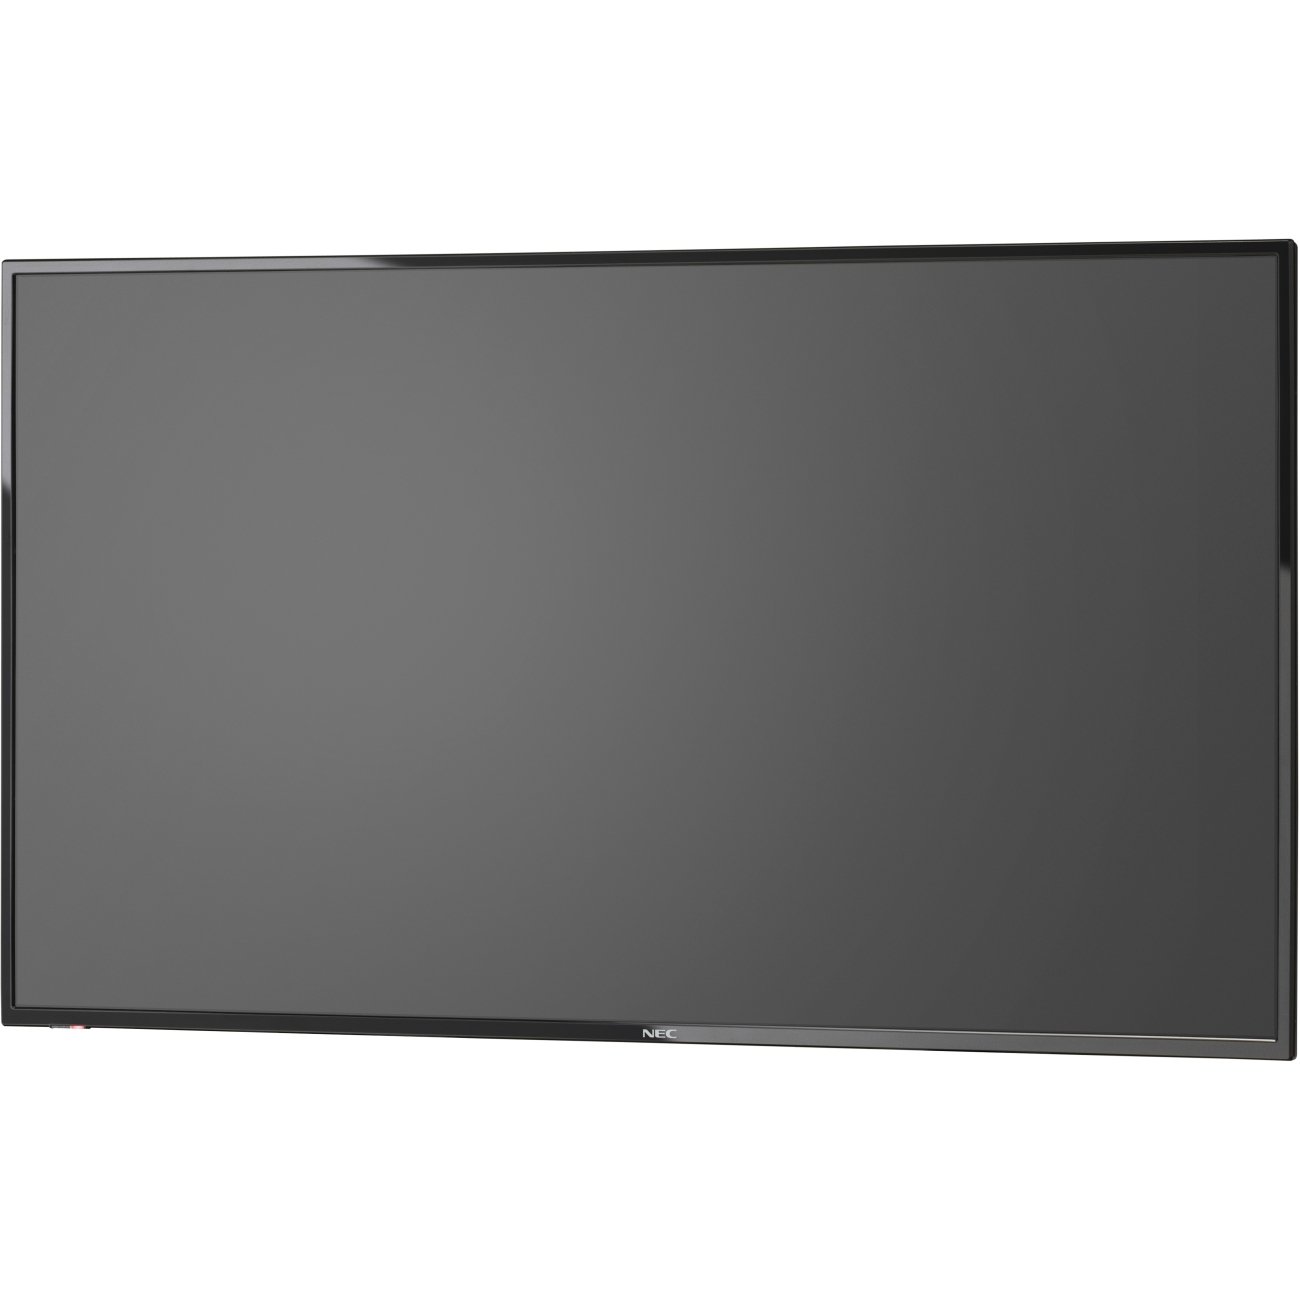
Obraz 1: Przód view of the NEC E436 43-inch LED Backlit Display with its stand, showcasing a vibrant beach landscape on the screen.
Organizować coś
1. Unpacking the Display
Carefully remove the display and all components from the packaging. Ensure all items listed below are present:
- NEC E436 43" LED Backlit Display
- Przewód zasilający
- Pilot zdalnego sterowania (jeśli jest dołączony)
- Instrukcja obsługi (ten dokument)
- Elementy stoiska (jeśli dotyczy)
2. Instalacja fizyczna
The display can be installed using its included stand or mounted on a VESA-compatible wall mount or stand.
Montaż stojaka (jeśli dotyczy)
- Place the display face down on a soft, clean surface to prevent screen damage.
- Attach the stand base to the display using the provided screws. Ensure it is securely fastened.
- Carefully lift the display and place it on a stable, level surface.
Montaż ścienny VESA
The NEC E436 supports VESA 200 x 200mm mounting. Use M6 x 16mm screws for attachment. Consult your wall mount's instructions for proper installation. Ensure the mounting surface can support the display's weight (approximately 20 pounds).
3. Podłączanie kabli
Connect the necessary cables to the display's input ports.
- Przewód zasilający: Podłącz przewód zasilający do wejścia zasilania wyświetlacza, a następnie do uziemionego gniazdka elektrycznego.
- Kabel HDMI: For video and audio input from a source device (e.g., computer, media player), connect an HDMI cable to the display's HDMI port and the source device's HDMI output.
- Urządzenie USB: To use the integrated multimedia player, insert a USB flash drive containing your media files into the display's USB port.
- Antena/kabel: To utilize the integrated ATSC/NTSC tuner, connect an antenna or cable TV feed to the RF input port.
4. Pierwsze włączenie zasilania
After connecting all cables, press the power button on the display or remote control to turn on the unit. Follow any on-screen prompts for initial setup, such as language selection or channel scanning for the integrated tuner.
Instrukcja obsługi
1. Podstawowe sterowanie
The display can be controlled using the buttons on the unit itself or via the remote control.
- Moc: Włącza lub wyłącza wyświetlacz.
- Źródło sygnału wejściowego: Selects the desired input source (HDMI, TV, USB).
- Zwiększanie/zmniejszanie głośności: Adjusts the audio output level from the built-in 10W speakers.
- Menu: Umożliwia dostęp do menu ekranowego (OSD) w celu uzyskania dostępu do ustawień zaawansowanych.
- Przyciski nawigacyjne: Służy do poruszania się po opcjach menu.
- OK/Wprowadź: Potwierdza wybór w menu.
2. Using the Integrated Tuner
To watch broadcast television, ensure an antenna or cable feed is connected to the RF input.
- Naciśnij Źródło sygnału wejściowego button and select "TV".
- Access the menu and navigate to the "Channel" or "Setup" section.
- Select "Auto Scan" or "Channel Search" to find available channels.
- Once scanning is complete, use the Channel Up/Down buttons to browse channels.
3. Using the USB Multimedia Player
The integrated USB player allows playback of video, audio, and JPEG image filebezpośrednio z urządzenia pamięci masowej USB.
- Insert a USB flash drive containing your media files into the display's USB port.
- Naciśnij Źródło sygnału wejściowego button and select "USB".
- The display will typically open a file browser. Navigate to your desired media file (video, audio, or image).
- Wybierz file rozpocząć odtwarzanie.
- Use the remote control for playback functions such as play, pause, stop, next, and previous.
4. Dostosowywanie ustawień wyświetlania
Access the OSD menu to customize picture, sound, and other display settings.
- Ustawienia obrazu: Adjust brightness, contrast, color, sharpness, and picture mode (e.g., Standard, Dynamic, Movie).
- Ustawienia dźwięku: Dostosuj basy, soprany, balans i tryb dźwięku.
- Ustawienia czasu: Set the current time, sleep timer, or auto power-off.
- Ustawienia systemowe: General display options, including language, factory reset, and software updates.
Konserwacja
1. Czyszczenie wyświetlacza
To maintain optimal picture quality, clean the display regularly.
- Ekran: Delikatnie przetrzyj ekran miękką, niepozostawiającą włókien ściereczką. W przypadku uporczywych zabrudzeń delikatnie przetrzyj.ampWyczyść ściereczkę wodą lub specjalnym środkiem do czyszczenia ekranów. Nie rozpylić płyn bezpośrednio na ekran.
- Gabinet: Wipe the display's frame and back with a soft, dry cloth.
- Ostrożność: Always unplug the display from the power outlet before cleaning. Avoid using abrasive cleaners, waxes, or solvents.
2. Ogólna opieka
- Avoid placing the display in direct sunlight or near heat sources.
- Ensure adequate ventilation around the display to prevent overheating.
- Protect the display from moisture and extreme temperatures.
- Nie blokuj otworów wentylacyjnych.
Rozwiązywanie problemów
Przed skontaktowaniem się z pomocą techniczną wypróbuj poniższe rozwiązania typowych problemów:
| Problem | Możliwe rozwiązanie |
|---|---|
| Brak zasilania |
|
| No signal/No picture |
|
| Obraz jest zniekształcony lub niewyraźny |
|
| Brak dźwięku |
|
Specyfikacje
| Funkcja | Szczegół |
|---|---|
| Marka | NEC |
| Numer modelu | E436 |
| Rozmiar ekranu | 43 cali |
| Typ wyświetlacza | Podświetlenie LED |
| Rezolucja | Pełna rozdzielczość HD (1920x1080) |
| Proporcje obrazu | 16:9 |
| Częstotliwość odświeżania | 60 Hz |
| Czas reakcji | 8 milisekund |
| Współczynnik kontrastu | 2000:1 |
| Łączność | 1x HDMI, 1x USB (USB 3.0) |
| Zintegrowany tuner | ATSC/NTSC |
| Audio | Wbudowane głośniki 10W |
| Typ montażu | VESA 200 x 200mm (M6 x 16mm) |
| Waga przedmiotu | 20 funtów |
Gwarancja i wsparcie
Informacje o gwarancji
The NEC E436 display comes with a 3-letnia gwarancja. This warranty covers defects in materials and workmanship under normal use. Please retain your proof of purchase for warranty claims. For specific terms and conditions, refer to the warranty card included with your product or visit the official NEC webstrona.
Obsługa klienta
For technical assistance, troubleshooting beyond this manual, or warranty service, please contact NEC customer support. Contact details can typically be found on the official NEC webna stronie internetowej lub w dokumentacji dołączonej do zakupu.
When contacting support, please have your model number (E436) and serial number ready.