
1. Wprowadzenie
This manual provides detailed instructions for the setup, operation, and maintenance of your ELECROW 7 Inch 1024x600 IPS Capacitive Touchscreen Monitor. This display is designed for broad compatibility with devices such as Raspberry Pi (5/4/3B+/3B/2B+), BB Black, Banana Pi, Jetson Nano, and Windows 11/10/8/7 systems.
Główne cechy:
- Wizualizacje HD: 7-inch IPS screen with 1024x600 resolution and 170° wide viewing angle for consistent colors and clear viewing.
- Dotyk pojemnościowy: Supports up to 5-point touch functionality without requiring driver installation for most compatible systems.
- Podłącz i graj: Simple connectivity via HD (HDMI) and Micro USB ports for immediate use.
- Wszechstronne zastosowanie: Suitable for use as a Raspberry Pi display, mini PC monitor, gaming console screen, or a computer temperature monitor.
2. Co znajduje się w pudełku
Przed przystąpieniem do instalacji należy sprawdzić, czy wszystkie komponenty są obecne.
- 7 Inch Capacitive Display x 1
- Kabel HD x 1
- Kabel USB x 1
- Micro HD Adapter x 1
- Copper Screws Pack (4pcs) x 1
- DVD x 1 (Contains drivers and documentation)
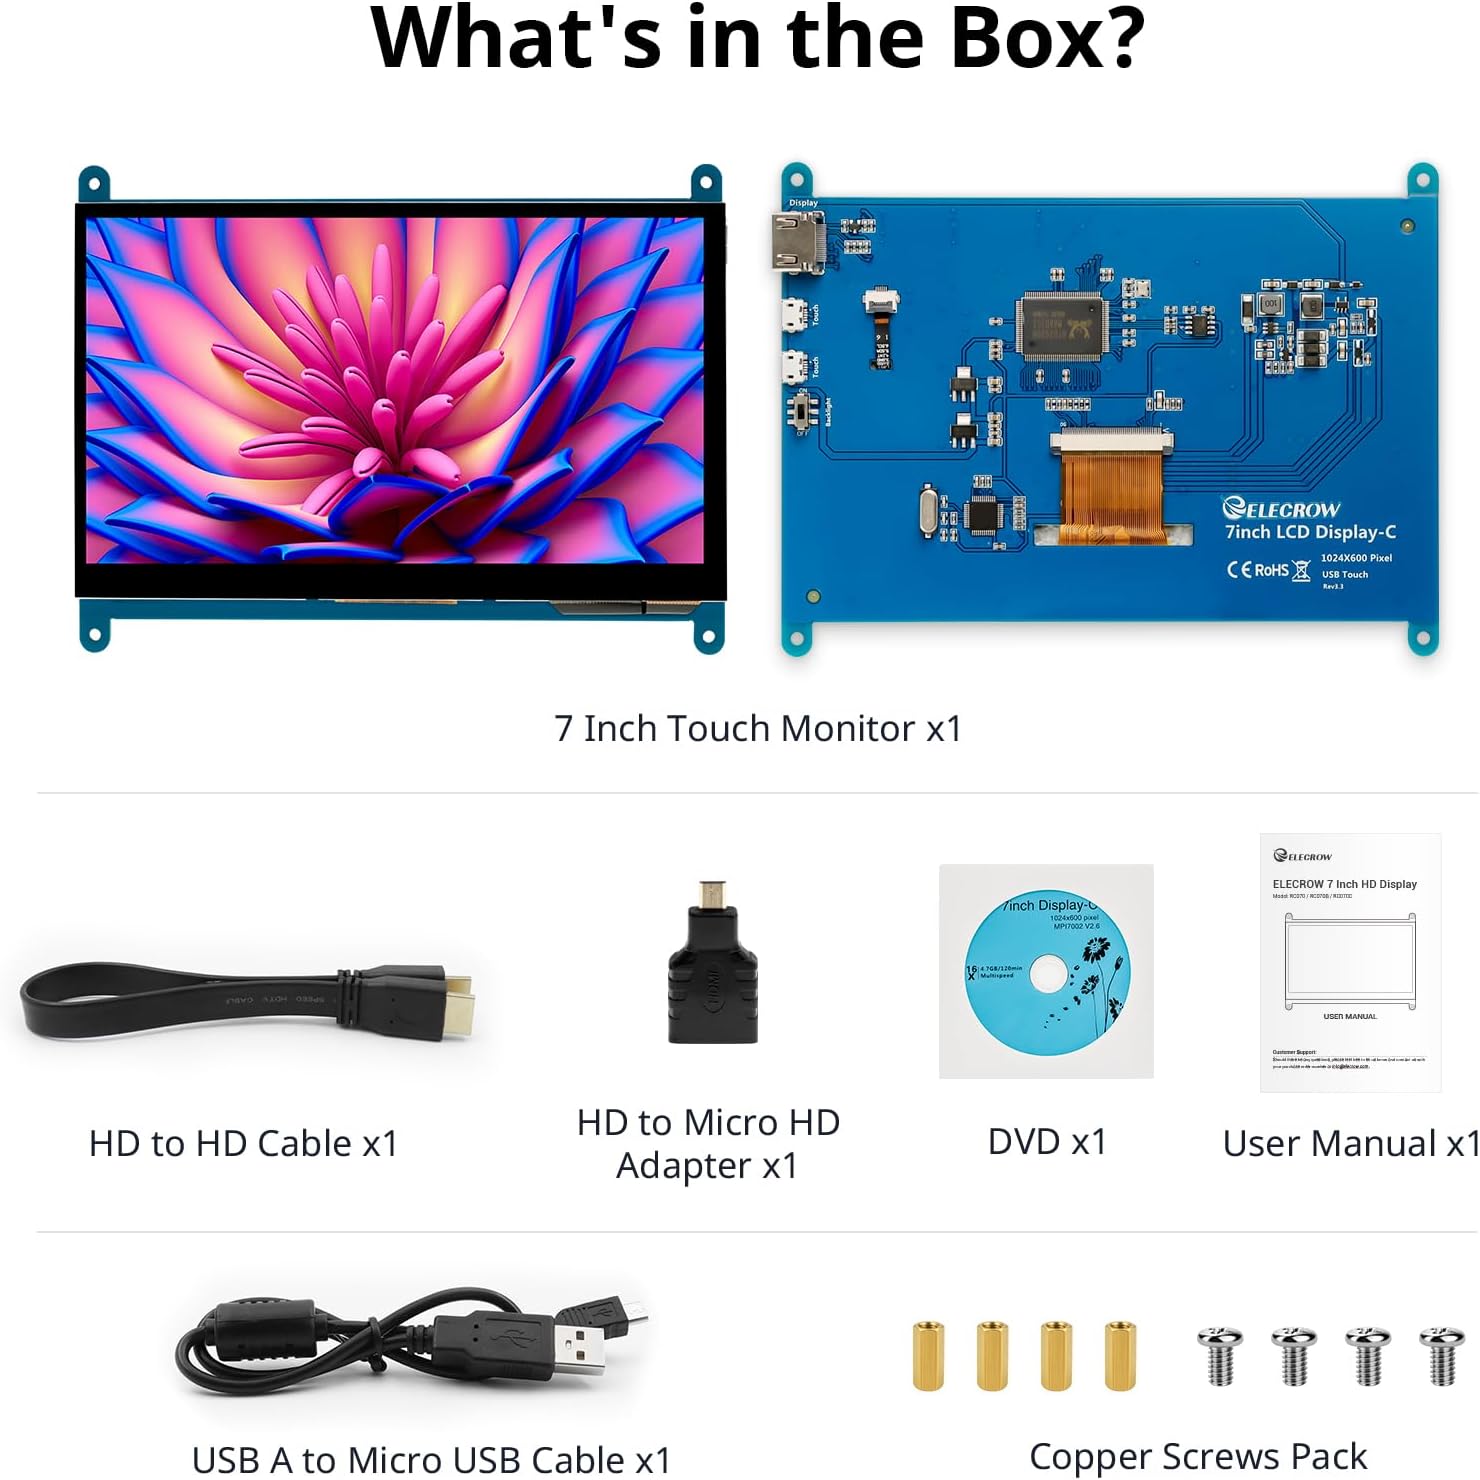
Zdjęcie: Wszystkie elementy zawarte w opakowaniu produktu.
3. Konfiguracja i połączenia
Follow these steps to connect your ELECROW 7 Inch Touchscreen Monitor to your device.
3.1 Sprzęt ponadview

Obraz: Tył view of the monitor highlighting the Standard HD Port, Micro USB Port for touch and power, and Backlight switch.
- Standard HD Port: For video data transfer.
- Port micro USB: For touch functionality and power supply.
- Przełącznik podświetlenia: To turn the display backlight on or off.
3.2 Łączenie z Raspberry Pi
To connect the monitor to a Raspberry Pi, you will need both the HD cable for video and the USB cable for touch and power.
- Connect one end of the HD cable to the Standard HD Port on the monitor and the other end to the HDMI port on your Raspberry Pi. Use the Micro HD adapter if necessary for your Raspberry Pi model.
- Connect the Micro USB cable to the Micro USB Port on the monitor. Connect the other end of the USB cable to a USB port on your Raspberry Pi for power and touch data.
- Ensure the backlight switch on the monitor is in the 'On' position.
- Power on your Raspberry Pi. The display should automatically detect and show the output.
For touch functionality with Raspberry Pi, power can be supplied via the Raspberry Pi's USB port. If using an external power source for the Raspberry Pi, ensure it is sufficient. For optimal performance, especially with older Raspberry Pi models, an external power supply for the monitor might be beneficial if the Pi cannot provide enough current.
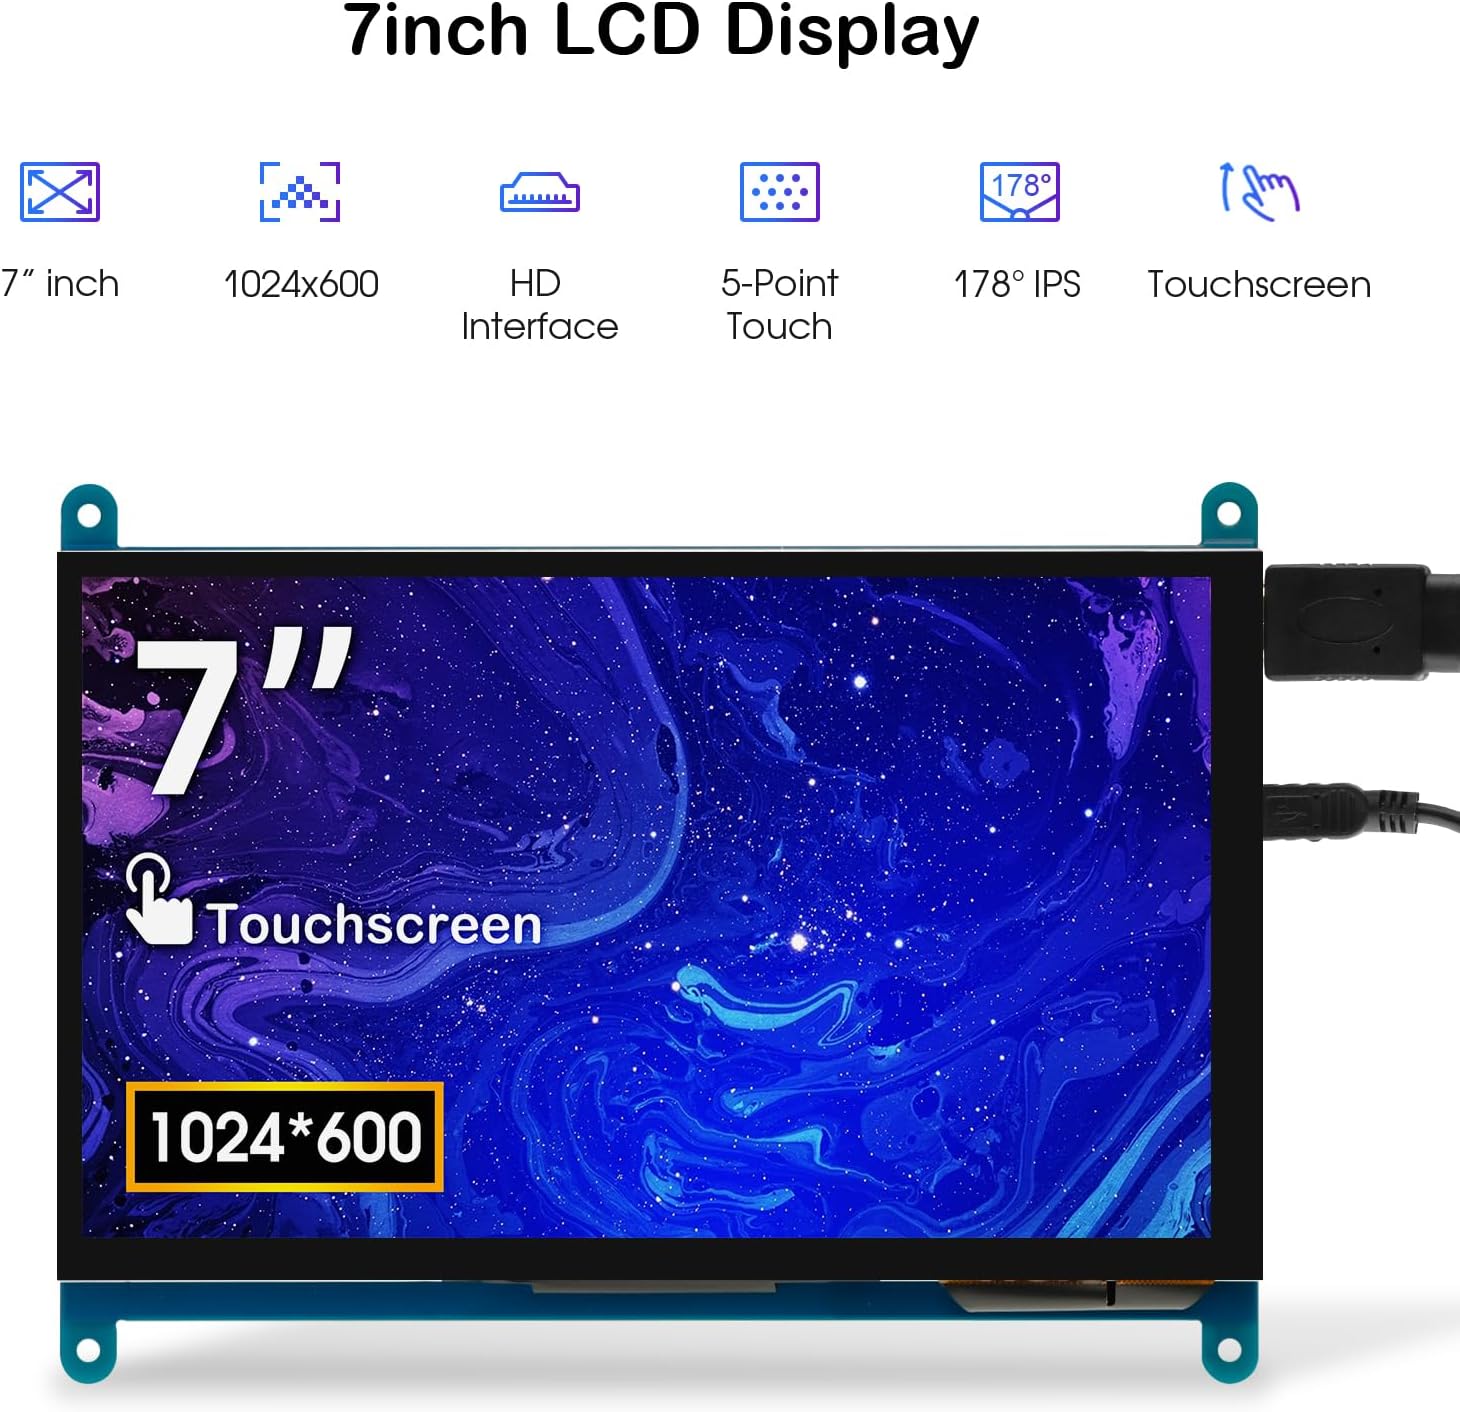
Image: The 7-inch touchscreen connected to a Raspberry Pi board, displaying a graphical user interface.
3.3 Connecting to Windows PC/Laptop
For Windows systems, the monitor functions as a plug-and-play display and touchscreen.
- Connect the HD cable from the monitor's Standard HD Port to an HDMI port on your PC or laptop.
- Connect the Micro USB cable from the monitor's Micro USB Port to a USB-A port on your PC or laptop. This provides power and enables touch functionality.
- Ensure the backlight switch is 'On'.
- Your Windows system should automatically detect the display and touchscreen. No additional drivers are typically required for Windows 7/8/10/11 for basic display and 5-point touch.

Image: The 7-inch touchscreen connected to a laptop, demonstrating seamless connectivity with various operating systems including Windows.
4. Instrukcja obsługi
4.1 Funkcjonalność dotykowa
The monitor supports 5-point capacitive touch, allowing for various gestures.
- Uzyskiwać: Single touch for selection or activation.
- Naciskać: Sustained touch for context menus or drag operations.
- Powiększ/pomniejsz: Pinch gestures with two fingers.
- Mouse Click: A single tap typically registers as a left-click.
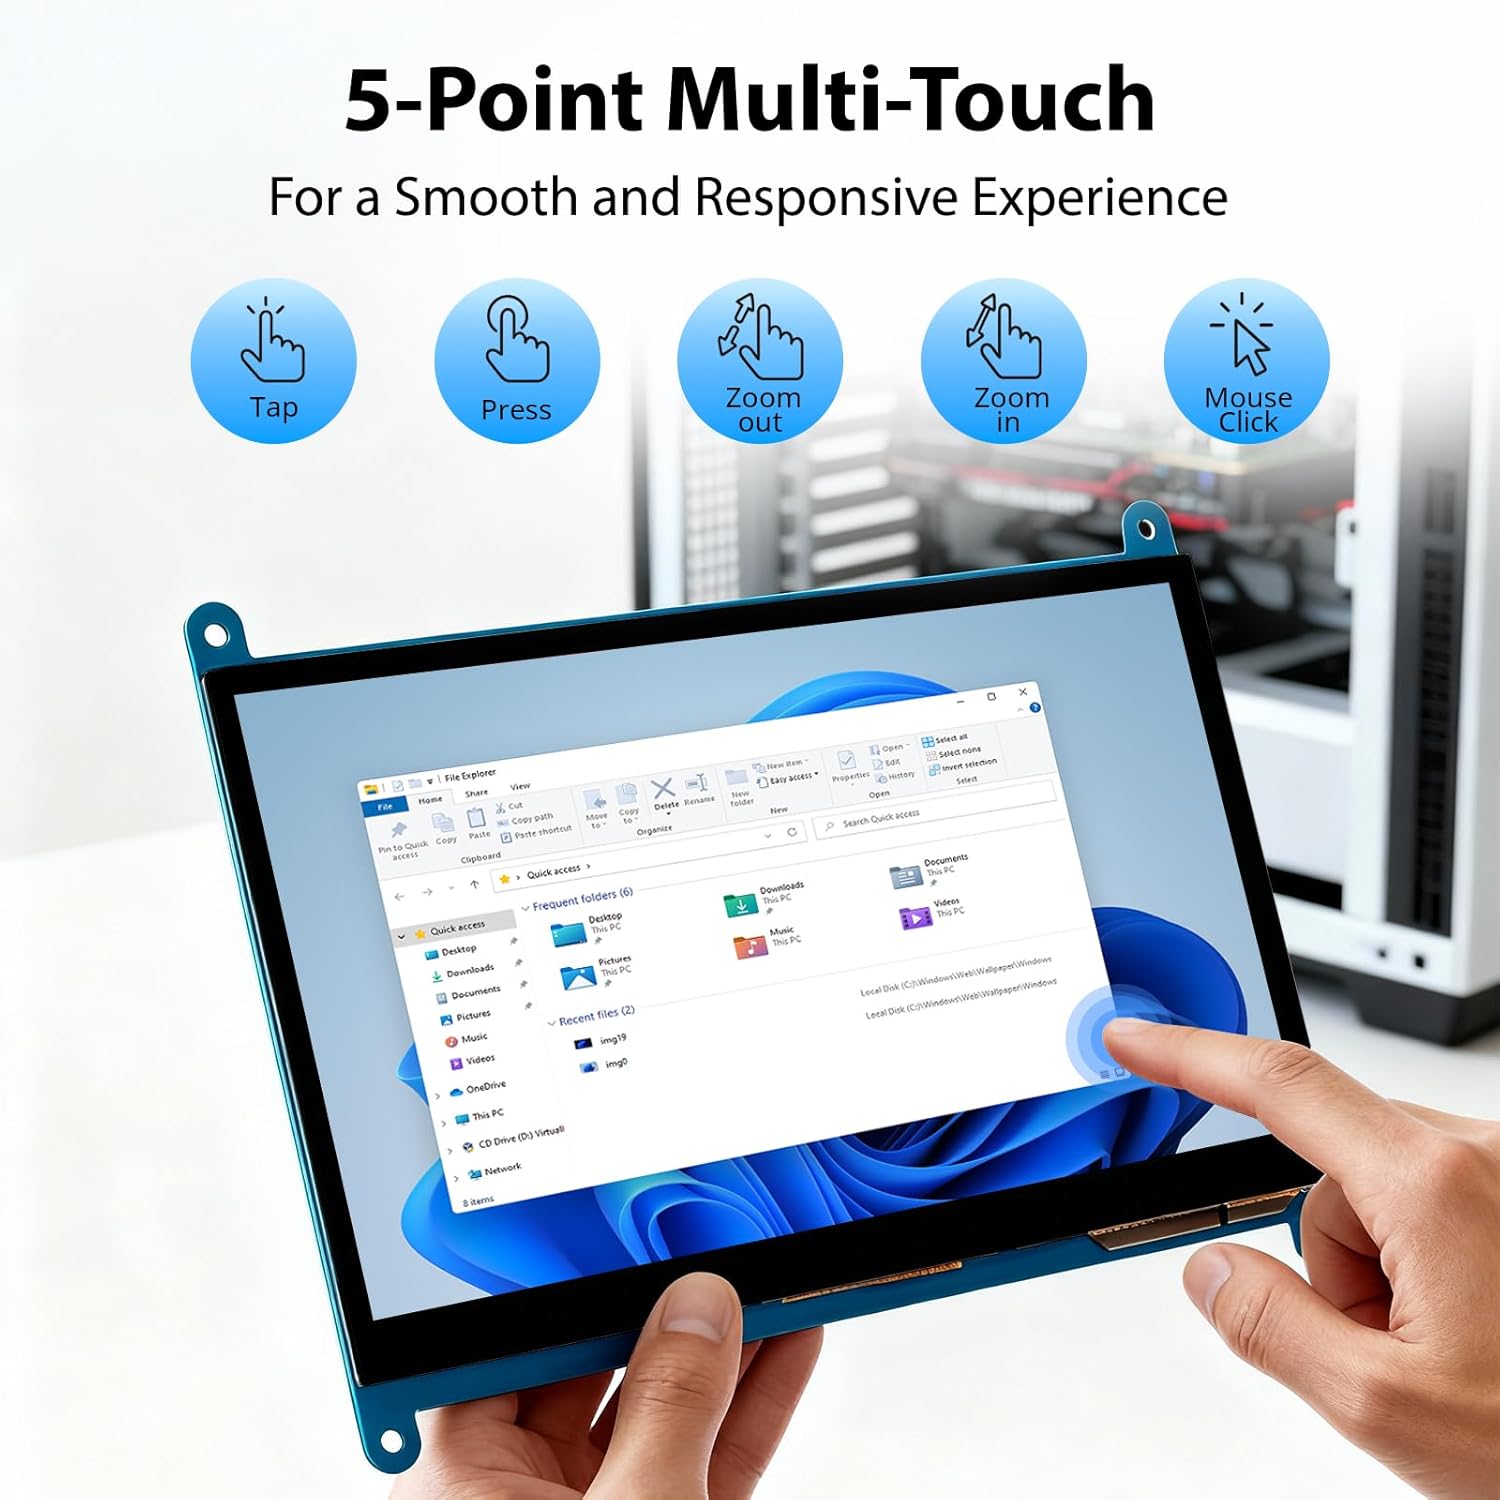
Image: Visual guide to the 5-point multi-touch capabilities of the screen, showing common gestures.
4.2 Tryby wyświetlania
When connected to a computer, the monitor can operate in several display modes:
- Tryb duplikacji: The monitor mirrors the content of your primary display.
- Tryb rozszerzania: The monitor acts as an extension of your primary display, providing additional screen space.
- Tryb drugiego ekranu: The monitor functions as the sole display, with the primary display turned off.
These modes can typically be configured through your operating system's display settings.

Image: Illustrations demonstrating the three display modes: Duplicate, Extend, and Second Screen, showing how the monitor can be used with a laptop.
Sterowanie podświetleniem 4.3
The monitor features a physical switch to control the backlight. This allows you to turn the display illumination on or off without disconnecting power. Note that there is no granular brightness control; it is an on/off function only.
Video: This video demonstrates the backlight control switch on the ELECROW 7 Inch Touchscreen, showing how to turn the display illumination on and off.
5. Konserwacja
Właściwa konserwacja gwarantuje długowieczność i optymalną wydajność monitora.
- Czyszczenie ekranu: Użyj miękkiej, niestrzępiącej się ściereczki, lekko wyczyśćampened with water or a screen-cleaning solution. Avoid harsh chemicals or abrasive materials that could damage the screen surface.
- Opieka ogólna: Keep the monitor in a clean, dry environment. Avoid exposing it to extreme temperatures, direct sunlight, or high humidity.
- Obsługiwanie: Handle the monitor by its edges. Avoid applying excessive pressure to the screen.
6. Rozwiązywanie Problemów
Jeśli masz problemy z monitorem, zapoznaj się z poniższymi, często spotykanymi problemami i ich rozwiązaniami.
| Problem | Możliwa przyczyna | Rozwiązanie |
|---|---|---|
| Brak wyświetlacza/Czarny ekran |
|
|
| Ekran dotykowy nie reaguje |
|
|
| Display resolution incorrect |
|
|
| Brak kontroli jasności | The monitor only has an on/off switch for the backlight, not adjustable brightness. | This is expected behavior. The monitor does not support adjustable brightness. |
7. Specyfikacje
Detailed technical specifications for the ELECROW 7 Inch Touchscreen Monitor.
| Funkcja | Szczegół |
|---|---|
| Marka | ELEKTROROW |
| Nazwa modelu | RC070 |
| Rozmiar ekranu | 7 cali |
| Maksymalna rozdzielczość wyświetlacza | 1024x600 |
| Rozdzielczość natywna | 1024x600 |
| Typ wyświetlacza | LCD |
| Technologia wyświetlania | IPS |
| Proporcje obrazu | 1.71:1 |
| Częstotliwość odświeżania | 60 Hz |
| Czas reakcji | 8 milisekund |
| Współczynnik kontrastu | 800:1 |
| Jasność | 300 lm |
| Viewing kąt | 170 stopni |
| Opis powierzchni ekranu | Lśniący |
| Technologia łączności | HDMI |
| Łączność Hardware | HDMI, USB |
| Total Number of HDMI Ports | 1 |
| Łączna liczba portów USB | 2 (Micro USB for power/touch, USB-A for power/touch) |
| Pobór mocy | 12.5 watów |
| Tomtage | 5 wolty |
| Wymiary przedmiotu (gł. x szer. x wys.) | 0.3" gł. x 6.1" szer. x 4.8" wys. |
| Waga przedmiotu | 7.36 uncji |
| Kompatybilne urządzenia | Raspberry Pi, BB Black, Banana Pi, Jetson Nano, Computers, Laptops, Gaming Consoles |
8. Gwarancja i wsparcie
Your ELECROW 7 Inch Touchscreen Monitor comes with a manufacturer's warranty.
- Rodzaj gwarancji: 1-letnia gwarancja producenta
- Opis gwarancji: 1 lat producenta
For technical support or warranty claims, please contact ELECROW customer service through their official webwitryna lub platforma, na której zakupiono produkt.