
1. Wprowadzenie
This manual provides detailed instructions for the installation, operation, and maintenance of your SMONET Wireless Security Camera System. This system is designed to provide reliable surveillance with easy setup and remote access capabilities.
Obraz 1: Koniecview of the SMONET Wireless Security Camera System, showing the NVR unit and four bullet-style cameras with antennas, indicating wireless connectivity and 24/7 recording capability.
2. Zawartość opakowania
Sprawdź, czy w przesyłce znajdują się wszystkie elementy wymienione poniżej:
- 1 x 4CH 1080p WiFi NVR (Network Video Recorder)
- 4 x Wireless IP Cameras
- 1 x DC 12V/2A Power Adapter (for NVR)
- 4 x DC 12V/1A Power Adapters (for Cameras)
- Mysz 1 x USB
- 1 x 3.3ft Network Cable
- Śruby montażowe i kołki ścienne
- 1 x Instrukcja obsługi
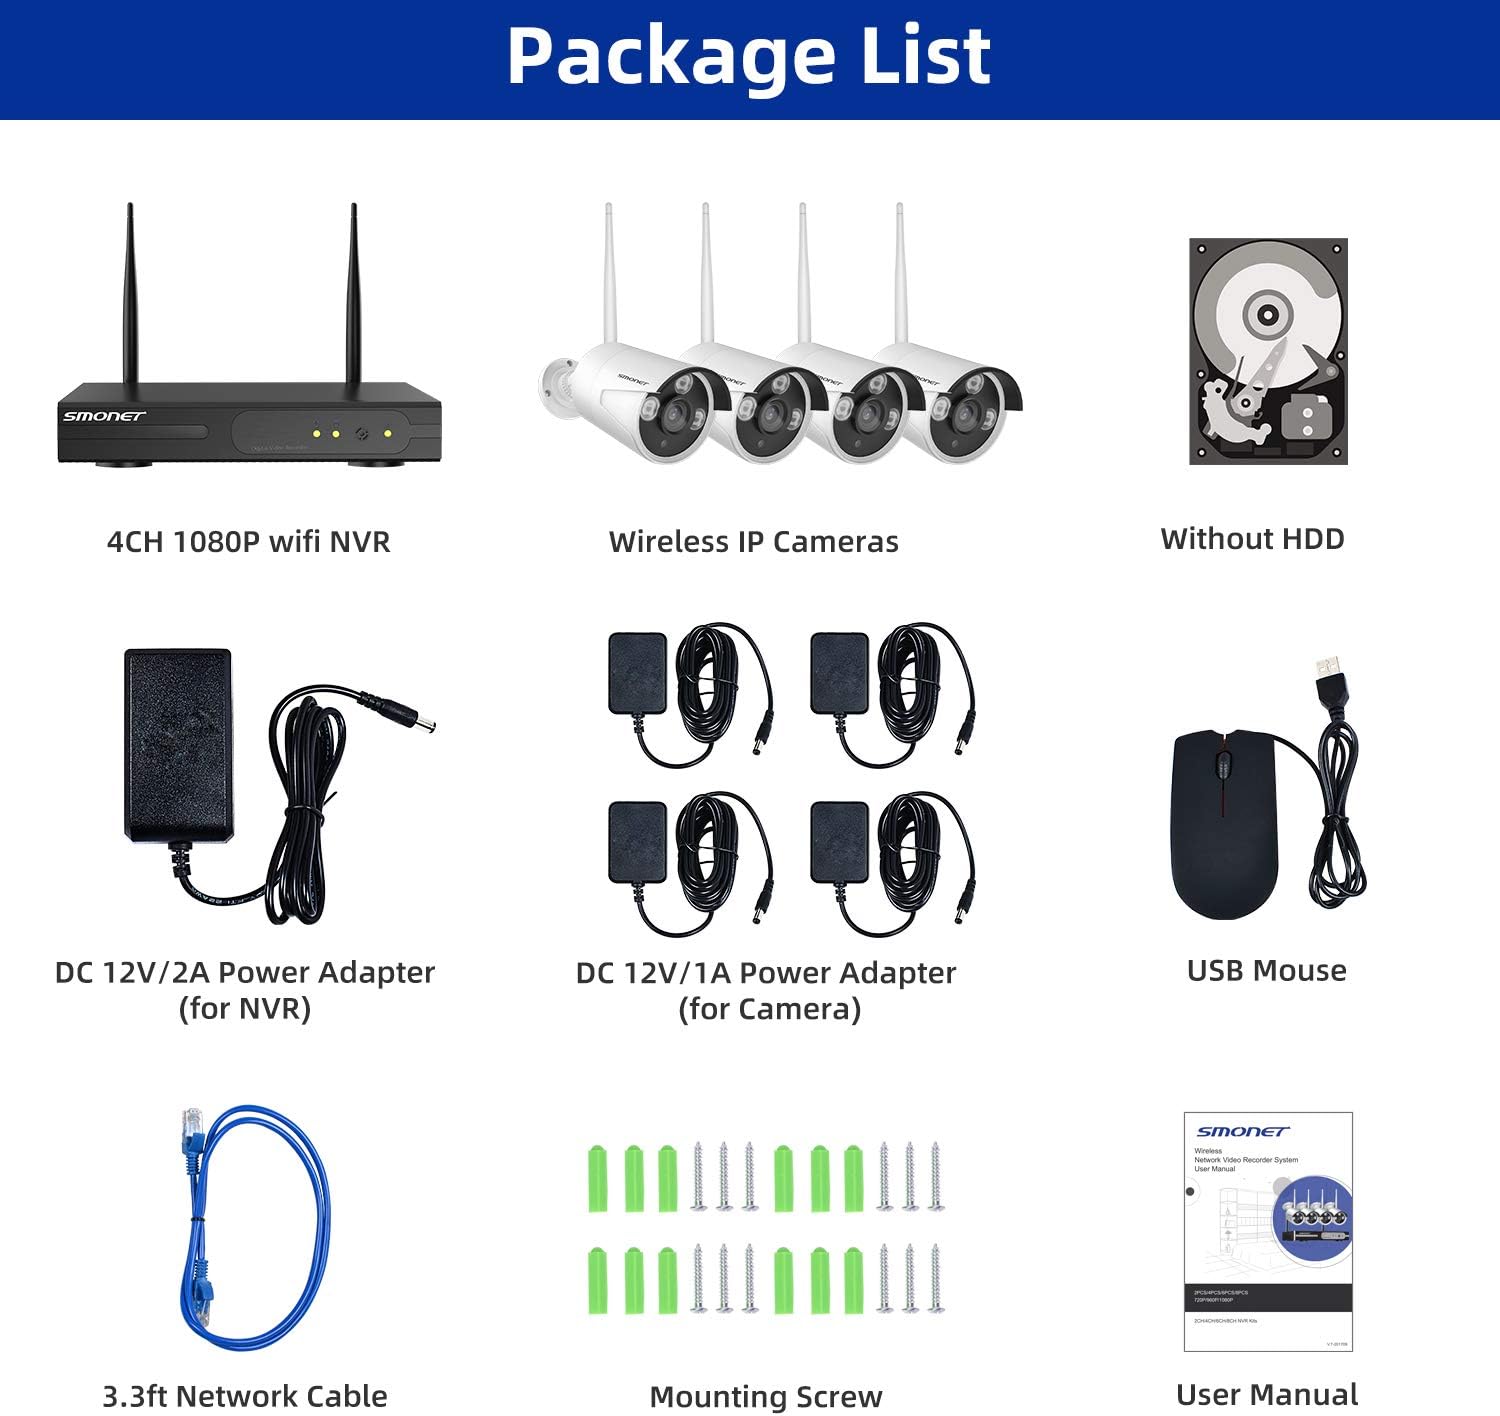
Image 2: Visual representation of the package contents, including the NVR, four cameras, power adapters, USB mouse, network cable, mounting hardware, and user manual.
3. Koniec produktuview
3.1 Funkcje aparatu
- 5DB Wi-Fi Antenna: For enhanced wireless signal reception.
- Obudowa metalowa IP66: Zapewnia odporność na warunki atmosferyczne, umożliwiając stosowanie na zewnątrz.
- 3 szt. diod LED: Do oświetlenia noktowizyjnego.
- Czujnik światła: Automatycznie przełącza się między trybem dziennym i nocnym.
- Obiektyw 3.6 mm: Oferuje szeroki zakres view.
3.2 Porty NVR
- Port VGA: Connect to a monitor.
- Port HDMI: Connect to a TV or monitor for high-definition output.
- Port WAN: Connect to your router for internet access.
- Port USB: For mouse and external storage.
- Zasilacz: For NVR power supply.
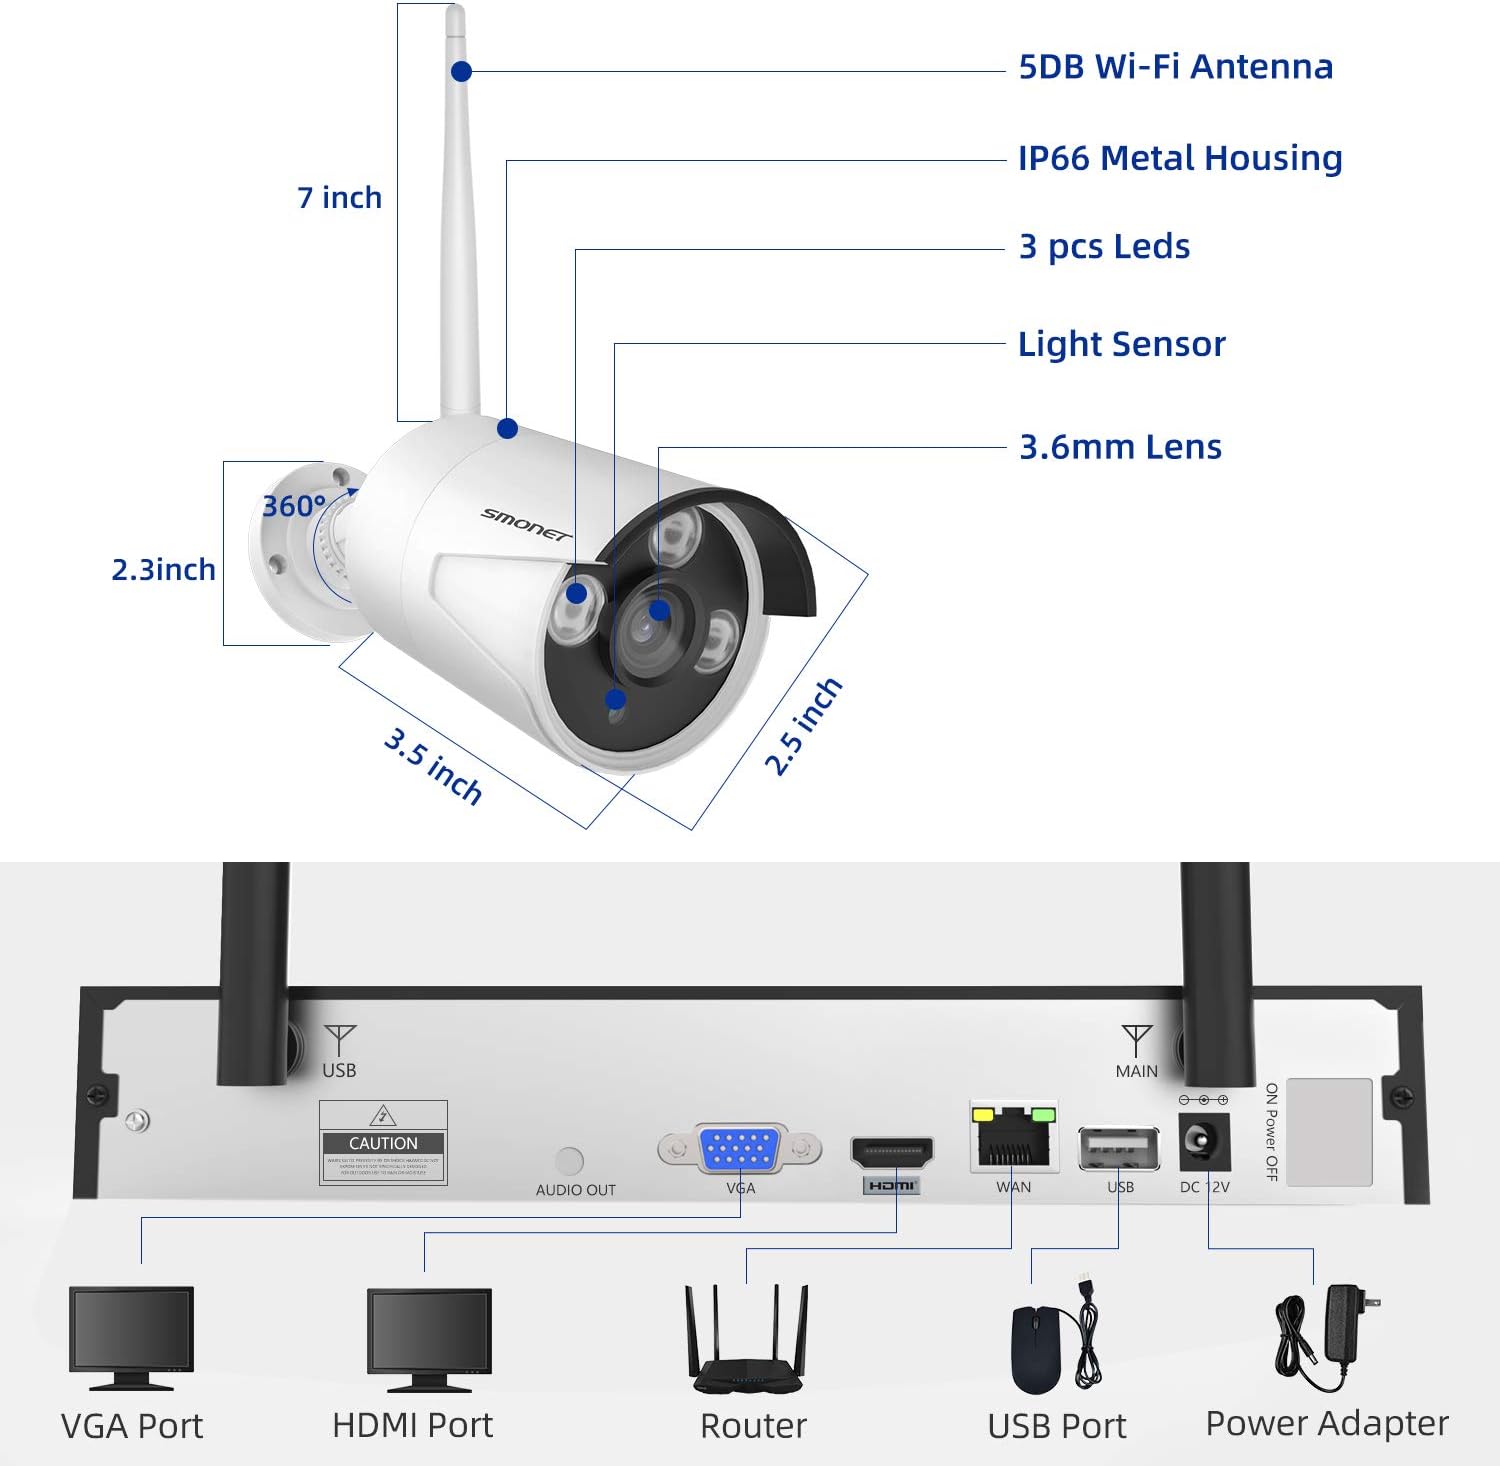
Image 3: Detailed diagram showing the dimensions of a SMONET camera and the various input/output ports on the back of the NVR unit.
4. Konfiguracja
4.1 Instalacja kamery
- Choose desired locations for your cameras. Ensure they are within range of the NVR's wireless signal.
- Mount the cameras using the provided screws and wall plugs.
- Connect each camera to its dedicated DC 12V/1A power adapter and plug it into a power outlet.
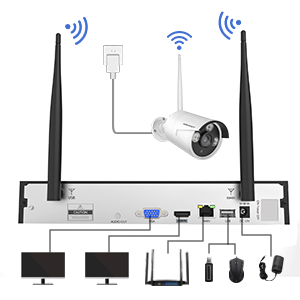
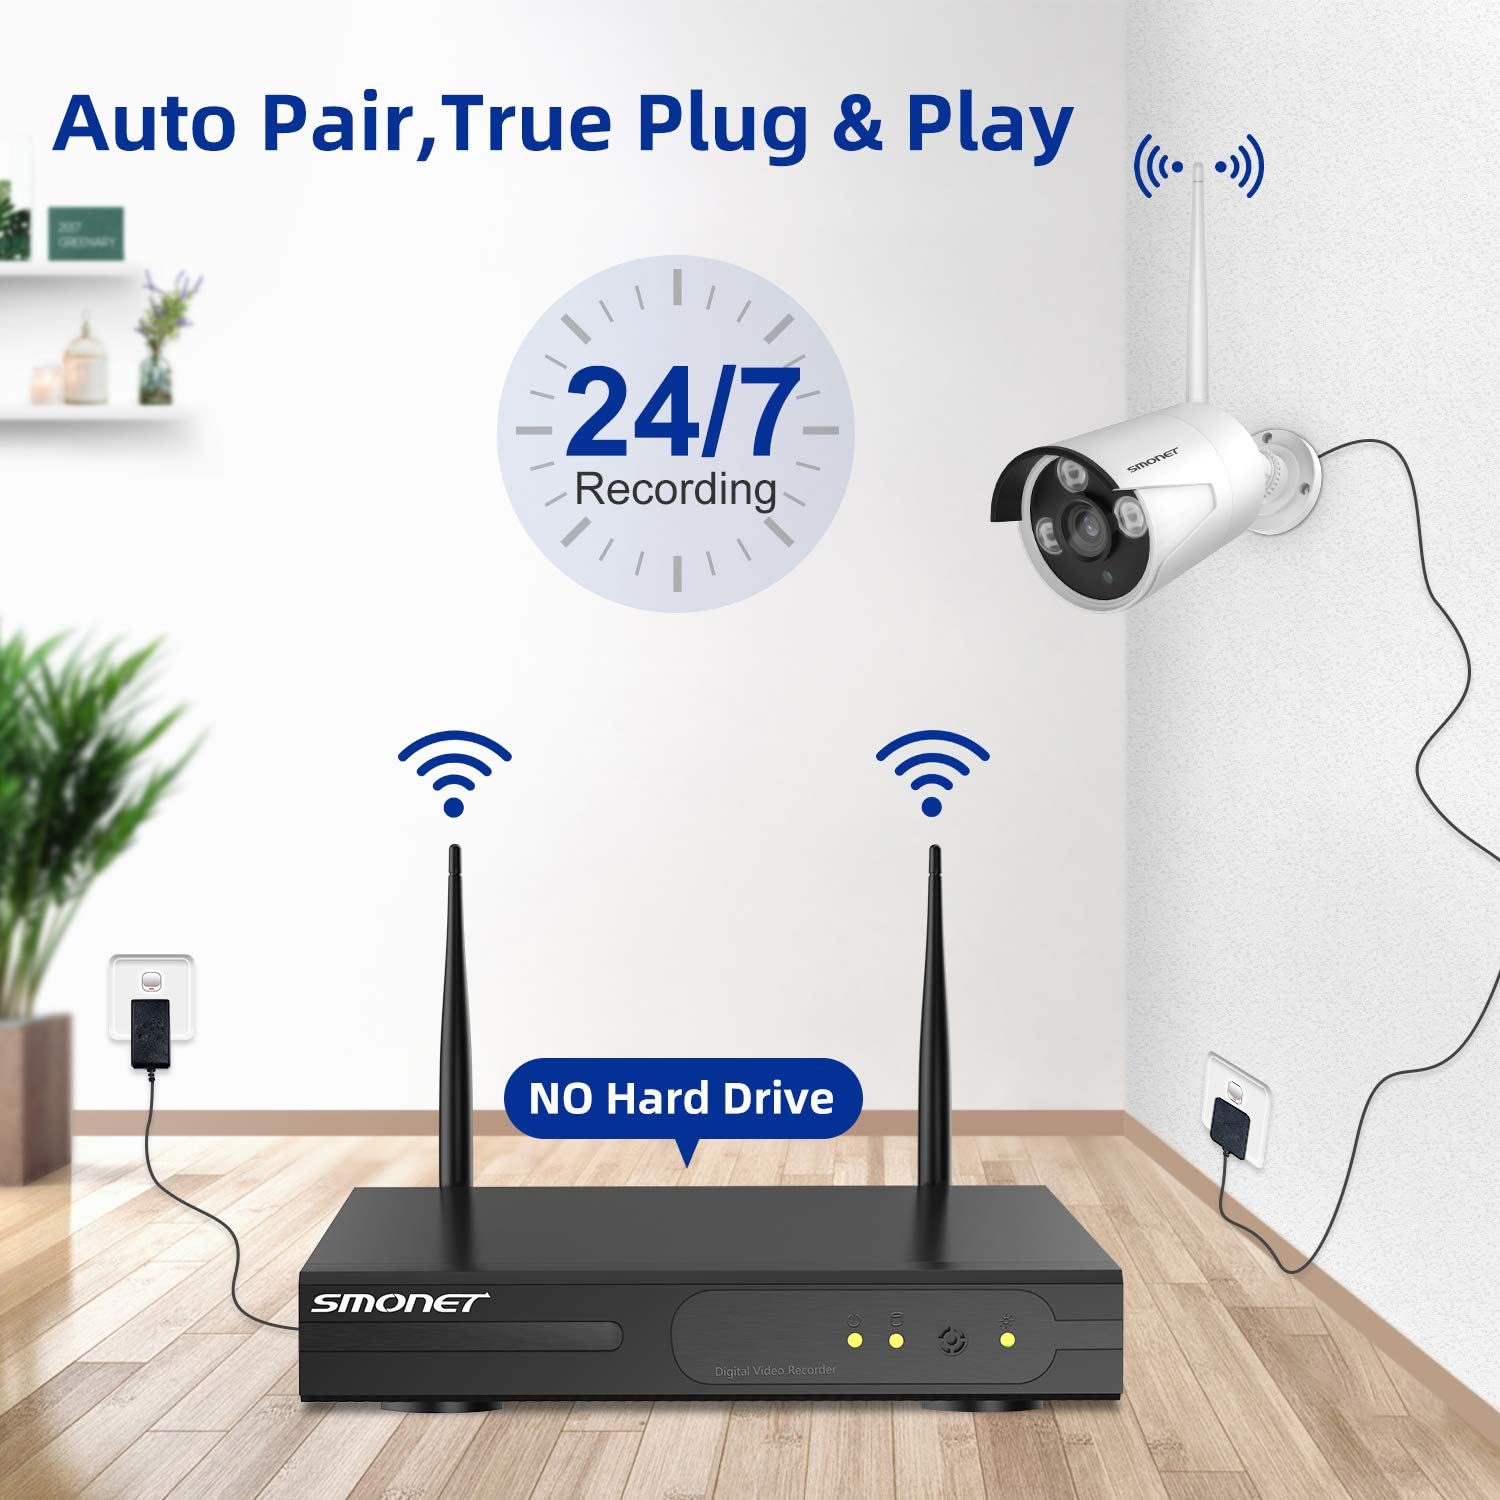
Image 4: Illustration depicting the simple setup process for the SMONET cameras, highlighting the 'Auto Pair, True Plug & Play' feature.
4.2 Połączenie NVR
- Podłącz rejestrator NVR do monitora lub telewizora za pomocą portu VGA lub HDMI.
- Connect the NVR to your home router using the provided network cable (WAN port).
- Plug in the NVR's DC 12V/2A power adapter and power on the system.
- The cameras should automatically pair with the NVR. If not, refer to the troubleshooting section.
Video 1: A brief introduction to the SMONET Wireless Camera System, demonstrating the ease of setup and key features.
4.3 Instalacja dysku twardego (opcjonalnie)
This system does not include a hard drive. For continuous recording and video storage, a surveillance-grade hard drive (up to 4TB) must be installed. Refer to the detailed instructions in the full user manual for hard drive installation steps.
5. Obsługa Systemu
5.1 Zdalne Viewza pośrednictwem aplikacji mobilnej
The SMONET system supports remote viewing via a dedicated mobile application. This allows you to monitor your cameras from anywhere using your smartphone or tablet.
- Download the 'IP PRO' app from your device's app store (iOS or Android).
- Zarejestruj nowe konto w aplikacji.
- Add your NVR device by inputting its Cloud ID and the admin password. The Cloud ID can be found in the NVR's system settings (Main Menu > Advanced > Version > Serial Number).
- Po połączeniu możesz view Transmisja na żywo ze wszystkich podłączonych kamer.
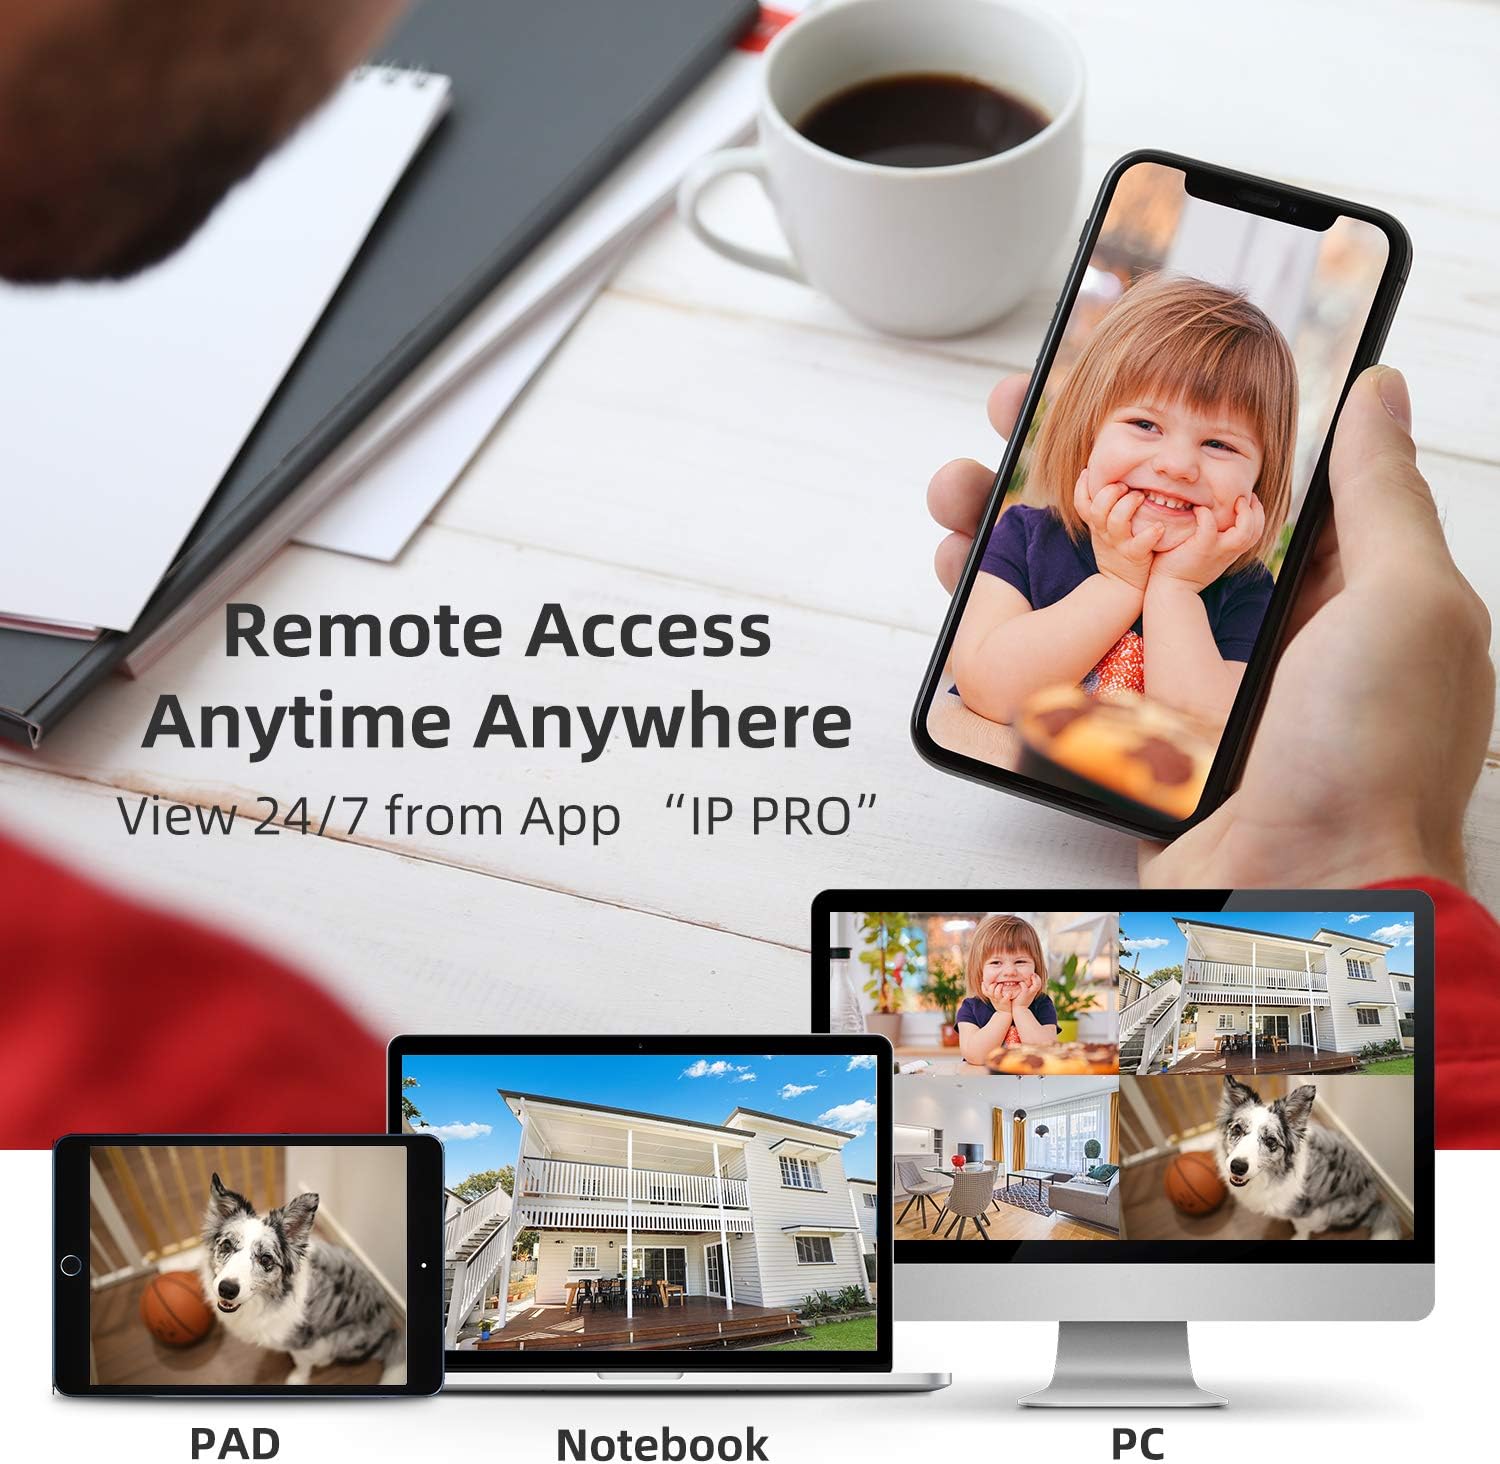
Image 5: Demonstrates remote access capabilities, showing live camera feeds on a smartphone, tablet, and laptop, accessible anytime, anywhere via the 'IP PRO' app.
5.2 Zdalne Viewing via PC Software
Możesz także view your camera feeds on a computer using the VMS software.
- Download the VMS software to your computer.
- Log in using the default username 'admin' and password (leave blank if not set).
- In 'Device Manager', click 'Cloud Add' and enter your NVR's Cloud ID and password.
- Once connected, navigate to 'Live View' to see your camera feeds.
Video 2: A tutorial demonstrating how to view video from the SMONET system on a PC using the VMS software.
5.3 Wykrywanie ruchu
The system features real-time motion detection. When motion is detected, cameras can send email alerts or mobile notifications to you, enhancing your property's security.

Image 6: Illustrates the real-time motion detection capability, showing an alert being sent to a smartphone when movement is detected in a monitored area.
5.4 Widzenie dzienne i nocne
The cameras provide clear vision both day and night. During the day, you get colorful images, and at night, the infrared LEDs enable clear black and white night vision.

Image 7: A side-by-side comparison demonstrating the system's ability to capture colorful images during the day and clear black-and-white images at night using infrared technology.
5.5 Rozszerzanie systemu
The 4-channel NVR can support up to 8 cameras. You can add additional SMONET 1080P IP cameras (ASIN: B01IR4TXA8) to expand your surveillance coverage.

Image 8: Illustrates the wireless signal repeater function between cameras and the NVR, and shows how the system can be expanded to include up to 8 cameras.
6. Konserwacja
- Regularne czyszczenie: Okresowo czyść obiektywy aparatu miękką,amp szmatką, aby zapewnić wyraźną jakość obrazu.
- Aktualizacje oprogramowania układowego: Sprawdź producenta webwitryna z aktualizacjami oprogramowania sprzętowego, zapewniająca optymalną wydajność i bezpieczeństwo.
- Sprawdzenie zasilania: Sprawdź, czy wszystkie zasilacze są solidnie podłączone i nieuszkodzone.
- Stan dysku twardego: If a hard drive is installed, regularly check its health status through the NVR interface to prevent data loss.
7. Rozwiązywanie Problemów
- Brak obrazu na monitorze: Check VGA/HDMI cable connections. Ensure NVR and monitor are powered on and input source is correct.
- Kamery nie łączą się: Verify cameras are powered on. Ensure they are within wireless range of the NVR. If issues persist, try re-pairing cameras manually (refer to full manual for specific steps).
- Brak pilota View: Check NVR's network status (should be 'Healthy Network'). Ensure your mobile device has internet access and the Cloud ID/password are correctly entered in the app.
- Problemy z nagrywaniem: Confirm a hard drive is installed and properly formatted. Check recording settings in the NVR menu.
8. Specyfikacje
| Funkcja | Specyfikacja |
|---|---|
| Marka | SMONET |
| Technologia łączności | Bezprzewodowy |
| Liczba kanałów | 4 |
| Pojemność pamięci masowej | 4 TB (Max, HDD not included) |
| Źródło zasilania | Battery Powered (Cameras via adapter) |
| System operacyjny | Android, iOS (for app) |
| Format sygnału | Cyfrowy |
| Wizja nocna | Night color (IR) |
| Szybkość klatek | 30 klatek na sekundę |
| Tryb nagrywania | Wykrywanie ruchu |
| Technologia czujnika optycznego | CMOS |
| Interfejs sprzętowy | 802.11ac/b/g/n |
| Typ soczewki | Stały (3.6 mm) |
| Wejście wideo | RJ45 (NVR) |
| Numer modelu | SN-WNK 002 |
| Waga przedmiotu | 7 Pounds (System) |
| Wymiary przedmiotu | 12.5 x 10.5 x 6.5 cala (opakowanie) |
9. Gwarancja i wsparcie
For warranty information and technical support, please refer to the official SMONET webOdwiedź stronę internetową lub skontaktuj się bezpośrednio z działem obsługi klienta. Zachowaj paragon zakupu na wypadek reklamacji.