Wstęp
This manual provides detailed instructions for the safe and effective use of your Rollei Compact Traveler No. 1 Carbon tripod. Designed for photographers requiring a lightweight and compact solution, this tripod offers stability and versatility for various photographic needs. Please read this manual thoroughly before operating the product.
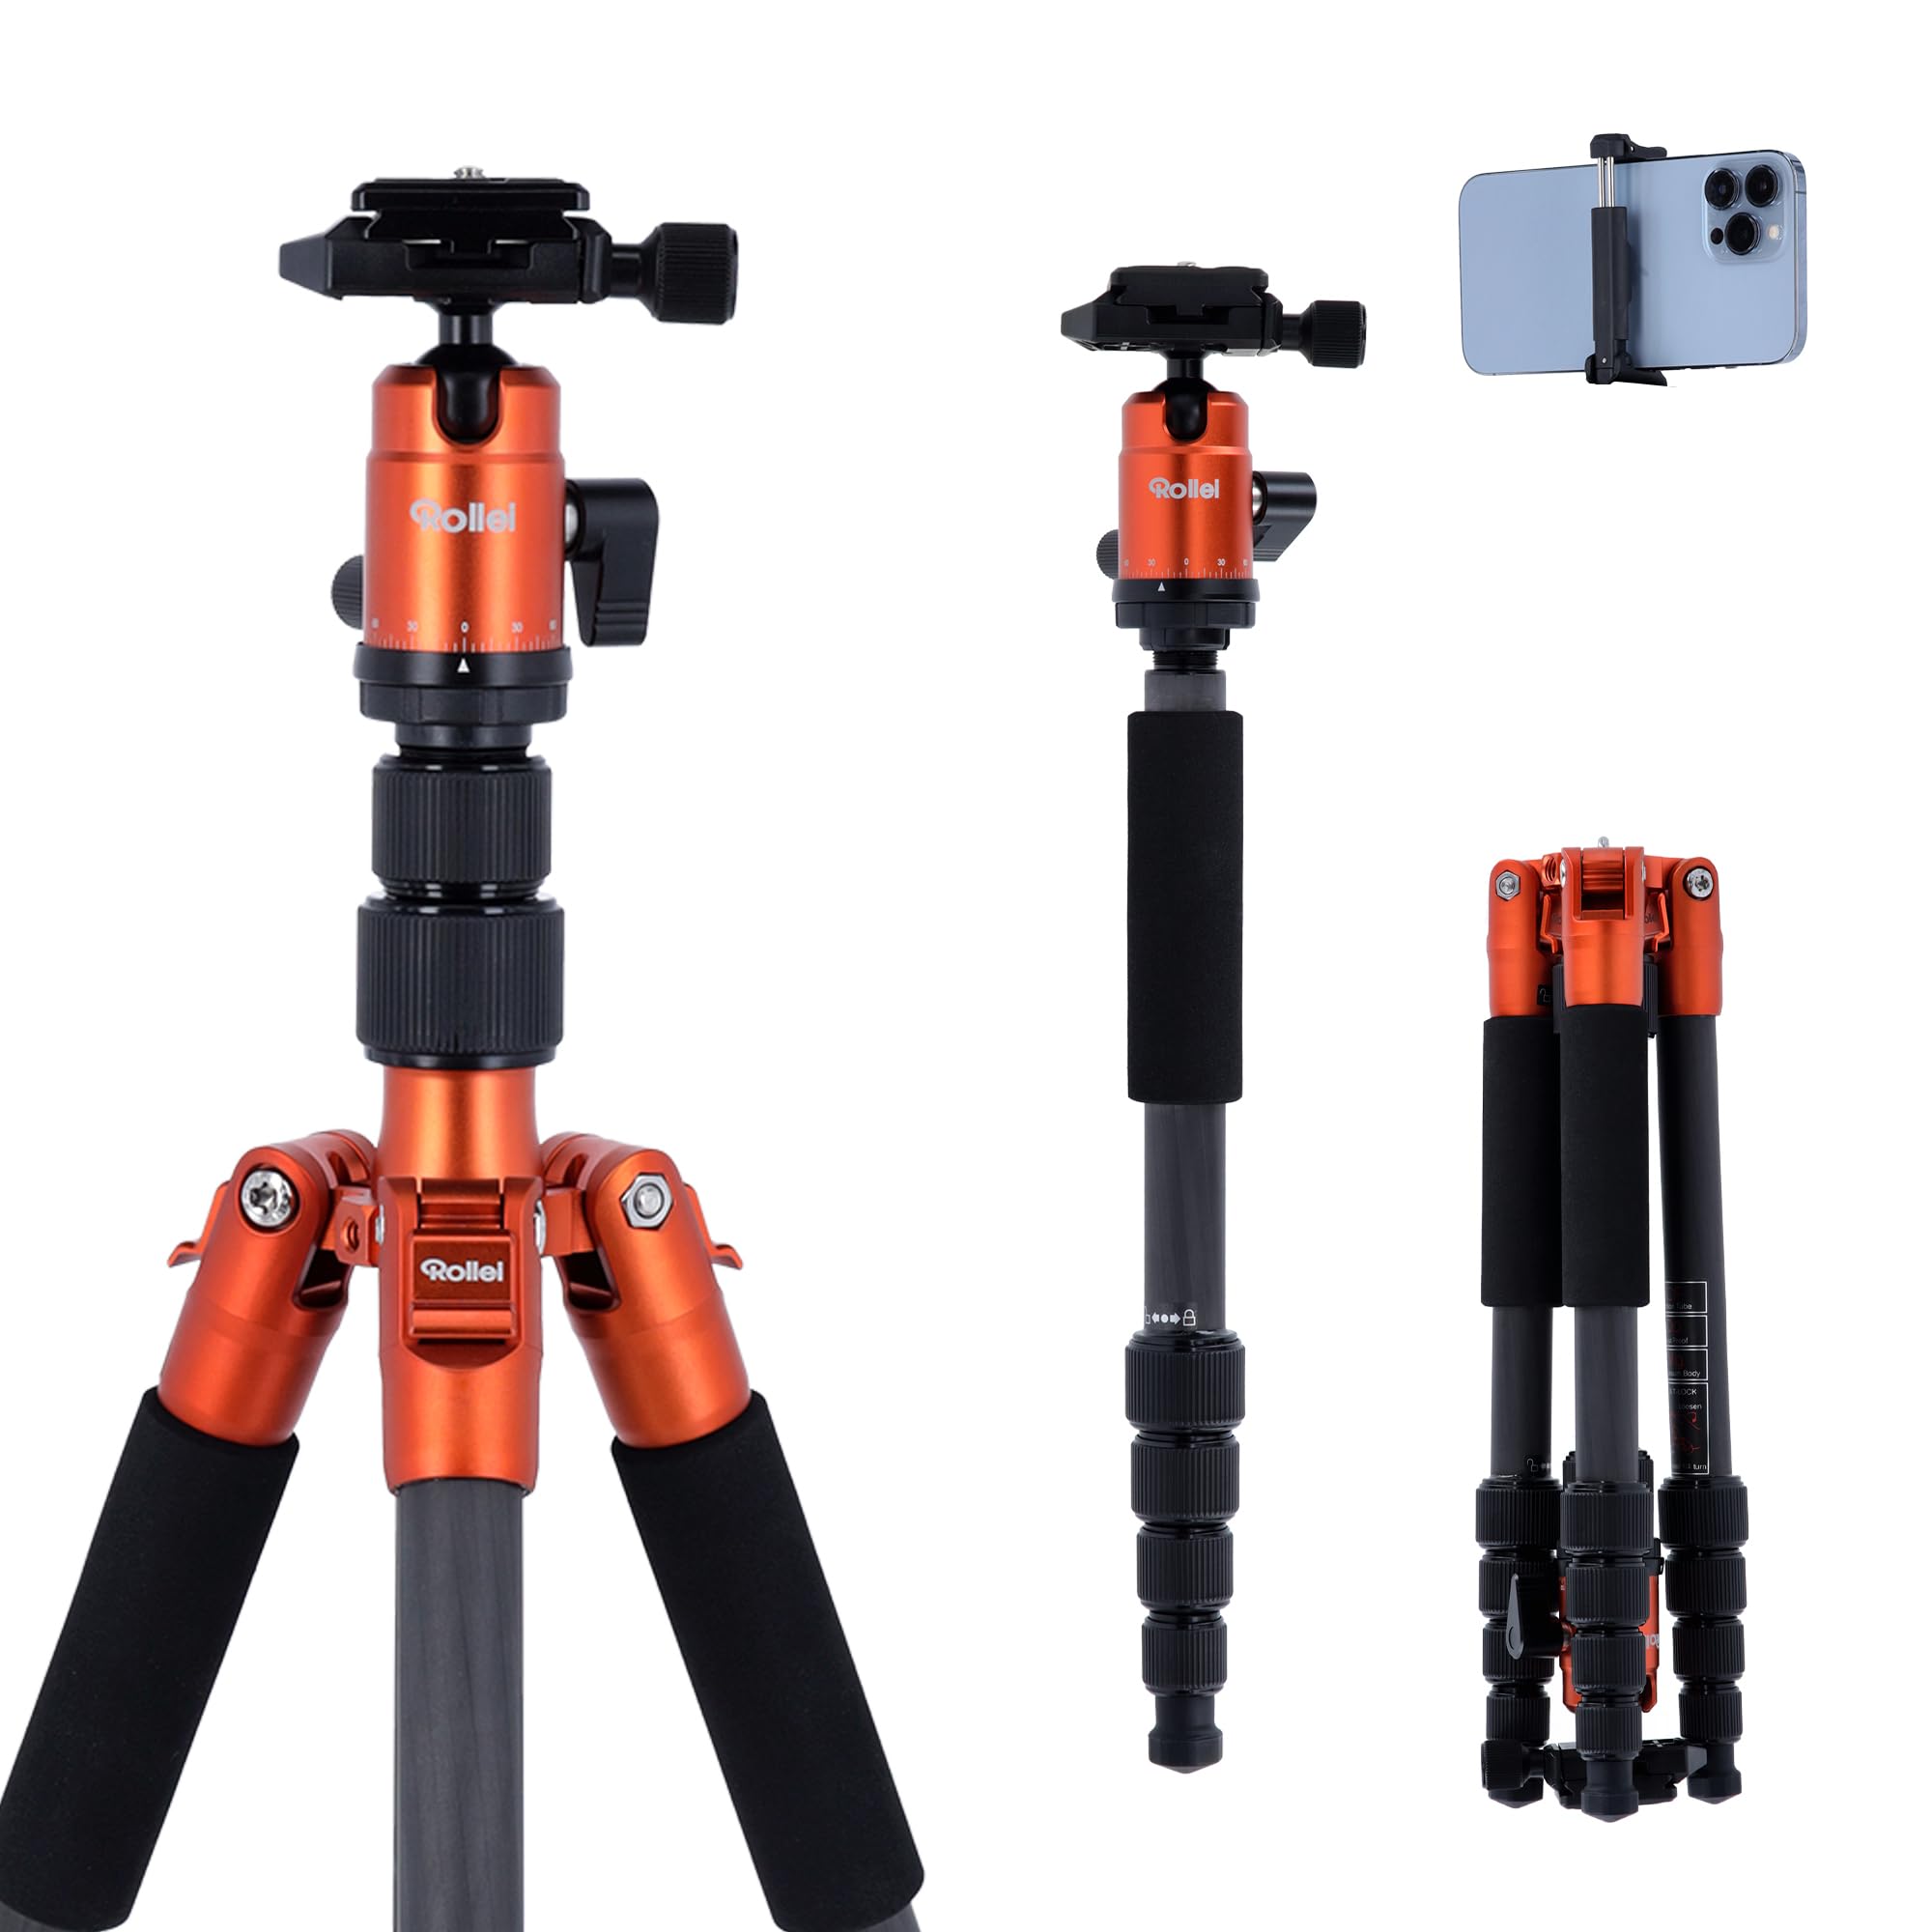
Image: The Rollei Compact Traveler No. 1 Carbon Tripod, showcasindzięki kompaktowej konstrukcji i głowicy kulowej.
Informacje dotyczące bezpieczeństwa
To prevent damage to the product or injury to yourself, observe the following safety precautions:
- Nie przekraczać maksymalnego udźwigu 17.64 funtów (8 kg).
- Przed montażem sprzętu należy upewnić się, że wszystkie mechanizmy blokujące są solidnie zamocowane.
- Avoid placing the tripod on unstable or slippery surfaces.
- Podczas regulacji statywu trzymaj dłonie i palce z dala od ruchomych części.
- Do not leave the tripod unattended with heavy equipment, especially in windy conditions.
- Clean the tripod with a soft, dry cloth. Avoid harsh chemicals.
Zawartość opakowania
Sprawdź, czy w opakowaniu znajdują się wszystkie elementy:
- Rollei Compact Traveler No. 1 Carbon Tripod
- 360° Panorama Ball Head (integrated)
- Wielofunkcyjny klucz
- 2 klucze imbusowe
- Quick Release Plate (Arca Swiss compatible)
- Pouch for Monopod
- Pasek na ramię
- Removable Rubber Pads (3 pcs.)
- Torba na statyw
Organizować coś
1. Rozkładanie statywu
- Release the leg angle locks.
- Pivot the legs 180° outwards from their folded position until they are fully extended.
- Adjust each leg to the desired angle and secure the leg angle locks.
- Extend the leg sections by twisting the quick clamping screws counter-clockwise to loosen, pull out the sections, and twist clockwise to tighten.
2. Podłączanie kamery
- Ensure the quick release plate is detached from the ball head.
- Attach the quick release plate to the bottom of your camera using the screw. Use an Allen key or coin to tighten securely.
- Otwórz szybkozamykacz klamp na głowicy kulowej.
- Slide the camera with the attached quick release plate into the clamp aż zatrzaśnie się na swoim miejscu.
- Securely tighten the quick release clamp.
Instrukcja obsługi
Regulacja wysokości i kąta
- Sekcje nóg: Poluzuj szybkie clamping screws on each leg, extend to the desired height, and tighten firmly.
- Kąty nóg: Press the leg angle locks near the top of each leg to adjust the spread of the legs. There are multiple angle stops for varied stability and height.
- Kolumna środkowa: The center column can be extended for additional height. Loosen the center column lock, raise the column, and tighten the lock.
Using the Ball Head
- Gałka blokady kulowej: Loosen this knob to allow free movement of the camera in all directions. Tighten to lock the camera in position.
- Gałka blokady panoramowania: Loosen this knob to rotate the camera horizontally (360° panorama). Tighten to lock the panning movement.
Enhancing Stability
The tripod features a 360° rotating hook at the bottom of the center column. You can hang a camera bag or other weight from this hook to increase the tripod's stability, especially in windy conditions or when using heavy lenses.
Folding for Transport
- Zdejmij kamerę z płytki szybkiego montażu.
- Retract all leg sections and tighten the quick clampśrub.
- Retract the center column fully and tighten its lock.
- Release the leg angle locks and pivot the legs 180° inwards, folding them upwards around the ball head until they are compact.
- Secure the leg angle locks.
Monopod Function
One of the tripod legs can be detached and used as a monopod.
- Identify the leg with the rubber grip.
- Unscrew this leg from the tripod's main body.
- Unscrew the center column from the tripod's main body.
- Przykręć odłączoną nogę do dolnej części środkowej kolumny.
- The ball head can then be attached to the top of this assembly, creating a monopod.
- To reassemble the tripod, reverse these steps.
Konserwacja
- Czyszczenie: Wipe down the tripod with a soft, dry cloth after each use, especially if exposed to dust, sand, or moisture. For stubborn dirt, a slightly damp Można użyć ściereczki, a następnie dokładnie wysuszyć.
- Smarowanie: Moving parts are generally self-lubricating. Do not apply oil or grease unless specifically instructed by Rollei support, as this can attract dirt.
- Składowanie: Store the tripod in its protective bag in a cool, dry place away from direct sunlight and extreme temperatures.
- Kontrola: Periodically check all screws, bolts, and locking mechanisms for tightness. Use the provided Allen keys and multifunctional wrench for adjustments.
Rozwiązywanie problemów
- Problem: Statyw jest niestabilny.
- Rozwiązanie: Ensure all leg sections are fully extended and their quick clamping screws are tightened. Verify leg angle locks are engaged. Use the center column hook to add weight for increased stability. Ensure the tripod is on a level surface.
- Problem: Camera movement after locking ball head.
- Rozwiązanie: Tighten the ball lock knob more firmly. Ensure the quick release plate is securely attached to both the camera and the ball head clamp.
- Problem: Leg sections are difficult to extend or retract.
- Rozwiązanie: Check for sand or debris inside the leg sections. Clean thoroughly. Do not force movement; if the issue persists, contact customer support.
Specyfikacje
| Funkcja | Wartość |
|---|---|
| Marka | Rollei |
| Nazwa modelu | Kompaktowy podróżnik nr 1 z włókna węglowego |
| Numer modelu | 22579 |
| Tworzywo | Włókno węglowe |
| Item Weight (incl. Ball Head) | 2.16 funty (0.98 kg) |
| Maksymalna ładowność | 17.64 funty (8 kg) |
| Maksymalna wysokość | 55.91 cali (142 cm) |
| Minimalna wysokość | 13.39 cali |
| Rozmiar po złożeniu | 12.99 cali (33 cm) |
| Typ głowicy statywu | Ball Head (360° Panorama) |
| Płyta szybkiego uwalniania | Arca Swiss Compatible |
Gwarancja i wsparcie
The Rollei Compact Traveler No. 1 Carbon tripod comes with a 24-miesięczna gwarancja od daty zakupu. Niniejsza gwarancja obejmuje wady produkcyjne i materiałowe powstałe w wyniku normalnego użytkowania.
For warranty claims, technical support, or spare parts, please contact Rollei customer service. Keep your proof of purchase for warranty validation.
For further assistance, visit the official Rollei webodwiedź witrynę lub skontaktuj się z lokalnym dystrybutorem.