
1. Wprowadzenie
This manual provides detailed instructions for the installation, operation, and maintenance of the GeoVision GV-MFD2501-6F 2MP Mini Fixed Dome IP Security Camera. Please read this manual thoroughly before using the product to ensure proper setup and functionality. Keep this manual for future reference.
1.1 Produkt powyżejview
The GV-MFD2501-6F is a compact 2-megapixel mini fixed dome IP camera designed for various surveillance applications. It features a 2.3mm lens, super low lux capabilities, and supports network connectivity for remote monitoring.
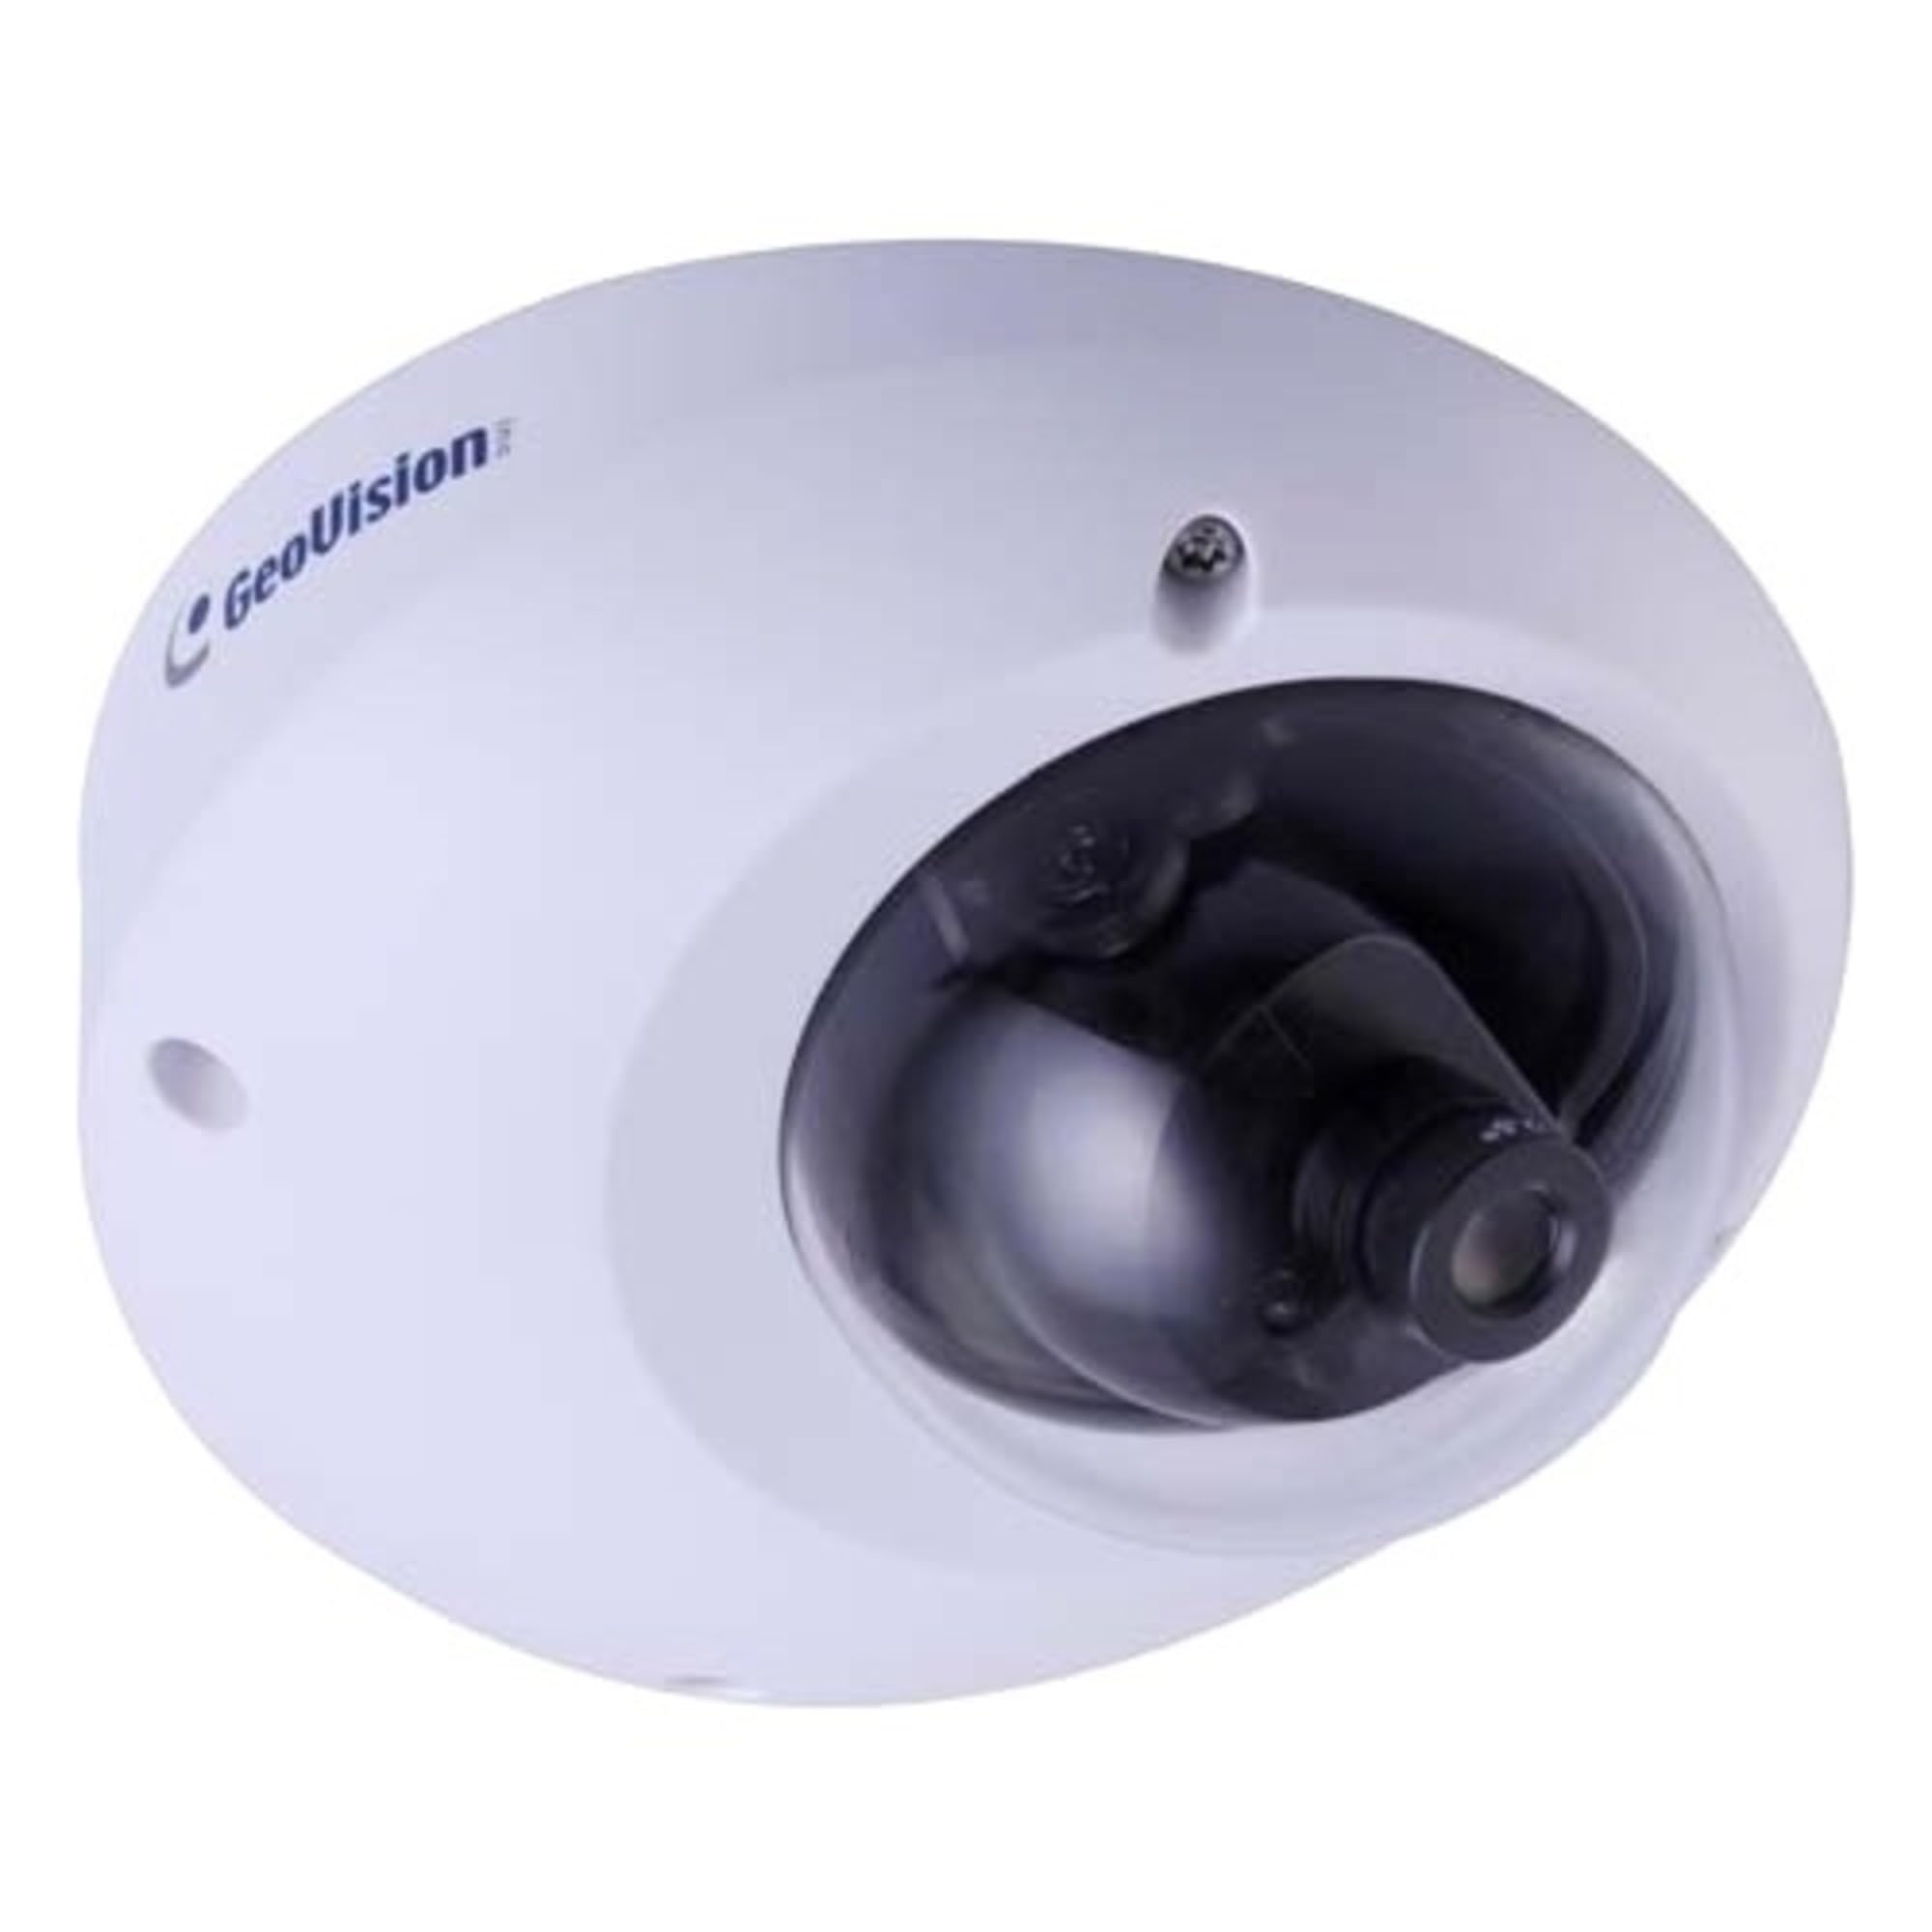
Figure 1.1: GeoVision GV-MFD2501-6F Mini Fixed Dome IP Security Camera. This image shows the compact design of the camera, highlighting its dome shape and lens.
1.2 Zawartość opakowania
Sprawdź, czy w opakowaniu znajdują się wszystkie elementy. Jeśli brakuje któregokolwiek z nich lub jest on uszkodzony, skontaktuj się natychmiast ze sprzedawcą.
- GV-MFD2501-6F IP Camera
- Zestaw śrub montażowych
- Instrukcja instalacji
- Płyta CD z oprogramowaniem (lub link do pobrania)
- Złącze wodoodporne (jeśli dotyczy)
2. Informacje dotyczące bezpieczeństwa
WARNING: To prevent fire or shock hazard, do not expose this unit to rain or moisture.
- Należy używać wyłącznie zasilacza przeznaczonego do tego urządzenia.
- Do not open the camera housing. Refer all servicing to qualified personnel.
- Avoid placing the camera in direct sunlight, near heat sources, or in areas with high humidity or dust.
- Zapewnij odpowiednią wentylację wokół aparatu.
- Przed czyszczeniem lub konserwacją należy odłączyć zasilanie.
3. Konfiguracja
3.1 Fizyczna instalacja
The GV-MFD2501-6F is designed for indoor use. Choose a suitable mounting location that provides the desired field of view i znajduje się w zasięgu sieci i kabli zasilających.
- Przygotuj powierzchnię montażową: Użyj dołączonego szablonu montażowego (jeśli został dołączony), aby zaznaczyć miejsca wywiercenia otworów.
- Wiercenie otworów: Wywierć otwory pilotażowe pod śruby montażowe.
- Zabezpiecz kamerę: Przymocuj podstawę kamery do powierzchni montażowej za pomocą dołączonych śrub.
- Dostosuj kąt: Odkręć śruby regulacyjne, aby ustawić obiektyw kamery pod żądaną pozycją. viewing angle, then tighten the screws to secure it.
Figure 3.1: Illustrative diagram of camera mounting. This image would typically show the steps for securing the camera to a ceiling or wall, including screw placement and cable routing.
3.2 Okablowanie i połączenia
Connect the camera to your network and power source.
- Kabel Ethernet: Connect an Ethernet cable from your network switch or router to the camera's RJ-45 port. If using Power over Ethernet (PoE), this single cable provides both power and data.
- Zasilacz (jeśli nie używasz PoE): If PoE is not available, connect a compatible 12V DC power adapter (not included) to the camera's power input port.
Figure 3.2: Diagram showing camera wiring connections. This image would illustrate how to connect the Ethernet cable and, if necessary, the power adapter to the camera's ports.
3.3 Początkowa konfiguracja sieci
After physical installation and connection, configure the camera for network access.
- Włączanie: Connect the camera to power. The camera will perform a self-test.
- Odkryj aparat: Use the GeoVision GV-IP Device Utility (available on the GeoVision website) to discover the camera on your local network. The utility will display the camera's IP address.
- Dostęp Web Interfejs: Otwórz web browser (e.g., Chrome, Firefox) and enter the camera's IP address in the address bar.
- Login: Enter the default username (e.g., "admin") and password (e.g., "admin" or "1234"). You will be prompted to change the password upon first login for security.
- Ustawienia sieciowe: Navigate to the network settings to configure IP address (DHCP or Static), subnet mask, gateway, and DNS settings as required by your network environment.
4. Instrukcja obsługi
Once configured, the camera can be accessed and managed through its web interface or compatible GeoVision VMS software.
4.1 Na żywo View
Z web interface, navigate to the "Live View" section to see the real-time video feed from the camera. You can adjust video stream settings such as resolution, frame rate, and quality here.
4.2 Ustawienia nagrywania
Configure recording schedules, motion detection recording, and continuous recording options. Recordings can be stored on a network-attached storage (NAS), local storage (if supported), or a GeoVision NVR/VMS.
4.3 Wykrywanie ruchu
Set up motion detection zones and sensitivity levels. When motion is detected, the camera can trigger recording, send email alerts, or activate other alarm outputs.
4.4 Dostęp zdalny
To access the camera remotely, ensure your network router is configured for port forwarding (if not using a VPN or cloud service). Refer to your router's manual for port forwarding instructions. GeoVision also offers mobile applications for remote viewing.
5. Konserwacja
5.1 Czyszczenie aparatu
Regularnie czyść obiektyw i obudowę aparatu, aby zapewnić optymalną jakość obrazu. Używaj miękkiej, suchej ściereczki. W przypadku uporczywych zabrudzeń, delikatnie przetrzyj.amp Można użyć ściereczki z łagodnym detergentem, a następnie wytrzeć do sucha. Nie należy używać środków czyszczących ani rozpuszczalników o działaniu ściernym.
5.2 aktualizacji oprogramowania sprzętowego
Okresowo sprawdzaj GeoVision webStrona z aktualizacjami oprogramowania sprzętowego. Aktualizacje oprogramowania sprzętowego mogą zapewnić nowe funkcje, poprawę wydajności i bezpieczeństwa. Należy ściśle przestrzegać instrukcji dołączonych do pakietu aktualizacji oprogramowania sprzętowego.
5.3 Zarządzanie hasłami
Regularly change your camera's password to a strong, unique password to prevent unauthorized access.
6. Rozwiązywanie Problemów
| Problem | Możliwa przyczyna | Rozwiązanie |
|---|---|---|
| Brak zasilania kamery | Power adapter unplugged or faulty; PoE not active. | Check power connections. Ensure PoE switch/injector is active. Test with a known good power source. |
| Brak źródła wideo | Network cable disconnected; incorrect IP address; firewall blocking access. | Verify Ethernet cable connection. Use GV-IP Device Utility to find camera. Check network settings and firewall rules. |
| Nie możesz się zalogować | Incorrect username/password. | Ensure correct credentials. If forgotten, refer to the GeoVision website for password reset procedures (may require physical access). |
| Niska jakość obrazu | Dirty lens; improper focus; low light conditions; incorrect video settings. | Clean the lens. Adjust focus if applicable. Ensure adequate lighting. Check resolution, frame rate, and compression settings. |
7. Specyfikacje
The following are key specifications for the GeoVision GV-MFD2501-6F camera:
- Model: 84-MFD2501-6F1U
- Rezolucja: 2 megapiksela
- Obiektyw: 2.3mm stałe obiektywy
- Łączność: Bezprzewodowy Note: While "Wireless" is listed in specifications, this IP camera primarily uses wired Ethernet for reliable data transmission and PoE. Wireless functionality may refer to specific optional modules or control methods.
- Moc: PoE (Power over Ethernet) lub 12 V DC (adapter nie jest dołączony)
- Wymiary: Approximately 21 x 18.6 x 9.3 cm (Parcel Dimensions)
- Waga: Około 487 g (waga paczki)
- Temperatura pracy: (Information not provided, typical range is -10°C to 50°C)
- Producent: Geowizja
8. Gwarancja i wsparcie
8.1 Informacje o gwarancji
GeoVision products typically come with a limited warranty. For specific warranty terms and conditions, please refer to the warranty card included with your product or visit the official GeoVision webZachowaj dowód zakupu na wypadek roszczeń gwarancyjnych.
8.2 Wsparcie techniczne
For technical assistance, product inquiries, or troubleshooting beyond this manual, please contact GeoVision customer support or your authorized GeoVision dealer. Visit the official GeoVision webStrona (www.geovision.com.tw) for support resources, FAQs, and contact information.