1. Wprowadzenie
This manual provides detailed instructions for the setup, operation, and maintenance of your Akuvox SP-R50P IP Phone. The SP-R50P is a high-definition voice IP phone designed for clear communication and efficient call management.
Główne cechy obejmują:
- HD Voice capability for superior audio quality.
- 2.6" 132x64 Graphical LCD with backlight for clear display.
- 31 Keys, including 4 soft keys and 10 programmable keys, for versatile control.
- Multiple connectivity options: 1 RJ9 Handset jack, 1 RJ9 Headset Jack, 2 RJ45 10/100m Ethernet Jacks.
- Power over Ethernet (PoE) support (IEEE 802.3af) for simplified installation.
- Support for 1 SIP account, call waiting, call forward, call transfer, call on hold, mute, auto-answer, redial, DND, local 3-way conference, volume adjustment, selectable ringtones, speed dial, hotline, and more.
2. Zawartość pudełka
Carefully unpack your Akuvox SP-R50P IP Phone and verify that all items listed below are present and in good condition. If any items are missing or damaged, please contact your reseller immediately.
- Akuvox SP-R50P Base Unit
- Słuchawka
- Handset Connector Cable
- Stojak na telefon
- Krótki przewodnik (więcej szczegółów znajdziesz w tym podręczniku)
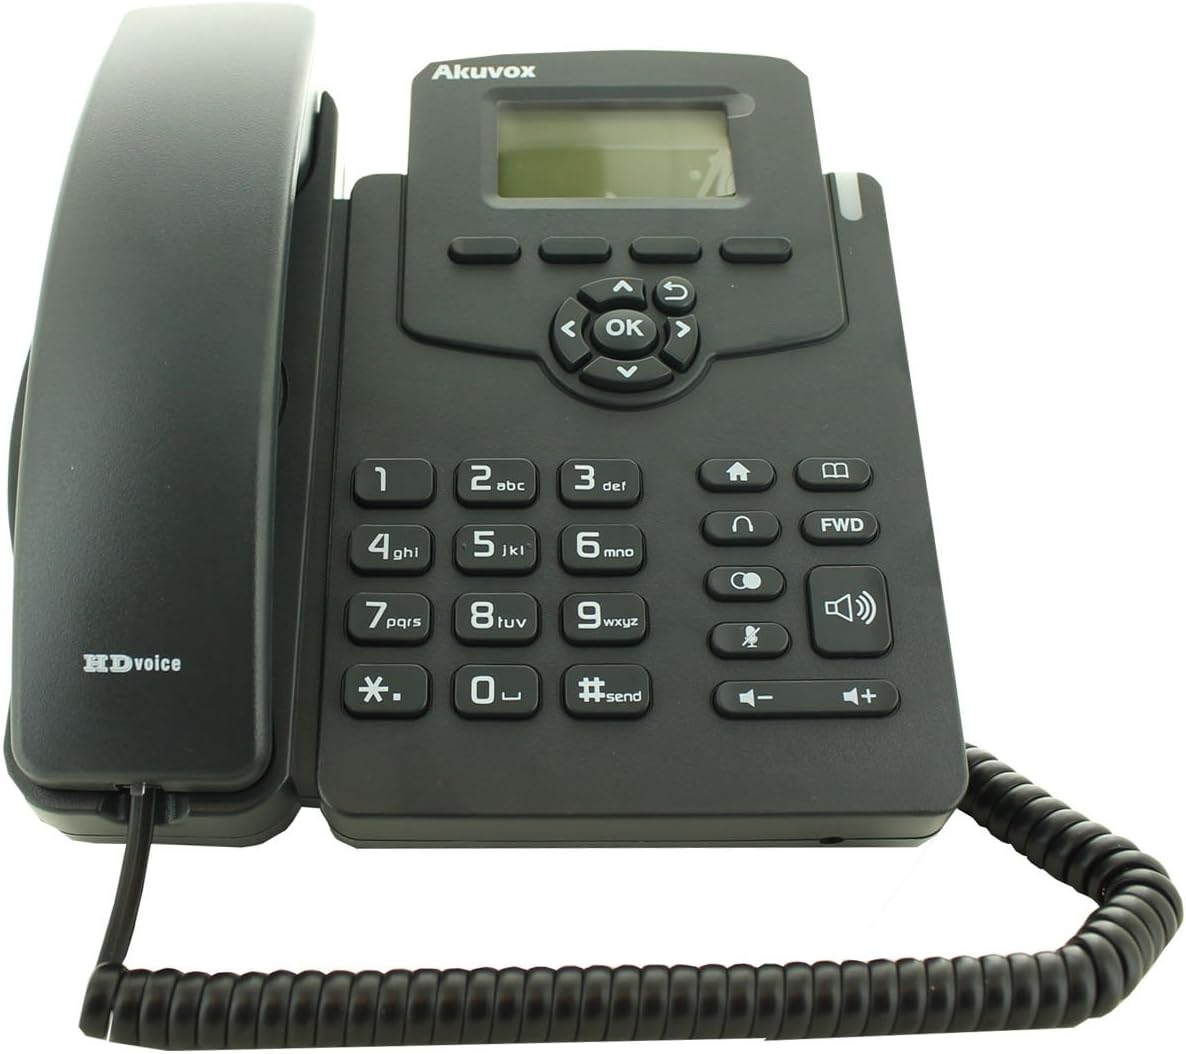
Figure 2.1: Akuvox SP-R50P IP Phone components. The image displays the main phone unit, the handset resting on its cradle, and the coiled handset cable. The phone features a display screen, navigation keys, a numeric keypad, and function buttons.
3. Konfiguracja
Follow these steps to set up your Akuvox SP-R50P IP Phone for first-time use.
- Zamontuj podstawkę pod telefon: Align the tabs on the phone stand with the slots on the back of the phone base unit. Slide the stand into place until it clicks securely.
- Podłącz słuchawkę: Plug one end of the coiled handset cable into the handset jack on the side of the phone base unit and the other end into the handset.
- Podłącz do sieci i włącz zasilanie:
- Korzystanie z PoE (zasilanie przez Ethernet): If your network switch supports PoE, connect an Ethernet cable from the LAN port on the back of the phone to a PoE-enabled port on your network switch. The phone will power on automatically.
- Using a Power Adapter (Optional, not included): If PoE is not available, connect a compatible 5V DC power adapter (not included) to the power jack on the back of the phone, then plug the adapter into a power outlet. Connect an Ethernet cable from the LAN port on the back of the phone to your network router or switch.
- Pierwsze uruchomienie: The phone will power on and begin its boot-up sequence. The LCD screen will display the Akuvox logo and then proceed to load the operating system. This may take a few moments.
- Konfiguracja sieci: Once booted, the phone will attempt to obtain an IP address via DHCP. If your network requires static IP configuration or specific SIP server settings, these can be configured via the phone's web interface or directly on the phone's menu (refer to Section 4.2 for menu navigation).
4. Instrukcja obsługi
This section details the basic and advanced functions of your Akuvox SP-R50P IP Phone.
4.1 Podstawowe funkcje wywołań
- Nawiązywanie połączenia:
- Podnieś słuchawkę lub naciśnij Głośnik przycisk.
- Wybierz żądany numer telefonu za pomocą klawiatury.
- Naciśnij #send button or wait a few seconds for the call to connect automatically.
- Odbieranie połączenia: Gdy zadzwoni telefon, podnieś słuchawkę lub naciśnij Głośnik przycisk.
- Zakończenie połączenia: Odłóż słuchawkę lub naciśnij Głośnik naciśnij przycisk ponownie.
- Ponowne wybieranie: Naciśnij Ponowne wybieranie button (often represented by a curved arrow or a dedicated key) to redial the last dialed number.
- Niemy: Podczas połączenia naciśnij Niemy button (microphone icon) to mute your microphone. Press it again to unmute.
- Regulacja głośności: Użyj Objętość +/- buttons during a call to adjust the handset, headset, or speaker volume. When idle, use them to adjust the ringer volume.
4.2 Zaawansowane funkcje połączeń
- Zawieszenie połączenia: Podczas aktywnego połączenia naciśnij Trzymać button (often represented by a pause icon or two vertical lines). The call will be placed on hold. Press the Trzymać button again or the flashing line key to resume the call.
- Przeniesienie połączenia:
- Transfer w ciemno: Podczas aktywnego połączenia naciśnij Przenosić soft key or button. Dial the number to transfer to, then press the Przenosić klawisz programowy ponownie.
- Uczestniczyłem w transferze: Podczas aktywnego połączenia naciśnij Przenosić soft key or button. Dial the number to transfer to and wait for the party to answer. Announce the call, then press the Przenosić ponownie przycisk programowy, aby zakończyć przesyłanie.
- Konferencja 3-stronna:
- Podczas aktywnego połączenia naciśnij Konf soft key or button. The first call will be placed on hold.
- Dial the number of the third party and wait for them to answer.
- Naciśnij Konf soft key again to join all three parties in a conference call.
- Nie przeszkadzać (DND): Naciśnij Nie przeszkadzać button (often represented by a crossed-out bell or similar icon) to activate or deactivate Do Not Disturb mode. When active, incoming calls will be redirected or sent to voicemail without ringing your phone.
- Przekierowanie połączeń: Access the phone's menu (usually via a Menu or Ustawienia soft key) to configure call forwarding options (Always, Busy, No Answer).
- Książka telefoniczna: The phone supports a local phonebook of up to 500 groups. Access it via the Książka telefoniczna soft key or menu option. You can add, edit, and delete contacts.
- Programowalne klawisze: The 10 programmable keys can be configured for various functions such as speed dial, busy lamp field (BLF), or line keys. Refer to your system administrator or the phone's web interface for configuration details.
4.3 Wyświetlacz LCD i nawigacja
The 2.6" graphical LCD displays call information, menu options, and status indicators. Use the navigation cluster (Up, Down, Left, Right arrows, and OK button) to navigate through menus and select options. The soft keys below the display change their function based on the current context.
5. Konserwacja
Proper care and maintenance will ensure the longevity of your Akuvox SP-R50P IP Phone.
- Czyszczenie: Do czyszczenia powierzchni telefonu użyj miękkiej, suchej ściereczki. W przypadku uporczywych zabrudzeń delikatnie przetrzyj powierzchnię.ampen the cloth with water. Do not use harsh chemicals, abrasive cleaners, or solvents, as these can damage the phone's finish and internal components.
- Środowisko: Keep the phone away from direct sunlight, excessive heat sources, and moisture. Ensure it is placed on a stable, flat surface to prevent accidental falls.
- Kable: Periodically check all connected cables (handset, Ethernet) for any signs of wear or damage. Replace damaged cables immediately.
- Wentylacja: Ensure the ventilation slots on the phone are not blocked to prevent overheating.
6. Rozwiązywanie Problemów
If you encounter issues with your Akuvox SP-R50P IP Phone, refer to the following common problems and solutions.
| Problem | Możliwa przyczyna | Rozwiązanie |
|---|---|---|
| Telefon się nie włącza. | Brak zasilania; PoE nieaktywne lub uszkodzone; uszkodzony zasilacz. |
|
| Brak sygnału wybierania. | Network connection issue; SIP registration failure; handset cable loose. |
|
| Nie można wykonywać ani odbierać połączeń. | SIP registration failure; network firewall blocking VoIP traffic; DND active. |
|
| Słaba jakość dźwięku (echo, szumy). | Network congestion; faulty cable; microphone/speaker issue. |
|
If the problem persists after trying these solutions, please contact your system administrator or Akuvox technical support.
7. Specyfikacje
Detailed technical specifications for the Akuvox SP-R50P IP Phone.
| Funkcja | Opis/Wartość |
|---|---|
| Numer modelu | SP-R50P |
| Marka | Akuvox |
| Wyświetlacz | 2.6" 132x64 Graphical LCD with backlight |
| Klawiatura | 31 Keys (4 Soft Keys, 10 Programmable keys) |
| Jakość głosu | Głos HD |
| Konta SIP | 1 Line (Support 1 SIP account) |
| Porty Ethernet | 2 RJ45 10/100m Ethernet Jacks |
| Gniazdo słuchawkowe | 1 RJ9 Headset Jack |
| Gniazdo słuchawki | 1 RJ9 Handset jack |
| PoE | IEEE 802.3af |
| Konferencja telefoniczna | Local 3-Way Conference |
| Pojemność książki telefonicznej | 500 grup |
| Rejestry połączeń | 100 wpisy |
| Tworzywo | Plastikowy |
| Kolor | Czarny |
| Wymiary opakowania | Wymiary 20.8 x 19.8 x 9 cm |
| Waga | 859.99 gramów |
| Pierwsza dostępna data | 26 czerwca 2015 |
8. Gwarancja i wsparcie
For warranty information, please refer to the warranty card included with your product or contact your point of purchase. Akuvox provides technical support for its products. For further assistance, please visit the official Akuvox webstronie lub skontaktuj się z działem obsługi klienta.
Zaleca się zachowanie paragonu jako dowodu zakupu na wypadek reklamacji.


