1. Wprowadzenie
This manual provides comprehensive instructions for the installation, operation, and maintenance of your GIGABYTE H81M-S2H GSM Desktop Motherboard. Designed to support 4th Generation Intel Core processors, this motherboard integrates GIGABYTE's Ultra Durable Technology, ensuring reliability and performance for your PC build. Please read this manual thoroughly before proceeding with installation.
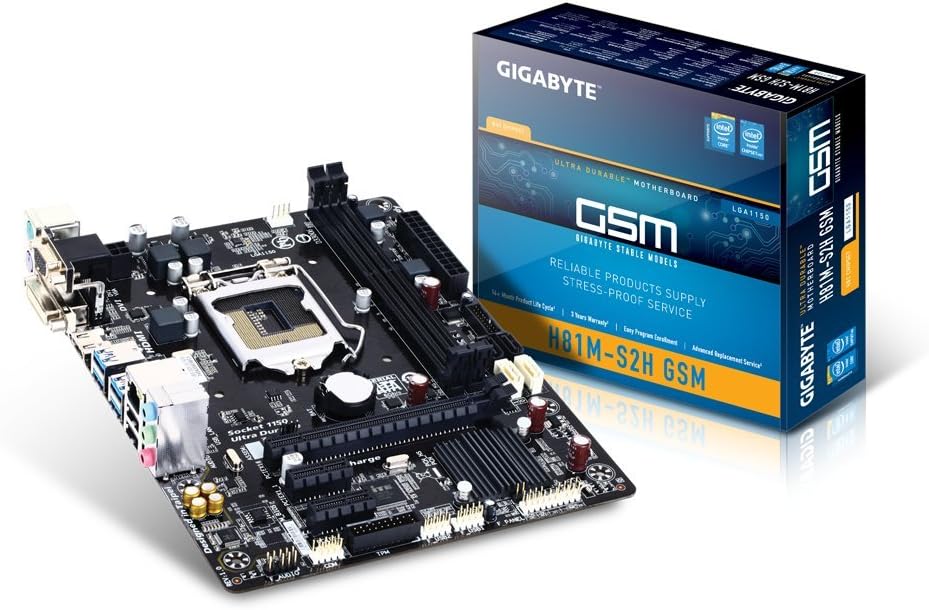
Figure 1.1: GIGABYTE H81M-S2H GSM Motherboard and Packaging
This image displays the GIGABYTE H81M-S2H GSM Desktop Motherboard alongside its retail packaging, highlighting the product's appearance and branding.
2. Główne cechy
- Supports 4th Generation Intel Core processors.
- GIGABYTE Ultra Durable Technology for enhanced durability and longevity.
- Audio Noise Guard with High Quality Audio Capacitors for superior sound.
- GIGABYTE UEFI BIOS for intuitive system configuration.
- GIGABYTE On/Off Charge for convenient USB device charging.
- LAN with high ESD Protection for network stability.
- Integrated HDMI, DVI, and D-SUB ports on the rear panel for versatile display connectivity.
- Solid capacitors for CPU VRM design, ensuring stable power delivery.
- Part of the GIGABYTE 8 Series Motherboard lineup, optimized for the Intel 8 Series platform.
3. Konfiguracja i instalacja
3.1. Lista kontrolna przed instalacją
- Ensure you have a compatible CPU (4th Generation Intel Core processors).
- Verify RAM compatibility (DDR3).
- Prepare a static-free workspace.
- Gather necessary tools: screwdriver, thermal paste (if CPU cooler requires it).
3.2. Układ płyty głównej

Rysunek 3.1: Rozmieszczenie komponentów płyty głównej
Na tym obrazie widać widok z góry view of the motherboard, illustrating the placement of key components such as the CPU socket, RAM slots, PCIe slots, and various connectors.
3.3. Kroki instalacji
- Zainstaluj procesor: Ostrożnie otwórz dźwignię gniazda procesora, wyrównaj procesor ze znacznikiem trójkąta, umieść go ostrożnie w gnieździe i zamknij dźwignię.
- Montaż chłodzenia procesora: Apply thermal paste (if not pre-applied) and secure the CPU cooler according to its instructions. Connect the CPU fan cable to the CPU_FAN header.
- Zainstaluj pamięć RAM: Open the clips on the DDR3 memory slots. Align the RAM modules with the notch and press firmly until the clips lock into place.
- Montaż płyty głównej: Install standoffs in your PC case, then carefully place the motherboard onto the standoffs and secure it with screws.
- Podłącz zasilanie: Podłącz 24-pinowe złącze zasilania ATX i 8-pinowe (lub 4-pinowe) złącze zasilania procesora do płyty głównej.
- Podłącz urządzenia pamięci masowej: Use SATA cables to connect your hard drives or SSDs to the SATA ports on the motherboard.
- Podłącz kable panelu przedniego: Connect the power switch, reset switch, HDD LED, and USB/audio headers from your case to the corresponding pins on the motherboard. Refer to the motherboard layout for exact pin locations.
- Zainstaluj karty rozszerzeń: Włóż karty graficzne lub inne karty rozszerzeń PCIe do odpowiednich gniazd PCIe i zabezpiecz je.
4. Obsługa płyty głównej
4.1. Konfiguracja BIOS-u
Upon first boot, you may need to enter the BIOS/UEFI setup to configure boot order, system time, and other settings. Typically, you can access the BIOS by pressing the USUNĄĆ key during startup. The GIGABYTE UEFI BIOS provides an intuitive graphical interface for easy navigation.
4.2. Instalacja sterownika
After installing your operating system, install the necessary drivers for the motherboard's chipset, LAN, audio, and other integrated components. These drivers are usually provided on a support CD or can be downloaded from the official GIGABYTE webstrona.
4.3. On/Off Charge Feature

Figure 4.1: On/Off Charge Feature
The On/Off Charge feature allows for faster charging of USB devices, even when the PC is turned off or in standby mode. Ensure your device supports this feature and connect it to a compatible USB port.
5. Konserwacja
- Zachowaj czystosc: Regularnie czyść płytę główną i podzespoły sprężonym powietrzem z kurzu. Przed czyszczeniem upewnij się, że system jest wyłączony i odłączony od zasilania.
- Aktualizacje BIOS-u: Okresowo sprawdzaj GIGABYTE website for BIOS updates. Updates can improve stability, compatibility, and performance. Follow update instructions carefully to avoid system damage.
- Zarządzanie kablami: Ensure internal cables are neatly managed to improve airflow and prevent overheating.
- Warunki środowiskowe: Operate the motherboard in a well-ventilated area with stable temperature and humidity to prolong its lifespan.
6. Rozwiązywanie Problemów
6.1. Typowe problemy i rozwiązania
| Problem | Możliwa przyczyna | Rozwiązanie |
|---|---|---|
| System nie włącza się. | Power cables not connected properly; faulty power supply. | Check 24-pin and 8-pin CPU power connectors. Test power supply. |
| Brak wyjścia wyświetlacza. | Graphics card not seated correctly; monitor cable loose; incorrect display output selected. | Reseat graphics card. Check monitor cable connections. Ensure monitor input matches motherboard/GPU output. |
| System nieoczekiwanie uruchamia się ponownie. | Overheating; unstable power; faulty RAM. | Check CPU/GPU temperatures. Ensure power supply is adequate. Test RAM modules individually. |
| Urządzenia USB nie zostały rozpoznane. | Missing USB drivers; faulty USB port. | Install/update USB drivers. Try a different USB port. |
| LAN connection issues. | Missing LAN drivers; faulty Ethernet cable; network configuration issues. | Install/update LAN drivers. Replace Ethernet cable. Check network settings. |
| Dźwięk nie działa. | Missing audio drivers; incorrect audio output selected. | Install/update audio drivers. Check audio output settings in OS. |
6.2. High ESD Protection

Figure 6.1: High ESD Protection
The motherboard features High ESD Protection for LAN and USB ports, safeguarding against electrostatic discharge damage. While this provides enhanced durability, always handle components with anti-static precautions.
7. Specyfikacje
| Funkcja | Szczegół |
|---|---|
| Marka | GIGABAJT |
| Numer modelu | GA-H81M-S2H GSM-B |
| Gniazdo procesora | LGA 1150 |
| Kompatybilne procesory | Intel Celeron, Intel Pentium (4th Generation Intel Core processors supported) |
| Typ chipsetu | Intel H81 |
| Technologia pamięci RAM | DDR3 |
| Maksymalny rozmiar pamięci RAM | 16 GB |
| Liczba portów USB 2.0 | 6 (total, including internal headers) |
| Wymiary produktu (dł. x szer. x wys.) | 19.5 x 12.5 x 8.75 cala |
| Waga przedmiotu | 1.4 funta |
| Platforma | Linux (compatible with various OS) |
| Wyjście wideo | HDMI, DVI, D-SUB (VGA) |
| Audio | High Quality Audio Capacitors, Audio Noise Guard |
| Sieć lokalna | High ESD Protection |
7.1. 4K Display Support

Figure 7.1: 4K Display Support
This motherboard supports 4K display output, with actual support dependent on the capabilities of the installed CPU's integrated graphics (e.g., Intel HD Graphics 4600).
8. Wsparcie i gwarancja
For technical support, driver downloads, BIOS updates, and detailed warranty information, please visit the official GIGABYTE webZachowaj paragon jako dowód zakupu na wypadek reklamacji.
Oficjalny GIGABYTE Webstrona: www.gigabyte.com