1. Wprowadzenie
This manual provides detailed instructions for the installation, operation, maintenance, and troubleshooting of the ASRock H81M-HDS R2.0 Micro ATX Motherboard. Please read this manual thoroughly before installing or using your motherboard to ensure proper functionality and to prevent damage.
The ASRock H81M-HDS R2.0 is designed for Intel LGA 1150 processors, supporting DDR3 memory and offering essential connectivity for a reliable computing experience.
2. Koniec produktuview
The ASRock H81M-HDS R2.0 motherboard features the Intel H81 chipset, providing a stable platform for your system. Key features include:
- Typ gniazda: LGA 1150
- Zestaw układów scalonych: Intel H81
- Pamięć: 2x DDR3/DDR3L-1600/1333/1066 DIMM Slots, Dual Channel, Non-ECC, Unbuffered, Max Capacity of 16GB
- Gniazda rozszerzeń: 1x PCI Express 2.0 x16 Slot, 1x PCI Express 2.0 x1 Slot
- Składowanie: 2 porty SATA3, 2 porty SATA2
- Audio: Kodek audio Realtek ALC662 5.1-kanałowy o wysokiej rozdzielczości
- Porty USB: 4x USB 3.0 Ports (2 rear, 2 via header), 8x USB 2.0 Ports (4 rear, 4 via headers)
- Wyjścia wideo: 1x VGA Port, 1x DVI-D Port, 1x HDMI Port
- Sieć: 1x RJ45 LAN Port
- Współczynnik kształtu: MicroATX
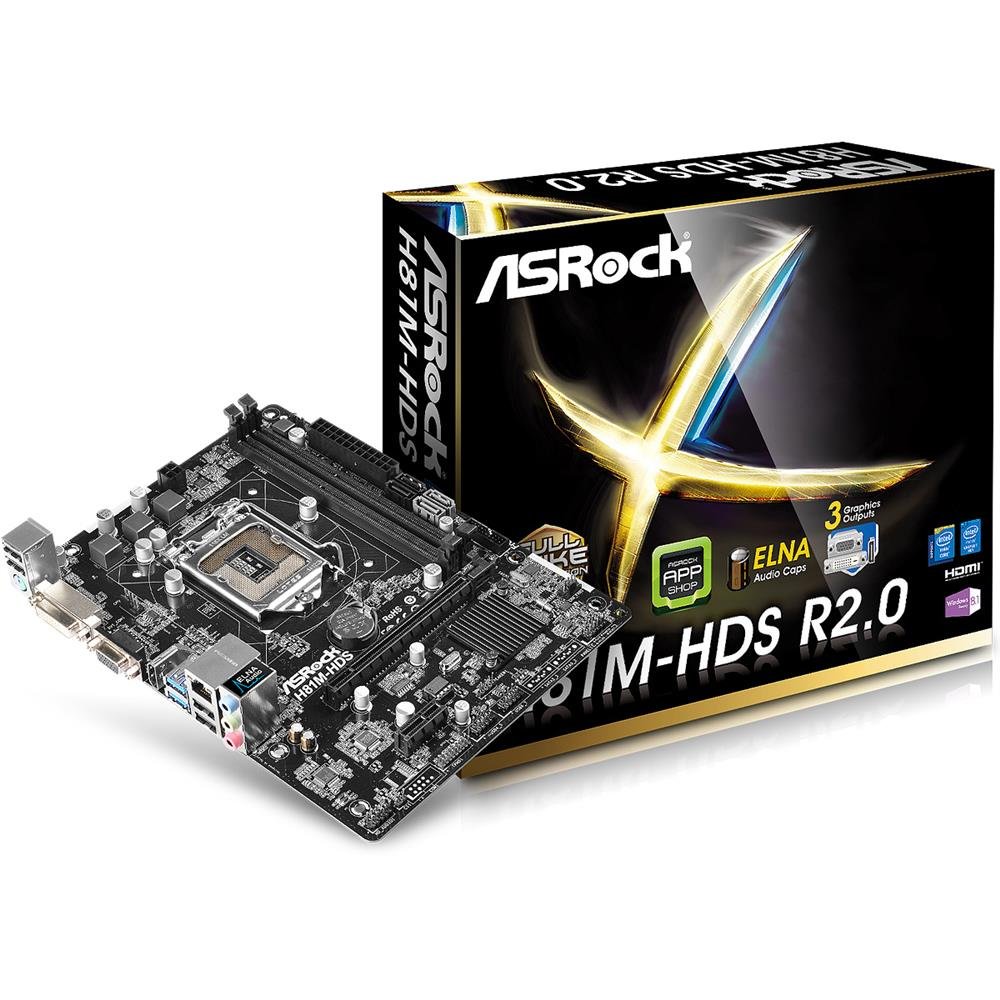
Rysunek 2.1: ASRock H81M-HDS R2.0 Micro ATX Motherboard. This image displays the overall layout of the motherboard, including the CPU socket, RAM slots, PCIe slots, and various connectors.
3. Konfiguracja i instalacja
Przed rozpoczęciem instalacji upewnij się, że system jest wyłączony i odłączony od gniazdka ściennego. Załóż antystatyczną opaskę na nadgarstek, aby zapobiec uszkodzeniu podzespołów przez wyładowania elektrostatyczne (ESD).
3.1. Instalowanie procesora
- Znajdź gniazdo procesora LGA 1150 na płycie głównej.
- Delikatnie naciśnij dźwignię obciążenia i pociągnij ją, aby otworzyć pokrywę gniazda procesora.
- Dopasuj trójkątny znak na procesorze do znaku na gnieździe. Ostrożnie włóż procesor do gniazda, nie wciskając go na siłę.
- Zamknij płytkę ładunkową i wciśnij dźwignię ładunkową z powrotem na miejsce, aż usłyszysz kliknięcie.
3.2. Montaż chłodnicy procesora
Follow the instructions provided with your CPU cooler for proper installation. Ensure thermal paste is applied correctly between the CPU and the cooler's base.
3.3. Instalowanie pamięci (RAM)
- Otwórz klipsy na obu końcach gniazd DDR3 DIMM.
- Dopasuj wycięcie na module pamięci do wypustki w gnieździe DIMM.
- Insert the memory module firmly into the slot until the clips snap into place. For dual-channel operation, install modules in matching colored slots (if applicable, refer to motherboard diagram for specific slots).
3.4. Montaż płyty głównej
- Zainstaluj osłonę I/O w tylnym otworze obudowy komputera.
- Place the motherboard into the case, aligning the screw holes with the standoffs.
- Przymocuj płytę główną za pomocą śrub, upewniając się, że jest dobrze osadzona, ale nie dokręcona zbyt mocno.
3.5. Podłączanie zasilania
- Podłącz 24-pinowe złącze zasilania ATX zasilacza do odpowiedniego złącza na płycie głównej.
- Connect the 4-pin ATX 12V power connector (CPU power) to its header.
3.6. Podłączanie urządzeń pamięci masowej
Connect your SATA hard drives or SSDs to the SATA3 (6Gb/s) or SATA2 (3Gb/s) ports using SATA data cables. Connect power cables from the power supply to each drive.
3.7. Connecting Front Panel and USB Headers
Connect the front panel connectors (power button, reset button, HDD LED, power LED) and USB headers from your case to the corresponding pins on the motherboard. Refer to the motherboard's detailed diagram for correct pin assignments.
4. Instrukcja obsługi
4.1. Konfiguracja BIOS/UEFI
Upon initial boot, press Del or F2 during the POST (Power-On Self-Test) to enter the UEFI Setup Utility. Here you can configure system settings such as boot order, date/time, and hardware parameters. The ASRock UEFI is designed to be user-friendly.
4.2. Instalacja sterownika
After installing your operating system, install the necessary drivers for the motherboard's components (chipset, audio, LAN, graphics if using integrated) from the ASRock support website or the provided driver CD (if applicable). Ensure all drivers are up-to-date for optimal performance and stability.
5. Konserwacja
Regularna konserwacja pomaga zapewnić długowieczność i stabilną pracę płyty głównej i systemu.
- Usuwanie kurzu: Periodically clean dust from inside your computer case, especially from CPU coolers, case fans, and heatsinks, using compressed air. Ensure the system is powered off and unplugged before cleaning.
- Zarządzanie kablami: Ensure internal cables are neatly routed to improve airflow and prevent obstruction of components.
- Aktualizacje BIOS-u/UEFI: Sprawdź ASRock website for BIOS/UEFI updates. Updates can improve compatibility, stability, and performance. Follow ASRock's specific instructions for BIOS flashing carefully to avoid damaging the motherboard.
- Aktualizacje sterowników: Aktualizuj sterowniki systemu, aby zapewnić zgodność i optymalną wydajność systemu operacyjnego i aplikacji.
6. Rozwiązywanie Problemów
If you encounter issues with your ASRock H81M-HDS R2.0 motherboard, refer to the following common troubleshooting steps:
6.1. Brak zasilania / Brak rozruchu
- Sprawdź, czy wszystkie kable zasilające (24-pinowy ATX, 4-pinowy ATX 12 V) są prawidłowo podłączone do płyty głównej i zasilacza.
- Upewnij się, że wyłącznik zasilania jest w pozycji „ON”.
- Sprawdź połączenia przycisku zasilania na przednim panelu z płytą główną.
- Jeżeli to możliwe, przetestuj przy innym zasilaczu.
6.2. Brak wyjścia wyświetlacza
- Ensure your monitor is connected to the correct video output (VGA, DVI-D, or HDMI) on the motherboard or discrete graphics card.
- Sprawdź, czy monitor jest włączony i ustawiony na prawidłowe źródło sygnału wejściowego.
- Reseat the RAM modules. Faulty or improperly seated RAM is a common cause of no display.
- W przypadku korzystania z oddzielnej karty graficznej należy upewnić się, że jest ona prawidłowo osadzona w gnieździe PCIe i ma podłączone odpowiednie zasilanie.
6.3. RAM Issues (e.g., one slot not working)
- Upewnij się, że moduły pamięci RAM są dokładnie osadzone w gniazdach.
- Test each RAM module individually in each slot to identify a potentially faulty module or slot.
- Check the motherboard's QVL (Qualified Vendor List) for compatible memory modules.
6.4. Niestabilność systemu / losowe awarie
- Sprawdź temperaturę procesora i procesora graficznego, aby mieć pewność, że mieści się ona w bezpiecznych granicach.
- Verify all drivers are correctly installed and up-to-date.
- Uruchom narzędzia diagnostyczne pamięci RAM, aby sprawdzić, czy występują błędy.
- Ensure your power supply provides sufficient and stable power to all components.
7. Specyfikacje
Detailed technical specifications for the ASRock H81M-HDS R2.0 Motherboard:
| Marka | ASRock |
| Numer modelu | H81M-HDS R2.0 |
| Gniazdo procesora | LGA 1150 |
| Typ chipsetu | Intel H81 |
| Technologia pamięci RAM | DDR3 |
| Dostępne gniazda pamięci | 2 |
| Maksymalny rozmiar pamięci RAM | 16 GB |
| Prędkość zegara pamięci | 1333 MHz (obsługuje do 1600 MHz) |
| Interfejs karty graficznej | PCI Express |
| Porty SATA | 2x SATA3, 2x SATA2 |
| Porty USB | 4x USB 3.0 (2 z tyłu, 2 przez złącze nagłówkowe), 8x USB 2.0 (4 z tyłu, 4 przez złącze nagłówkowe) |
| Wyjścia wideo | 1x VGA, 1x DVI-D, 1x HDMI |
| Audio | Realtek ALC662 5.1-kanałowy dźwięk HD |
| Sieć lokalna | Gigabitowy Ethernet |
| Współczynnik kształtu | MicroATX |
| Waga przedmiotu | 0.6 kilograma |
8. Gwarancja i wsparcie
ASRock udziela ograniczonej gwarancji na swoje produkty. Szczegółowe warunki gwarancji można znaleźć w karcie gwarancyjnej dołączonej do produktu lub na oficjalnej stronie ASRock. webZachowaj dowód zakupu na wypadek roszczeń gwarancyjnych.
For technical support, driver downloads, and BIOS updates, please visit the official ASRock support webstrona:
When contacting support, please have your motherboard model (H81M-HDS R2.0) and serial number ready.