1. Wprowadzenie
This user manual provides essential information for the safe and efficient installation, operation, and maintenance of your Supermicro YM-5201D ATX & EPS12V Power Supply. Please read this manual thoroughly before using the product to ensure proper functionality and to prevent damage.

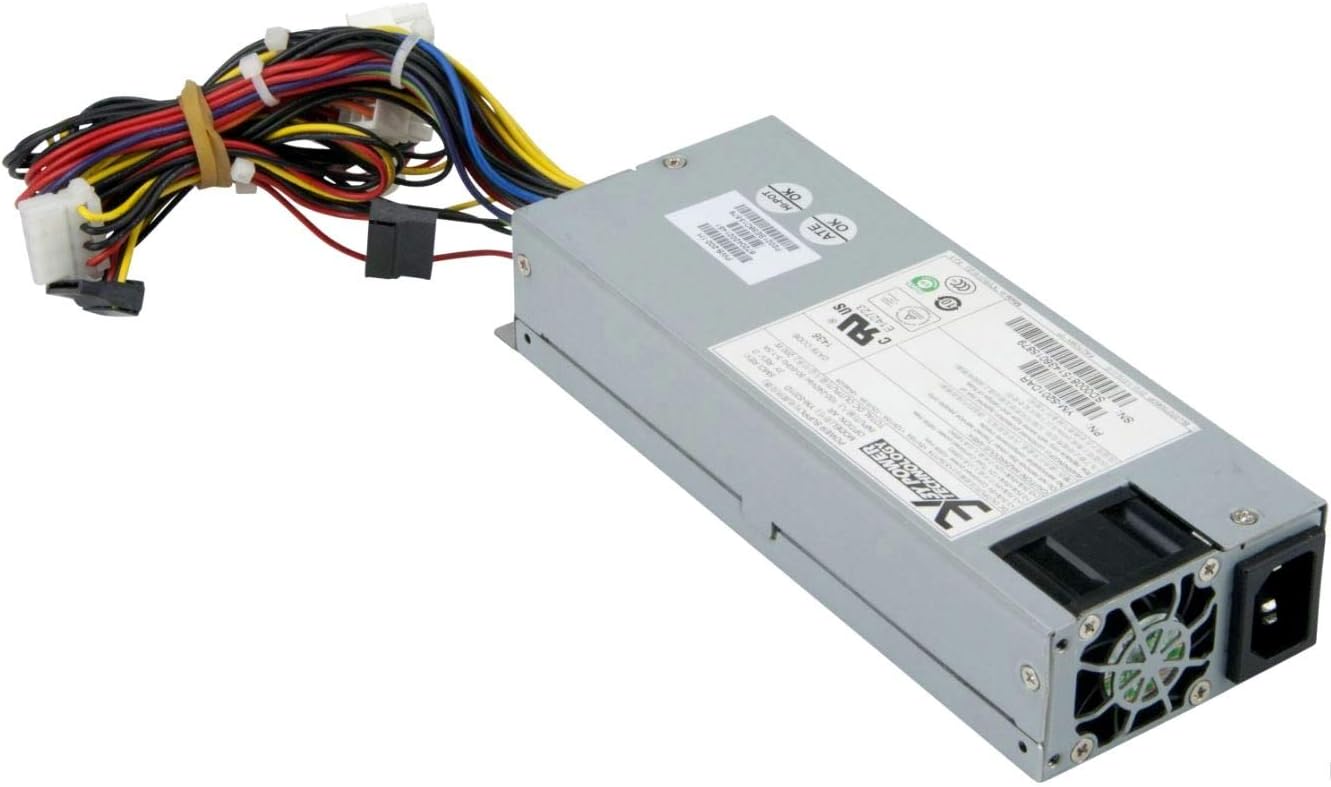
Figure 1: Supermicro YM-5201D ATX & EPS12V Power Supply, showing the main unit and attached power cables.
2. Informacje dotyczące bezpieczeństwa
Always observe the following safety precautions to prevent injury or damage to the power supply and connected components:
- Przed instalacją lub demontażem należy upewnić się, że zasilacz jest odłączony od gniazdka sieciowego.
- Nie otwierać zasilacza casing. There are no user-serviceable parts inside, and opening it voids the warranty and exposes you to dangerous voltagt.j.
- Aby zapobiec przegrzaniu, zasilacz należy zainstalować w dobrze wentylowanym pomieszczeniu.
- Use only the cables provided or approved by Supermicro for this power supply.
- Unikaj narażania zasilacza na działanie wilgoci i ekstremalnych temperatur.
- Ensure proper grounding of the computer system.
3. Zawartość opakowania
Sprawdź, czy w opakowaniu znajdują się wszystkie elementy:
- Supermicro YM-5201D ATX & EPS12V Power Supply
- AC Power Cord (region specific)
- Śruby montażowe
- Instrukcja obsługi (ten dokument)
4. Konfiguracja i instalacja
Follow these steps to install the power supply into your computer chassis:
- Przygotuj system: Disconnect the computer from the AC power outlet. Open the computer case according to its manufacturer's instructions.
- Wyjmij stary zasilacz (jeśli dotyczy): Unscrew and remove the existing power supply. Disconnect all power cables from the motherboard, graphics card, drives, and other components.
- Zainstaluj nowy zasilacz: Carefully slide the Supermicro YM-5201D power supply into the designated power supply bay in your chassis. Ensure the fan is oriented correctly for optimal airflow (typically facing downwards or towards the rear vent).
- Zabezpiecz źródło zasilania: Align the screw holes on the power supply with those on the chassis. Secure the power supply using the provided mounting screws.
- Podłącz kable:
- 24-pinowe złącze ATX płyty głównej: Connect the large 24-pin connector to the corresponding port on your motherboard. Ensure it clicks into place.
- 8-pin (4+4) EPS12V CPU Connector: Connect the 8-pin or split 4+4-pin connector to the CPU power port on your motherboard.
- PCIe Connectors (if applicable): If your graphics card requires additional power, connect the appropriate 6-pin or 8-pin PCIe power connectors.
- Złącza zasilania SATA: Connect SATA power cables to your hard drives, SSDs, and optical drives.
- Molex Connectors (if applicable): Connect Molex power cables to any legacy devices or case fans that require them.
- Zarządzanie kablami: Route cables neatly to improve airflow and aesthetics within the case.
- Zamknij podwozie: Once all connections are secure, close the computer case.
- Podłącz zasilanie sieciowe: Connect the AC power cord to the power supply's inlet and then to a grounded wall outlet or surge protector.
Rysunek 2: Tył view of the Supermicro YM-5201D Power Supply, highlighting the cooling fan and AC power input.
5. Instrukcja obsługi
After successful installation, operating the power supply is straightforward:
- Włączanie: Ensure the power switch on the rear of the power supply (if present) is in the 'ON' (I) position. Then, press the power button on your computer case.
- Wyłączone: Shut down your computer through the operating system. Once the system is off, you can flip the power switch on the power supply to the 'OFF' (O) position for complete power disconnection.
- Normalna praca: The power supply will automatically regulate power delivery to your components based on demand. Ensure adequate ventilation around your computer to prevent heat buildup.
6. Konserwacja
Regular maintenance helps prolong the life of your power supply:
- Usuwanie kurzu: Periodically (e.g., every 3-6 months), disconnect the power supply from the AC outlet and use compressed air to gently blow dust out of the power supply's fan and vents. Do not open the casing.
- Kontrola kabla: Occasionally check all power cables for any signs of wear, fraying, or loose connections.
- Wentylacja: Ensure that the computer case's ventilation openings are not obstructed.
7. Rozwiązywanie Problemów
Jeśli napotkasz problemy, zapoznaj się z poniższymi typowymi problemami i rozwiązaniami:
| Problem | Możliwa przyczyna | Rozwiązanie |
|---|---|---|
| Komputer się nie włącza. | Power cable loose; Power switch off; Faulty component; Insufficient power. | Check AC power cord connection. Ensure power supply switch is ON. Verify all internal power connections (24-pin, 8-pin CPU). Test with minimal components. |
| System włącza się, ale natychmiast się wyłącza. | Overload; Overheating; Short circuit. | Zapewnij całkowitą wattage draw is within PSU limits. Check for proper ventilation. Inspect for any loose screws or components that might be causing a short. |
| Głośny hałas wentylatora zasilacza. | Dust buildup; Fan bearing issue; High load. | Clean dust from fan and vents using compressed air. If noise persists and is excessive, consider professional inspection. |
If troubleshooting steps do not resolve the issue, contact Supermicro technical support.
8. Specyfikacje
Key technical specifications for the Supermicro YM-5201D Power Supply:
| Funkcja | Szczegół |
|---|---|
| Nazwa modelu | YM-5201D |
| Numer modelu przedmiotu | PWS-202-1H |
| Marka | Supermikro |
| Współczynnik kształtu | 1U |
| Moc wyjściowatage | 200 watów |
| Typ złącza | ATX |
| Kompatybilne urządzenia | Desktop Computers, Servers, Desktop Components |
| Metoda chłodzenia | Powietrze |
| Wymiary produktu (dł. x szer. x wys.) | 1.1 x 9.7 x 6.5 cala |
| Waga przedmiotu | 6.6 funta |
| Data pierwszej dostępności | 14 listopada 2012 r. |
9. Gwarancja i wsparcie
For warranty information and technical support, please refer to the official Supermicro webOdwiedź stronę internetową lub skontaktuj się bezpośrednio z działem obsługi klienta. Zachowaj dowód zakupu na wypadek reklamacji.
Supermicro Official Webstrona: www.supermicro.com