
1. Wprowadzenie
Thank you for choosing the TFA Dostmann BINGO Radio-Controlled Alarm Clock, Model 60.2528.01. This device offers precise timekeeping through radio control, dual alarm functions, an automatic backlight, and a temperature display. Please read this manual carefully to ensure proper setup and operation.
2. Informacje dotyczące bezpieczeństwa
- Zachowaj tę instrukcję obsługi do wykorzystania w przyszłości.
- Nie wystawiaj urządzenia na działanie ekstremalnych temperatur, wibracji ani wstrząsów.
- Unikaj bezpośredniego światła słonecznego.
- Nie zanurzaj urządzenia w wodzie.
- Use only specified batteries. Ensure correct polarity.
- Przechowuj baterie w miejscu niedostępnym dla dzieci.
3. Zawartość opakowania
- TFA Dostmann BINGO Radio-Controlled Alarm Clock (Model 60.2528.01)
- 2 baterie AA
- Instrukcja obsługi
4. Koniec produktuview
4.1 Przód View

Obraz 1: Przód view of the alarm clock. The display shows time, date, day of the week, and indoor temperature. Below the display are the 'SET 1', '-', '+', and 'SET 2' buttons. The top features a large 'SNOOZE & LIGHT' button.
- Wyświetlacz: Shows time, date, day of the week, indoor temperature, and alarm status.
- SET 1 Button: Used to set Alarm 1.
- - Przycisk: Zmniejsza wartości podczas ustawiania.
- + Przycisk: Zwiększa wartości podczas ustawiania.
- SET 2 Button: Used to set Alarm 2.
- SNOOZE & LIGHT Button: Activates snooze function or temporary backlight.
4.2 Bok View (Lewy)
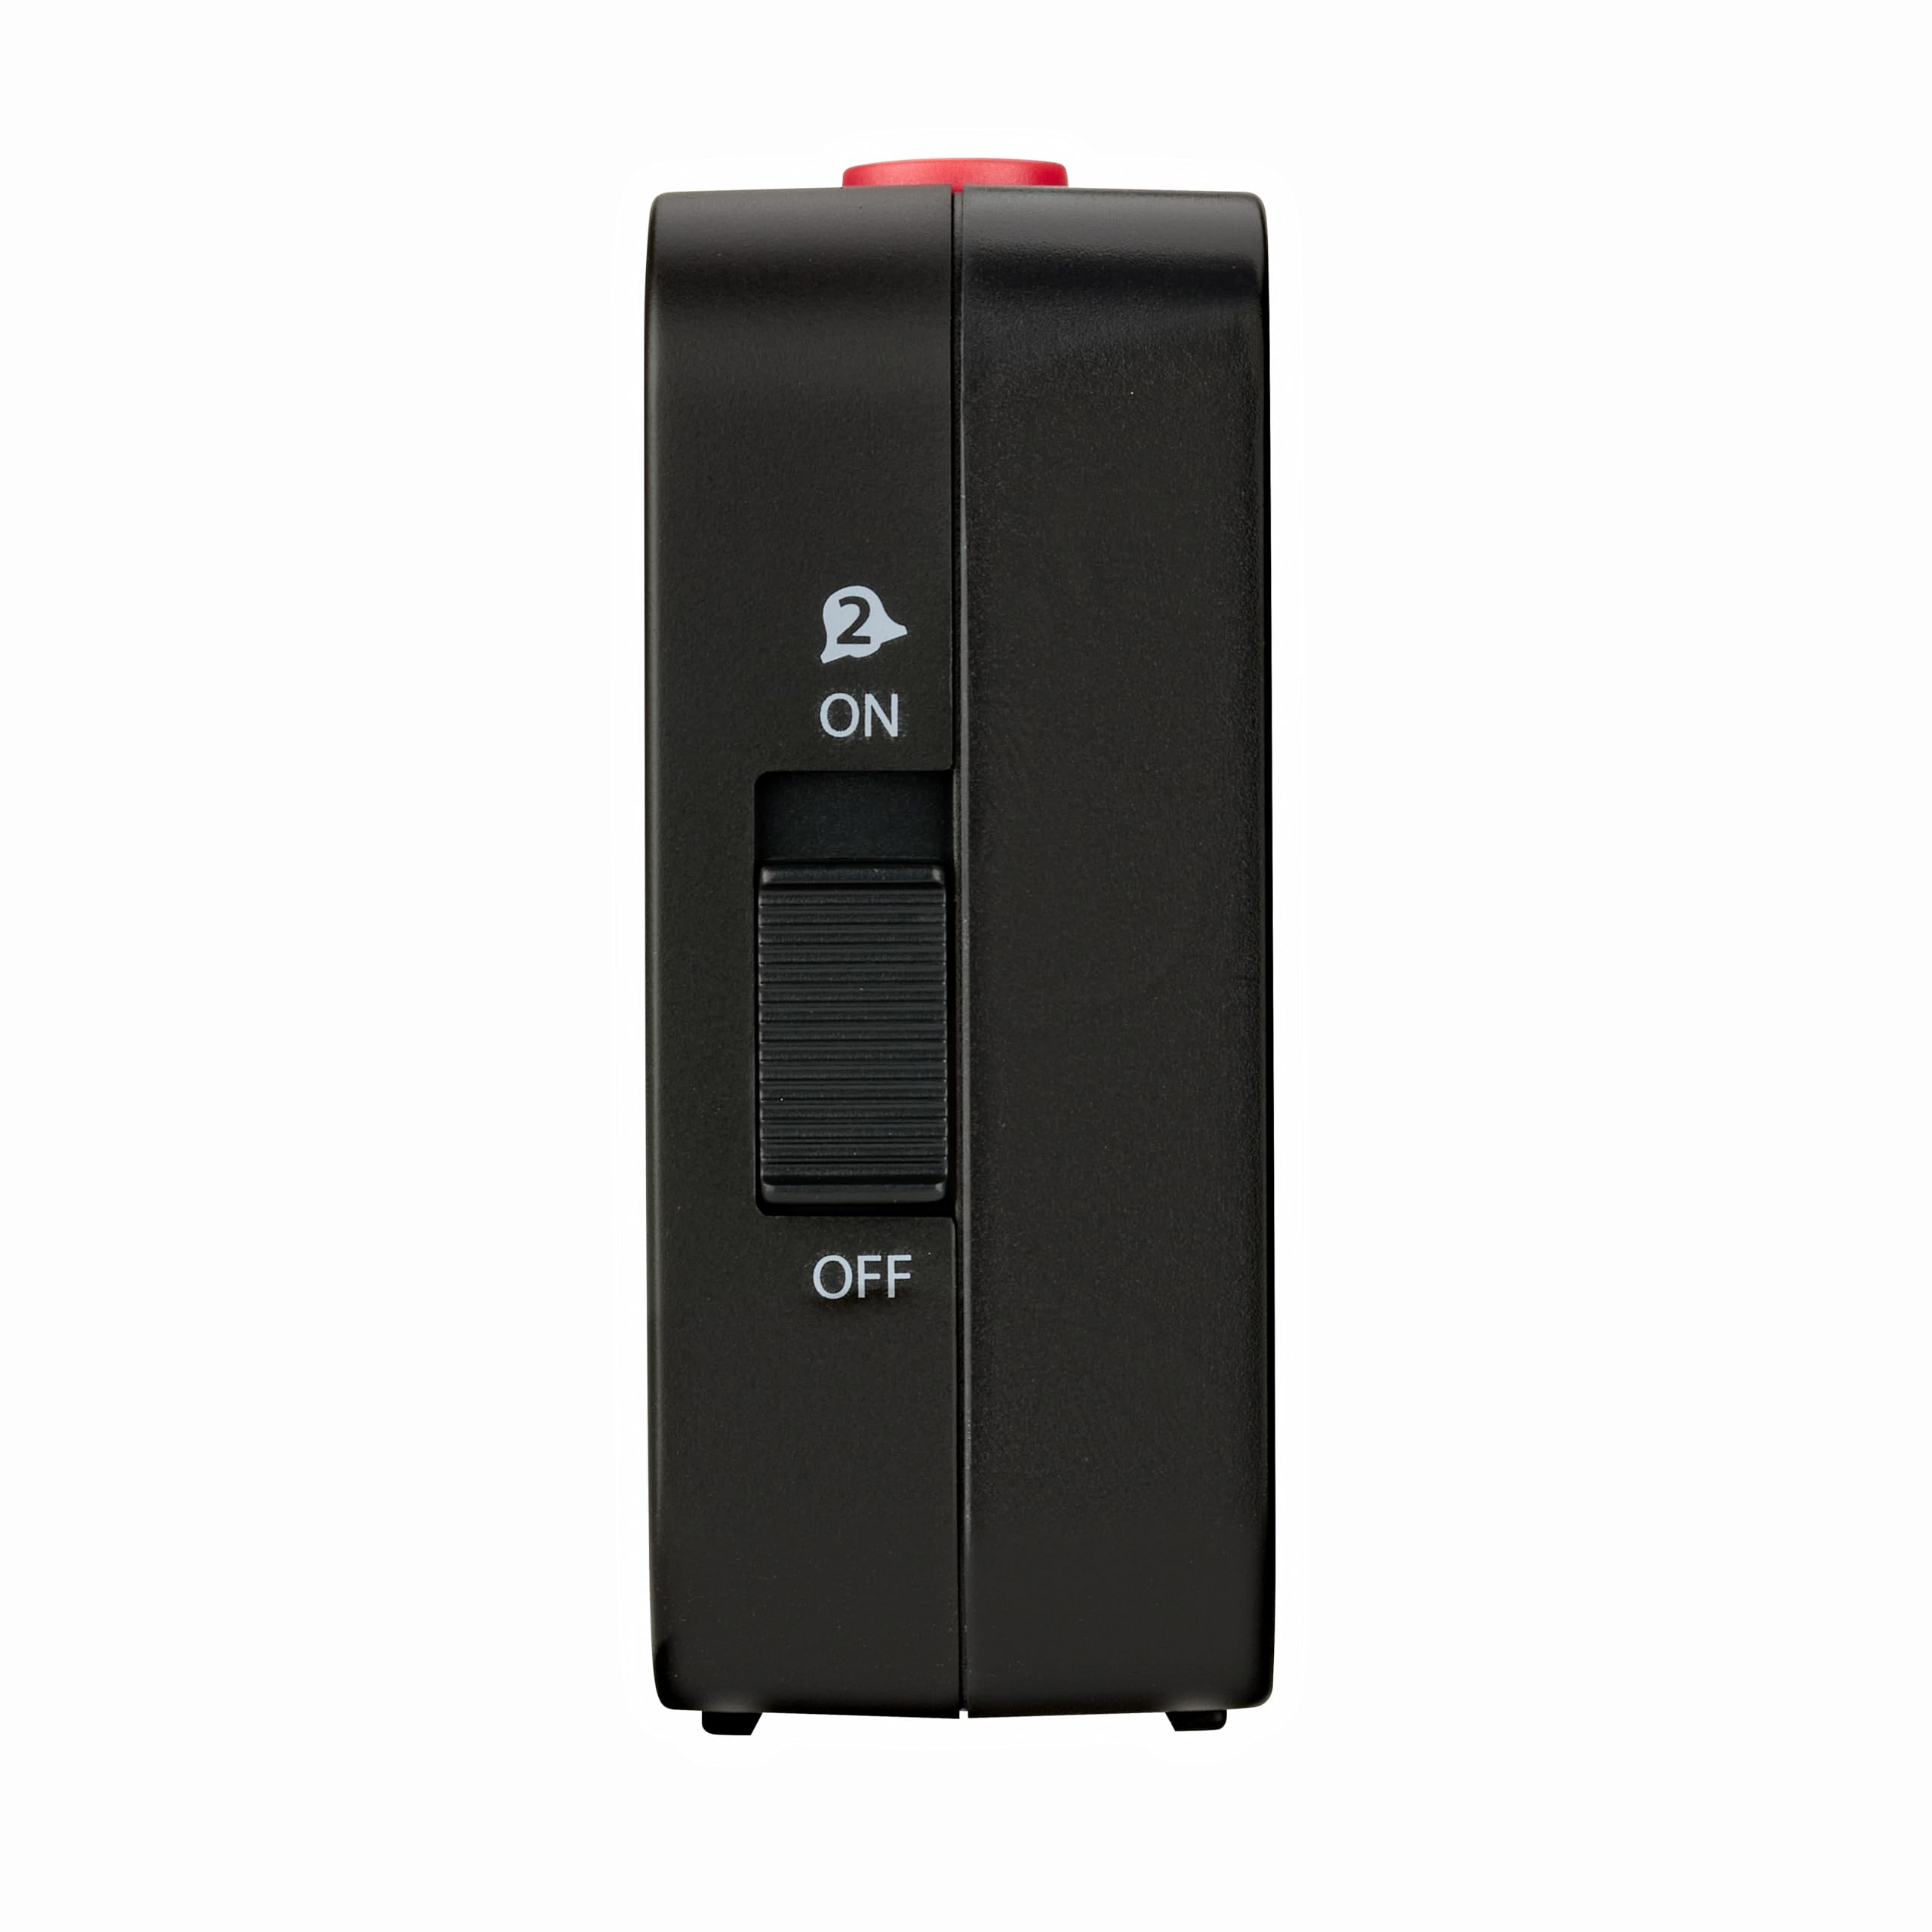
Image 2: Left side of the alarm clock. A slider switch labeled 'ON' and 'OFF' with an alarm bell icon (2) controls Alarm 2 activation.
- Alarm 1 ON/OFF Slider: (Located on the right side, not pictured but functionally similar to Alarm 2 slider) Activates or deactivates Alarm 1.
- Alarm 2 ON/OFF Slider: (Pictured) Activates or deactivates Alarm 2.
4.3 Wstecz View

Obraz 3: Tył view of the alarm clock. Features include the battery compartment cover, an 'OFF / AUTO LIGHT' slider switch, and a 'SET' button.
- Komora baterii: Mieści 2 baterie AA.
- AUTO LIGHT Switch: Toggles the automatic backlight sensor.
- Przycisk SET: Used for manual time and date settings.
5. Konfiguracja
5.1 Instalacja baterii
- Otwórz pokrywę komory baterii znajdującą się z tyłu urządzenia.
- Insert the 2 x AA batteries, ensuring correct polarity (+/-).
- Zamknij pokrywę komory baterii.
The device will power on and begin searching for the radio-controlled time signal.
5.2 Radio-Controlled Time Reception
Upon battery insertion, the clock automatically attempts to receive the DCF radio signal. This process can take several minutes. Once the signal is successfully received, the time, date, and day of the week will be set automatically. A radio tower icon will appear on the display, indicating successful reception.
For optimal reception, place the clock away from potential interference sources such as electronic devices, metal structures, or concrete walls. The ideal distance from such sources is typically at least 1.5 meters (5 feet).
5.3 Ręczne ustawianie czasu (jeśli sygnał radiowy jest niedostępny)
If the radio signal cannot be received, or if you are outside the reception range, you can set the time manually.
- Naciśnij i przytrzymaj USTAWIĆ button on the back of the clock for approximately 3 seconds. The time digits will start flashing.
- Użyj + I - buttons on the front to adjust the hour.
- Naciskać USTAWIĆ again to confirm the hour and move to minutes. Adjust minutes using + I -.
- Kontynuuj naciskanie USTAWIĆ to cycle through and adjust year, month, date, and day of the week.
- After setting all parameters, press USTAWIĆ po raz ostatni, aby wyjść z trybu ustawień.
6. Instrukcja obsługi
6.1 Ustawianie alarmów (Alarm 1 i Alarm 2)
Zegar posiada dwa niezależne alarmy.
- Naciśnij ZESTAW 1 przycisk (dla alarmu 1) lub ZESTAW 2 button (for Alarm 2) on the front of the clock. The alarm time will flash.
- Użyj + I - buttons to adjust the desired alarm hour.
- Naciśnij odpowiedni USTAWIĆ button again to confirm the hour and move to minutes. Adjust minutes using + I -.
- Naciśnij USTAWIĆ button one last time to save the alarm time and exit setting mode.
6.2 Aktywowanie/dezaktywowanie alarmów
Use the slider switches on the sides of the clock to activate or deactivate each alarm. Slide the switch to ON to enable the alarm, and to WYŁĄCZONY to disable it. A color mark on the slider indicates if the alarm is active.
6.3 Funkcja drzemki
Gdy zabrzmi alarm, naciśnij duży przycisk SNOOZE & LIGHT button on top of the clock. The alarm will pause for approximately 5 minutes and then sound again. This can be repeated multiple times.
6.4 Zatrzymanie alarmu
To stop the alarm completely, slide the corresponding alarm switch (Alarm 1 or Alarm 2) to the WYŁĄCZONY pozycja.
6.5 Automatyczne podświetlenie
The clock features an automatic backlight that activates in low-light conditions. To enable this feature, slide the AUTOMATYCZNE ŚWIATŁO switch on the back of the clock to the ON position. The display will emit a soft, economical LED backlight, making it readable in the dark.
To temporarily illuminate the display, press the SNOOZE & LIGHT button on top. The backlight will stay on for a few seconds.
6.6 Wyświetlacz temperatury
The integrated thermometer measures the ambient room temperature and displays it on the screen. The temperature range is typically -10°C to +50°C (14°F to 122°F).
7. Konserwacja
Wyczyść urządzenie miękką,amp cloth. Do not use abrasive cleaners or solvents. Avoid getting moisture into the device.
8. Rozwiązywanie Problemów
- Brak obrazu lub słaby obraz: Wymień baterie na nowe, zwracając uwagę na prawidłową biegunowość.
- Incorrect time or no radio signal icon:
- Ensure the clock is placed in an area with good radio signal reception, away from electronic interference.
- Initiate manual reception: Press and hold the - button for three seconds. The DCF icon will flash. To stop reception, hold the - button for three seconds again.
- If reception remains unsuccessful, set the time manually as described in Section 5.3.
- Alarm nie działa: Check if the alarm is activated using the side slider switch (ON position). Verify the alarm time is set correctly.
9. Specyfikacje
- Model: 60.2528.01
- Marka: TFA Dostmann
- Wymiary (dł. x szer. x wys.): 8.4 x 3.4 x 8.8 cm (ok. 3.3 x 1.3 x 3.5 cala)
- Waga: 210 gramów (ok. 7.4 uncji)
- Tworzywo: Plastikowy
- Źródło zasilania: 2 baterie AA (w zestawie)
- Typ wyświetlacza: Cyfrowy
- Zakres pomiaru temperatury: -10°C do +50°C (14°F do 122°F)
- Cechy szczególne: Radio-controlled time, Dual alarms, Snooze function, Automatic backlight (light sensor), Temperature display, Date and day of week display.
- Kraj pochodzenia: Chiny
10. Gwarancja i wsparcie
This product comes with a 1-year availability for spare parts. For further support or warranty claims, please contact your retailer or the manufacturer directly. Keep your proof of purchase for warranty purposes.


