Borotto 8068056992023
Instrukcja obsługi automatycznego inkubatora profesjonalnego Borotto Real 49
Model: 8068056992023
1. Wprowadzenie
The Borotto Real 49 Automatic Professional Incubator is designed for efficient and reliable egg incubation. This manual provides essential information for the proper setup, operation, and maintenance of your incubator to ensure optimal hatching results.
Borotto patented incubators utilize vertical egg positioning during incubation, a method also employed in advanced industrial incubators. This design consistently yields significantly higher hatching percentages compared to older incubators that incubate eggs horizontally.
2. Ostrzeżenia dotyczące bezpieczeństwa
Uwaga:
- Keep the incubator out of reach of children and pets.
- Be aware of the risk of accident associated with the automatic egg rotation mechanism. Ensure hands and foreign objects are clear during operation.
- Przed przystąpieniem do czynności konserwacyjnych lub czyszczenia należy zawsze odłączyć zasilanie.
- Do not immerse the incubator in water or any other liquid.
- Ensure the power supply matches the specifications indicated on the product label.
3. Główne cechy
- Patented Professional Automatic Incubator: Designed for various poultry and bird eggs, including chicken, pheasant, guinea fowl, quail, partridge, duck, goose, turkey, peacock, coturnix, pigeon, passerine, exotic birds, and raptors.
- Duża pojemność: Accommodates 0-49 standard eggs or 196 small eggs (e.g., quail eggs) thanks to patented universal egg trays.
- Automatic Egg Rotation: The Real 49 Automatic continuously turns eggs throughout the incubation period. Eggs are tilted from right to left and vice versa, completing a full cycle every 1 hour.
- External Water Refilling: Humidity trays can be refilled by pouring water into convenient external nozzles, minimizing humidity loss that would occur from opening the incubator.
- Ventilated Thermal Insulation Electric Ventilation: A silent turbine ensures internal ventilation, drawing air from below and directing it to the side walls to create a warm air barrier. This aerodynamic design guarantees uniform temperature and humidity.
- Inteligentna kontrola temperatury: A sophisticated electronic system maintains a precise internal microclimate with an accuracy of 0.1 °C. The electronic system acts to keep the set value constant, even considering the external ambient temperature, thus ensuring proper embryonic development without compensation issues and with higher hatching results.
4. Przewodnik konfiguracji
- Rozpakowywanie: Carefully remove all components from the packaging. Verify that all parts listed in the components section are present.
- Umieszczenie: Place the incubator on a stable, level surface in a room with a consistent ambient temperature (ideally between 20-25°C / 68-77°F) and away from direct sunlight, drafts, or extreme temperature fluctuations.
- Początkowe napełnianie wodą: Locate the external water filling nozzles. Using distilled or demineralized water, carefully fill the internal humidity trays as instructed in the operating section.
- Podłączenie zasilania: Connect the power supply cable to the incubator and then plug it into a suitable electrical outlet. The display should illuminate.
- Podgrzewanie wstępne: Allow the incubator to run for at least 2-4 hours empty to stabilize the internal temperature and humidity before placing eggs inside.

Rycina 1: Przód view of the Borotto Real 49 Automatic Incubator, showing the control panel and egg viewokna.
5. Instrukcja obsługi
5.1. Egg Placement
- Ensure eggs are clean and free from cracks.
- Place eggs vertically in the patented universal egg trays with the pointed end facing downwards.
- The incubator can hold up to 49 standard chicken eggs or 196 small quail-sized eggs.

Figure 2: Diagram illustrating the egg capacity of the Borotto Real 49 Incubator, showing space for 49 normal eggs or 196 small eggs.

Rysunek 3: Zbliżenie view of the patented egg trays, demonstrating their versatility for different egg sizes, including chicken and quail eggs.
5.2. Ustawienie temperatury
- The incubator features an intelligent electronic control system. Refer to the specific incubation requirements for your egg type.
- Use the control panel buttons to set the desired temperature. The system will automatically maintain this temperature with high precision.
5.3. Zarządzanie wilgotnością
- Maintain appropriate humidity levels by refilling the water trays as needed.
- Utilize the external water filling nozzles to add water without opening the incubator, preserving internal humidity.
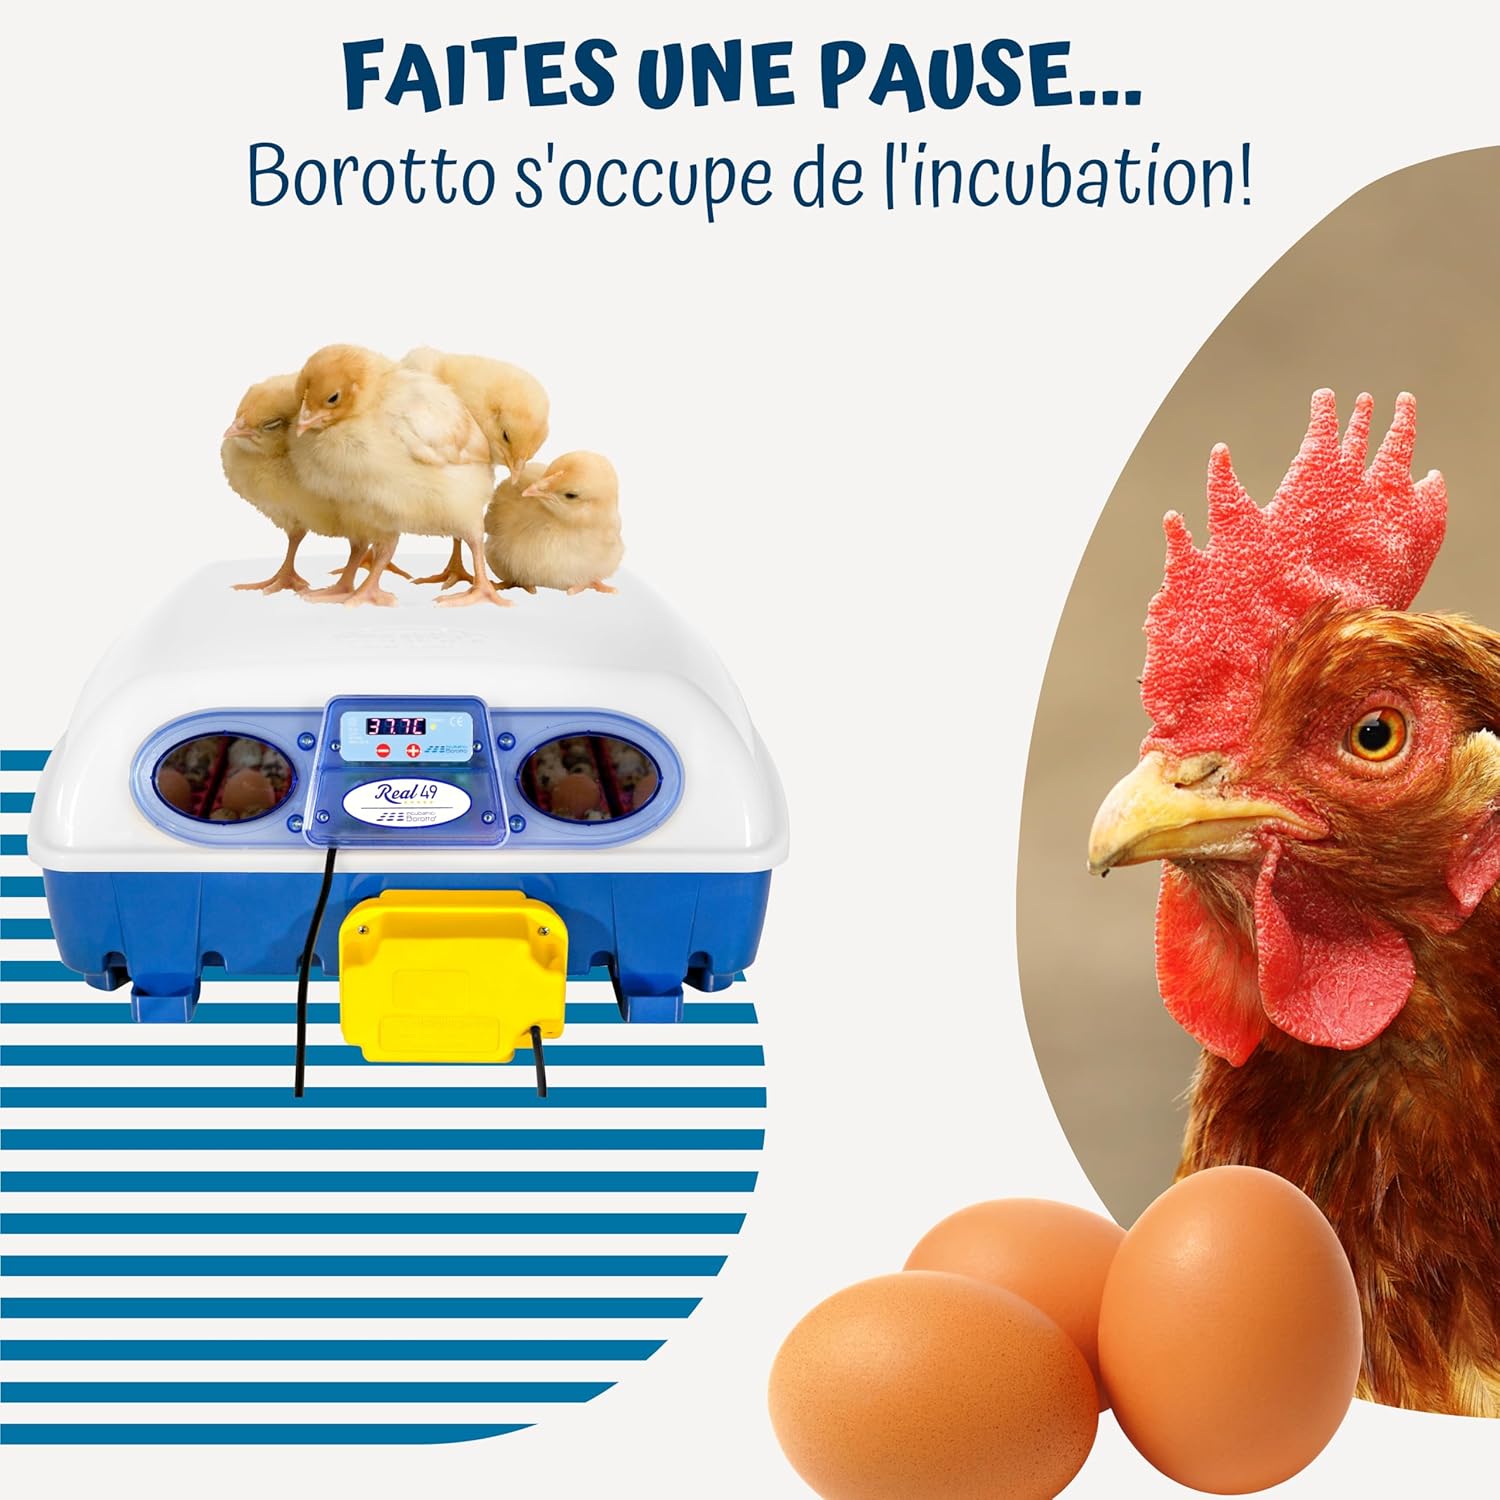
Figure 4: Illustration of the external water refilling process and the internal ventilation system, which ensures uniform temperature and humidity.
5.4. Automatyczne obracanie jajek
- The incubator's automatic turning mechanism will continuously tilt the eggs.
- This process is crucial for embryonic development and prevents the embryo from sticking to the shell.
- The turning cycle is approximately 1 hour.
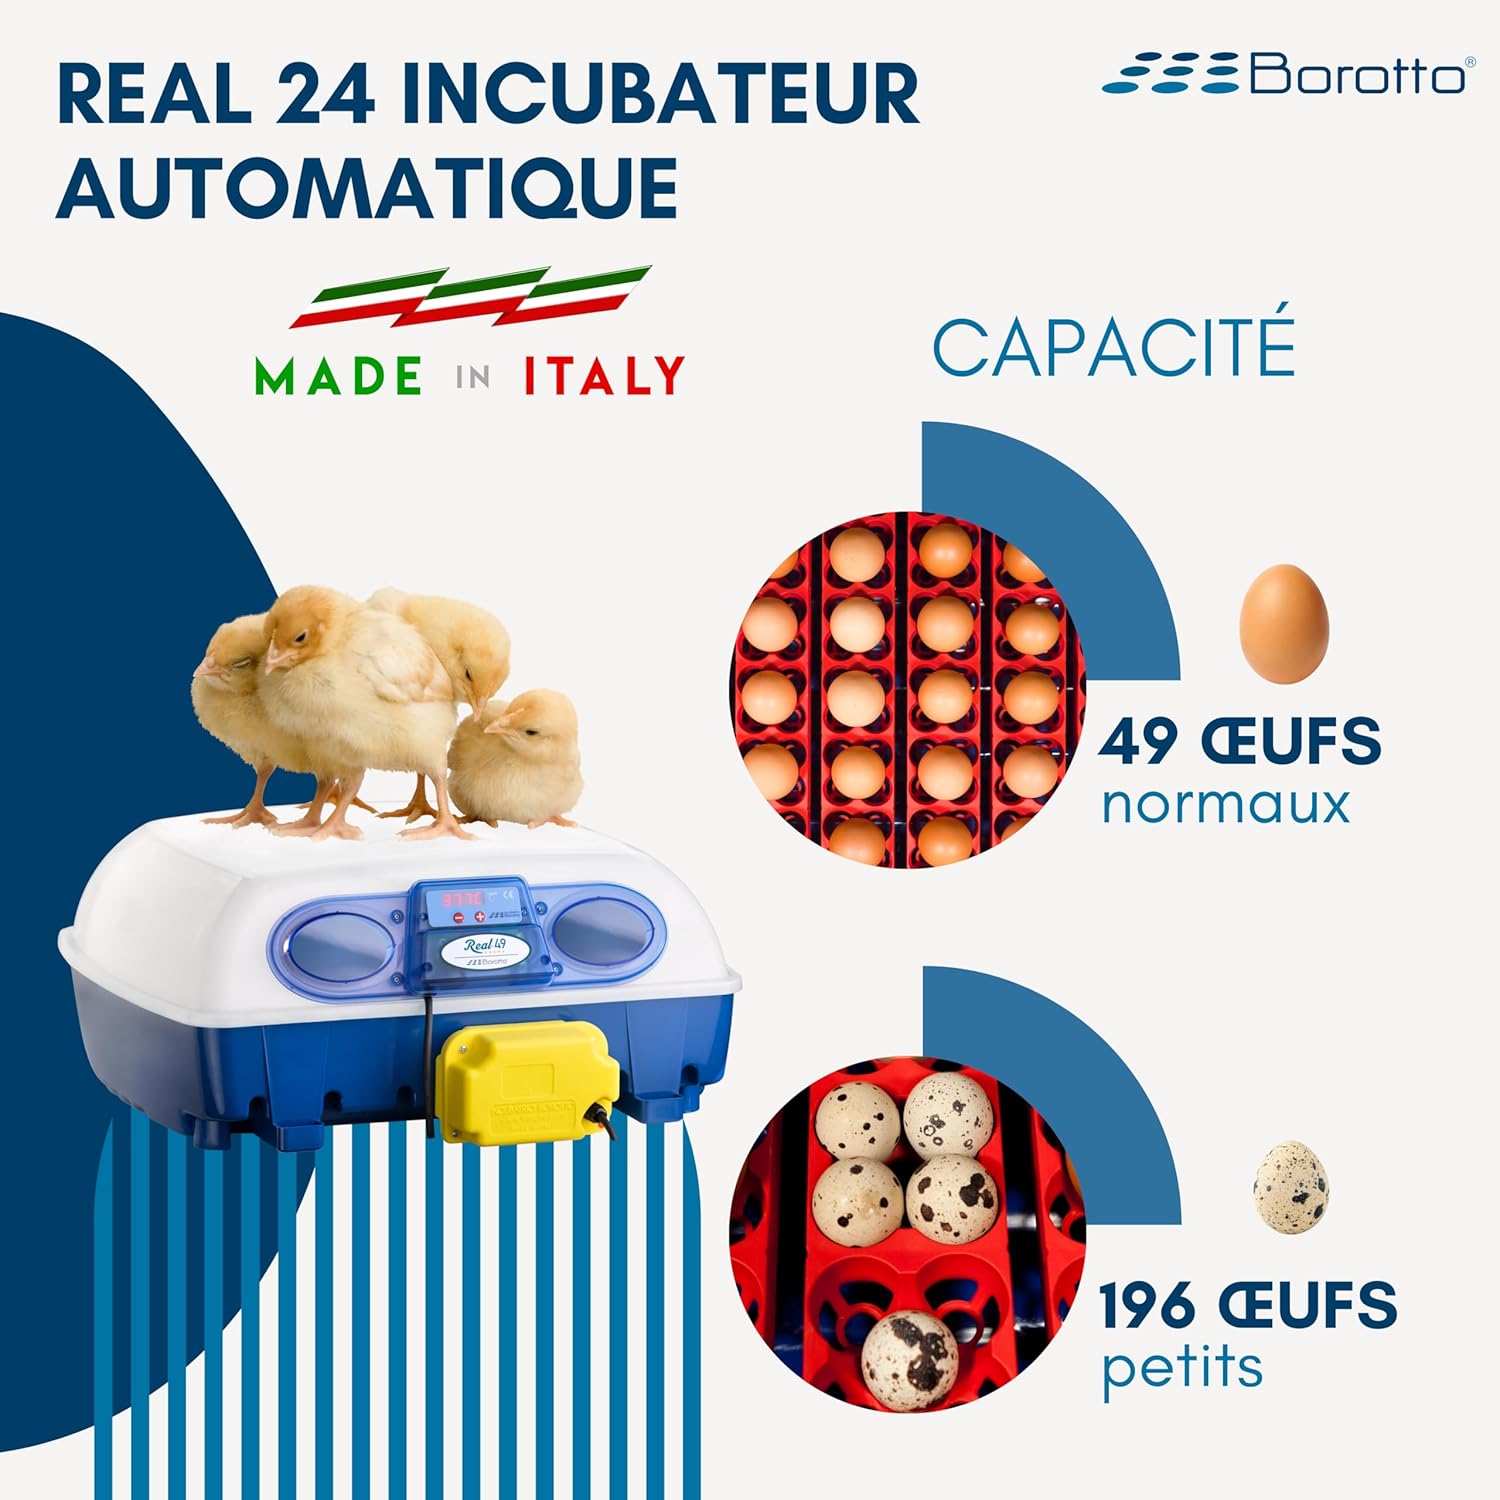
Figure 5: Depiction of the automatic egg turning feature, showing the mechanism that tilts the eggs throughout incubation.
5.5. Hatching Phase
- Towards the end of the incubation period (typically the last 3 days for chickens), remove the egg turning mechanism.
- Increase humidity as required for the hatching process.
- Do not open the incubator frequently during hatching to maintain stable conditions.
6. Konserwacja
- Czyszczenie: After each hatch, thoroughly clean the incubator. Disconnect from power. Remove all trays and wash them with a mild disinfectant solution. Wipe down the interior surfaces.
- Water Trays: Regularly clean the water trays to prevent mold and bacterial growth. Use distilled or demineralized water to prevent mineral buildup.
- Składowanie: When not in use, ensure the incubator is clean and dry. Store it in a cool, dry place away from direct sunlight.
7. Rozwiązywanie Problemów
| Problem | Możliwa przyczyna | Rozwiązanie |
|---|---|---|
| Wahania temperatury | Unstable room temperature, incubator lid not sealed properly, faulty sensor. | Move incubator to a stable environment. Check lid for proper closure. Contact support if sensor is suspected. |
| Niska wilgotność | Insufficient water in trays, lid not sealed, dry ambient air. | Refill water trays regularly. Ensure lid is properly closed. Consider a room humidifier if ambient air is very dry. |
| Jajka się nie obracają | Turning mechanism disconnected or jammed, motor issue. | Check connection of turning mechanism. Ensure no obstructions. If issue persists, contact manufacturer. |
| Poor hatch rate | Incorrect temperature/humidity, infertile eggs, improper egg handling, insufficient ventilation. | Verify temperature and humidity settings. Use fertile eggs. Handle eggs carefully. Ensure ventilation ports are clear. |
8. Specyfikacje
| Atrybut | Szczegół |
|---|---|
| Numer modelu | 8068056992023 |
| Marka | Borotto |
| Wymiary (dł. x szer. x wys.) | 58 x 57 x 25 cm (22.8 x 22.4 x 9.8 cala) |
| Waga | 5.5 kg (12.1 funta) |
| Tworzywo | Plastic (ABS for durability) |
| Źródło zasilania | Kabel elektryczny |
| Gatunki docelowe | Poultry (Chicken, Pheasant, Quail, Duck, Goose, Turkey, etc.) |
| Pojemność jajek | Up to 49 standard eggs or 196 small eggs |
| Cechy specjalne | Automatic Egg Rotation, External Water Refilling, Ventilated Thermal Insulation, Intelligent Electronic Temperature Control |
| Kraj pochodzenia | Włochy |
9. Gwarancja i wsparcie
For warranty information and technical support, please contact the manufacturer, Incubatrici Borotto di Borotto Andrea, directly. Refer to the product packaging or the official Borotto webstrona dla danych kontaktowych.
The reliability of an incubation device is its ability to maintain performance over time and provide the maximum hatching percentage. Borotto products are designed for durability, with many models made from ABS plastic for mechanical resistance and longevity, ensuring minimal heat dispersion during incubation and hatching phases.
Ask a question about this manual
Ask about setup, troubleshooting, compatibility, parts, safety, or missing instructions. Manuals+ will review the question and use this page’s manual context to help answer it.