1. Wprowadzenie
This manual provides detailed instructions for the safe operation, installation, maintenance, and troubleshooting of your Midea AKPD12CR4 Arctic King 12000 BTU Portable Air Conditioner. Please read this manual thoroughly before using your appliance and retain it for future reference.
The Midea AKPD12CR4 is designed to cool your living space efficiently, offering 12,000 BTUs of cooling power. Its portable design allows for flexible placement within your home.
2. Informacje dotyczące bezpieczeństwa
OSTRZEŻENIE: To reduce the risk of fire, electrical shock, or injury, observe the following safety precautions:
- Always plug the unit into a grounded 110-Volt, 60 Hz electrical outlet.
- Nie używaj urządzenia z uszkodzonym przewodem zasilającym lub wtyczką.
- Nie blokuj otworów wylotowych i wlotowych powietrza.
- Trzymaj materiały łatwopalne z dala od urządzenia.
- Nie wkładaj żadnych przedmiotów do otworów wentylacyjnych.
- Odłącz urządzenie przed czyszczeniem lub serwisowaniem.
- Urządzenie to nie jest przeznaczone do użytku przez osoby (w tym dzieci) o ograniczonej sprawności fizycznej, sensorycznej lub umysłowej, a także osoby nieposiadające odpowiedniego doświadczenia lub wiedzy, chyba że znajdują się one pod nadzorem osoby odpowiedzialnej za ich bezpieczeństwo lub otrzymały od niej instrukcje dotyczące korzystania z urządzenia.
3. Koniec produktuview
The Midea AKPD12CR4 Portable AC unit consists of the main air conditioner body, an exhaust hose, a window slider kit, and a remote control.
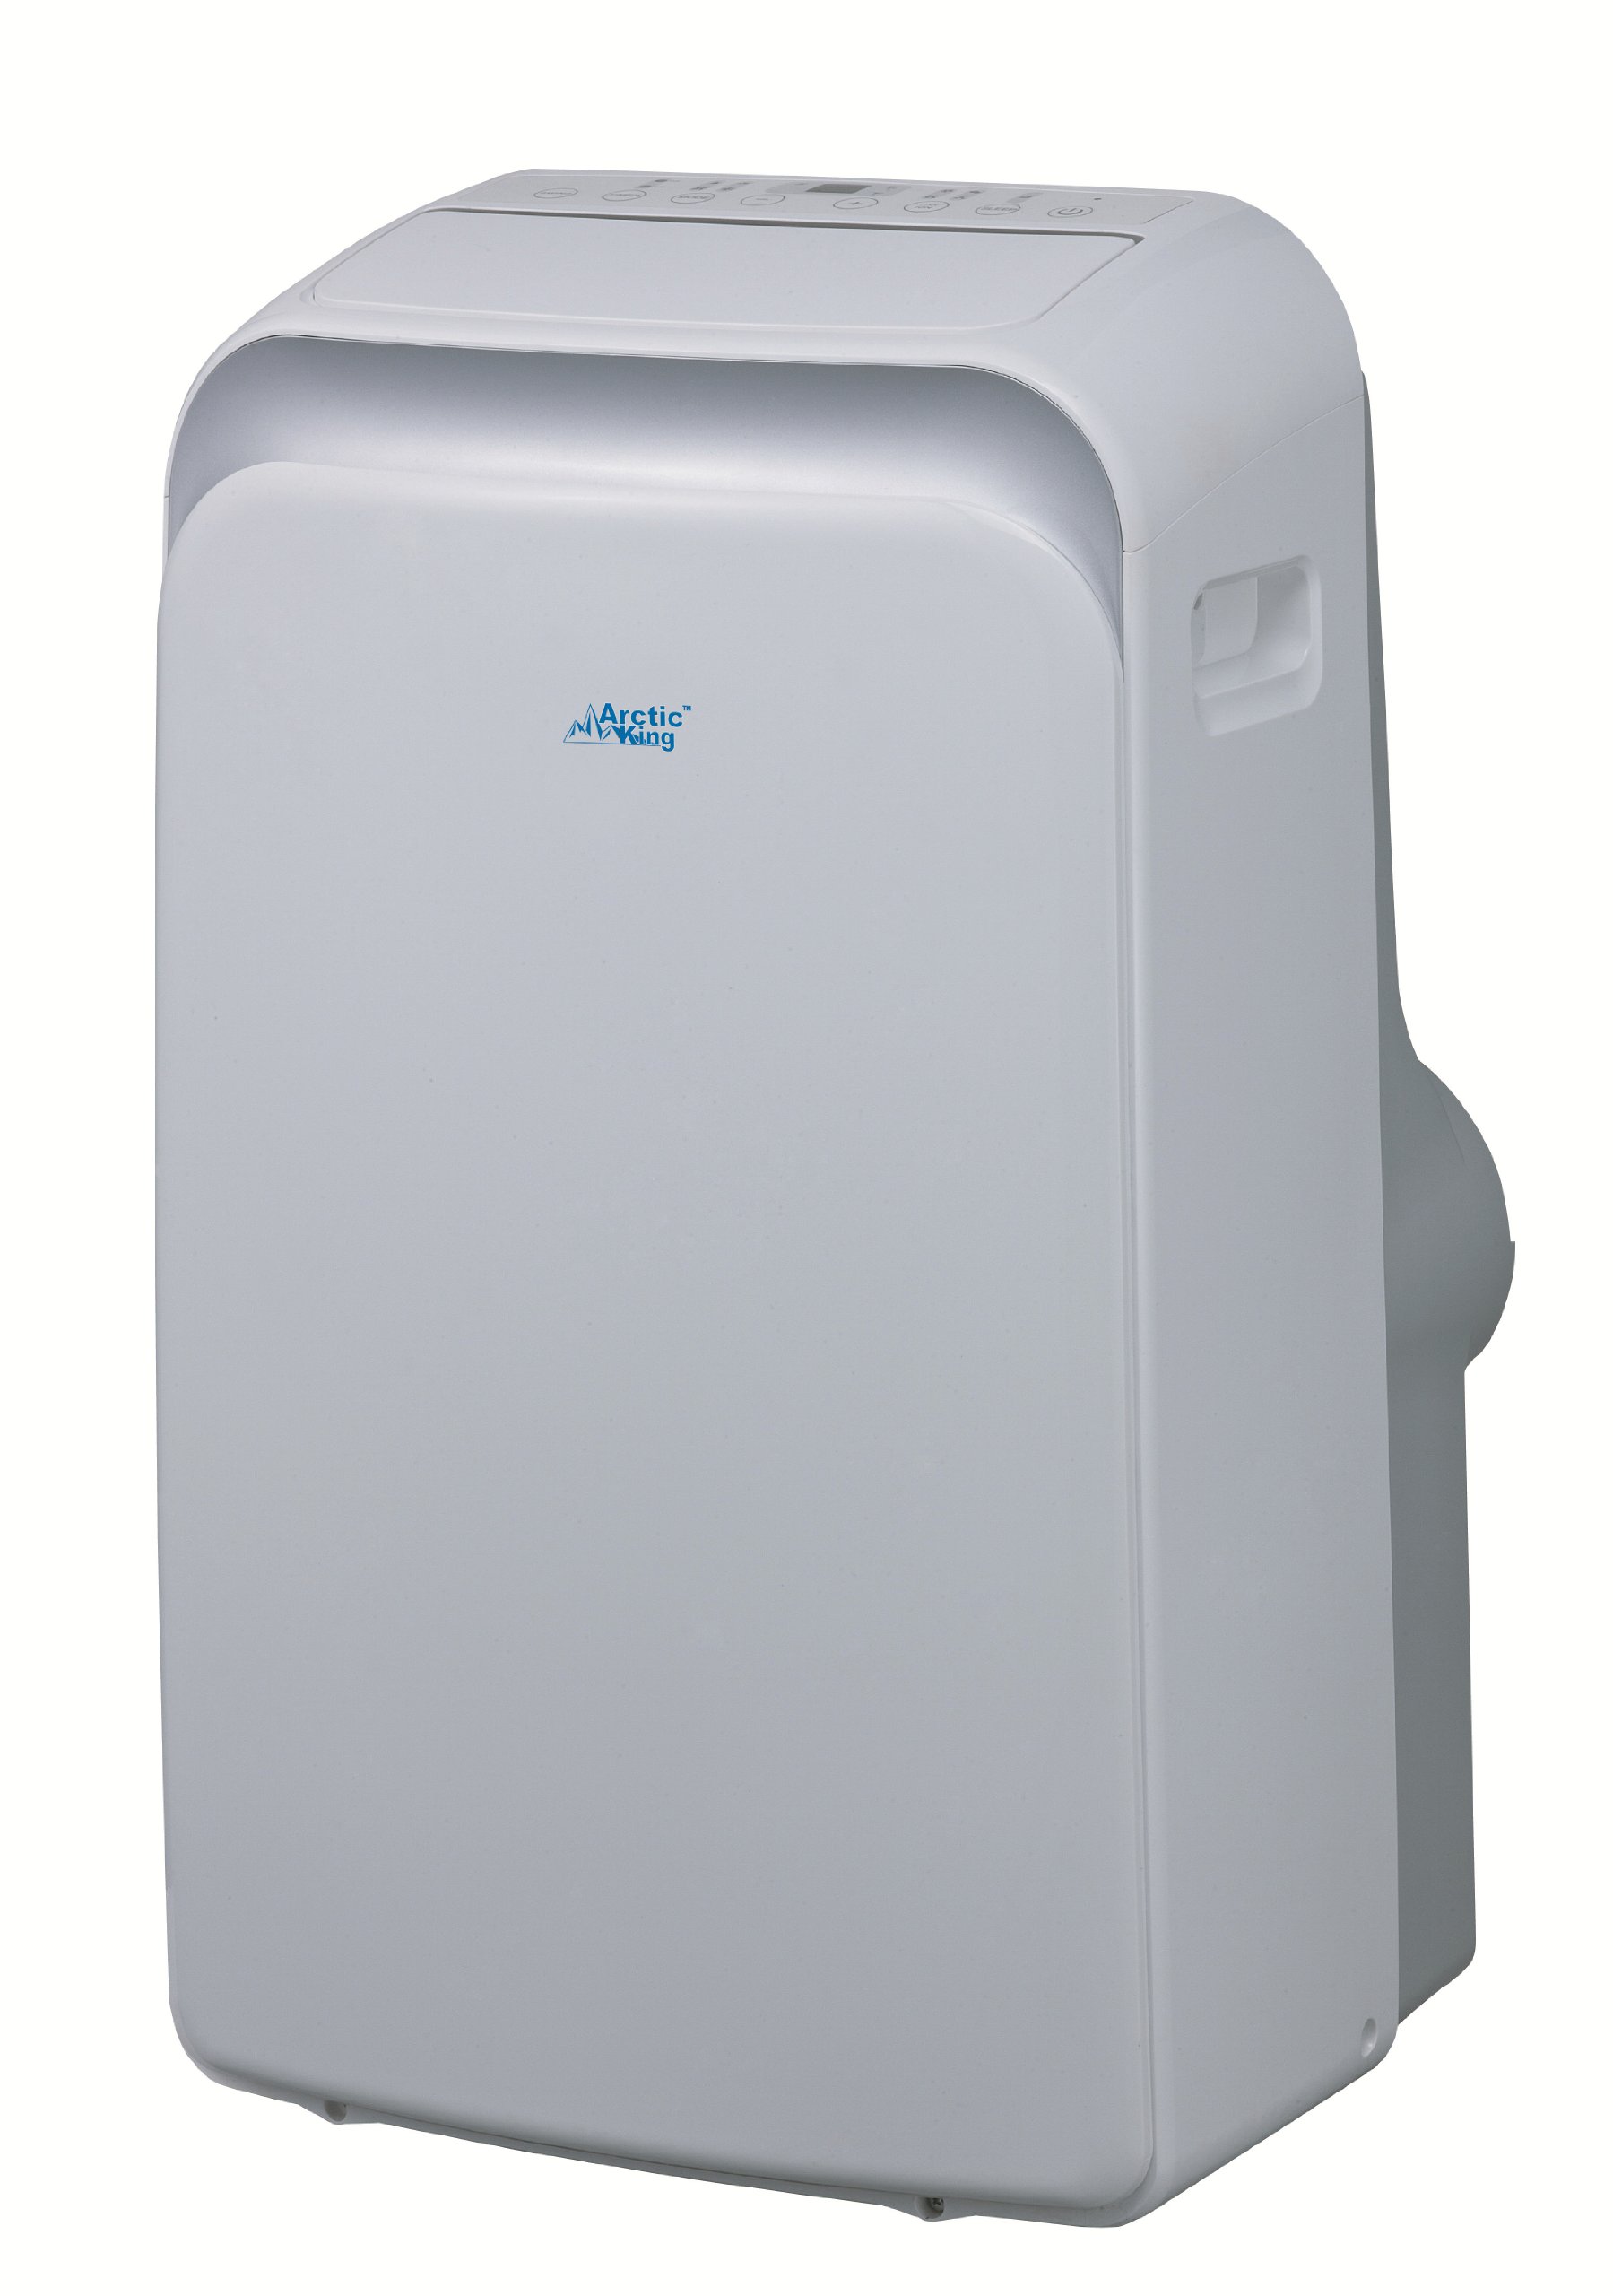
Obraz 1: Przód view of the Midea AKPD12CR4 Portable AC unit. The unit is white with a control panel on top and an air outlet at the front.
Główne składniki:
- Panel sterowania: Znajduje się na górze urządzenia i umożliwia obsługę ręczną.
- Wylot powietrza: Front-facing vent for cool air distribution.
- Wlot powietrza: Rear-facing vents for drawing in room air.
- Wylot powietrza wylotowego: Punkt podłączenia węża wydechowego.
- Port spustowy: Do usuwania skroplonej wody.
- Przewód zasilający: 110-Volt, UL rated.
- Zdalne sterowanie: Do wygodnej obsługi z odległości.
4. Konfiguracja i instalacja
The Midea AKPD12CR4 is designed for window installation to exhaust hot air. Ensure the unit is placed on a flat, stable surface near a grounded electrical outlet and a window.
4.1 Rozpakowanie
- Ostrożnie wyjmij urządzenie i wszystkie akcesoria z opakowania.
- Inspect the unit for any shipping damage. Report any damage to your retailer immediately.
- Zachowaj oryginalne opakowanie w celu przyszłego przechowywania lub transportu.
4.2 Montaż zestawu okiennego
- Assemble the window slider kit according to the instructions provided with the kit. Adjust its length to fit your window opening.
- Open the window and place the assembled window slider kit into the window opening. Secure it in place.
- Attach one end of the exhaust hose to the exhaust air outlet on the back of the AC unit.
- Attach the other end of the exhaust hose to the adapter on the window slider kit. Ensure both connections are secure to prevent hot air from re-entering the room.
- Position the unit at least 20 inches (50 cm) away from walls or other objects to ensure proper airflow.
4.3 Podłączenie elektryczne
- Plug the power cord into a dedicated, grounded 110-Volt, 60 Hz electrical outlet. Do not use extension cords or adapter plugs.
- The unit is UL rated for electrical safety.
5. Instrukcja obsługi
Your Midea AKPD12CR4 Portable AC can be operated using the control panel on the unit or the provided remote control.
5.1 Panel sterowania
- Przycisk zasilania: Naciśnij, aby włączyć lub wyłączyć urządzenie.
- Przycisk trybu: Cycle through cooling, fan, and dehumidify modes.
- Przyciski zwiększania/zmniejszania temperatury: Ustaw żądaną temperaturę.
- Przycisk prędkości wentylatora: Select low, medium, or high fan speed.
- Przycisk timera: Set a timer for automatic ON/OFF.
5.2 Pilot zdalnego sterowania
The remote control duplicates most functions of the control panel, allowing for convenient adjustments from a distance. Ensure there are no obstructions between the remote control and the unit's receiver.
5.3 tryby pracy
- Tryb chłodzenia: Provides cooling to the room. Set your desired temperature (e.g., 68°F - 86°F / 20°C - 30°C).
- Tryb wentylatora: Circulates air without cooling. Use for ventilation.
- Tryb osuszania: Zmniejsza wilgotność w pomieszczeniu. W tym trybie prędkość wentylatora jest zazwyczaj stała.
6. Konserwacja
Regular maintenance ensures optimal performance and extends the lifespan of your portable AC unit.
6.1 Czyszczenie filtra powietrza
- Odłącz urządzenie od gniazdka elektrycznego.
- Locate the air filter(s) on the back or side of the unit.
- Remove the filter(s) by sliding them out.
- Wash the filter(s) with warm, soapy water. Rinse thoroughly and allow to air dry completely before reinstalling. Do not expose to direct sunlight.
- Reinstall the dry filter(s) into the unit.
- Filtr powietrza należy czyścić co dwa tygodnie lub częściej, jeśli urządzenie jest używane w zapylonym środowisku.
6.2 Odprowadzanie wody
The unit has an internal self-evaporation system. However, in high humidity conditions, the water tank may fill up. When full, the unit will stop operating and display an error code (refer to troubleshooting). To drain:
- Odłącz urządzenie.
- Umieść płytką miskę lub tackę pod otworem odpływowym znajdującym się z tyłu dolnej części urządzenia.
- Wyjmij korek spustowy, aby umożliwić wypłynięcie wody.
- Po spuszczeniu płynu należy dokładnie zakręcić korek spustowy.
6.3 Przechowywanie
W przypadku przechowywania urządzenia przez dłuższy okres:
- Spuść całą skroploną wodę z urządzenia.
- Wyczyść filtr powietrza.
- Uruchom urządzenie na kilka godzin w trybie samego wentylatora, aby osuszyć wnętrze.
- Odłącz przewód zasilający i starannie go owiń.
- Przechowuj urządzenie w chłodnym i suchym miejscu, najlepiej w oryginalnym opakowaniu.
7. Rozwiązywanie Problemów
Przed skontaktowaniem się z obsługą klienta zapoznaj się z poniższą tabelą zawierającą informacje na temat typowych problemów i ich rozwiązań.
| Problem | Możliwa przyczyna | Rozwiązanie |
|---|---|---|
| Jednostka się nie włącza. | Brak zasilania; przewód zasilający odłączony; zadziałał wyłącznik automatyczny. | Upewnij się, że urządzenie jest podłączone do prądu; sprawdź wyłącznik automatyczny; naciśnij przycisk resetowania na wtyczce, jeśli jest to konieczne. |
| Urządzenie nie chłodzi. | Air filter dirty; exhaust hose not properly installed; room too large; doors/windows open. | Clean air filter; ensure exhaust hose is sealed; close doors/windows; check room size against unit capacity. |
| Urządzenie jest głośne. | Jednostka nie stoi na równej powierzchni; prędkość wentylatora jest zbyt wysoka. | Place unit on a flat surface; select a lower fan speed. |
| Z urządzenia wycieka woda. | Drain plug loose; unit tilted; internal water tank full. | Tighten drain plug; ensure unit is level; drain water from the unit. |
8. Specyfikacje
Key technical specifications for the Midea AKPD12CR4 Portable AC unit:
- Model: AKPD12CR4
- Wydajność chłodzenia: 12,000 BTU
- Moc: 110 wolty
- Ocena elektryczna: UL rated
- Energy Efficiency Rating (EER): 8.9
- Sezonowy współczynnik efektywności energetycznej (SEER): 13
- Poziom hałasu: 55 decybeli
- Chłodziwo: R410A
- Waga przedmiotu: 70 funtów
- Metoda sterowania: Zdalne sterowanie
- Kolor: Biały
- Typ instalacji: Okno (z dołączonym zestawem)
9. Gwarancja i obsługa klienta
For warranty information, please refer to the warranty card included with your product or visit the official Midea website. For technical assistance or customer support, please contact Midea customer service.
Więcej informacji i zasobów pomocy znajdziesz na stronie Midea Store on Amazon.