1. Koniec produktuview
The Lutron Maestro MS-OPS6M2N-DV-WH is an advanced occupancy/vacancy sensor switch designed to automatically control lighting in a room. This device utilizes passive infrared (PIR) technology to detect human motion and presence, ensuring lights are only on when needed. It combines the functionality of a standard light switch with an integrated motion sensor, offering convenience and energy savings.
Główne cechy:
- Passive infrared motion detection with Lutron XCT technology for fine motion sensing.
- 180-degree sensor field-of-view for comprehensive room coverage.
- Requires a neutral wire for installation.
- Occupancy version supports both auto-on/auto-off and manual-on/auto-off modes.
- Vacancy version is available to comply with CA Title 24 requirements.
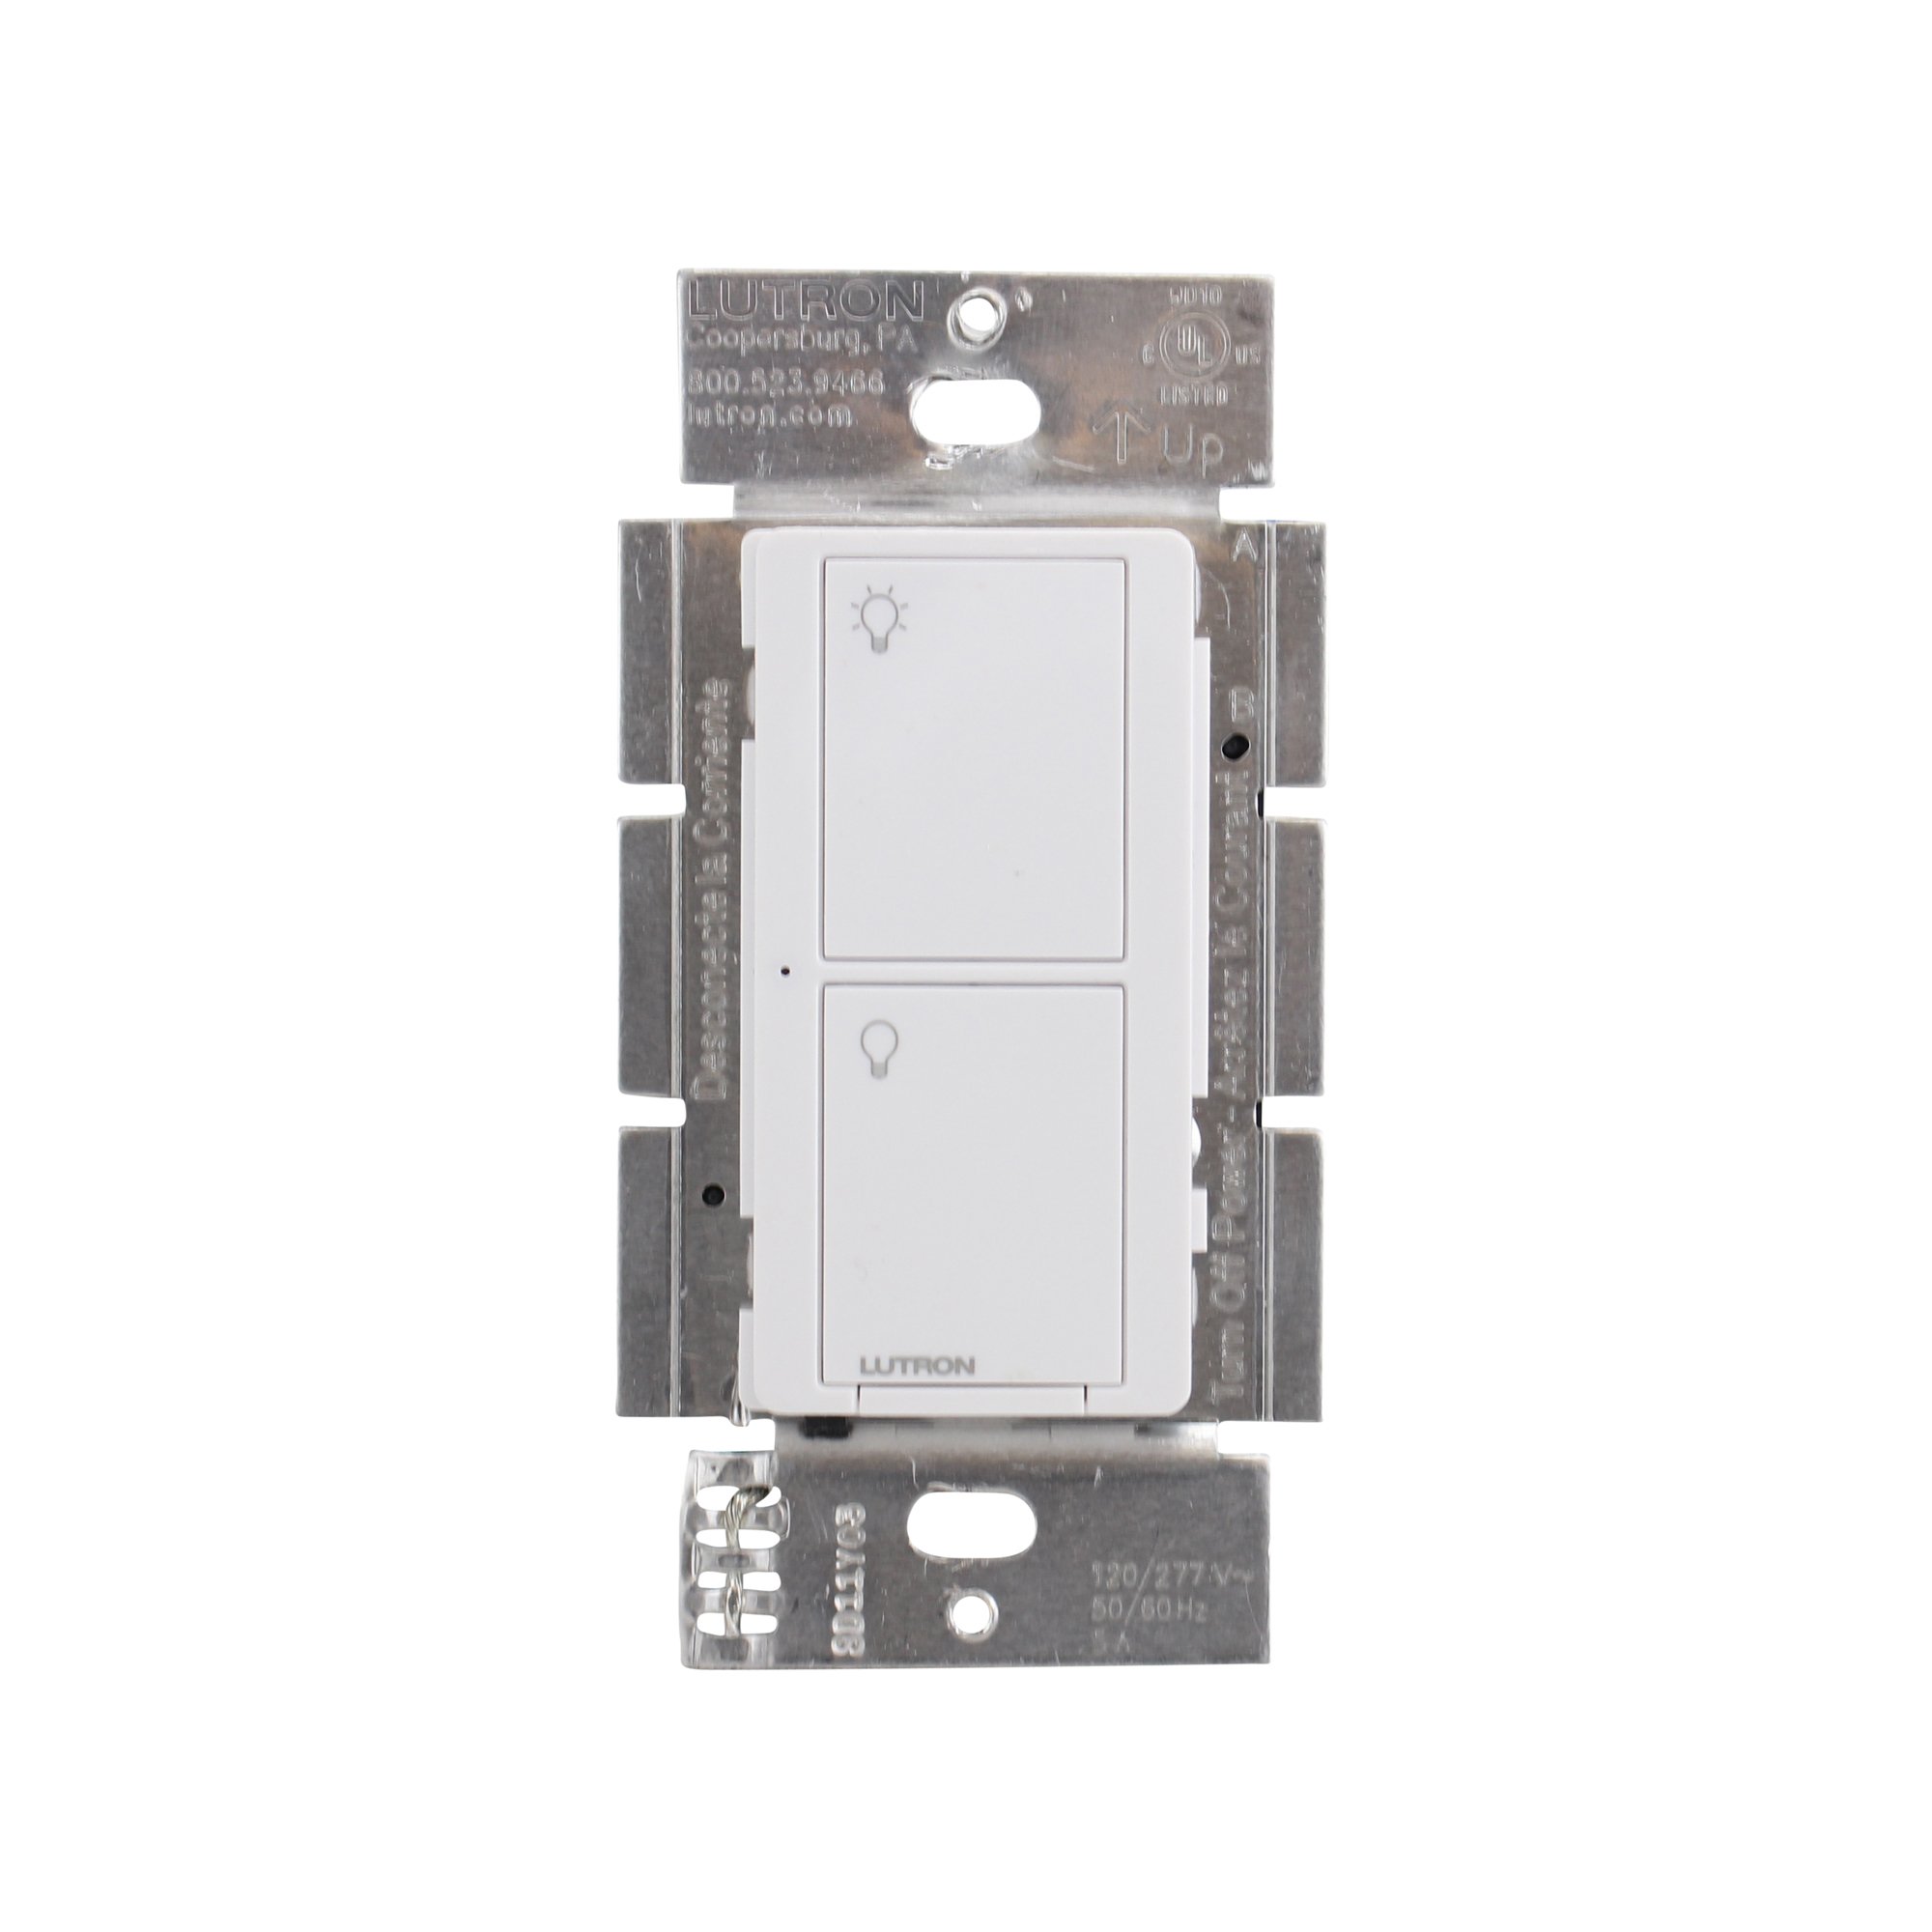
Rycina 1: Przód view of the Lutron Maestro MS-OPS6M2N-DV-WH sensor switch.
2. Konfiguracja i instalacja
Ważne informacje dotyczące bezpieczeństwa: Before beginning installation, turn off power at the circuit breaker or fuse box. Incorrect installation can lead to electrical shock or fire. If you are unsure about any part of these instructions, consult a qualified electrician.
Wymagane narzędzia: Screwdriver (Phillips and flathead), wire strippers, electrical tape.
2.1 instrukcje okablowania
- Wyłącz zasilanie: Znajdź wyłącznik sterujący przełącznikiem, który wymieniasz i wyłącz go. Sprawdź, czy zasilanie jest wyłączone, używając przełącznika woltowego.tagtester.
- Usuń istniejący przełącznik: Ostrożnie zdejmij płytkę ścienną i odkręć istniejący przełącznik od puszki ściennej. Odłącz przewody od starego przełącznika.
- Identyfikacja przewodów:
- Przewód pod napięciem (linia): Zwykle czarny, doprowadza zasilanie z wyłącznika automatycznego.
- Przewód obciążeniowy: Typically black, connects to the light fixture.
- Przewód neutralny: Typically white, required for this switch.
- Uziemienie: Zazwyczaj jest to goła miedź lub kolor zielony.
Note: If you are replacing a 3-way switch, you will also have traveler wires. This model supports 3-way circuits. Refer to the detailed wiring diagram for 3-way installations.
- Connect Wires to Maestro Switch:
- Połącz przewód uziemiający from the wall box to the green ground wire on the Maestro switch.
- Połącz przewód neutralny from the wall box to the white neutral wire on the Maestro switch.
- Połącz hot (line) wire I load wire from the wall box to the two black wires on the Maestro switch. If the light does not function correctly, swap these two black wires.
- For 3-way applications, connect the traveler wires as per the specific 3-way wiring diagram provided with the product packaging.
- Bezpieczny przełącznik: Carefully push the wired switch into the wall box, ensuring wires are not pinched. Screw the switch into place.
- Zainstaluj płytę ścienną: Attach the decorative wall plate.
- Przywróć zasilanie: Włącz ponownie zasilanie za pomocą wyłącznika.

Rysunek 2: Example wiring diagram for a single-pole installation. Consult the included manual for 3-way wiring.
3. Instrukcja obsługi
The Maestro sensor switch offers flexible operation modes to suit various needs.
3.1 Tryby działania
- Tryb zajętości (automatyczne włączanie/wyłączanie): In this mode, the lights automatically turn ON when motion is detected and automatically turn OFF after a set time delay when no motion is detected. This is ideal for high-traffic areas where hands-free operation is desired.
- Tryb wakatu (włączanie ręczne/wyłączanie automatyczne): In this mode, the lights must be manually turned ON by pressing the switch button. They will then automatically turn OFF after a set time delay when no motion is detected. This mode is often used to meet energy codes and provides more control over when lights are initially activated.
3.2 Dostosowywanie ustawień
The Maestro sensor switch typically has small buttons or dip switches behind the wall plate for adjusting settings such as:
- Opóźnienie czasowe: How long the lights remain on after the last detected motion (e.g., 1, 5, 15, 30 minutes).
- Wrażliwość: The level of motion required to trigger the sensor.
- Tryb pracy: Switching between Occupancy (Auto-On) and Vacancy (Manual-On) modes.
Refer to the detailed instructions included with your product for specific steps on how to access and adjust these settings.
4. Konserwacja
The Lutron Maestro sensor switch requires minimal maintenance to ensure optimal performance.
- Czyszczenie: To clean the surface of the switch, use a soft, damp ściereczką. Nie używaj środków czyszczących o działaniu ściernym, rozpuszczalników ani silnych środków chemicznych, ponieważ mogą one uszkodzić wykończenie lub elementy wewnętrzne.
- Przeszkoda czujnika: Ensure the sensor lens is not obstructed by furniture, curtains, or other objects that could block its field of view. A clear path to the sensor is crucial for accurate motion detection.
- Gromadzenie się pyłu: Periodically wipe the sensor lens to prevent dust accumulation, which can reduce sensitivity.
5. Rozwiązywanie Problemów
If you encounter issues with your Maestro sensor switch, refer to the following common troubleshooting steps:
- Lights do not turn ON automatically (Occupancy Mode):
- Verify the sensor's field of view nie jest zablokowana.
- Check the sensitivity setting; it might be too low.
- Ensure the switch is in Occupancy (Auto-On) mode.
- Confirm power is supplied to the switch.
- Lights do not turn OFF:
- Ensure there is no continuous motion within the sensor's range.
- Check the time delay setting; it might be set too long.
- Verify the switch is correctly wired, especially the load wire.
- Lights flicker or behave erratically:
- Confirm that a neutral wire is properly connected. This switch requires a neutral wire for stable operation.
- Sprawdź, czy wszystkie połączenia przewodów są solidne.
- If in a 3-way setup, ensure compatible companion switches are used and wired correctly.
- Przełącznik nie odpowiada:
- Turn off power at the circuit breaker for 15 seconds, then restore power. This can reset the switch.
- Sprawdź wszystkie połączenia przewodów pod kątem luzu i nieprawidłowego umiejscowienia.
If these steps do not resolve the issue, contact Lutron customer support for further assistance.
6. Specyfikacje
| Funkcja | Szczegół |
|---|---|
| Numer modelu | MS-OPS6M2N-DV-WH |
| Marka | Lutron |
| Tryb działania | Automatycznie |
| Typ kontaktu | Normalnie otwarty |
| Typ złącza | Zaciski śrubowe |
| Terminal | Śruba |
| Pozycja Wymiary (dł. x szer. x wys.) | 2.2 x 2.2 x 4.5 cala |
| Typ obwodu | 3-drożny |
| Typ siłownika | Naciśnij przycisk |
| Materiał kontaktowy | Miedź |
| Międzynarodowa Ocena Ochrony | IP54 |
| Metoda kontroli | Dotykać |
| Protokół łączności | Podczerwony |
| Kolor | Biały |
| Waga przedmiotu | 3.52 uncji |
| Wymagany przewód neutralny | Tak |
7. Filmy produktowe
7.1 Lutron Maestro Sensor Switch Overview
Wideo 1: Overview of the Lutron Maestro sensor switch features and benefits. This video provides a general introduction to the product's capabilities.
7.2 Advanced Features and Configuration
Video 2: A detailed look into the advanced features and configuration options of the Lutron Maestro sensor switch, including setting adjustments.
8. Informacje o gwarancji
Lutron products typically come with a limited warranty covering defects in materials and workmanship. For specific warranty terms and conditions applicable to your MS-OPS6M2N-DV-WH sensor switch, please refer to the warranty card included in the product packaging or visit the official Lutron webZachowaj dowód zakupu na wypadek roszczeń gwarancyjnych.
9. Obsługa klienta
For technical assistance, troubleshooting, or product inquiries, please contact Lutron customer support. You can find contact information on the official Lutron webstronie lub w dokumentacji produktu.
Zasoby internetowe:
- Odwiedź oficjalną stronę Lutron Store on Amazon Więcej produktów i informacji.
- Refer to the comprehensive FAQs and support documents available on the Lutron corporate webstrona.