Reloop AMS-RP-8000
Instrukcja obsługi gramofonu Reloop RP-8000 Advanced Hybrid Torque
Model: AMS-RP-8000
Wstęp
This user manual provides comprehensive instructions for the setup, operation, and maintenance of your Reloop RP-8000 Advanced Hybrid Torque Turntable. The RP-8000 combines traditional direct-drive turntable functionality with advanced digital control features, making it a versatile tool for DJs and audio enthusiasts.
Przed przystąpieniem do użytkowania urządzenia należy uważnie przeczytać niniejszą instrukcję, aby zapewnić jego prawidłowe użytkowanie oraz zmaksymalizować jego wydajność i żywotność.
Instrukcje bezpieczeństwa
- Upewnij się, że zasilanie jest zgodne z objtagwymagania określone dla jednostki.
- Nie wystawiaj urządzenia na działanie deszczu, wilgoci ani ekstremalnych temperatur.
- Unikać umieszczania urządzenia w pobliżu źródeł ciepła lub w bezpośrednim świetle słonecznym.
- Nie otwierać casing; wszelkie prace serwisowe należy zlecać wykwalifikowanemu personelowi.
- Always disconnect the power cable before cleaning or moving the unit.
- Przechowywać w miejscu niedostępnym dla dzieci.
Zawartość opakowania
Sprawdź, czy w opakowaniu znajdują się wszystkie elementy:
- Główna jednostka gramofonu
- Kabel zasilający
- Kabel USB
- RCA Cable (with ground wire)
- Slipmata
- Przeciwwaga
- Headshell (cartridge not included)
- Instrukcja obsługi (ten dokument)
Produkt ponadview
Familiarize yourself with the various components of your Reloop RP-8000 turntable.
Rysunek 1: Z góry na dół view of the Reloop RP-8000 turntable, showcasing the platter, tone arm, pitch fader, and MIDI control section with performance pads.

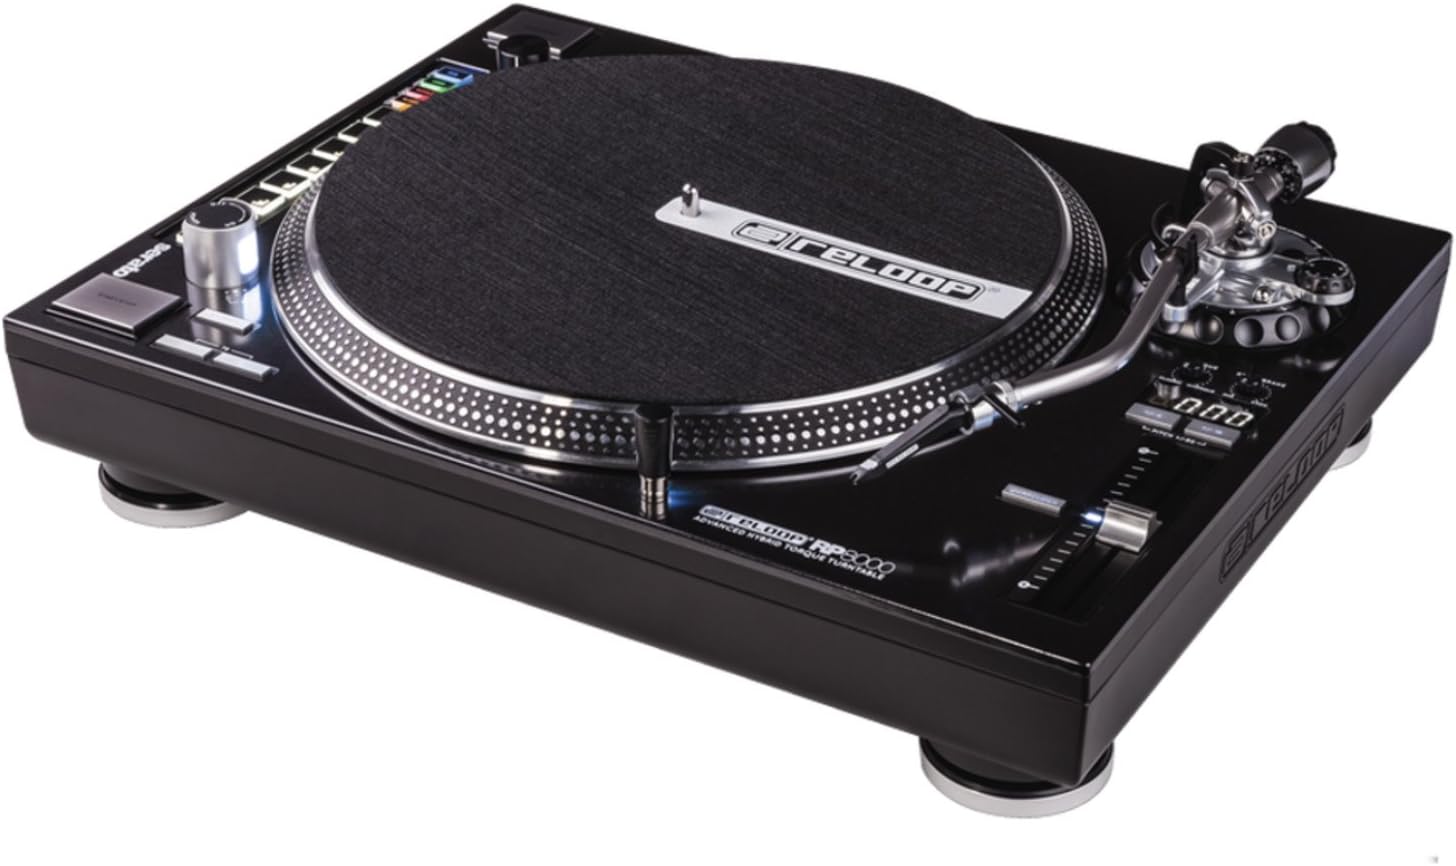
Rysunek 2: Kątowy view of the Reloop RP-8000, highlighting the robust construction, the illuminated platter edge, and the integrated MIDI controls on the left side.

Rysunek 3: Rear panel of the Reloop RP-8000, showing the audio output (Phono/Line), USB ports (USB A and TT Link), power input, and power switch. Note the additional start/stop button for vertical setup.
Kluczowe komponenty:
- Talerz: Obrotowa powierzchnia, na której umieszczane są płyty.
- Ramię gramofonu: Holds the cartridge and stylus, tracking the record's grooves.
- Tłumik Pitch: Adjusts the playback speed (BPM).
- Przyciski Start/Stop: Controls platter rotation. An additional button is provided for battle setup.
- MIDI Control Section: Features a Trax encoder, 8 backlit drum pads, and mode selection buttons for software control.
- Phono/Line Output: RCA jacks for audio output, with a switch to select between phono (turntable level) and line (mixer/amp level) output.
- Porty USB: For connecting to a computer and linking multiple turntables.
Organizować coś
1. Rozpakowanie i ustawienie
- Ostrożnie wyjmij gramofon z opakowania.
- Place the unit on a stable, level surface away from direct vibrations.
- Należy zapewnić odpowiednią wentylację wokół urządzenia.
2. Tone Arm and Cartridge Assembly
- Attach your preferred headshell and cartridge (sold separately) to the tone arm.
- Install the counterweight onto the rear of the tone arm.
- Adjust the counterweight to balance the tone arm horizontally. Refer to your cartridge's instructions for recommended tracking force.
- Ustaw pokrętło antyskatingu tak, aby odpowiadało sile nacisku.
3. Połączenia
- Połączenie audio: Connect the RCA cables from the turntable's PHONO/LINE output to your mixer or ampliyfikator.
- If connecting to a PHONO input on your mixer/amp, set the turntable's PHONO/LINE switch to FON.
- If connecting to a LINE input, set the turntable's PHONO/LINE switch to LINIA.
- Connect the ground wire to the ground terminal on your mixer/amp to reduce hum.
- Połączenie USB: Connect the USB cable from the turntable's USB port to your computer for MIDI control and DVS (Digital Vinyl System) functionality.
- Turntable Link (TT Link): For linking multiple RP-8000 units, connect them in series using standard USB cables. Only one turntable needs to be connected to the computer.
- Podłączenie zasilania: Connect the power cable to the turntable and then to a suitable power outlet.
Instrukcja obsługi
1. Podstawowe odtwarzanie
- Place a record on the platter and put the slipmat on top.
- Select the desired speed (33, 45, or 78 RPM) using the speed selection buttons.
- Naciśnij przycisk START/STOP, aby rozpocząć obrót talerza.
- Carefully lower the tone arm onto the record using the cue lever.
- Adjust the pitch using the pitch fader as needed.
2. Kontrola wysokości dźwięku
- The pitch fader allows for precise adjustment of playback speed.
- Use the Pitch Range buttons (+/-8%, +/-16%, +/-50%) to select the desired pitch adjustment range.
- The LCD display shows the current pitch percentage.
- Press the Quartz Lock button to return the pitch to 0% (nominal speed).
3. MIDI Control and Performance Modes
The RP-8000 features an integrated MIDI control section for seamless integration with DJ software.
- Trax Encoder: Use this large encoder to browse through playlists and load tracks in your DJ software.
- Pady wydajnościowe: The 8 backlit drum pads offer various performance modes:
- Tryb Hot Cue: Trigger up to 8 hot cue points.
- Tryb pętli: Set and trigger loops.
- SampTryb pliku: Access and play samples.
- Tryb użytkownika: Freely assign MIDI functions to the pads and other control elements.
- Dual Performance Mode: Activate two modes simultaneously (e.g., Hot Cue and Loop) by pressing their respective buttons. The pads will be split to control both functions.
- Turntable Link Mode: Connect up to four RP-8000 turntables via USB. The units automatically assign themselves to available decks in your DJ software, requiring only one USB connection to your computer.
- Przycisk cofania: Instantly reverses platter rotation.
- Adjustable Start/Stop Time: Use the dedicated dials to fine-tune the platter's start and brake times for customized performance.
Konserwacja
- Czyszczenie: Do przecierania urządzenia użyj miękkiej, suchej ściereczki. W przypadku uporczywych zabrudzeń, delikatnie przetrzyj.amp cloth can be used, but ensure no liquid enters the unit. Avoid abrasive cleaners.
- Pielęgnacja rysika: Regularly clean your stylus with a soft brush designed for this purpose. Replace the stylus when it shows signs of wear to prevent damage to your records.
- Osłona przeciwpyłowa: Use a dust cover (if available) when the turntable is not in use to protect it from dust and debris.
Rozwiązywanie problemów
| Problem | Możliwa przyczyna | Rozwiązanie |
|---|---|---|
| Brak dźwięku lub niska głośność | Incorrect PHONO/LINE switch setting; loose RCA cables; faulty cartridge/stylus. | Ensure PHONO/LINE switch matches input; check cable connections; inspect/replace cartridge/stylus. |
| Brzęczący hałas | Ground wire not connected; interference from other electronics. | Connect ground wire to mixer/amp; move turntable away from other electronic devices. |
| Talerz się nie obraca | Power not connected; power switch off; START/STOP button not pressed. | Check power cable; ensure power switch is ON; press START/STOP button. |
| MIDI controls not responding | USB cable not connected; incorrect software settings; outdated firmware. | Ensure USB cable is connected; check DJ software MIDI settings; update turntable firmware if available. |
Jeśli po wypróbowaniu tych rozwiązań problem nadal występuje, skontaktuj się z obsługą klienta Reloop.
Specyfikacje
| Funkcja | Szczegół |
|---|---|
| Nazwa modelu | RP-8000 MK2 (AMS-RP-8000) |
| Typ silnika | AC Motor, Quartz-driven Direct Drive |
| Waga przedmiotu | 22 funta (ok. 9.98 kg) |
| Wymiary produktu (dł. x szer. x wys.) | 20.66 x 16.53 x 7.48 cala (ok. 52.5 x 42 x 19 cm) |
| Technologia łączności | Wired (RCA, USB 2.0) |
| Źródło zasilania | Elektryczny przewodowy |
| Tomtage | 220 Volts (Note: Check specific unit for local voltag(zgodność) |
| Interfejs sprzętowy | USB 2.0 |
| Kompatybilne urządzenia | Komputer osobisty |
| Format sygnału | Cyfrowy |
Gwarancja i wsparcie
For information regarding warranty coverage, please refer to the warranty card included with your product or visit the official Reloop website. Reloop offers various protection plans for extended coverage, which may be purchased separately.
For technical support, troubleshooting assistance beyond this manual, or spare parts, please contact Reloop customer service through their official weblub autoryzowanych dystrybutorów. Zachowaj paragon jako dowód zakupu na wypadek roszczeń gwarancyjnych.
Notatka: The user manual (PDF) is also available for download at https://m.media-amazon.com/images/I/B1bKfMgyFpS.pdf.