
1. Wprowadzenie
This manual provides detailed instructions for the installation, operation, maintenance, and troubleshooting of the GeoVision GV-NVR 16-Channel Software, Model GV-NR030. This software is designed for robust surveillance recording and management, supporting both GeoVision and various third-party IP cameras.
Please read this manual thoroughly before using the software to ensure proper setup and optimal performance. Keep this manual for future reference.
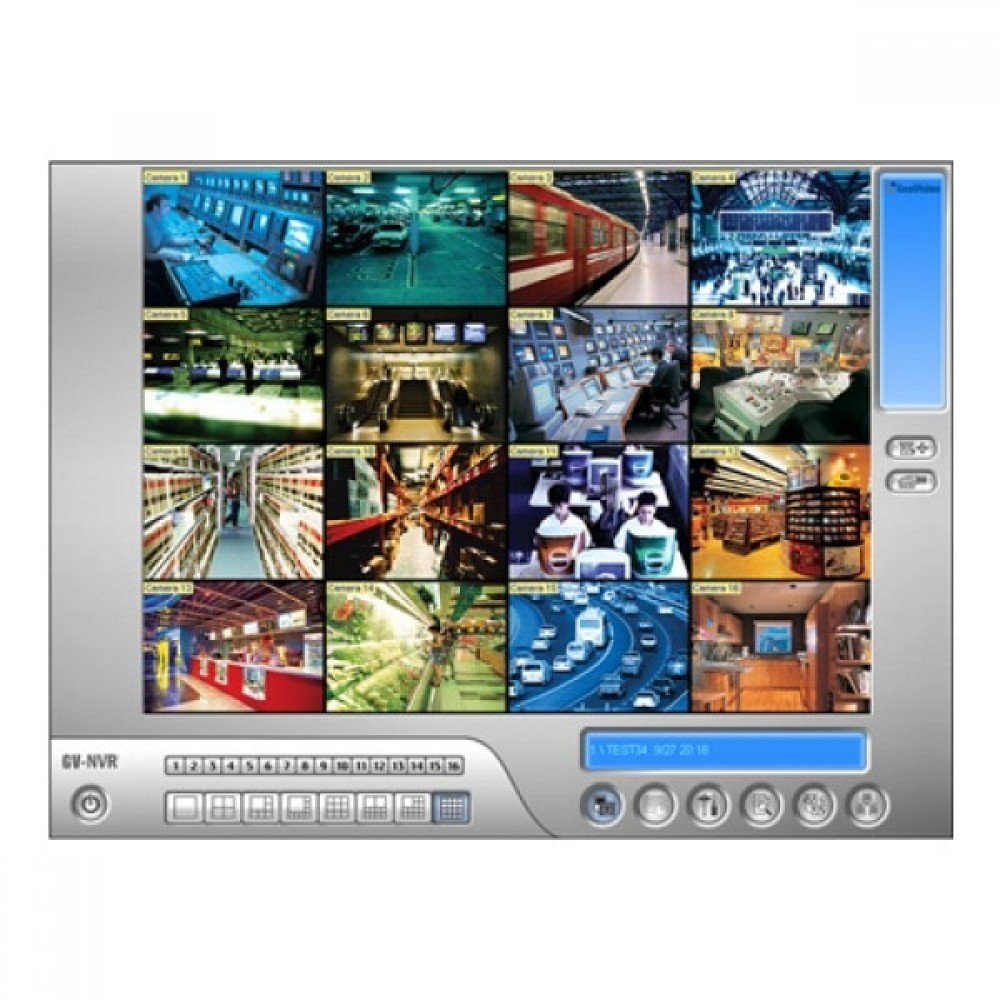
Figure 1.1: GeoVision GV-NVR Software Interface. This image displays the main graphical user interface of the GV-NVR software, showing typical camera views and control panels.
2. Informacje dotyczące bezpieczeństwa
Observe the following safety guidelines to prevent damage to your system and ensure data integrity:
- Ensure your operating system is up-to-date with the latest security patches.
- Use strong, unique passwords for all user accounts within the GV-NVR software and connected cameras.
- Regularly back up your configuration files and recorded data to prevent loss.
- Install the software on a dedicated and secure computer system.
- Avoid installing unauthorized software on the same system as the GV-NVR to prevent conflicts.
3. Wymagania systemowe
To ensure optimal performance of the GV-NVR software, your system should meet or exceed the following specifications:
- System operacyjny: Windows 7 / 8 / 10 (64-bit recommended)
- Edytor: Intel Core i5 or equivalent (Intel Core i7 or higher recommended for 16 channels)
- BARAN: 8 GB (16 GB or more recommended)
- Karta graficzna: Integrated or dedicated graphics card with DirectX 9.0c support
- Dysk twardy: Minimum 500 GB for system and software installation, with additional storage recommended for video recordings (e.g., 2 TB or more, depending on recording duration and camera count).
- Sieć: Gigabit Ethernet adapter for reliable IP camera connectivity.
4. Konfiguracja
4.1. Instalacja oprogramowania
- Insert the GV-NVR software installation disc into your computer's optical drive, or download the installer from the official GeoVision webstrona.
- Locate and double-click the `setup.exe` file aby rozpocząć proces instalacji.
- Follow the on-screen prompts. Accept the End User License Agreement (EULA).
- Select the desired installation directory. It is recommended to use the default path.
- Choose the components to install. Ensure "GV-NVR Server" and "GV-NVR Client" are selected.
- Click "Install" to proceed. The installation may take several minutes.
- Once the installation is complete, click "Finish" and restart your computer if prompted.
4.2. Wstępna konfiguracja
- After restarting, launch the GV-NVR software from your desktop shortcut or Start Menu.
- The first launch may prompt you to set up an administrator password. Create a strong password and keep it secure.
- Configure basic network settings, ensuring the NVR server can communicate with your IP cameras.
- Define storage locations for recordings. It is recommended to use a dedicated hard drive for video storage.
5. Obsługa
5.1. Interfejs oprogramowaniaview
The GV-NVR interface typically consists of a live view panel, a camera list, control buttons for recording and playback, and a system status area. Familiarize yourself with these components for efficient operation.
5.2. Adding IP Cameras
- Navigate to the "Camera Management" or "Device Search" section within the software.
- The software can automatically scan your network for compatible IP cameras. Alternatively, you can manually add cameras by entering their IP address, port, username, and password.
- Select the camera protocol (e.g., ONVIF, RTSP, or specific GeoVision protocols).
- Configure video stream settings (resolution, frame rate, compression) for each camera.
- Test the connection to ensure the camera feed is displayed correctly.
5.3. Zarządzanie nagraniami
- Ciągłe nagrywanie: Set cameras to record continuously.
- Nagrywanie z wykrywaniem ruchu: Configure motion detection zones and sensitivity for event-triggered recording.
- Zaplanowane nagrywanie: Define specific time schedules for recording.
- Nagrywanie ręczne: Start and stop recordings manually from the live view interfejs.
5.4. Na żywo View
Access the "Live View" tab to monitor real-time feeds from all connected cameras. You can customize the layout to display multiple cameras simultaneously.
5.5. Odtwarzanie
Use the "Playback" function to review nagrano footage. Select the desired camera, date, and time to access recordings. Features include fast-forward, rewind, frame-by-frame review, and export options.
6. Konserwacja
6.1. Aktualizacje oprogramowania
Regularly check for software updates from the GeoVision website. Updates often include performance enhancements, bug fixes, and new features. Follow the provided instructions for applying updates.
6.2. Kopia zapasowa danych
It is crucial to back up your GV-NVR configuration settings and critical recorded footage. Use the software's built-in backup utility or external backup solutions to safeguard your data.
6.3. Wydajność systemu
- Ensure sufficient free disk space on your recording drives.
- Periodically defragment your hard drives (if using HDD).
- Monitor CPU and RAM usage to ensure the system is not overloaded.
- Aktualizuj system operacyjny i sterowniki.
7. Rozwiązywanie Problemów
- Software Not Starting: Check system requirements, ensure no conflicting software is running, and try reinstalling.
- Kamera nie łączy się: Verify IP address, port, username, and password. Ensure the camera is powered on and connected to the network. Check firewall settings.
- Nie wolno robić nagrań: Confirm recording schedules are active, motion detection is configured correctly, and there is sufficient disk space.
- Słaba jakość wideo: Check camera resolution and frame rate settings. Ensure network bandwidth is adequate.
- Opóźnienie systemu: Reduce video stream quality, upgrade hardware, or reduce the number of active cameras if the system is overloaded.
8. Specyfikacje
| Funkcja | Szczegół |
|---|---|
| Numer modelu | GV-NR030 |
| Typ produktu | NVR Software |
| Obsługiwane kanały | 16 (for GeoVision and 3rd Party IP Cameras) |
| Zgodność | GeoVision and 3rd Party IP Cameras |
| Opis | GV-NVR for 3rd party IP cameras - 2 CH (Base License) |
| Wymiary opakowania | 9.7 x 7.8 x 2 cala |
| Waga przedmiotu | 10.4 uncji |
| ASIN | B00DGH8JAM |
| Producent | Geowizja |
| Data pierwszej dostępności | 30 czerwca 2012 r. |
9. Informacje o gwarancji
GeoVision provides a limited warranty for its software products. For detailed information regarding warranty terms, conditions, and duration, please refer to the official GeoVision website or the warranty documentation included with your software purchase. Keep your proof of purchase for warranty claims.
10. Obsługa klienta
If you encounter any issues or have questions not covered in this manual, please contact GeoVision customer support. Support resources, including FAQs, knowledge bases, and contact information, are available on the official GeoVision webstrona:
- Webstrona: www.geovision.com.tw (Please check for your regional support contact information)
- Wsparcie techniczne: Zapoznaj się z sekcją pomocy technicznej na stronie webstrona z numerami telefonów i adresami e-mail.