Keystone KSTAD70B
Keystone KSTAD70B 70-Pint Dehumidifier User Manual
1. Wprowadzenie
This manual provides essential information for the safe and efficient operation of your Keystone KSTAD70B 70-Pint Dehumidifier. This unit is designed to remove up to 70 pints of moisture from the air daily, suitable for rooms up to 4500 square feet. Key features include electronic controls with an LED display, a 24-hour timer, a transparent water level indicator, and a full bucket alert with automatic shutoff. It also offers a continuous draining option and a removable, easy-to-clean dust filter with a clean-filter alert. The auto-restart function preserves your settings after a power outage, and rolling casters facilitate easy movement.
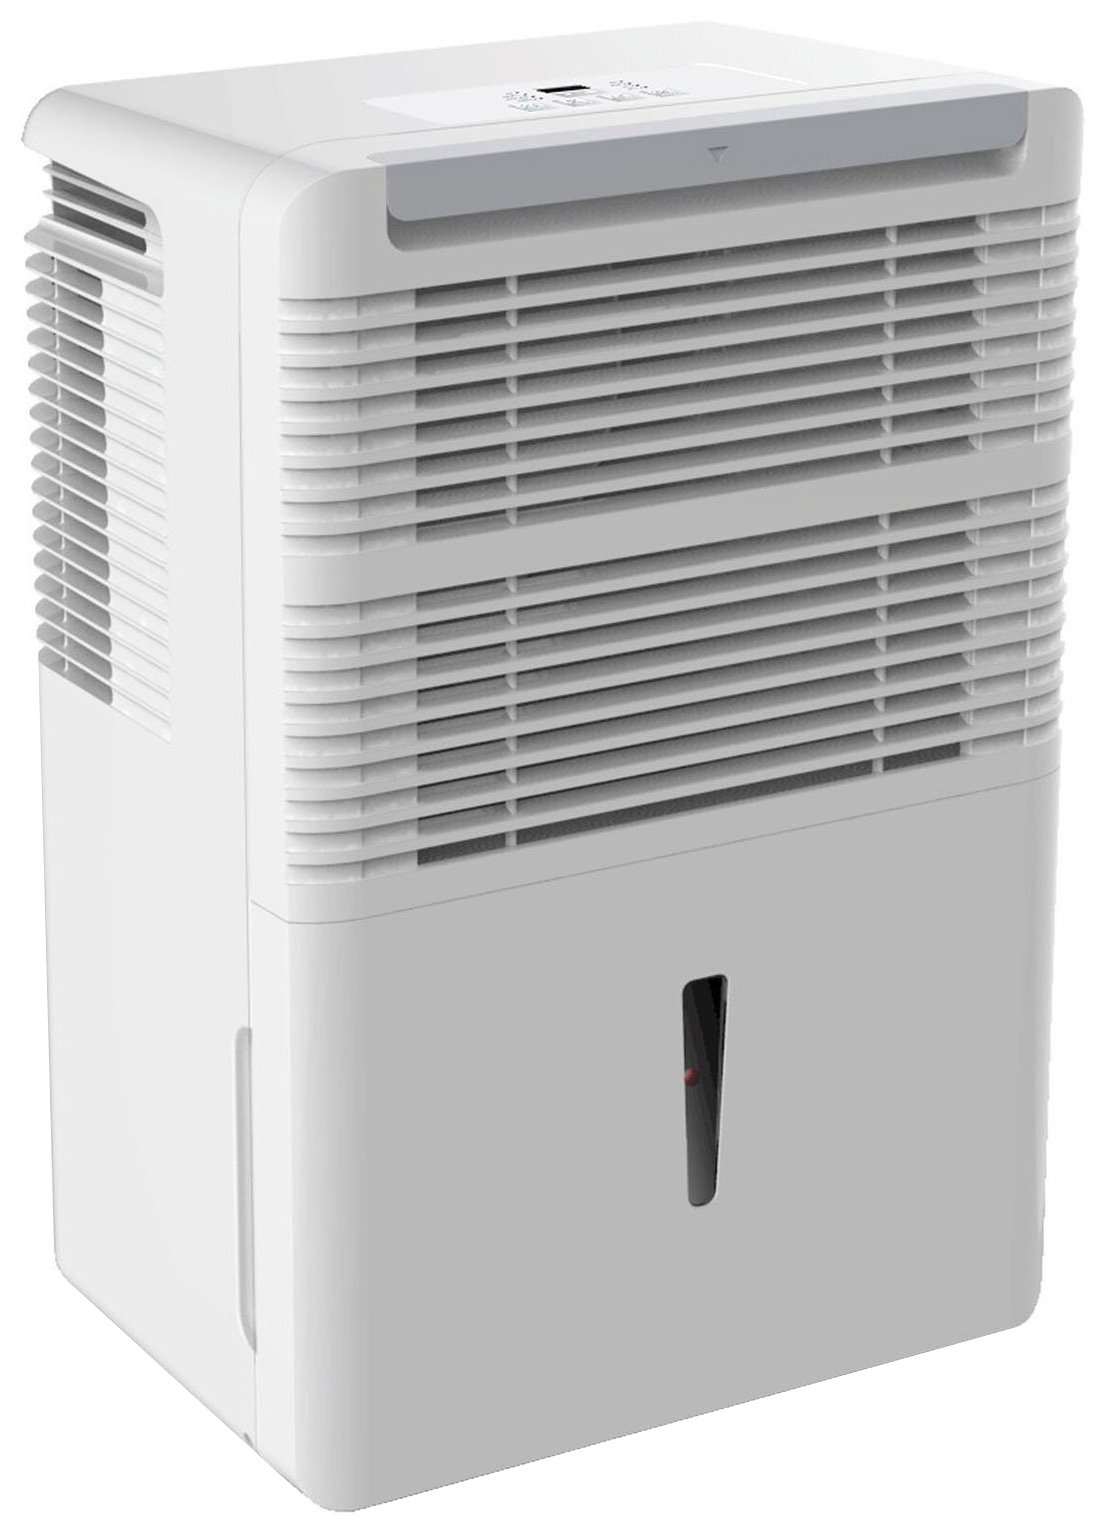
Rycina 1: Przód view of the Keystone KSTAD70B Dehumidifier.
2. Informacje dotyczące bezpieczeństwa
Please read all safety instructions before operating the dehumidifier to prevent injury or damage. Keep this manual for future reference.
- Always connect the unit to a properly grounded electrical outlet of the correct voltage.
- Nie używaj urządzenia z uszkodzonym przewodem zasilającym lub wtyczką.
- Ensure adequate clearance (at least 12-18 inches) around the air intake and outlet to prevent overheating and ensure efficient operation.
- Nie blokuj otworów wentylacyjnych.
- Nie należy używać osuszacza powietrza w pobliżu wody ani w miejscach o dużej wilgotności.
- Przed czyszczeniem lub jakąkolwiek konserwacją należy odłączyć urządzenie od zasilania.
- Urządzenie to nie jest przeznaczone do użytku przez osoby (w tym dzieci) o ograniczonej sprawności fizycznej, sensorycznej lub umysłowej, a także osoby nieposiadające odpowiedniego doświadczenia lub wiedzy, chyba że znajdują się one pod nadzorem osoby odpowiedzialnej za ich bezpieczeństwo lub otrzymały od niej instrukcje dotyczące korzystania z urządzenia.
- Nie należy używać rozpuszczalników chemicznych ani środków czyszczących o właściwościach ściernych podczas czyszczenia urządzenia.
3. Konfiguracja i rozmieszczenie
3.1 Rozpakowanie
Ostrożnie wyjmij osuszacz powietrza z opakowania. Zachowaj materiały opakowaniowe do późniejszego przechowywania lub transportu. Sprawdź urządzenie pod kątem uszkodzeń powstałych podczas transportu.
3.2 Umieszczenie
For optimal performance, place the dehumidifier in a location where air can circulate freely around it. The unit circulates air from the sides, not the top. Therefore, avoid placing it directly in a corner or against walls. Maintain a minimum clearance of 12-18 inches (30-45 cm) on all sides to ensure proper airflow.
3.3 Pierwsze włączenie zasilania
Podłącz przewód zasilający do uziemionego gniazdka elektrycznego. Urządzenie jest teraz gotowe do pracy.
4. Instrukcja obsługi
4.1 Panel sterowania ponadview

Figure 2: Control panel of the Keystone KSTAD70B Dehumidifier.
The control panel features an LED display and various buttons for setting the dehumidifier's functions:
- Przycisk zasilania: Włącza lub wyłącza urządzenie.
- Przycisk wentylatora: Adjusts fan speed (typically Low, Medium, High).
- Przycisk timera: Ustawia 24-godzinny timer włączania/wyłączania.
- Strzałki w górę/w dół: Adjust humidity level settings or timer duration.
- Wskaźnik filtra: Zapala się, gdy filtr powietrza wymaga czyszczenia.
- Pełny wskaźnik: Zapala się, gdy wiadro z wodą jest pełne i należy je opróżnić.
- Wskaźnik ciągły: Illuminates when the unit is set for continuous operation.
- Tryb turbo: Activates maximum dehumidification.
- Tryb normalny: Standardowa operacja osuszania.
- Automatyczne rozmrażanie: Automatically defrosts the coils if ice builds up.
4.2 Ustawianie pożądanego poziomu wilgotności
Press the Up or Down arrow buttons to set your desired humidity level. The unit will operate until the set humidity is reached, then cycle on and off to maintain it. The recommended humidity range for comfort is typically between 45% and 55%.
4.3 Praca ciągła
To run the dehumidifier continuously, select the 'Cont.' setting. In this mode, the unit will operate regardless of the ambient humidity level. Note that when continuous operation is selected, the humidity setpoint buttons will not respond.
4.4 Funkcja timera
Use the Timer button to program the unit to turn on or off automatically after a set number of hours (up to 24 hours).
4.5 Automatyczne ponowne uruchomienie
The unit features an auto-restart function that saves your settings. In the event of a power outage, the dehumidifier will automatically resume operation with the last settings once power is restored.
5. Konserwacja
Regularna konserwacja gwarantuje optymalną wydajność i długą żywotność osuszacza powietrza.
5.1 Opróżnianie wiadra z wodą
When the water bucket is full, the 'Full' indicator light will illuminate, and the unit will automatically shut off. Carefully remove the bucket and empty the collected water. Reinsert the bucket firmly until it clicks into place to resume operation.

Rysunek 3: Wyjmowanie pojemnika na wodę.

Figure 4: Transparent water level indicator.
5.2 Opcja ciągłego odprowadzania wody
For continuous operation without emptying the bucket, you can connect a standard garden hose (not included) to the unit's low-level drain. The unit includes an adapter with a clear hose that pushes onto a smooth plastic fitting inside the unit. This adapter has male hose threads for attaching a garden hose. Ensure the hose is routed downwards to a suitable drain to allow gravity to remove the water.
5.3 Czyszczenie filtra powietrza
The 'Filter' indicator light will remind you when it's time to clean the air filter. A clean filter ensures efficient operation and better air quality. To clean, lift the filter straight up from the top at the front corner of the unit and slide it out. Wash the filter with warm, soapy water, rinse thoroughly, and allow it to air dry completely before reinserting.

Rysunek 5: Wyjmowanie filtra powietrza w celu czyszczenia.
6. Rozwiązywanie Problemów
Przed skontaktowaniem się z pomocą techniczną wypróbuj poniższe typowe czynności rozwiązywania problemów:
| Problem | Możliwa przyczyna | Rozwiązanie |
|---|---|---|
| Osuszacz powietrza nie włącza się. | No power; power cord loose; 'Full' indicator on. | Check power supply; ensure cord is plugged in; empty water bucket. |
| Urządzenie działa, ale nie osusza powietrza. | Air filter clogged; room temperature too low; unit size too small for area. | Clean air filter; ensure room temperature is above 41°F (5°C); consider unit placement. |
| Urządzenie jest głośne. | Jednostka nie jest wypoziomowana; wentylator jest zablokowany. | Place on a flat, stable surface; check for obstructions in fan area. |
| Z urządzenia wycieka woda. | Water bucket not properly seated; continuous drain hose loose or clogged. | Ensure bucket is fully inserted; check continuous drain hose connection and clear any blockages. |
7. Specyfikacje
| Funkcja | Szczegół |
|---|---|
| Marka | Zwornik |
| Nazwa modelu | KSTAD70B |
| Wydajność osuszania | 70 pint dziennie |
| Zalecany rozmiar pokoju | Do 4500 stóp kwadratowych |
| Kolor | Biały |
| Cechy specjalne | Automatic Restart, Automatic Shutoff |
| Liczba prędkości | 3 |
| Tryb działania | Normal, Turbo, Auto-Defrost |
| Cotage | 720 watów |
| Waga przedmiotu | 40 funtów |
| Wymiary produktu (dł. x szer. x wys.) | 11.25 x 15.5 x 23.25 cala |
| Zalecane zastosowania | Mieszkaniowy |
8. Informacje o gwarancji
The Keystone KSTAD70B Dehumidifier comes with a 1-letnia gwarancja on parts and labor, and a ograniczona 5-letnia gwarancja on the sealed system. Please refer to the physical warranty card included with your product for full terms and conditions.
9. Obsługa klienta
For product registration, warranty claims, or technical assistance, please refer to the contact information provided in the physical instruction manual that came with your dehumidifier. Online registration or direct manufacturer contact information may not be readily available; therefore, retaining your original manual is important for support inquiries.