1. Wprowadzenie
The Polaroid PLRTC18 Shutter Release Timer Remote Control is designed to provide precise control over your camera's shutter, enabling advanced photographic techniques such as time-lapse, long exposures, and delayed shots. This device connects directly to your compatible Canon DSLR camera via a dedicated cable, allowing you to program various timing functions with accuracy.

Figure 1.1: User operating the PLRTC18 remote control with a camera on a tripod.
Please read this manual thoroughly to understand the features and proper operation of your new remote control.
2. Zawartość opakowania
- Polaroid PLRTC18 Shutter Release Timer Remote Control
- Camera Connection Cables (2 types for broad compatibility)
- Instrukcja obsługi
- Baterie AAA (2)
3. Konfiguracja
3.1. Instalacja baterii
The PLRTC18 requires two AAA batteries for operation. To install:
- Znajdź pokrywę komory baterii z tyłu pilota.
- Przesuń pokrywę w kierunku wskazanym przez strzałkę.
- Włóż dwie baterie AAA, zwracając uwagę na prawidłową biegunowość (+/-), zgodnie z oznaczeniami wewnątrz komory.
- Zamknij pokrywę komory baterii, aż zatrzaśnie się na swoim miejscu.

Figure 3.1: Battery compartment with two AAA batteries.
Notatka: To conserve battery life, it is recommended to remove the batteries when the remote control will not be used for an extended period, as there is no dedicated ON/OFF switch.
3.2. Łączenie z aparatem
The remote control connects to your camera using one of the provided cables. Identify the correct cable for your specific Canon DSLR model.
- Plug one end of the appropriate connection cable into the remote control's port.
- Plug the other end of the cable into your camera's remote control terminal. This is typically a 3-pin or mini headphone jack style port, often located on the side of the camera body.
- Upewnij się, że oba połączenia są bezpieczne.

Figure 3.2: Connecting the remote control cable to a Canon camera.
4. Instrukcja obsługi
4.1. Koniec kontroliview
Familiarize yourself with the buttons and LCD display on the remote control:

Figure 4.1: PLRTC18 Remote Control Layout.
- Wyświetlacz LCD: Shows current settings for DELAY, LONG, INTVL (Interval), and N (Number of exposures).
- Przycisk SET: Służy do wejścia w tryb ustawień i potwierdzania wyborów.
- Przyciski strzałek (góra/dół/lewo/prawo): Used to navigate between settings and adjust values.
- TIMER START/STOP Button: Initiates or stops the programmed timer sequence.
- /LOCK Button: Functions as a manual shutter release (half-press for focus, full-press for shutter) and can lock the remote.
4.2. Setting Timer Functions
The remote control allows you to set four primary timing parameters: Delay, Long Exposure, Interval, and Number of Exposures. All settings can be adjusted up to 99 hours, 59 minutes, and 59 seconds in one-second increments.
- Naciśnij USTAWIĆ button to enter the setting mode. The first parameter (DELAY) will begin to flash.
- Użyj Strzałka w lewo/prawo buttons to navigate between DELAY, LONG, INTVL, and N.
- Użyj Strzałka w górę / w dół buttons to adjust the values for the selected parameter (hours, minutes, seconds).
- After setting a value, press USTAWIĆ again to move to the next digit or parameter.
- Once all desired parameters are set, press USTAWIĆ until the display stops flashing and returns to standby mode.
4.2.1. DELAY (Self-Timer)
This sets the amount of time before the first exposure sequence begins. Useful for getting into the shot or allowing camera vibrations to settle.
4.2.2. LONG (Exposure Time)
This sets the duration the camera's shutter will remain open for each exposure. Set your camera to Bulb mode for this function to work correctly.
4.2.3. INTVL (Interval Time)
This sets the time between the end of one exposure and the start of the next. Essential for time-lapse photography.
4.2.4. N (Number of Exposures)
This sets the total number of exposures the remote will trigger. Set to "---" for an unlimited number of shots.
4.3. Uruchamianie i zatrzymywanie timera
Once your desired settings are programmed:
- Naciśnij TIMER START/STOP button to begin the programmed sequence. The LCD will display a countdown or active timer.
- To stop an ongoing sequence, press the TIMER START/STOP naciśnij przycisk ponownie.
4.4. Manual Shutter Release
The remote control can also function as a simple wired shutter release.
- Pół-wyciskanie: Naciśnij /ZAMEK button halfway down to activate your camera's autofocus.
- Pełna prasa: Naciśnij /ZAMEK button fully down to trigger the shutter.
- Locking the Shutter: For continuous shooting or long exposures in Bulb mode (without using the LONG timer function), press the /ZAMEK button fully down and slide it forward to lock it in the depressed position. Slide it back to release.
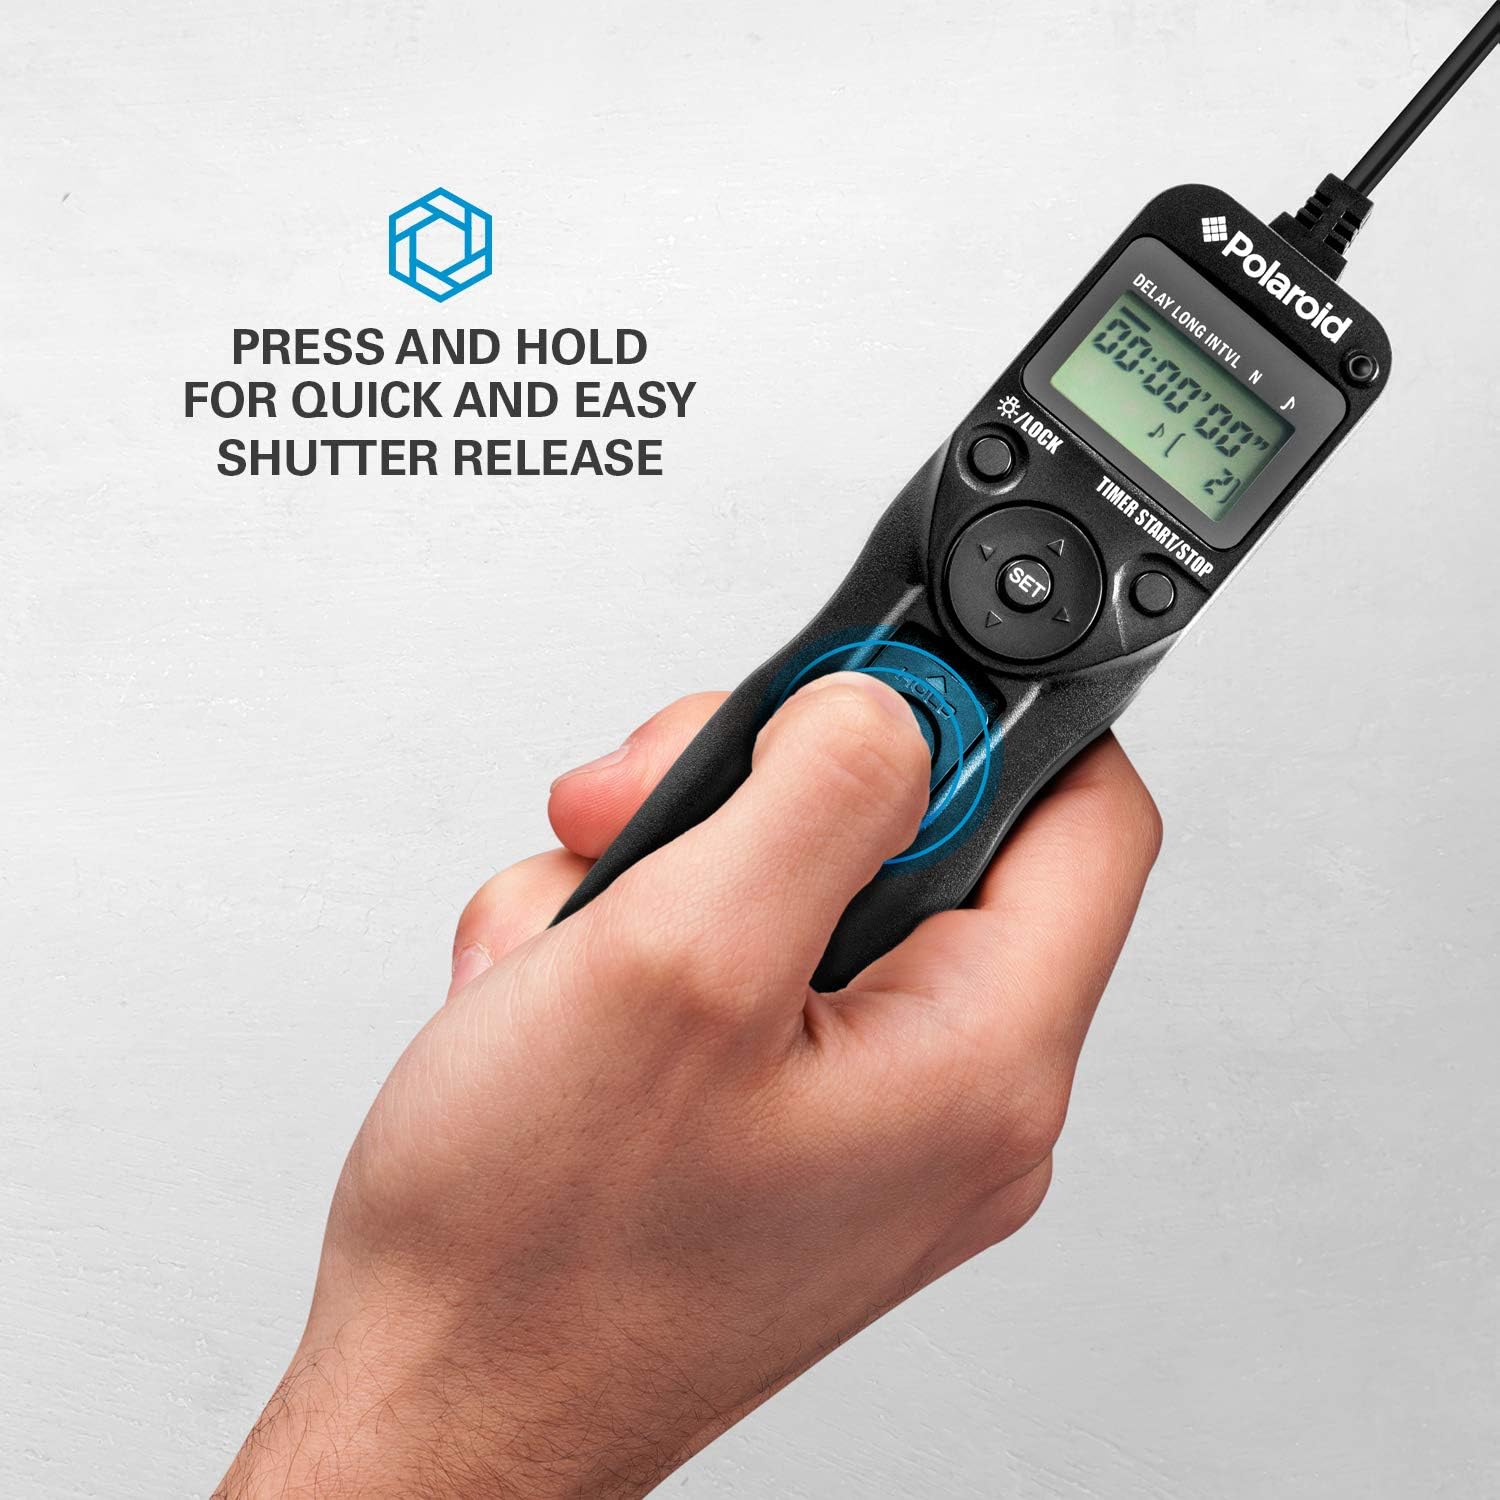
Figure 4.2: Manual shutter release operation.
5. Konserwacja
- Czyszczenie: Wipe the remote control with a soft, dry cloth. Do not use liquid cleaners or solvents.
- Pielęgnacja baterii: Remove batteries if the unit will not be used for an extended period to prevent leakage. Replace batteries when the low battery indicator appears on the LCD.
- Składowanie: Przechowuj pilota w chłodnym i suchym miejscu, z dala od bezpośredniego światła słonecznego i ekstremalnych temperatur.
- Pielęgnacja kabli: Avoid bending or twisting the connection cables excessively to prevent damage.
6. Rozwiązywanie Problemów
| Problem | Możliwa przyczyna | Rozwiązanie |
|---|---|---|
| Pilot zdalnego sterowania nie włącza się. | Baterie są rozładowane lub nieprawidłowo zainstalowane. | Sprawdź biegunowość baterii. Wymień je na nowe baterie AAA. |
| Camera does not trigger. |
|
|
| Timer sequence does not start. | Settings not confirmed or START button not pressed. | Ensure all settings are confirmed with USTAWIĆ a następnie naciśnij TIMER START/STOP. |
| LCD display is dim or flickering. | Niski poziom naładowania baterii. | Wymień baterie AAA. |
7. Specyfikacje
- Model: PLRTC18
- Marka: Polaroid
- Łączność: Przewodowy
- Funkcje timera: Delay, Long Exposure, Interval, Number of Exposures
- Ustawienia timera: Od 1 sekundy do 99 godzin, 59 minut, 59 sekund (w odstępach co 1 sekundę)
- Liczba strzałów: 1 to 9999, or unlimited (---)
- Wyświetlacz: Podświetlany wyświetlacz LCD
- Źródło zasilania: 2 baterie AAA
- Kolor: Czarny
8. Kompatybilność z aparatem
The Polaroid PLRTC18 is compatible with a wide range of Canon Digital SLR cameras that utilize a 3-pin or mini headphone jack style remote control terminal. Compatible models include, but are not limited to:
- Canon G10, G11, G12, G16
- Canon EOS Digital Rebel series
- Canon 60D, 70D
- Canon Elan II/IIE, Elan 7/7E
- Canon Rebel Ti /2000/G/GII/X/XS
- Canon IX/IX Lite
- Canon SX50 HS
- Canon EOS Rebel T1i, T2, T2i, T3, T3i, T4i, T5, T5i, T6
- And similar models with compatible shutter release ports.
Please consult your camera's manual to confirm the type of remote control port it uses.
9. Gwarancja i wsparcie
For warranty information or technical support, please refer to the documentation included with your purchase or visit the official Polaroid webZachowaj dowód zakupu na wypadek roszczeń gwarancyjnych.