1. Wprowadzenie
This manual provides essential instructions for the installation, operation, and maintenance of your TRELOCK LS 692 uno20 front light and LS 813 rear light dynamo-powered bicycle light kit. Please read these instructions carefully before use to ensure proper function and safety.
2. Instrukcje bezpieczeństwa
- Always ensure lights are securely mounted and functioning correctly before riding, especially in low light conditions.
- Regularly check all cable connections for damage or corrosion.
- Do not look directly into the front light beam to avoid temporary vision impairment.
- Keep the light lenses clean for optimal visibility.
- If you are unsure about installation, consult a qualified bicycle mechanic.
3. Zawartość opakowania
Sprawdź, czy w pakiecie znajdują się wszystkie komponenty:
- TRELOCK LS 692 uno20 Front Light
- TRELOCK LS 813 Rear Light
- Mounting brackets and hardware for front light
- Mounting brackets and hardware for rear light
- Connection cables (may be integrated or separate)
4. Konfiguracja i instalacja
Proper installation is crucial for the performance and safety of your lights. Refer to the diagram below for component identification.
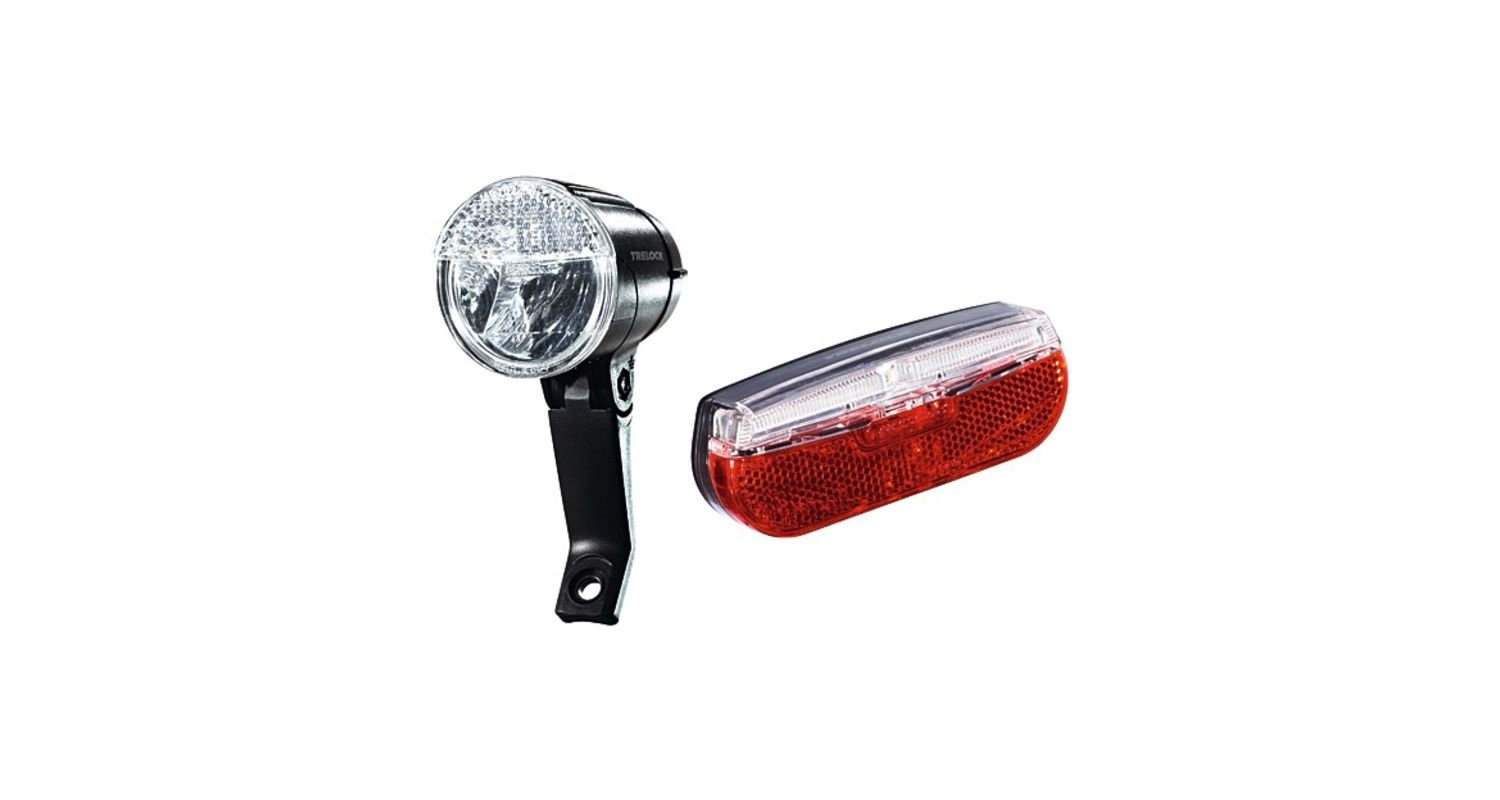
This image displays the TRELOCK LS 692 uno20 front light on the left, featuring a clear lens and black housing, designed for fork crown mounting. On the right is the TRELOCK LS 813 rear light, a rectangular unit with a red reflector and clear top section, typically mounted on a seat post or rear rack.
4.1. Front Light (LS 692 uno20) Installation
- Montowanie: Attach the front light bracket to the fork crown of your bicycle using the provided hardware. Ensure the light is securely fastened and points forward, slightly angled downwards to illuminate the road without blinding oncoming traffic.
- Połączenie dynamo: Connect the two wires from the front light to your bicycle's dynamo (either hub dynamo or side-running dynamo). Typically, one wire connects to the dynamo's power output and the other to the frame (ground). Consult your dynamo's manual for specific wiring instructions.
4.2. Rear Light (LS 813) Installation
- Montowanie: Mount the rear light to your bicycle's seat post or rear rack using the supplied bracket and hardware. Ensure it is positioned vertically and clearly visible from behind.
- Połączenie: Connect the rear light to the dedicated output terminals on the TRELOCK LS 692 uno20 front light. The front light acts as a power distributor for the rear light. Ensure polarity is correct if indicated.
Notatka: Route all cables neatly and securely along the bicycle frame, away from moving parts, using cable ties if necessary.
5. Instrukcja obsługi
The TRELOCK LS 692 uno20 and LS 813 lights are dynamo-powered, meaning they generate electricity as you ride.
- Działanie automatyczne: The lights will illuminate automatically once you start riding, provided the dynamo is engaged and connected correctly.
- Funkcja świateł postojowych: The LS 692 uno20 front light and LS 813 rear light are equipped with a parking light function. This feature keeps the lights illuminated for a short period after you stop riding, providing continued visibility when stationary. The duration of the parking light may vary depending on the model and previous riding time.
6. Konserwacja
- Czyszczenie: Clean the lenses of both lights regularly with a soft, damp cloth to ensure maximum light output. Do not use abrasive cleaners.
- Kontrola kabla: Periodically inspect all cables and connections for wear, damage, or loose contacts. Secure any loose connections.
- Kontrola montażu: Ensure all mounting screws and brackets are tight and secure.
7. Rozwiązywanie Problemów
| Problem | Możliwa przyczyna | Rozwiązanie |
|---|---|---|
| Lights do not turn on while riding. |
|
|
| Światła są przyćmione. |
|
|
| Rear light not working, front light is. |
|
|
8. Specyfikacje
- Marka: TRELOCK
- Front Light Model: LS 692 uno20
- Rear Light Model: LS813
- Źródło zasilania: Dynamo / Hub Dynamo
- Light Intensity (Front): 20 luks
- Cechy: Parking Light Function (Front and Rear)
- Numer części producenta: 03100963
9. Informacje o gwarancji
TRELOCK products are manufactured to high quality standards. For specific warranty terms and conditions, please refer to the warranty card included with your product or visit the official TRELOCK webZachowaj dowód zakupu na wypadek roszczeń gwarancyjnych.
10. Wsparcie
If you encounter issues not covered in this manual or require further assistance, please contact TRELOCK customer support. Contact details can typically be found on the product packaging or the official TRELOCK webstrona.


