Wstęp
This manual provides essential information for the safe operation, assembly, maintenance, and troubleshooting of your WEN 4210 10-Inch Drill Press with Laser. Please read and understand all instructions before operating the tool to ensure personal safety and proper function.
The WEN 4210 drill press is designed for precision drilling in various materials. It features a 10-inch swing, a powerful 3.2-amp motor, five adjustable speeds, and a Class II 1mW laser for accurate hole placement.
Informacje dotyczące bezpieczeństwa
OSTRZEŻENIE: Zawsze należy przestrzegać podstawowych zasad bezpieczeństwa, aby zmniejszyć ryzyko pożaru, porażenia prądem elektrycznym i poważnych obrażeń ciała.
- Ochrona oczu: Always wear ANSI-approved safety goggles or safety glasses with side shields when operating this drill press.
- Obszar roboczy: Keep the work area clean and well-lit. Do not operate power tools in the presence of flammable liquids or gases.
- Zabezpieczanie przedmiotu obrabianego: Zawsze clamp or secure the workpiece to the drill press table. Never hold the workpiece by hand.
- Odpowiedni strój: Nie noś luźnej odzieży, rękawiczek, krawatów ani biżuterii, które mogą zostać wciągnięte przez ruchome części. Zwiąż długie włosy.
- Odłącz zasilanie: Przed przystąpieniem do regulacji, wymiany akcesoriów lub wykonywania czynności konserwacyjnych należy zawsze odłączyć wiertarkę od źródła zasilania.
- Bezpieczeństwo lasera: This product uses a Class II 1mW laser. Avoid direct eye exposure to the laser beam. Do not stare into the beam.
- Wentylacja: Ensure adequate ventilation when drilling, especially with materials that produce dust or fumes.
Zawartość opakowania
Sprawdź, czy po rozpakowaniu znajdują się wszystkie elementy:
- WEN 4210 Drill Press
- Class II 1mW Laser
- 1/2-inch Keyed Chuck & Key
- Narzędzia do montażu
Konfiguracja i montaż
Follow these general steps for assembly. Refer to the detailed diagrams in your printed manual for specific component identification.
- Montaż podstawy i kolumny: Securely attach the column to the base using the provided hardware.
- Zespół głowicy: Carefully mount the head assembly onto the top of the column.
- Worktable Installation: Install the worktable and its support bracket onto the column. Ensure the rack and pinion mechanism operates smoothly for height adjustment.
- Montaż uchwytu: Insert the chuck onto the spindle. Apply firm, even pressure and tap the chuck with a rubber mallet a few times to ensure a secure, compression fit.
- Instalacja lasera: Install the laser centering device according to the instructions.
- Bench Mounting: For stability and safety, it is highly recommended to mount the drill press to a sturdy workbench using the pre-drilled holes in the base.
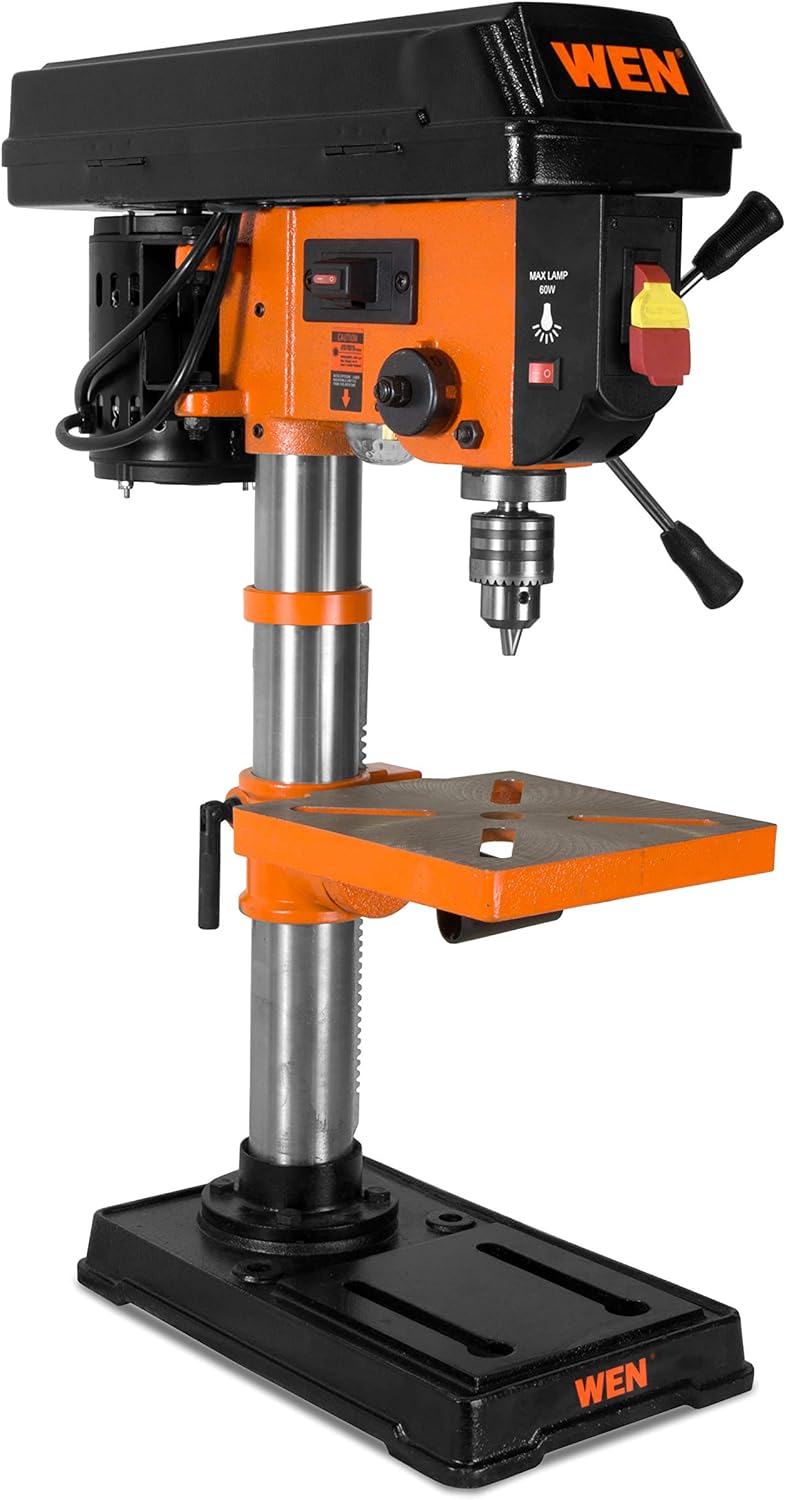
Figure 1: Fully assembled WEN 4210 Drill Press.
Instrukcja obsługi
1. Włączanie/wyłączanie zasilania
The drill press is equipped with a clearly marked ON/OFF switch. Press the green button to turn the unit ON and the red button to turn it OFF.
2. Regulacja prędkości
The WEN 4210 offers five speed settings: 600, 1100, 1700, 2400, and 3100 RPM. To change speeds:
- Odłącz wiertarkę od źródła zasilania.
- Open the pulley cover located on top of the head assembly.
- Adjust the drive belt position on the motor and spindle pulleys to achieve the desired speed, as indicated on the speed chart inside the cover.
- Close the pulley cover securely before reconnecting power.

Figure 2: Control panel and pulley cover for speed adjustment.
3. Laser Centering Device
The integrated Class II 1mW laser projects an X-pattern onto your workpiece, indicating the exact drilling point. Activate the laser using its dedicated switch. This feature aids in precise hole placement, reducing guesswork.

Figure 3: Laser centering device projecting an X-pattern on the worktable.
4. Depth Stop
The drill press features a locking linear depth stop with 2-1/2 inches of spindle travel. To set the drilling depth:
- Lower the chuck until the drill bit touches the workpiece at the desired depth.
- Adjust the depth stop collar to the desired position.
- Lock the depth stop to ensure repeatable drilling to the set depth.
5. Worktable Adjustment
The 7-5/8 x 7-5/8 inch cast iron worktable can be adjusted for height and angle:
- Regulacja wysokości: Use the rack and pinion crank to raise or lower the table to the desired working height. Lock it in place with the table locking handle.
- Regulacja skosu: The worktable can bevel up to 45 degrees left and right for angled drilling. Loosen the table tilt bolt, adjust to the desired angle using the scale, and then re-tighten the bolt.

Figure 4: Worktable showing the bevel adjustment scale.
Konserwacja
Regularna konserwacja zapewnia długowieczność i optymalną wydajność wiertarki stołowej.
- Czyszczenie: After each use, clean the drill press to remove dust, chips, and debris. Use a brush or vacuum. Do not use solvents that may damage plastic parts.
- Smarowanie: Okresowo należy nakładać cienką warstwę oleju maszynowego na kolumnę i inne ruchome części, aby zapobiec rdzewieniu i zapewnić płynną pracę.
- Kontrola paska: Regularnie sprawdzaj pasek napędowy pod kątem zużycia, pęknięć i napięcia. W razie potrzeby wymień go.
- Kontrola elementów złącznych: Okresowo sprawdzaj wszystkie nakrętki, śruby i wkręty, aby upewnić się, że są dobrze dokręcone. Dokręć wszystkie luźne elementy mocujące.
Rozwiązywanie problemów
| Problem | Możliwa przyczyna | Rozwiązanie |
|---|---|---|
| Wiertarka stołowa nie uruchamia się | Brak zasilania, uszkodzony przełącznik, problem z silnikiem | Check power connection, circuit breaker. Contact customer support if issue persists. |
| Nadmierne wibracje lub chybotanie | Loose components, bent spindle, unbalanced chuck/bit | Ensure all fasteners are tight. Check chuck and drill bit for proper installation and balance. If spindle wobble is suspected, contact customer support. |
| Laser nie działa | Laser switch off, battery depleted (if applicable), faulty laser module | Ensure laser switch is ON. Check for battery replacement if your model uses one. Contact customer support if the laser remains inoperable. |
| Difficulty changing speeds | Belt tension, pulley obstruction | Ensure the belt is not overly tight. Check for any obstructions in the pulley system. |
Specyfikacje
| Funkcja | Specyfikacja |
|---|---|
| Marka | WEN |
| Numer modelu | 4210 |
| Źródło zasilania | Elektryczny przewodowy |
| Tomtage | 220 V (AC) |
| Ampwymazać | 3.2 Amps |
| Maksymalna moc | 384 watów |
| Liczba prędkości | 5 |
| Zakres prędkości | 600, 1100, 1700, 2400, 3100 obr/min |
| Maksymalna prędkość obrotowa | 3100 obr./min. |
| Maksymalny rozmiar uchwytu | 13 milimetrów (1/2 cala) |
| Podróż wrzeciona | 2.5 cali |
| Worktable Size | 7-5/8x7-5/8 cali |
| Worktable Bevel | 0-45 degrees Left & Right |
| Typ lasera | Class II 1mW |
| Drilling Capacity (Wood/Metal) | 2.5 cali |
| Waga przedmiotu | 51 funtów |
| Typ materiału | Metal |
Gwarancja i wsparcie
The WEN 4210 Drill Press is covered by a 2-roczna ograniczona gwarancja for residential use and a 90-dniowa gwarancja for commercial use. This warranty covers defects in material and workmanship under normal use.
For technical assistance, warranty claims, or to purchase replacement parts, please contact WEN Customer Support. You can find contact information and additional resources on the official WEN webwitrynę lub odwiedzając WEN Store on Amazon.