Wstęp
This manual provides essential information for the safe and effective operation of your Laserliner SoundTest-Master 082.070A Noise Level Meter. Please read these instructions carefully before using the device and keep them for future reference. The SoundTest-Master 082.070A is designed for precise measurement of noise levels, featuring integrated long-term memory and PC connectivity for comprehensive documentation.
Instrukcje bezpieczeństwa
- Always operate the device within its specified environmental conditions.
- Nie wystawiaj urządzenia na działanie ekstremalnych temperatur, wilgoci ani bezpośredniego światła słonecznego.
- Unikaj upuszczania urządzenia i narażania go na silne uderzenia.
- Nie należy podejmować prób otwierania ani modyfikowania urządzenia. Naprawy powinny być wykonywane wyłącznie przez upoważniony personel.
- Trzymaj urządzenie z dala od silnych pól magnetycznych.
- Ensure the microphone is clean and free from obstructions for accurate measurements.
Produkt ponadview
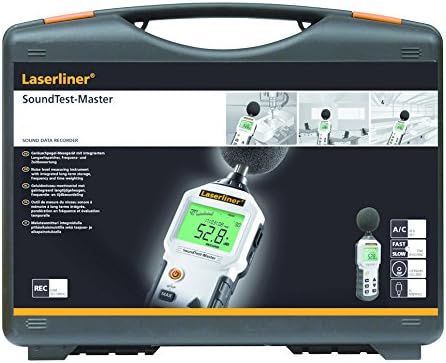
The Laserliner SoundTest-Master 082.070A is a handheld noise level meter equipped with a sensitive electret condenser microphone and a clear, illuminated display. It features various controls for measurement settings and data management.

Rysunek 1: Przód view of the SoundTest-Master 082.070A, showing the display, microphone with windshield, and control buttons.
Kluczowe komponenty:
- Mikrofon pojemnościowy elektretowy: For capturing sound. Includes a removable windshield.
- Podświetlany wyświetlacz: Shows measurement values, settings, and status.
- Przyciski sterujące: Power, Setup, Max, Record, A/C weighting, Fast/Slow time weighting, Level adjustment, Data send.
- Wyjścia analogowe: DC and AC outputs for external connections.
- Interfejs RS232: Optoisolated port for PC connection and data transfer.
Organizować coś
1. Instalacja baterii
The device requires batteries for operation. Ensure correct polarity when inserting batteries into the compartment, typically located on the rear of the unit.
2. Pierwsze włączenie zasilania
Naciśnij Moc button to turn on the device. The display will illuminate and show initial readings.
3. Windshield Attachment
Attach the removable windshield to the microphone to minimize wind noise interference during outdoor measurements.
Instrukcja obsługi
1. Pomiar podstawowy
- Włącz urządzenie za pomocą Moc przycisk.
- Skieruj mikrofon w stronę źródła dźwięku.
- The current noise level will be displayed in decibels (dB).
2. Frequency Weighting (dB(A), dB(C))
Użyj Klimatyzacja button to switch between frequency weighting curves:
- dB(A): Simulates the human ear's response to sound, commonly used for environmental noise measurements.
- dB(C): Provides a flatter response, suitable for measuring peak sound pressure levels or low-frequency noise.
3. Time Weighting (Fast/Slow)
Naciśnij SZYBKO/WOLNO button to select the desired time weighting:
- FAST (125 ms): For measuring rapidly changing noise levels.
- WOLNO (1 sekunda): For measuring average noise levels over a longer period, suitable for stable noise sources.
4. Data Logging and PC Connection
The device features a long-term recording function with 16,000 memory points and real-time logging capabilities when connected to a PC.
- Internal Data Logging: Naciśnij NAGRYWAĆ button to start/stop internal data recording. The device can store up to 16,000 measurement points.
- Połączenie z komputerem: Connect the device to a computer using the provided RS232 cable.
- Oprogramowanie: Install the provided software on your PC. This software allows for real-time data display, analysis, and download of recorded data.
- Wysyłanie danych: Użyj PRZESŁAĆ DANE button to initiate data transfer to the connected PC.
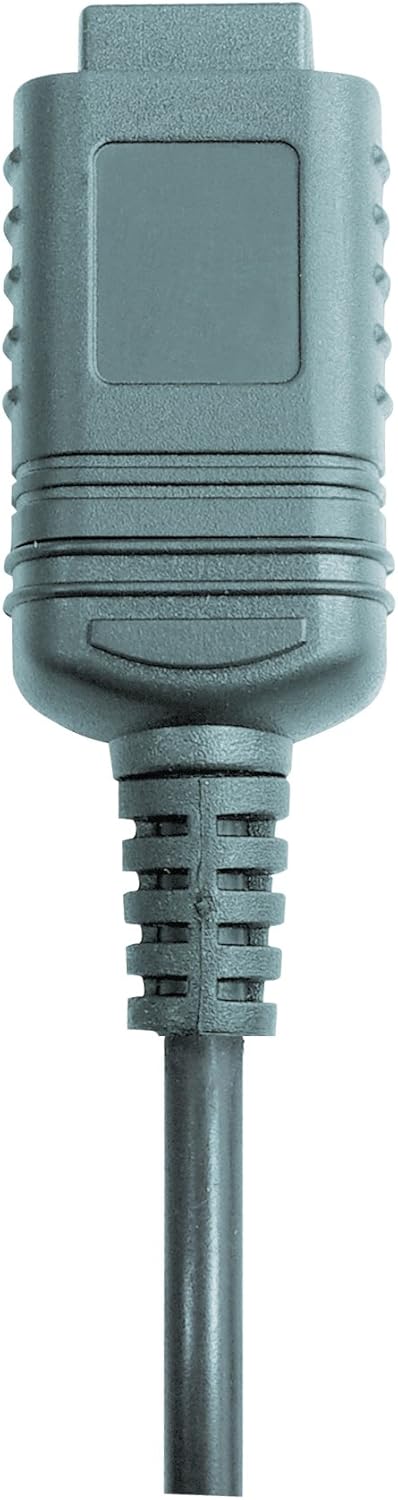

Rysunek 2: RS232 cable connectors used for connecting the SoundTest-Master to a PC.
5. Kalibracja
The device can be calibrated and adjusted using a standard noise level calibrator (94 dB / 1 kHz). Refer to the calibrator's instructions for the specific calibration procedure.
Konserwacja
1. Czyszczenie
- Wyczyść urządzenie casinmiękką, suchą szmatką.
- Nie należy używać środków czyszczących o właściwościach ściernych ani rozpuszczalników.
- Ensure the microphone is kept clean and free of dust or debris.
2. Przechowywanie
When not in use, store the SoundTest-Master in its protective case in a cool, dry place, away from direct sunlight and extreme temperatures. Remove batteries if storing for extended periods.
Rysunek 3: The SoundTest-Master 082.070A stored in its protective carrying case.
Rozwiązywanie problemów
| Problem | Możliwa przyczyna | Rozwiązanie |
|---|---|---|
| Urządzenie nie włącza się. | Rozładowane lub nieprawidłowo zainstalowane baterie. | Wymień baterie, zwracając uwagę na prawidłową biegunowość. |
| Niedokładne odczyty. | Microphone obstructed or dirty; device needs calibration. | Clean microphone; perform calibration with a standard calibrator. |
| No data transfer to PC. | Incorrect cable connection; software not installed or configured. | Check RS232 cable connection; ensure PC software is correctly installed and running. |
| Wyświetlacz jest słaby lub nieczytelny. | Low battery power; display backlight off. | Replace batteries; check device settings for backlight control. |
Specyfikacje
| Funkcja | Szczegół |
|---|---|
| Nazwa modelu | SoundTest-Master |
| Numer części | 082.070A |
| Producent | Umarex |
| Marka | Laserliner |
| Ważenie częstotliwości | dB(A), dB(C) |
| Ważenie czasu | FAST (125 ms), SLOW (1 second) |
| Pamięć danych | 16,000 XNUMX punktów pomiarowych |
| Interfejs | Optoisolated RS232 |
| Wyjścia analogowe | DC i AC |
| Kalibrowanie | Adjustable with 94 dB / 1 kHz standard calibrator |
| Mikrofon | Sensitive electret condenser with removable windshield |
| Wyświetlacz | Illuminated, clear display |
| Waga przedmiotu | 1.18 kilogramów (2.6 funty) |
| Wymiary produktu | 10.33 x 5.51 x 13.78 cala |
| Tworzywo | Metal (Frame, Barrel) |
| Kolor | Czarny i szary |
| Wymagane baterie | Yes (not included, type not specified in data) |
Gwarancja i wsparcie
For warranty information and technical support, please refer to the documentation included with your purchase or visit the official Laserliner webstrona.