
InFocus IN124
Projektor DLP InFocus IN124
Instrukcja obsługi
1. Wprowadzenie
This manual provides comprehensive instructions for the setup, operation, and maintenance of your InFocus IN124 DLP Projector. Please read this manual thoroughly before using the projector to ensure proper functionality and to maximize its lifespan.
The InFocus IN124 is designed to deliver clear and bright projections, suitable for various environments including home cinema and business presentations. Its compact design and robust features make it a versatile display solution.
2. Składniki produktu
Upon unboxing your InFocus IN124 DLP Projector, please verify that all the following components are included:
- InFocus IN124 DLP Projector Unit
- Zdalne sterowanie
- Kabel zasilający
- VGA Cable (may vary by region/package)
- User Manual (this document, typically on CD or downloadable)
If any items are missing or damaged, please contact InFocus customer support immediately.
3. Konfiguracja
3.1 Umieszczenie fizyczne
Position the projector on a stable, flat surface or mount it securely to a ceiling. Ensure adequate ventilation around the unit to prevent overheating. Maintain a clear path between the projector lens and the projection surface (screen or wall).
3.2 Podłączanie urządzeń
The InFocus IN124 supports various input sources. Connect your source device (e.g., laptop, DVD player, gaming console) to the projector using the appropriate cable.
- HDMI: For high-definition digital video and audio. Connect an HDMI cable from your source device to the HDMI port on the projector.
- VGA: For analog video input, commonly used with computers. Connect a VGA cable from your computer's VGA output to the VGA input on the projector.
- Kompozytowe wideo: W przypadku wideo o standardowej rozdzielczości podłącz kabel wideo kompozytowy (żółty RCA) do odpowiedniego portu.
- Wejście/wyjście audio: Jeśli to konieczne, podłącz zewnętrzne urządzenia audio.
3.3 Włączanie
Po podłączeniu wszystkich niezbędnych kabli:
- Podłącz kabel zasilający do projektora, a następnie do gniazdka elektrycznego.
- Press the power button on the projector's control panel or the remote control. The power indicator light will change, and the projector lamp rozświetli się.
- Allow a few moments for the projector to warm up and display the image.
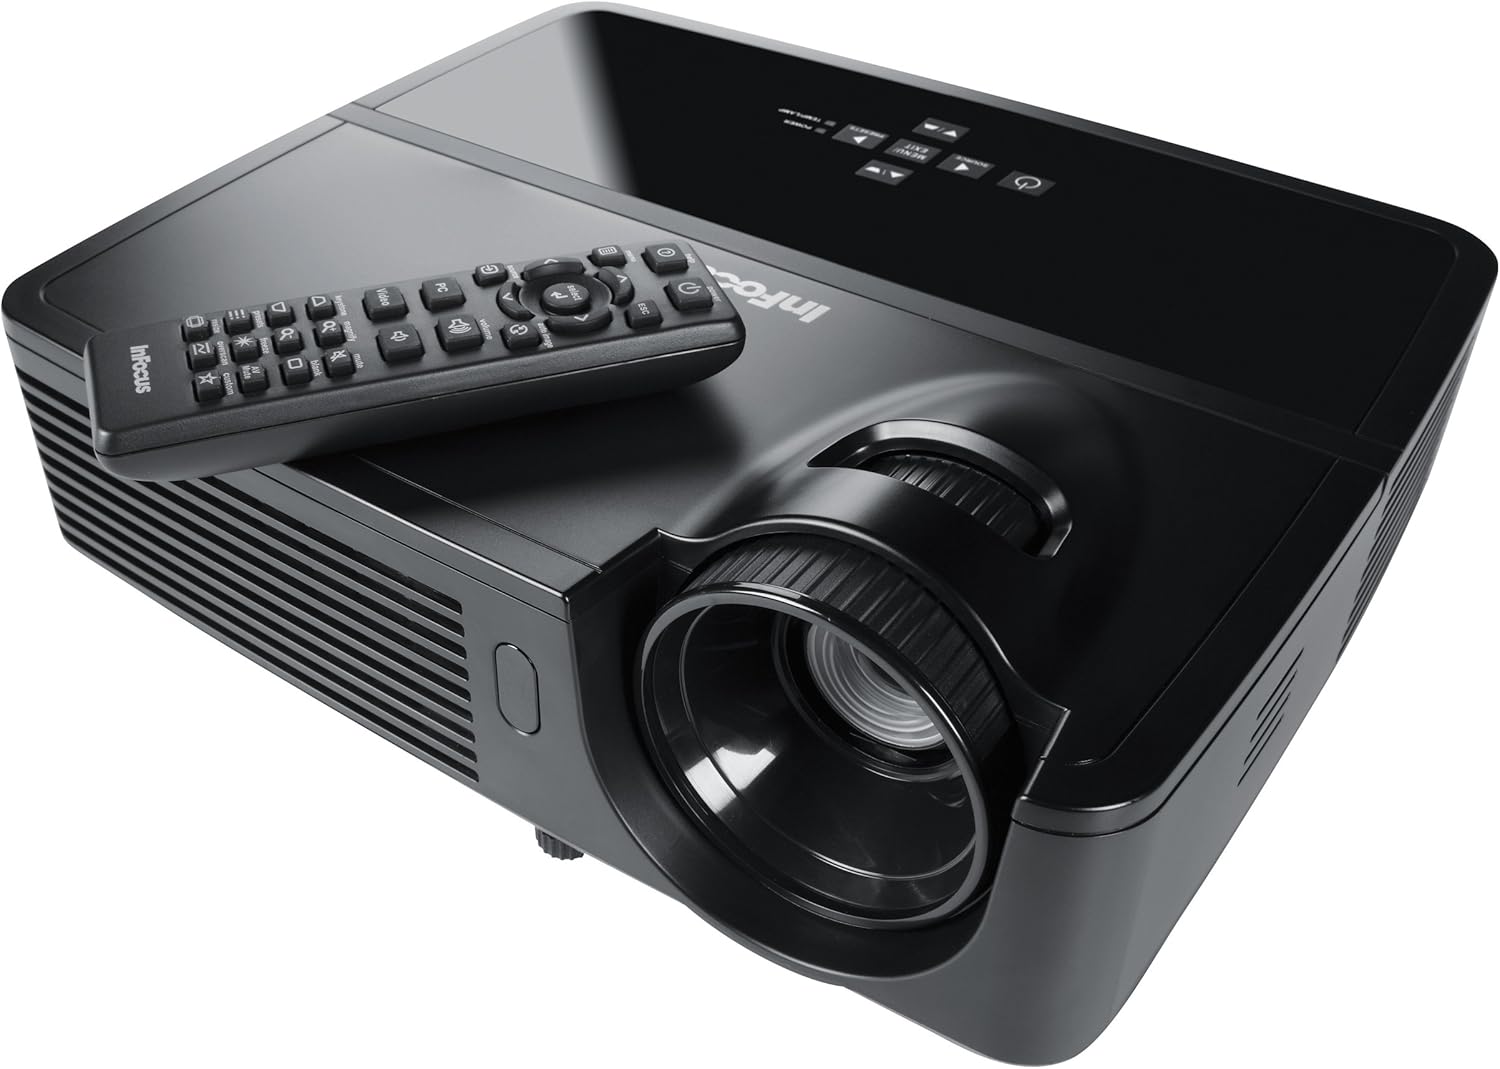
Figure 1: InFocus IN124 DLP Projector with its remote control. The image shows the top-down view of the black projector unit, highlighting the lens, ventilation grilles, and the control panel. The remote control is placed on top of the projector.
4. Obsługa projektora
4.1 Podstawowe sterowanie
The projector can be operated using the control panel on the unit or the included remote control.
- Przycisk zasilania: Włącza lub wyłącza projektor.
- Przycisk źródła: Cycles through available input sources (HDMI, VGA, Video).
- Przycisk menu: Umożliwia dostęp do menu ekranowego (OSD) w celu zmiany ustawień.
- Przyciski strzałek: Poruszaj się po opcjach menu i dostosuj wartości.
- Przycisk Enter/Wybierz: Potwierdza wybór w menu.
- Przyciski głośności: Reguluje poziom wyjściowy audio.
- Korekcja Keystone'a: Dostosowuje kształt obrazu w celu korekcji zniekształcenia trapezowego.
- Pierścień ostrości: Manually adjust the lens to sharpen the image.
4.2 Nawigacja i ustawienia menu
Press the "Menu" button to open the On-Screen Display (OSD). Use the arrow keys to navigate through categories such as "Picture," "Display," "Setup," and "Advanced." Press "Enter" to select a category or option. Adjust settings like brightness, contrast, color temperature, aspect ratio, and resolution to optimize your viewzdobywania doświadczenia.
4.3 Funkcjonalność 3D
The InFocus IN124 is 3D-ready. To experience 3D content, you will need compatible 3D source material, a 3D-capable player, and active DLP Link 3D glasses (sold separately). Refer to your 3D source device's manual for specific setup instructions.
5. Konserwacja
Regularna konserwacja zapewnia optymalną wydajność i wydłuża żywotność projektora.
5.1 Czyszczenie obiektywu
Use a soft, lint-free cloth specifically designed for optical lenses. Gently wipe the lens surface to remove dust or smudges. Avoid using abrasive cleaners or excessive force, which can scratch the lens.
5.2 Czyszczenie filtrów powietrza
The projector has air filters to prevent dust from entering the internal components. Locate the filter cover (refer to the diagram in the full manual if available) and remove it. Clean the filter using a small brush or a vacuum cleaner with a brush attachment. Replace the filter securely.
5.3 Łamp Wymiana
Projektor lamp ma skończony okres życia. Kiedy lamp indicator light illuminates or the image becomes dim, it's time to replace the lamp. Always allow the projector to cool down completely before attempting lamp replacement. Consult the full service manual or a qualified technician for detailed lamp replacement procedures specific to the IN124 model.
6. Rozwiązywanie Problemów
W tej sekcji omówiono typowe problemy, które mogą wystąpić podczas korzystania z projektora.
| Problem | Możliwa przyczyna | Rozwiązanie |
|---|---|---|
| Obraz nie jest wyświetlany | Incorrect input source selected; Loose cable connection; Projector not powered on. | Press the "Source" button to cycle inputs; Check all cable connections; Ensure projector is powered on and lamp świeci. |
| Obraz jest rozmazany | Out of focus; Incorrect resolution setting. | Adjust the focus ring on the lens; Adjust the resolution setting in the OSD menu or on your source device. |
| Obraz ma kształt trapezu | Projektor nie jest ustawiony prostopadle do ekranu. | Use the keystone correction feature (digital or manual) to square the image. Reposition the projector if possible. |
| Brak dźwięku | Volume too low; Incorrect audio input selected; Muted. | Increase volume; Check audio cable connections; Ensure projector or source device is not muted. |
| Projektor przegrzewa się i wyłącza | Blocked ventilation; Dirty air filter. | Ensure clear space around vents; Clean air filter as per maintenance section. |
For issues not listed here, please refer to the comprehensive online support resources or contact InFocus customer service.
7. Specyfikacje
Below are the key technical specifications for the InFocus IN124 DLP Projector:
| Funkcja | Szczegół |
|---|---|
| Numer modelu | IN124 |
| Technologia wyświetlania | DLP |
| Rozdzielczość natywna | 1280x720 (HD) |
| Jasność | Do 3200 Lumenów |
| Współczynnik kontrastu | 3000:1 |
| Łączność | HDMI, VGA, Composite Video |
| Cechy specjalne | Gotowy do 3D |
| Wymiary produktu (dł. x szer. x wys.) | 12.99 x 12.99 x 5.9 cala |
| Waga przedmiotu | 4.78 funtów (2.17 kg) |
| Zasilacz | 100-240 Volts at 50-60 Hz |
| Zalecane zastosowanie | Kino domowe |
8. Gwarancja i wsparcie
InFocus provides a limited warranty for the IN124 DLP Projector. For detailed warranty terms and conditions, please refer to the warranty card included with your product or visit the official InFocus webZachowaj paragon jako dowód zakupu na wypadek reklamacji.
For technical support, troubleshooting assistance beyond this manual, or service requests, please contact InFocus customer support through their official website or the contact information provided in your product documentation. Online resources, including FAQs and driver downloads, may also be available.
Ask a question about this manual
Ask about setup, troubleshooting, compatibility, parts, safety, or missing instructions. Manuals+ will review the question and use this page’s manual context to help answer it.