TOMY DMK-01
Transformers Dual Model Kit DMK01 Optimus Prime Instruction Manual
Model: DMK-01 | Brand: TOMY
Wstęp
This instruction manual provides detailed guidance for assembling and maintaining your Transformers Dual Model Kit DMK01 Optimus Prime. This highly detailed model kit allows you to construct a 240 millimeter (approximately 9.4 inches) tall replica of Optimus Prime. Please read all instructions carefully before beginning assembly.
Informacje dotyczące bezpieczeństwa
- Ryzyko zadławienia: This kit contains small parts and is not suitable for children under 3 years of age. Recommended for ages 18 and up due to complexity and small components.
- Ostre krawędzie: Some parts may have sharp edges or points. Handle with care during assembly.
- Narzędzia: Use appropriate modeling tools (e.g., nippers, hobby knife) safely. Always cut away from your body.
- Wentylacja: If using paints or adhesives (not included), ensure adequate ventilation.
- Sprzedaż: Odpowiedzialnie utylizuj odpady.
Lista części
Before starting assembly, verify that all parts are present. Refer to the image below for a visual representation of the kit's components.

Figure 1: All components of the DMK01 Optimus Prime kit, including the pre-assembled inner frame, red and blue armor panels, wheels, and various small detail parts.
The kit primarily consists of a pre-assembled inner skeletal frame and various external armor pieces, including:
- Pre-assembled inner frame (skeleton)
- Red armor panels (chest, arms, legs)
- Blue armor panels (head, arms, legs, truck parts)
- Chrome and silver detail parts
- Wheels and tire components
- Optimus Prime's sword weapon
- Various small connectors and joint covers
Instrukcja montażu
Follow these steps carefully to assemble your Optimus Prime model kit. Refer to the Japanese instructions included in the box for detailed diagrams, as this is a Japan import product.
Step 1: Prepare the Inner Frame
The core skeletal frame comes pre-assembled. Inspect it for any loose joints or damage. This frame provides the articulation and structural integrity for the model.

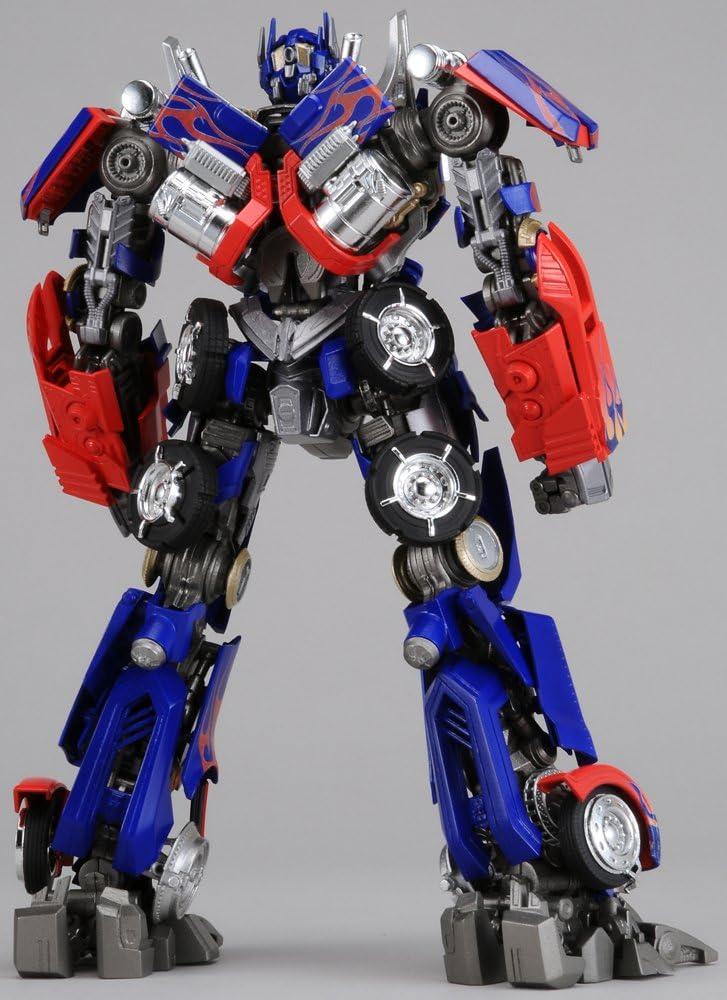
Figure 2: The inner frame with some initial armor pieces attached, demonstrating the model's standing posture.
Step 2: Attach Leg Armor
Begin by attaching the blue and red armor panels to the leg sections of the inner frame. Ensure that the flame decals on the blue panels align correctly. The wheels integrate into the leg and hip sections.
Rysunek 3: Tył view of the model, showing the completed leg and lower body armor, including the truck wheels.
Step 3: Assemble Torso and Arm Armor
Proceed to attach the chest, back, and arm armor pieces. Pay close attention to the intricate details around the chest and shoulder areas. The red and blue panels should snap securely into place.

Figure 4: The fully assembled Optimus Prime model, ready for display.
Step 4: Head Assembly and Final Details
Carefully assemble the head, ensuring the faceplate and helmet pieces fit snugly. Attach the head to the neck joint. Finally, add any remaining small detail pieces and the sword weapon.

Rysunek 5: Szczegółowy view of Optimus Prime's head, highlighting the precision of the model's design.
Obsługa i pozowanie
The DMK01 Optimus Prime model features extensive articulation, allowing for a wide range of dynamic poses. Handle joints gently to avoid breakage.
- Wspólny ruch: The inner frame provides multiple points of articulation in the neck, shoulders, elbows, wrists, waist, hips, knees, and ankles.
- Dynamic Posing: Experiment with different stances to recreate iconic Optimus Prime poses.
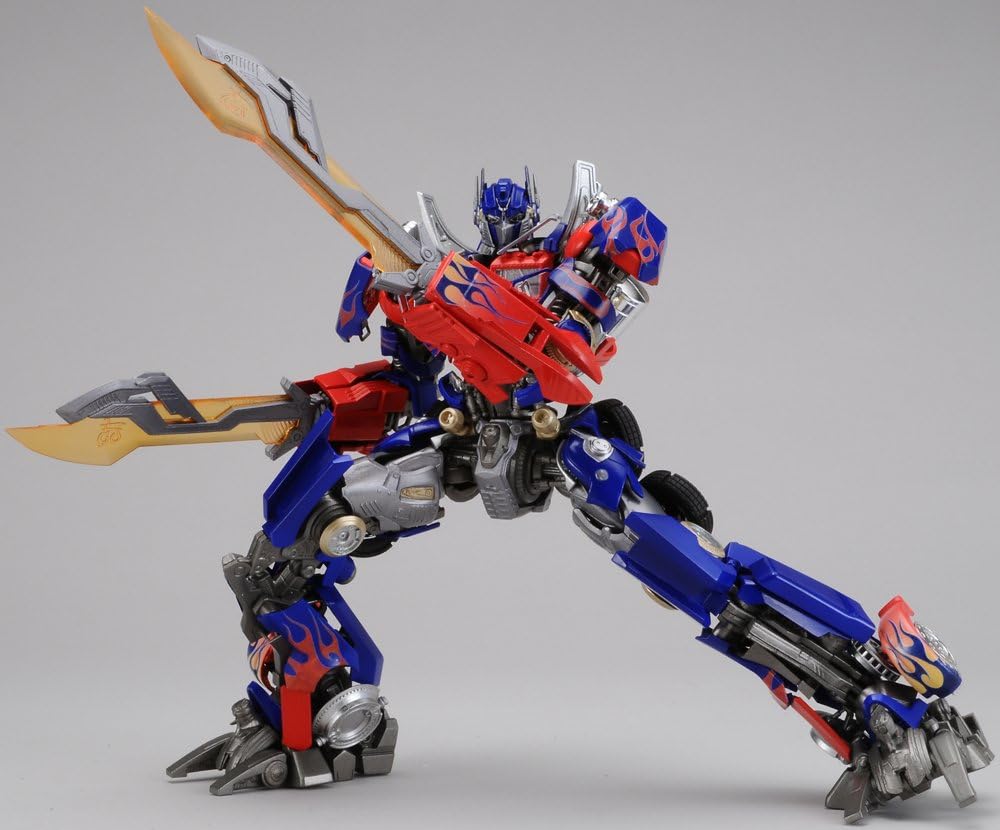
Figure 6: Optimus Prime in an attack stance with his sword.
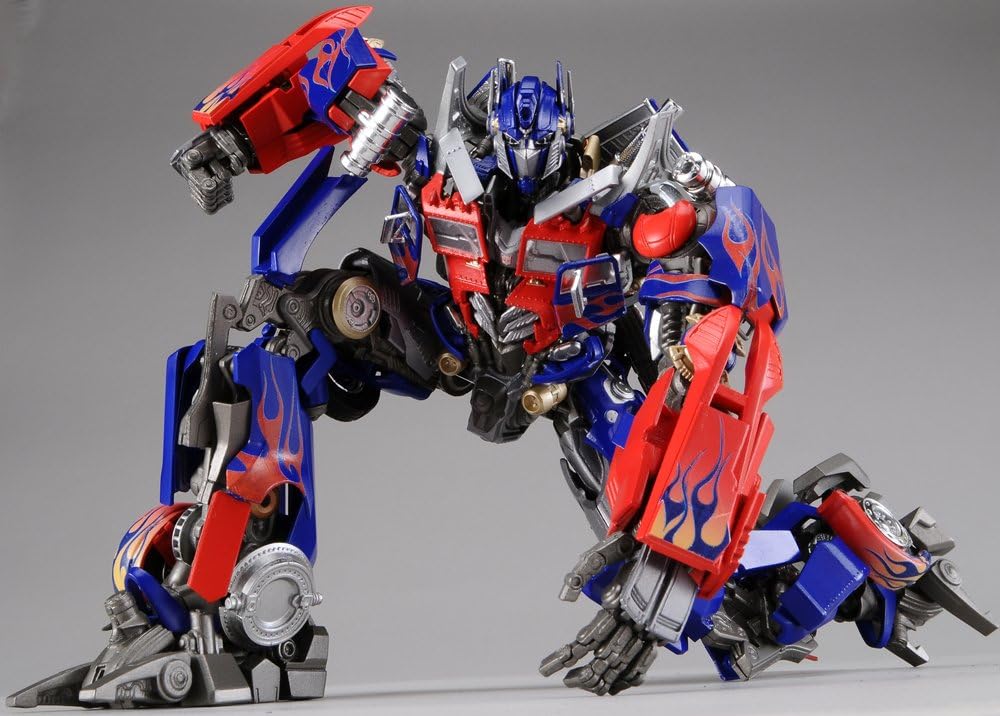
Figure 7: Optimus Prime in a kneeling pose, demonstrating leg articulation.
Konserwacja
Proper care will ensure the longevity of your model kit.
- Czyszczenie: Dust regularly with a soft, dry brush or microfiber cloth. Avoid harsh chemicals or abrasive cleaners.
- Składowanie: Store the model away from direct sunlight, extreme temperatures, and high humidity to prevent material degradation and discoloration.
- Obsługiwanie: Always handle the model by its main body, avoiding excessive force on delicate parts or joints.
Rozwiązywanie problemów
| Wydanie | Możliwa przyczyna | Rozwiązanie |
|---|---|---|
| Części nie pasują do siebie | Incorrect orientation; excess plastic (nubs) from sprue. | Check the instruction diagrams for correct orientation. Carefully trim any remaining plastic nubs with a hobby knife or nippers. |
| Joints are too loose | Wear and tear; manufacturing tolerance. | Apply a thin layer of clear nail polish or a specialized joint-tightening fluid to the ball or peg of the joint. Allow to dry completely before reassembling. |
| Parts break during assembly | Excessive force; improper tool use. | Use less force. Ensure parts are aligned correctly before pressing. If a part breaks, plastic cement or super glue may be used for repair, but results may vary. |
Specyfikacje
- Wymiary produktu: 9.45 x 4.7 x 9.4 inches (240mm height)
- Waga przedmiotu: 3 funta
- Numer modelu: DMK-01
- Producent: Takara Tomy
- Zalecany wiek: 18 lata i więcej
Gwarancja i wsparcie
This product is an import from Japan, and specific warranty information may vary. For support regarding missing or defective parts, please contact the retailer where the product was purchased. Due to the nature of model kits, replacement parts may not always be readily available.
For general inquiries about TOMY products, please visit the official TOMY webstronie lub skontaktuj się z działem obsługi klienta.
Notatka: As this is a model kit, assembly is required. The finished product's durability and appearance depend on the assembler's skill and care.