
Wstęp
This manual provides essential instructions for the safe operation, assembly, maintenance, and troubleshooting of your STANLEY SL18133 4.5 Gallon 4 Horsepower Wall-Mounted Wet/Dry Vacuum. Please read all instructions carefully before using the appliance to ensure proper function and to prevent injury or damage.

Obraz: Przód view of the STANLEY SL18133 Wet/Dry Vacuum, showcasing its compact design and stainless steel tank.
Ważne informacje dotyczące bezpieczeństwa
Aby zmniejszyć ryzyko pożaru, porażenia prądem lub obrażeń ciała, należy zawsze przestrzegać podstawowych zasad bezpieczeństwa podczas korzystania z tego urządzenia.
- Przeczytaj wszystkie instrukcje: Familiarize yourself with the vacuum's functions and safety guidelines before operation.
- Bezpieczeństwo elektryczne: Do not operate with a damaged cord or plug. Unplug the vacuum from the electrical outlet when not in use or before servicing.
- Materiały łatwopalne: Do not vacuum or use this appliance near flammable or combustible liquids, gases, or explosive dusts.
- Wet Pickup: Ensure the foam filter is correctly installed for wet vacuuming. Do not pick up water near electrical outlets or equipment.
- Dry Pickup: Ensure the reusable dry filter or disposable dust bag is correctly installed for dry vacuuming.
- Nadzór: Należy zachować ścisły nadzór, jeżeli z urządzenia korzystają dzieci lub w ich pobliżu.
- Przeznaczenie: Używaj wyłącznie zgodnie z opisem w niniejszej instrukcji. Używaj wyłącznie akcesoriów zalecanych przez producenta.
- Konserwacja: Perform maintenance and filter changes only when the unit is unplugged.
Zawartość opakowania
Sprawdź, czy w przesyłce znajdują się wszystkie wymienione poniżej elementy. Jeśli brakuje którejkolwiek części lub jest ona uszkodzona, skontaktuj się z obsługą klienta.

Image: A visual representation of all components included with the STANLEY SL18133 Wet/Dry Vacuum.
- Wet/Dry Vacuum Unit (1)
- 1-1/4" x 20’ Flexible Hose (1)
- Przedłużacze (2)
- Crevice Nozzle (1)
- Gulper Nozzle (1)
- Szczotka podłogowa (1)
- Uchwyt montażowy (1)
- Accessory Bag (1)
- Foam Filter (1)
- Jednorazowy worek przeciwkurzowy (1)
- Reusable Dry Filter and Clamp Ring (1 set)
- Instrukcja obsługi (1)
Montaż i konfiguracja
Rozpakowanie i wstępna kontrola
Carefully remove all components from the packaging. Inspect for any shipping damage. Retain packaging materials for future storage or transport.
Instalacja filtra
Rodzaj wymaganego filtra zależy od tego, czy odkurzasz na mokro, czy na sucho.
- Do odkurzania na sucho: Install the reusable dry filter over the filter cage and secure it with the clamp ring. Alternatively, for fine dust, install a disposable dust bag over the inlet port inside the tank. Ensure the bag opening is fully sealed around the port.
- Do odkurzania na mokro: Remove any dry filters or dust bags. Install the foam filter over the filter cage. Ensure it covers the entire cage for effective wet pickup and motor protection.
Wąż i akcesoria przyłączeniowe
Attach the flexible hose to the inlet port on the tank for vacuuming. For blowing functions, attach the hose to the blower port. Connect extension wands and desired nozzles (crevice, gulper, floor brush) to the end of the hose.
Montaż na ścianie
The vacuum is designed for convenient wall-mounted use. Use the provided mounting bracket to secure the vacuum to a sturdy wall surface. Ensure the mounting location allows for easy access to the power switch and sufficient clearance for hose movement. The vacuum can be easily removed from the bracket for emptying or portable use.

Image: The STANLEY SL18133 Wet/Dry Vacuum shown mounted on a garage wall, demonstrating its space-saving design and extended reach for cleaning vehicles.
Instrukcja obsługi
Odkurzanie na sucho
- Ensure the appropriate dry filter (reusable or disposable bag) is installed.
- Attach the flexible hose to the vacuum inlet port.
- Connect the desired extension wands and cleaning accessory (e.g., floor brush for large areas, crevice tool for tight spaces).
- Podłącz przewód zasilający do odpowiedniego gniazdka elektrycznego.
- Włącz odkurzacz za pomocą wyłącznika zasilania.
- Rozpocznij odkurzanie suchych zanieczyszczeń.

Image: A user demonstrating dry vacuuming with the STANLEY SL18133, effectively cleaning a wooden floor with the floor brush attachment.
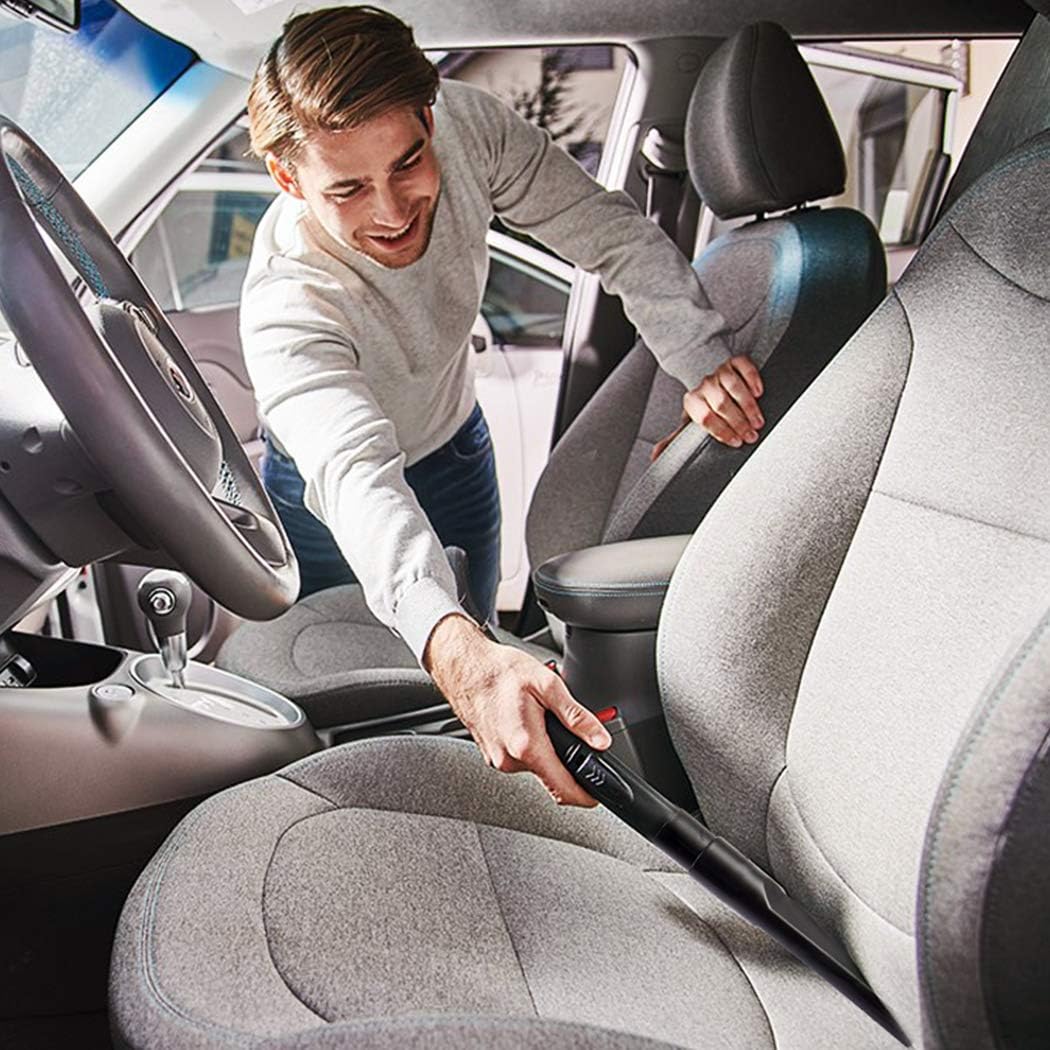
Image: A user utilizing the crevice tool of the STANLEY SL18133 to clean tight spaces within a car interior.
Odkurzanie na mokro
- Remove all dry filters and dust bags. Install the foam filter over the filter cage.
- Attach the flexible hose to the vacuum inlet port.
- Connect the desired wet pickup accessory.
- Podłącz przewód zasilający do odpowiedniego gniazdka elektrycznego.
- Włącz odkurzacz za pomocą wyłącznika zasilania.
- Begin vacuuming liquids. The vacuum will automatically stop suction when the tank is full due to a float mechanism.
- Turn off the vacuum and unplug it before emptying the tank.
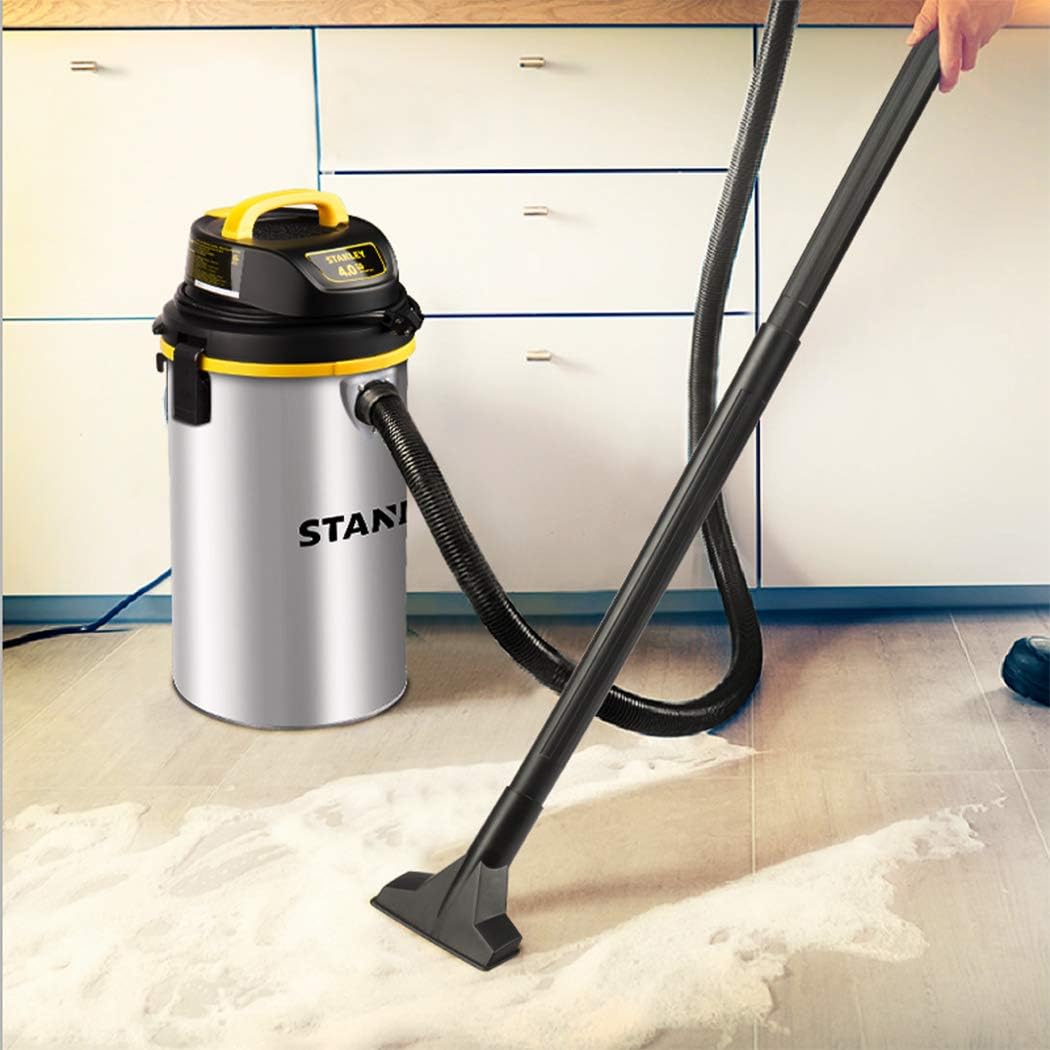
Image: The STANLEY SL18133 Wet/Dry Vacuum effectively cleaning a liquid spill from a tiled floor, demonstrating its wet pickup capability.
Funkcja dmuchawy
- Sprawdź, czy zbiornik jest pusty i czysty.
- Attach the flexible hose to the blower port located on the motor head.
- Podłącz przewód zasilający do odpowiedniego gniazdka elektrycznego.
- Turn the vacuum on using the power switch to activate the blower.
Konserwacja
Opróżnianie zbiornika
Always unplug the vacuum before emptying. Release the latches on the sides of the tank, lift off the motor head, and carefully pour out the contents. Clean the inside of the tank as needed.
Czyszczenie i wymiana filtra
- Foam Filter (Wet Pickup): After wet vacuuming, remove the foam filter, rinse it thoroughly with water, and allow it to air dry completely before reinstallation or storage.
- Wielokrotnego użytku suchy filtr: For dry vacuuming, periodically remove the reusable dry filter and gently tap it to dislodge accumulated dust. If heavily soiled or damaged, replace it with a new filter.
- Jednorazowy worek przeciwkurzowy: Replace the disposable dust bag when it is full or when suction performance decreases.
Pielęgnacja węży i akcesoriów
Inspect the hose and accessories regularly for blockages or damage. Clear any obstructions to maintain optimal suction. Clean accessories with mild soap and water as needed.
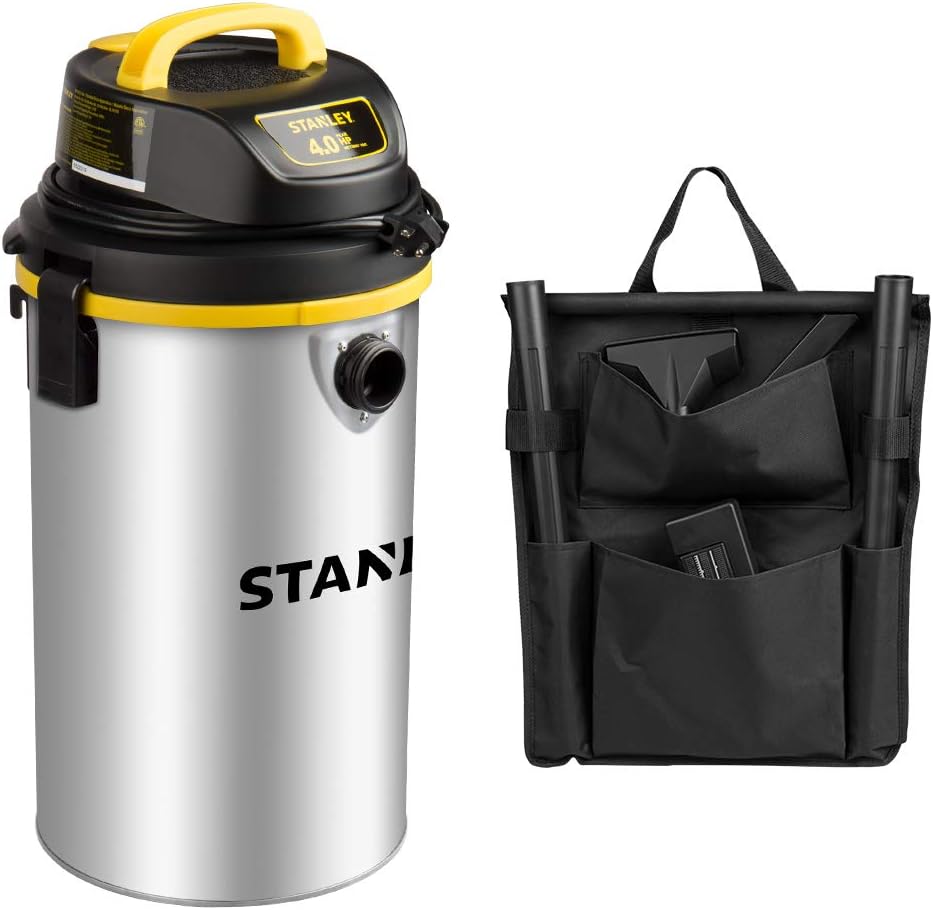
Image: The STANLEY SL18133 Wet/Dry Vacuum alongside its accessory bag, illustrating convenient storage for attachments.
Rozwiązywanie problemów
| Problem | Możliwa przyczyna | Rozwiązanie |
|---|---|---|
| Odkurzacz się nie włącza | No power to outlet; Power cord not plugged in; Power switch off; Faulty switch | Check power outlet; Plug in power cord securely; Turn power switch on; Contact customer service |
| Niska moc ssania | Hose or accessory clogged; Tank full; Filters dirty or improperly installed; Lid not sealed properly | Clear clogs; Empty tank; Clean/reinstall filters; Ensure lid is securely latched |
| Wyciek wody ze zbiornika | Foam filter missing or improperly installed; Lid not sealed properly; Tank damaged | Install/reposition foam filter; Ensure lid is securely latched; Inspect tank for damage, contact customer service if damaged |
| Motor stops during wet pickup | Tank is full (float mechanism activated) | Wyłącz odkurzacz, odłącz go od zasilania i opróżnij zbiornik. |
Specyfikacje

Image: Dimensions of the STANLEY SL18133 Wet/Dry Vacuum, indicating its length, width, and height for installation planning.
| Funkcja | Szczegół |
|---|---|
| Marka | STANLEY |
| Nazwa modelu | SL18133 |
| Pojemność | 4.5 galona (ok. 17 litra) |
| Moc w koniach mechanicznych | 4 szczytowych HP |
| Źródło zasilania | Elektryczny przewodowy |
| Tomtage | 116 wolty |
| Cotage | 50 watów |
| Długość węża | 20 stóp (6.09 metrów) |
| Długość przewodu zasilającego | 6 stóp |
| Total Cleaning Range | 26 stóp |
| Waga przedmiotu | 13 funta |
| Wymiary (dł. x szer. x wys.) | 12.6" x 9" x 15" |
| Typ filtra | Foam (wet), Reusable Dry, Disposable Dust Bag |
| Poziom hałasu | 80dB |
| Cechy specjalne | Powerful blower port, Wall-mount design |
Gwarancja i wsparcie
Informacje o gwarancji
This STANLEY Wet/Dry Vacuum SL18133 comes with a 1-letnia ograniczona dożywotnia gwarancja. Please refer to the warranty card included in your package for specific terms and conditions. Keep your purchase receipt as proof of purchase for warranty claims.
Obsługa klienta
For technical assistance, replacement parts, or warranty inquiries, please contact STANLEY customer service. Refer to the contact information provided on the product packaging or the official STANLEY webna tej stronie znajdziesz najnowsze informacje dotyczące pomocy technicznej.