1. Wprowadzenie
This manual provides comprehensive instructions for the Doro PhoneEasy 100W cordless landline phone. It covers setup, operation, maintenance, and troubleshooting to ensure optimal performance and user experience. The Doro PhoneEasy 100W is designed for ease of use, featuring large, well-separated keys, a clear backlit display, and sound amplifikacja.
2. Konfiguracja
2.1 Rozpakowanie
Ostrożnie wypakuj wszystkie elementy z pudełka. Upewnij się, że znajdują się w nim następujące elementy:
- Doro PhoneEasy 100W Handset
- Stacja bazowa
- Zasilacz
- Przewód telefoniczny
- 2 akumulatory AAA NiMH
2.2 Instalacja baterii
The phone uses 2 AAA NiMH rechargeable batteries. Locate the battery compartment on the back of the handset. Open the cover and insert the batteries, observing the correct polarity (+ and - markings). Close the battery compartment cover securely.
2.3 Podłączanie stacji bazowej
Connect the power adapter to the 'POWER' socket on the back of the base station and then plug it into a standard wall outlet. Connect one end of the telephone line cord to the 'LINE' socket on the base station and the other end to your telephone wall socket.

Rysunek 1: Tył view of the base station showing connection ports.
2.4 Pierwsze ładowanie
Place the handset on the base station. Ensure it is seated correctly; a charging indicator on the handset or base should illuminate. For the first use, allow the batteries to charge continuously for approximately 10 hours to ensure full capacity.
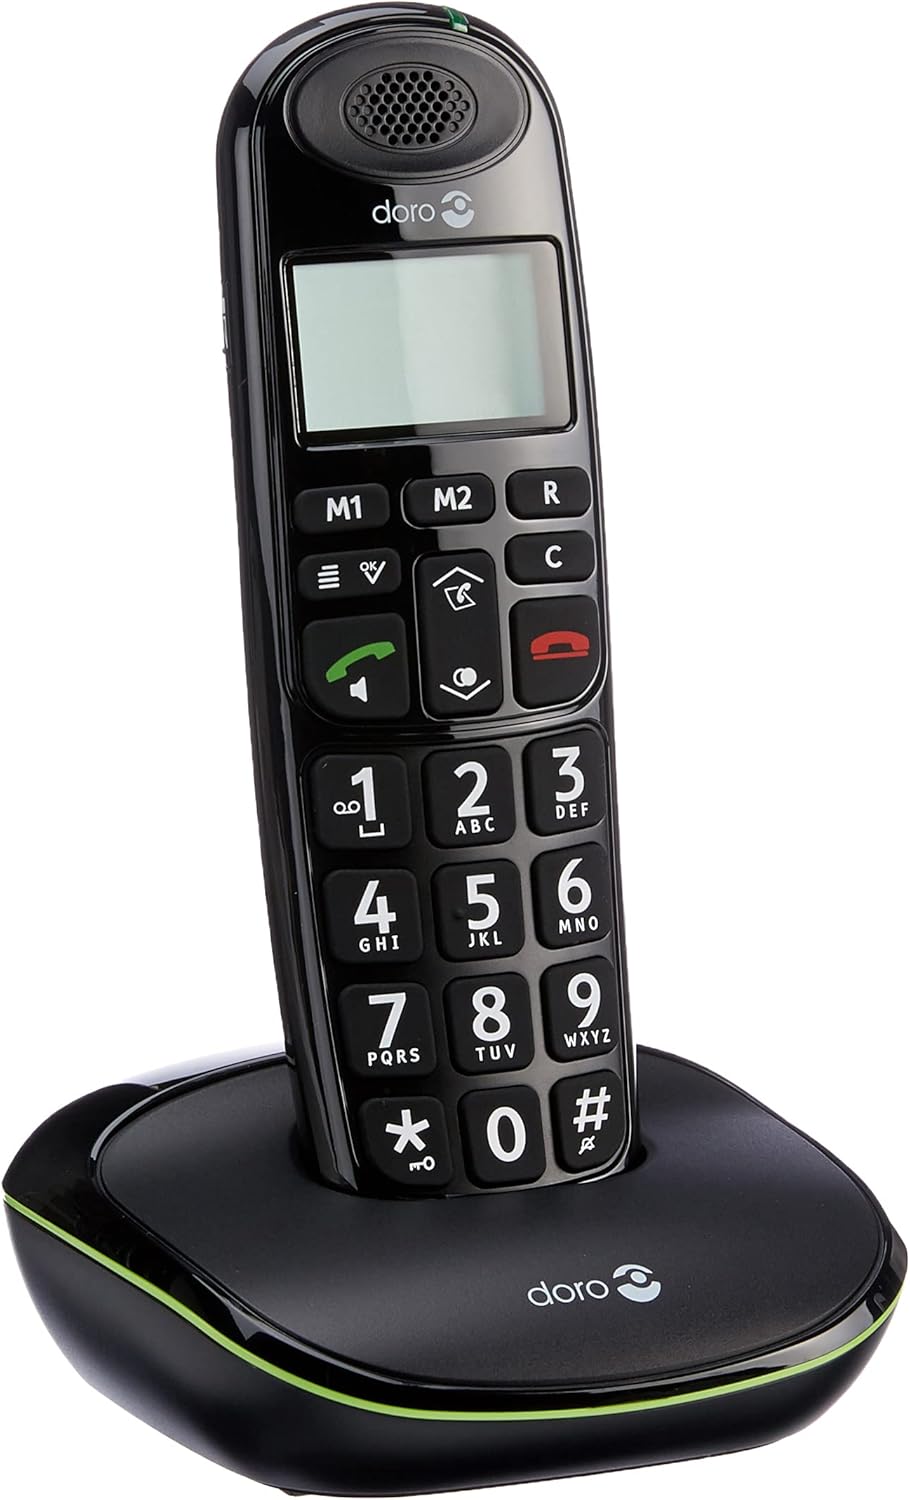
Figure 2: Handset correctly placed on the base station for charging.
2.5 Pierwsze włączenie zasilania
After the initial charge, the handset will power on automatically. The display will show basic information. If prompted, follow any on-screen instructions for initial setup, such as setting the date and time.
3. Instrukcja obsługi
3.1 Nawiązywanie połączenia
- Enter the desired phone number using the large numeric keypad.
- Naciśnij zielony przycisk połączenia (
 ) aby rozpocząć połączenie.
3.2 Odbieranie połączenia
Gdy zadzwoni telefon, naciśnij zielony przycisk połączenia () to answer the incoming call. The display will show the caller's name if stored in your phonebook.
3.3 Kończenie połączenia
Naciśnij red end call button ( ) or place the handset back on the base station to terminate the call.
3.4 Regulacja głośności
Podczas rozmowy użyj up/down navigation keys to adjust the earpiece volume to a comfortable level.
3.5 Dźwięk Amplifikacja
For an even stronger and clearer sound during a call, press the ampprzycisk aktywujący (located on the right side of the handset). This boosts the sound by up to +10 dB. The maximum reception amplification is 30 dB, and the maximum ringer volume at 1 meter is 90 dB.
3.6 Głośnik głośnomówiący
To activate the hands-free speakerphone during a call, press the dedicated speakerphone button.
3.7 Phonebook (Contacts)
The phone can store up to 20 contacts. Access the phone's menu to add, edit, or delete entries. When an incoming call matches a stored contact, the name will appear on the display.
3.8 Speed Dial (M1/M2 Keys)
Użyj M1 I M2 keys to configure one-touch dialing for your favorite contacts. Refer to the phone's menu for instructions on programming these keys.
3.9 Funkcja ponownego wybierania numeru
Naciśnij down arrow key to access a list of the last 5 most frequently called contacts. Select a number from the list and press the zielony przycisk połączenia ponownie wybierać.
3.10 Zegar i budzik
The phone includes clock and alarm functions. Access the phone's menu to set the current time and configure alarm settings as needed.
3.11 GAP Compatibility
The Doro PhoneEasy 100W is GAP compatible. This allows the handset to be registered with other GAP-compatible base stations, or for up to 5 additional GAP-compatible handsets to be registered to its base station.
3.12 Zgodność z aparatami słuchowymi
This phone is compatible with hearing aids. To enable this feature for clearer sound, select the 'T' mode on your hearing aid device.
4. Konserwacja
4.1 Czyszczenie
Przetrzyj słuchawkę i stację bazową miękką, lekko wilgotną szmatką.amp ściereczką. Nie używaj środków czyszczących o działaniu ściernym, rozpuszczalników ani silnych środków chemicznych, ponieważ mogą one uszkodzić powierzchnie.
4.2 Pielęgnacja baterii
Use only the approved rechargeable NiMH AAA batteries. Replace batteries when their performance significantly decreases (e.g., shorter talk time, frequent low battery warnings). Do not expose batteries to extreme temperatures or dispose of them in fire.
5. Rozwiązywanie Problemów
If you encounter issues with your Doro PhoneEasy 100W, refer to the following common solutions:
- Brak zasilania: Ensure the power adapter is securely connected to the base station and a working wall outlet. Check that the batteries are correctly installed in the handset and fully charged.
- Brak sygnału wybierania: Verify that the telephone line cord is properly connected to both the base station and the telephone wall socket. Test the wall socket with another working phone if possible.
- Słaba jakość dźwięku: Ensure the handset is within the operational range of the base station (up to 50m indoors, 300m outdoors). Check for potential interference from other electronic devices. Activate the sound amplification feature if needed.
- Handset Out of Range Warning: If the handset displays an 'out of range' message, move closer to the base station. If the issue persists, ensure the base station is powered on.
- Nie można wykonywać/odbierać połączeń: Check all connections (power, phone line). Ensure the handset is registered to the base station. If necessary, re-register the handset according to the instructions in the full user manual (if provided separately).
6. Specyfikacje
| Funkcja | Specyfikacja |
|---|---|
| Marka | Doro |
| Producent | Doro |
| Nazwa modelu | PhoneEasy 100W |
| Rok modelowy | 2011 |
| Numer części | PHONEEASY100WNOIR |
| Kompatybilne urządzenia | DECT networks, GAP devices, PSTN networks |
| Cechy specjalne | Bezprzewodowy |
| Liczba jednostek | 1 |
| Technologia wyświetlania | TFT |
| Typ wyświetlacza | TFT |
| Ekran kolorowy | NIE |
| Typ źródła zasilania | Bezprzewodowy |
| Typ baterii | NiMH-AAA |
| Average Battery Life (Talk Time) | 10 godzin |
| Wymagane baterie | Yes (2x AAA NiMH) |
| Typ złącza | DECT |
| Typ materiału | Plastikowy |
| Kształt | Tradycyjny |
| ASIN | B0043DUG86 |
| Pierwsza dostępna data | 7 sierpnia 2012 r. |
| Kolor | Czarny |
| Typ telefonu | Bezprzewodowy |
| Typ dialera | Pojedyncza klawiatura |
| Operacja wieloliniowa | Praca na jednej linii |
7. Gwarancja i wsparcie
For detailed warranty information, please refer to the documentation included with your Doro PhoneEasy 100W purchase. For technical support, product registration, or to find additional resources, please visit the official Doro website or contact Doro customer service directly.