Wstęp
The Mediasonic HFR2-SU3S2 PRORAID is a 4-bay external enclosure designed for 3.5" SATA I/II/III hard disk drives. It features a hardware RAID controller supporting various RAID modes and offers high-speed data transfer via USB 3.0 and eSATA. This manual provides essential information for setting up, operating, and maintaining your enclosure.
Zawartość opakowania
Sprawdź, czy w przesyłce znajdują się wszystkie elementy:
- Mediasonic HFR2-SU3S2 Main Unit
- Zasilacz i przewód zasilający
- Kabel USB 3.0
- Kabel eSATA
- Accessory Kit (screws for 2.5" drives)
- Instrukcja obsługi (ten dokument)

Setup and Drive Installation
1. Installing 3.5" Hard Disk Drives
- Gently pull up the blue clasps on both sides of a drive tray.
- Insert a 3.5" SATA hard disk drive into the tray. The clasps will secure the drive without screws.
- Slide the loaded drive tray into an empty bay of the enclosure until it clicks into place.

2. Installing 2.5" SSD/HDD
- For 2.5" SSD/HDD, use a screwdriver to open the blue clasp on the side of the drive tray.
- Place the 2.5" drive into the tray and secure it using the provided screws from the accessory kit.
- Slide the loaded drive tray into an empty bay of the enclosure until it clicks into place.
3. Connecting the Enclosure to Your Computer
- Connect the power adapter to the enclosure's power input and plug it into a power outlet.
- Connect the enclosure to your computer using either the provided USB 3.0 cable or eSATA cable.
- USB 3.0: Provides data transfer rates up to 5.0Gbps.
- eSATA: Provides data transfer rates up to 3.0Gbps.
- Power on the enclosure using the ON/OFF switch located on the rear panel.

Operating the Enclosure
Konfiguracja RAID
The Mediasonic HFR2-SU3S2 features a hardware RAID controller with one-button control. Supported RAID modes include:
- Tryb pojedynczego napędu: Each drive operates independently.
- RAID 0 (Spanning) JBOD: Drives are combined into a single large volume without performance or redundancy benefits.
- RAID 0 (Stripping): Data is striped across all drives for increased performance, but with no redundancy.
- RAID 1 (dublowanie): Data is duplicated across two drives for redundancy.
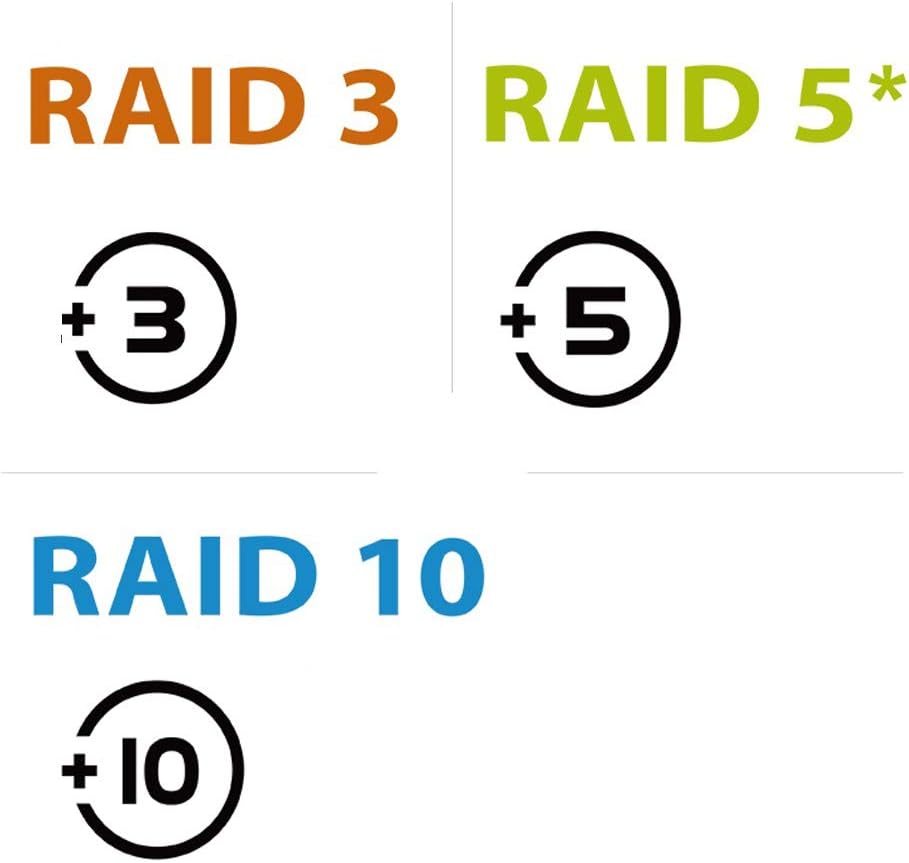
- RAID 3 (Stripped set with dedicated parity): Data is striped across drives with one dedicated parity drive for redundancy.
- RAID 5 (Stripped set with distributed parity): Data is striped across drives with distributed parity for both performance and redundancy.
- RAID 10 (Mirroring + Striping): Combines striping and mirroring for both performance and redundancy.
Refer to the quick installation guide for detailed instructions on how to set up your desired RAID mode using the one-button control.
Funkcja inteligentnego wentylatora
The enclosure is equipped with a smart fan and built-in thermal sensor to maintain optimal operating temperatures for your hard drives. It supports both Auto and Manual modes with three speed levels.
- Tryb automatyczny: Prędkość wentylatora dostosowuje się automatycznie na podstawie temperatury wewnętrznej.
- Tryb ręczny: You can manually select one of three fan speed levels (Low, Medium, High) to suit your preference.

Konserwacja
To ensure the longevity and optimal performance of your Mediasonic HFR2-SU3S2 enclosure, regular maintenance is recommended:
- Czyszczenie wentylatora: Periodically inspect the smart fan on the rear panel for dust accumulation. Clean the fan gently with compressed air or a soft brush to maintain efficient airflow and prevent overheating. The fan is designed for easy installation and replacement if needed.
- Aktualizacje oprogramowania układowego: Sprawdź Mediasonic website for any available firmware updates for your model. Keeping the firmware updated can improve performance and stability.
Rozwiązywanie problemów
Oto kilka typowych problemów i ich rozwiązań:
- Drives Disconnecting/Connecting Repeatedly: If the enclosure frequently connects and disconnects, it may indicate an issue with one of the installed hard drives. Try testing each drive individually to identify and replace any faulty drives.
- RAID Array Not Recognized: Ensure that the RAID mode is correctly configured according to the quick installation guide. After resetting the RAID array, press and hold the 'Reset' button for 5 seconds while the power is on.
- Niska prędkość transferu danych: Verify that you are using a USB 3.0 port on your computer and the provided USB 3.0 cable for optimal speeds. For eSATA, ensure your eSATA port and cable support the maximum transfer rate.
- Przegrzanie: Check that the fan is operating correctly and is free from obstructions. Ensure the enclosure is placed in a well-ventilated area.
Specyfikacje
| Funkcja | Szczegół |
|---|---|
| Numer modelu | HFR2-SU3S2 |
| Wsparcie Dysku | 4 x 3.5" SATA I/II/III Hard Disk Drives |
| Maksymalna pojemność na dysk | Do 16TB |
| Tryby RAID | Single Drive Mode, RAID 0 (Spanning) JBOD, RAID 0 (Stripping), RAID 1 (Mirroring), RAID 3, RAID 5, RAID 10 |
| Łączność | USB 3.0, eSATA |
| USB 3.0 Transfer Rate | Do 5.0 Gbps |
| eSATA Transfer Rate | Do 3.0 Gbps |
| Układ chłodzenia | Smart Fan with thermal sensor (Auto & Manual modes, 3 speed levels) |
| Tworzywo | Metal |
| Kompatybilny system operacyjny | Mac OSX 10.8 or later, Windows 10 / 8.1 / 8 / 7 |
| Wymiary produktu | 5 x 6.5 x 8.5 cala (ok. 12.7 x 16.5 x 21.6 cm) |
| Waga przedmiotu | 1 funt (ok. 0.45 kg) |
Gwarancja i wsparcie
Mediasonic products typically come with a standard warranty. For specific warranty details and to inquire about potential warranty extensions, please refer to the documentation included with your product or visit the official Mediasonic website. For technical support, please contact Mediasonic customer service.